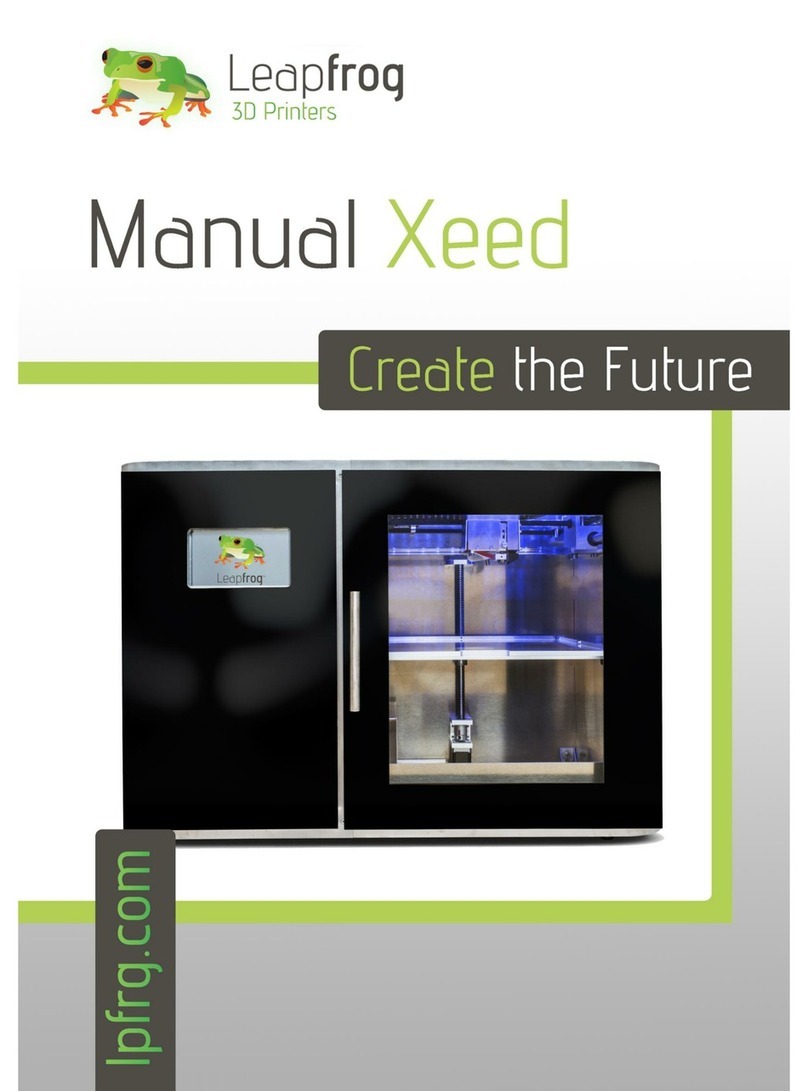
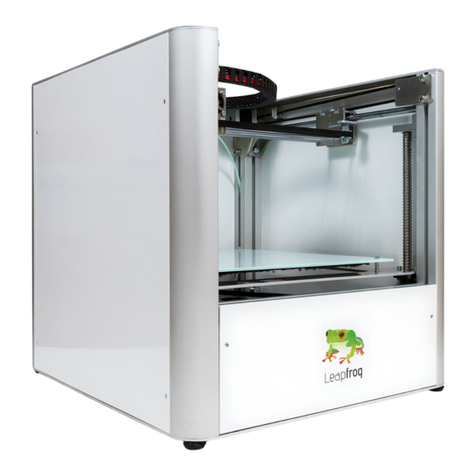
LeapFrog Xeed User manual

Leapfrog 3D Printers - Manual Xeed 1

Leapfrog 3D Printers - Manual Xeed 2
Dear customer,
Congratulations with the purchase of your very own Leapfrog Xeed 3d-printer. We want to help
you make your first 3d-print with the very first Leapfrog stand-alone printer.
To make your first impression the best one possible, we want to provide you with our manual
which will take you through the first steps and make you more familiar with your Xeed. For
maximum 3D-print pleasure.
It is possible that after reading this document or while operating your printer you have a question
that is not listed in this document. Therefore, we also explain you how to contact our support
department.
We wish you happy printing!
With kind regards,
The Leapfrog team

Leapfrog 3D Printers - Manual Xeed 3
Table of content
1. Installation
1.1 Unpack Page 5
2. Printing
2.1 Turning on your printer and loading your filament Page 7
2.2 Heating the extruders Page 9
2.3 Manually controlling your Xeed Page 11
2.3.1 Movements Page 11
2.4 Uploading your 3D model Page 12
2.4.1 Uploading a model from a USB device Page 13
2.4.2 Uploading a model from your computer Page 14
2.5 Making your print Page 15
2.6 After the print Page 20
3. Support
3.1 Need support? Page 22
3.2. Updates Page 24
3.3. Troubleshooting Page 25
3.3.1. Transporting, Unpacking and Positioning the Xeed Page 25
3.3.2. Turning off and (re)starting the Xeed Page 25
3.3.3. Filament slipping Page 26
3.3.4. Removing your print from the bed Page 26
3.3.5. Replacing your print bed Page 26

Leapfrog 3D Printers - Manual Xeed 4
1. Installation
The following steps are steps you only have to follow when your brand new Xeed arrives at your
doorstep for the first time. Please follow each step thoroughly to make sure the installation will be
successful and you will find yourself to be a member of the leapfrog eco-system.
This section contains the following:
1.1 Unpack
oHow to unpack your Xeed and where you plug the power cord and usb cable.

Leapfrog 3D Printers - Manual Xeed 5
1.1 Unpack
In this step we will show you how to unpack your Xeed when it arrives at your doorstep. Before
you start, make sure that you have cleared a spot where you want to place the printer. We advise
you to not place the Xeed next to a window or at a place where it is draughty.
Unscrew the 4 screws in the bottom left and right sides of the shipping crate and lift
the covering crate straight up. Do this gently and push aside any cushioning material
that is impeding movement.
Lift it with preferably 4 people from the bottom plate.
Remove all the plastic from the printer and be careful not to hook the plastic on the
glass corners of the door.
Open the filament drawer and remove the door handle and power cord. Attach the
door handle onto the door.
Insert the power cord in the outlet at the back of the printer as shown in the next
picture. Then turn on your Xeed using the power switch next to the outlet.
NB: Make sure that you connect the power cord to a grounded outlet!

Leapfrog 3D Printers - Manual Xeed 6
2. Printing
The following steps are general steps which you need to follow when making a 3D print with your
Xeed.
2.0 Initial setup
2.1 Turning on your printer and loading your filament
oHow to turn on the Xeed and load the filament for printing
2.2 Heating the extruders
oHow to manually preheat your extruders
2.3 Manually controlling your Xeed
oHow to control the movements of your Xeed manually
2.4 Uploading your 3D model
oHow to connect with your Xeed to upload new models
2.5 Making your print
oHow to make the Xeed print your uploaded models
2.6 After the print
oWhat to do when your print is finished

Leapfrog 3D Printers - Manual Xeed 7
2.0.1 Initial setup
Before you can use the Xeed, we have to go through the initial setup. This will make sure the Xeed is
connected to the network and is up-to-date. This will allow you to access the Xeed through a LAN
network later, which allows remote control of the printer, remote upload from Gcode files and more.
For the setup you will need the following:
-USB keyboard
-USB mouse
-Ethernet cable to Xeed with Internet access
Plug in the keyboard, mouse and Ethernet cable at the back of the Xeed. Turn on the Xeed by
switching the button next to the power inlet. The keyboard and mouse are only needed during this
initial setup.
The Xeed will start-up, usually this takes around 30-60 seconds. The screen can show some text
scrolling during this start up period. When the Xeed is started up the home page of the software
running on the Xeed, LilyPrint, is shown on the 7" touch screen.
2.0.2 Setup Internet
Press F11 on the keyboard to exit full screen mode of LilyPrint, a black application menu bar will
appear on the top of the screen. Right click on the network icon in the right top corner next to
LilyPrint. In the menu that appears click on Connection Information.
Leapfrog 3D Printers - Manual Xeed 8
In the pop-up that appears note the IP Address under the IPv4 section, you can use this later to
access LilyPrint from your own computer in the same network.
To connect to a WiFi network, left click on the network icon and select the wifi network. In the pop-
up enter the WiFi password. (If it asks for admin password it is "lily").

Leapfrog 3D Printers - Manual Xeed 9
//Update LilyPrint
LilyPrint has an update feature, we will run this to make sure that it is up-to-date before we start.
Click on the System menu in the top bar of LilyPrint and select "Update LilyPrint", confirm the
notification to start the update. Make sure you have Internet connection!
(If there is no system menu and it asks for a login, username: "lily"; password: "lily". Refresh browser
with F5 if the login does not show right away.) A pop-up on the right top corner of the screen will
notify you when the update has succeeded.

Leapfrog 3D Printers - Manual Xeed 10
When the update is complete reboot the system by clicking on the System Menu and selecting
Reboot. (Update regularly to get new features!)
LilyPrint is now updated to the latest version.

Leapfrog 3D Printers - Manual Xeed 11
//Setting z-Offset
The Xeed uses a variable called z-Offset to calibrate the distance between the z-stop and the nozzle.
It basically depicts the distance between the nozzle and the bed at the start of a print and is very
important. This setting can be found under the LilyPrint settings in z-offset section. Default is 0 mm,
but it slightly differs per printer or changes when you use a different bed for example. If you notice at
the start of a print that the nozzle is not close enough to the bed, you have to increase the z-offset.
Once calibrated there is often no need to adjust it any more until a change in the printer happens.
The Xeed comes calibrated, but transport might have changed the calibration.
LilyPrint has a z-offset wizard, clicking the “Set z-offset” button in the Control menu will start the
wizard. Be careful of the extra height that a print sticker or other adhesives might add to the print
bed.
Follow the instructions carefully.
Place a 0.05 flusher between the nozzle and the bed. Press the button Start Calibration, the bed will
home and then move close to the nozzle. Use the up arrow until the nozzle is against the flusher. You
can use the down arrow if you think you are too close. Press 'Save' to save the new z-offset.

Leapfrog 3D Printers - Manual Xeed 12
//Level bed
Before we start to print we want to make sure that the bed is levelled. Under the "Control" tab in
LilyPrint there is a "Xeed" section. Press the “LEVEL BED” button to start the sequence. It will probe
5 spots on the bed and make sure it is levelled. This can take up to 4-5 sequences.

Leapfrog 3D Printers - Manual Xeed 13
2.1 Loading your filament
We need filament loaded in the printer to start printing. This section will guide you through the
process.
Load your filament into the filament drawer. The filament drawer is located at the left side of the
printer and can be opened by gently pushing on the bottom of the drawer as shown in the next
picture
Once you have opened the drawer you can place your
spool(s) of filament in it as shown in the following picture.
To make sure that the filament will be grabbed by the
driver gear which is indicated with a green arrow you
need to clamp the filament by the driver gear. This can be
done by pushing the lever which is indicated with the
other green arrow such that space opens up to push the
filament through. When you let go of the lever the
filament will be stuck which is good. Make sure that you
push the filament through all the way into the hole after
the driver gear such that it will flow nicely when pulling it
in later on. We will explain later how to actually load the
filament into the extruder.

Leapfrog 3D Printers - Manual Xeed 14
2.2 Extruding filament
The software that is used to control the Xeed is called LilyPrint. In the next screenshot we have
outlined real brief what all the tabs in the main screen. During this manual we will explain each
option and its functions starting with the heating of your extruders.
Status –Printer status and upload files
Temperature –Control and set temperature. Temperature graph
Control –Control the printer manually. Home axis. Extrude, load filaments, level bed, etc.
Terminal –Terminal that shows all communications with the printer. Advanced users can send
commands.
Settings –Houses most of the LilyPrint settings. At the moment, only z-offset is of real importance.
System –allows for an update of LilyPrint, as well as shutdown and reboot.
To heat up your extruders you have to go to the “Temperature tab”. In the temperature tab you
can control the temperature of the front and back extruder.
To set the extruder to a certain temperature tap on the down arrow to select one of the pre-
defined settings. In the example below the temperature for the front extruder is set to 200 degrees
Celsius. This is the standard temperature for printing PLA.

Leapfrog 3D Printers - Manual Xeed 15
You can notice that the temperature graph of the front extruder shows the current and target
temperature.
To load your filament into the extruder you can use the “EXTRUDE” button, located on the control
tab. Make sure your filament is placed correctly in the filament drawer and that your extruders are
heated to the correct temperature for your filament type. Select the correct tool that you want to
extrude.
After pushing the Extrude button, the filament will be guided through the tube towards the
extruder head and covers a small distance inside the tube each time you press this button. This is a
good way clear your nozzles with newly molten filament before starting a new print.
For the reverse process push “RETRACT”
//Quick Load and quick Unload

Leapfrog 3D Printers - Manual Xeed 16
If you want to load filament quickly then push the “QUICK LOAD” button which automatically
guides the filament all the way to the extruder head. Before pressing “QUICK LOAD” it is best to
open the filament drawer fully. This allows for you to check if the filament is still being loaded and
reduces any risk of jamming due to resistance in the cables. The process takes about one minute,
where filament is first loaded quickly and slows down in the last half not to clog the nozzle. ONLY
PRESS QUICK LOAD WHEN FILAMENT HAS NOT BEEN LOADED! The nozzles cannot cope with the
high feeding rate and will likely get clogged. If no filament is seen after quick loading, use the
“EXTRUDE”button to extrude the last part of the filament.
The reverse process happens during “QUICK UNLOAD”. Again, this process is best done with the
filament drawer open. It will first slowly retract filament from the nozzle and will then quickly
retract the remaining distance. It is useful to help the filament roll in rotating to ensure the
filament returns to the roll properly. If the filament did not retract fully, pull the knob on the
filament driver unit and manually retract the last part of filament. It is possible the filament
catches in the driver unit because the molten filament created a blob. In this case, please refer to
the appendix (removing catching filament from the filament drive unit). Please be
aware that these functions only work with the nozzles heated up to avoid clogging the nozzles.
2.3 Manually controlling your Xeed
The manual controls give you full control over all movement and actions of your printer when it is
not running a print job.
2.3.1 Movements
The movements of the printer are done at the control tab. Before moving the printer head and bed
manually it is highly recommended to home these first. This will make sure the printer does not
move in a direction it cannot move. Press both the X/Y- and Z-home button to home all three axes.
This means that the bed will be in its most upward position and the print head is located in the
left-back corner of the printer.

Leapfrog 3D Printers - Manual Xeed 17
After this you can use the arrows to move the extruder head or the printer bed.

Leapfrog 3D Printers - Manual Xeed 18
2.4 Uploading your 3D model.
Now that you have loaded the filament and the printer is on, it is time to load the model that you
wish to print. This section explains the steps to follow when uploading your 3D models.
Go to the “Status”tab in the upper left corner. .
There are two ways to upload your models to the Xeed. You can use a portable USB device, which
you can insert in the back of the printer or you can use a network connection that allows you to
connect your Xeed with your computer through your network.
2.4.1 Uploading a model from a USB device
To upload a Gcode-file from your USB device plug the device in the back of the printer and tap on
the ”Upload”-button. In that menu select the removable device and select your Gcode.
To upload the model from your USB device select it and tap on “CHOOSE”.The model will be
added to the model list in the Status tab. Below is a screenshot with keywords for the 5 icons.

Leapfrog 3D Printers - Manual Xeed 19
2.4.2 Uploading a model from your computer
To upload a model from your computer you will have to connect your Xeed to your network. This
can be done in two ways, either by Wi-Fi or using an Ethernet cable. For instructions see the Initial
Setup chapter of this manual.
It is really easy to access LilyPrint via your browser, just enter the IP number you have noted down
from the initial setup and input that into your browser. Make sure you are in the same internal
network as the printer (for example both “192.168.0.X”). You will have access to exactly the same
controls as on the touchscreen. Pressing upload will now guide you to your local hard drive where
you can select any GCODE and it will be uploaded to your printer.

Leapfrog 3D Printers - Manual Xeed 20
Other manuals for Xeed
1
Table of contents
Other LeapFrog 3D Printer manuals

LeapFrog
LeapFrog Creatr HS User manual

LeapFrog
LeapFrog 3d printer User manual

LeapFrog
LeapFrog BOLT User manual

LeapFrog
LeapFrog Creatr HS User manual

LeapFrog
LeapFrog Bolt PRO User manual

LeapFrog
LeapFrog Creatr HS User manual

LeapFrog
LeapFrog Bolt PRO User manual

LeapFrog
LeapFrog Xeed User manual

LeapFrog
LeapFrog Creatr HS User manual

LeapFrog
LeapFrog BOLT User manual
Popular 3D Printer manuals by other brands

3D Printing Systems
3D Printing Systems UP Plus 2 user manual

3D Upfitters
3D Upfitters Ender 3 S1 Enclosure Kit installation manual

Shining 3D
Shining 3D Einstart user manual

Delta
Delta WASP 40100 Clay Manual of use and maintenance

re:3D
re:3D Gigabot manual

FELIXprinters
FELIXprinters Pro L quick start guide