7 8
Charging the Belkin TunePower
Approximate charging times are as follows:
TunePower (whether connected to iPod or not): 2 hours
iPod fast-charge time (while connected to the TunePower):
2 hours for iPod and 1 hour for iPod mini (charges up to 80%
of battery capacity)
Full-charge time (for iPod and iPod mini): 4 hours
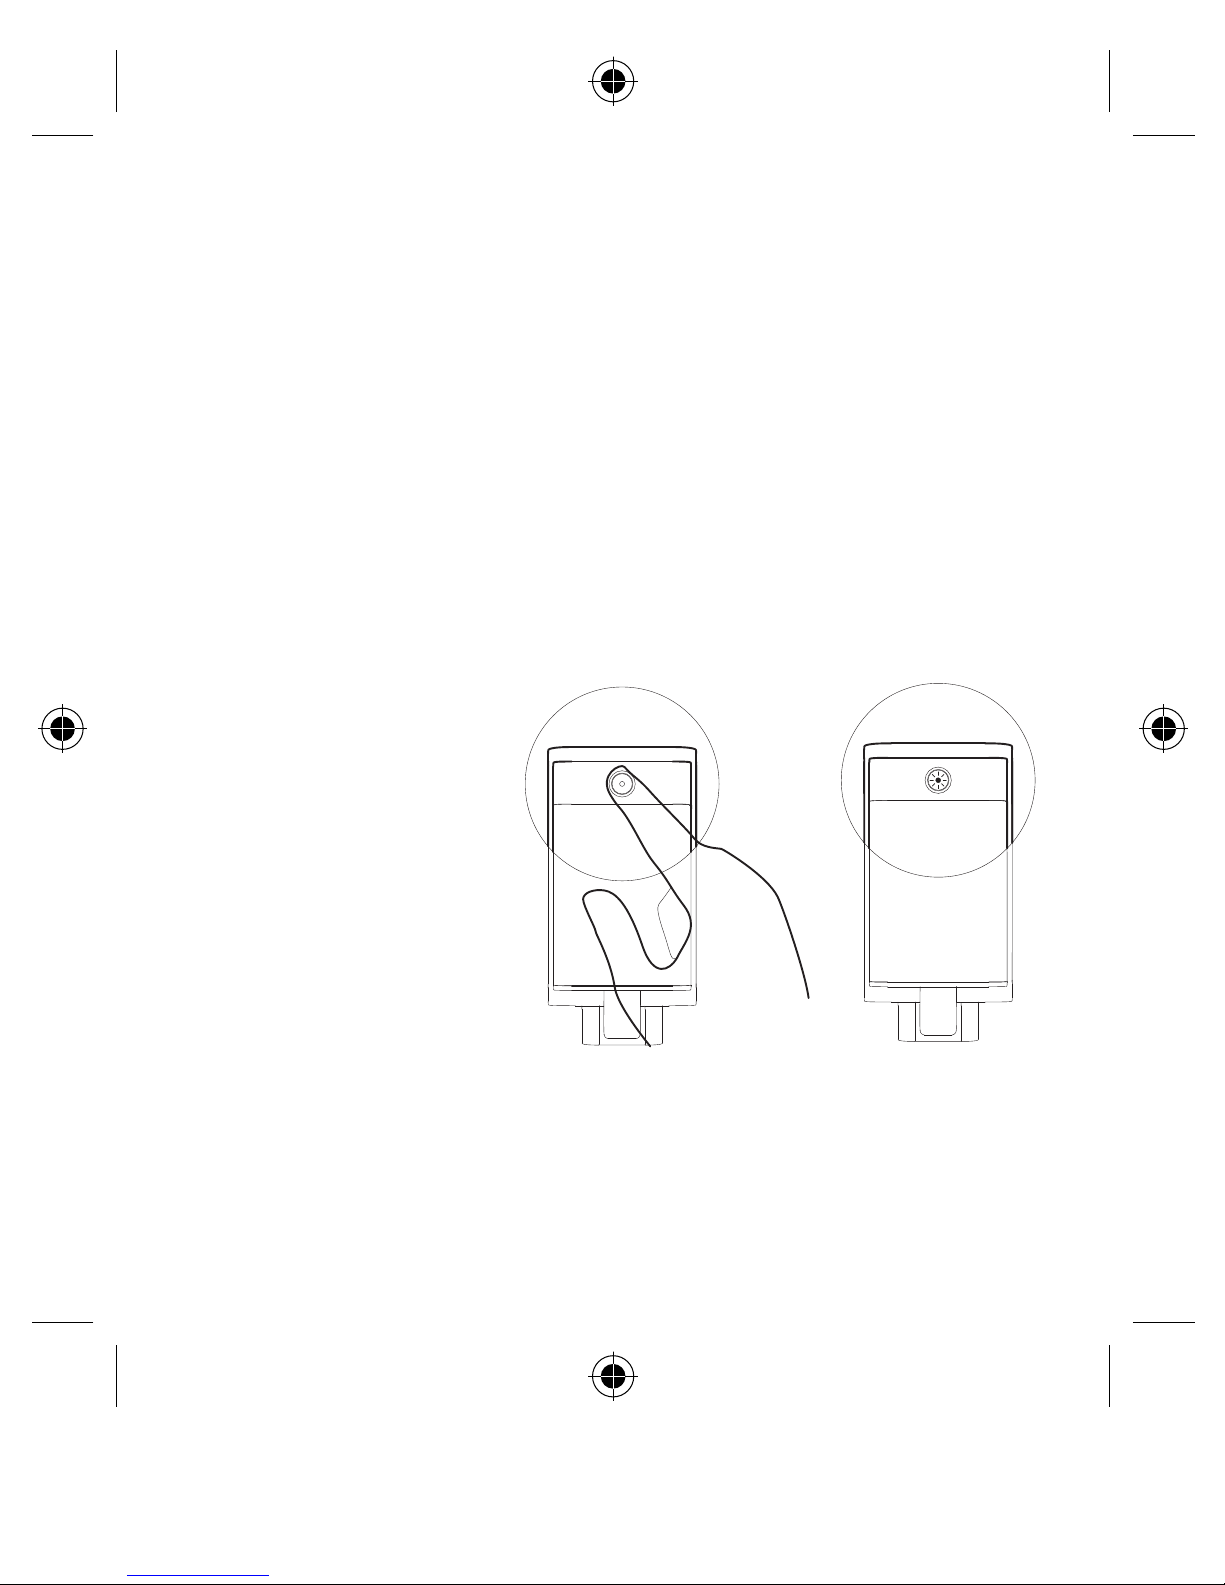
If the LED charge indicator flashes at any time during
charging, a FAULT has occurred. Simply disconnect the
Belkin TunePower from the supplied cable for approximately
30 seconds, and reconnect the cable. Charging should begin
automatically.
Notes: The Belkin TunePower will supply power to the iPod
whenever it is connected. When not in use, it is helpful to
disconnect the Belkin TunePower from the iPod, or make sure
that the iPod is in the OFF and LOCKED position to conserve
power.
The iPod can be charged at the same time as the Belkin
TunePower. Doing so should not increase the length of time that
it takes to charge the iPod.
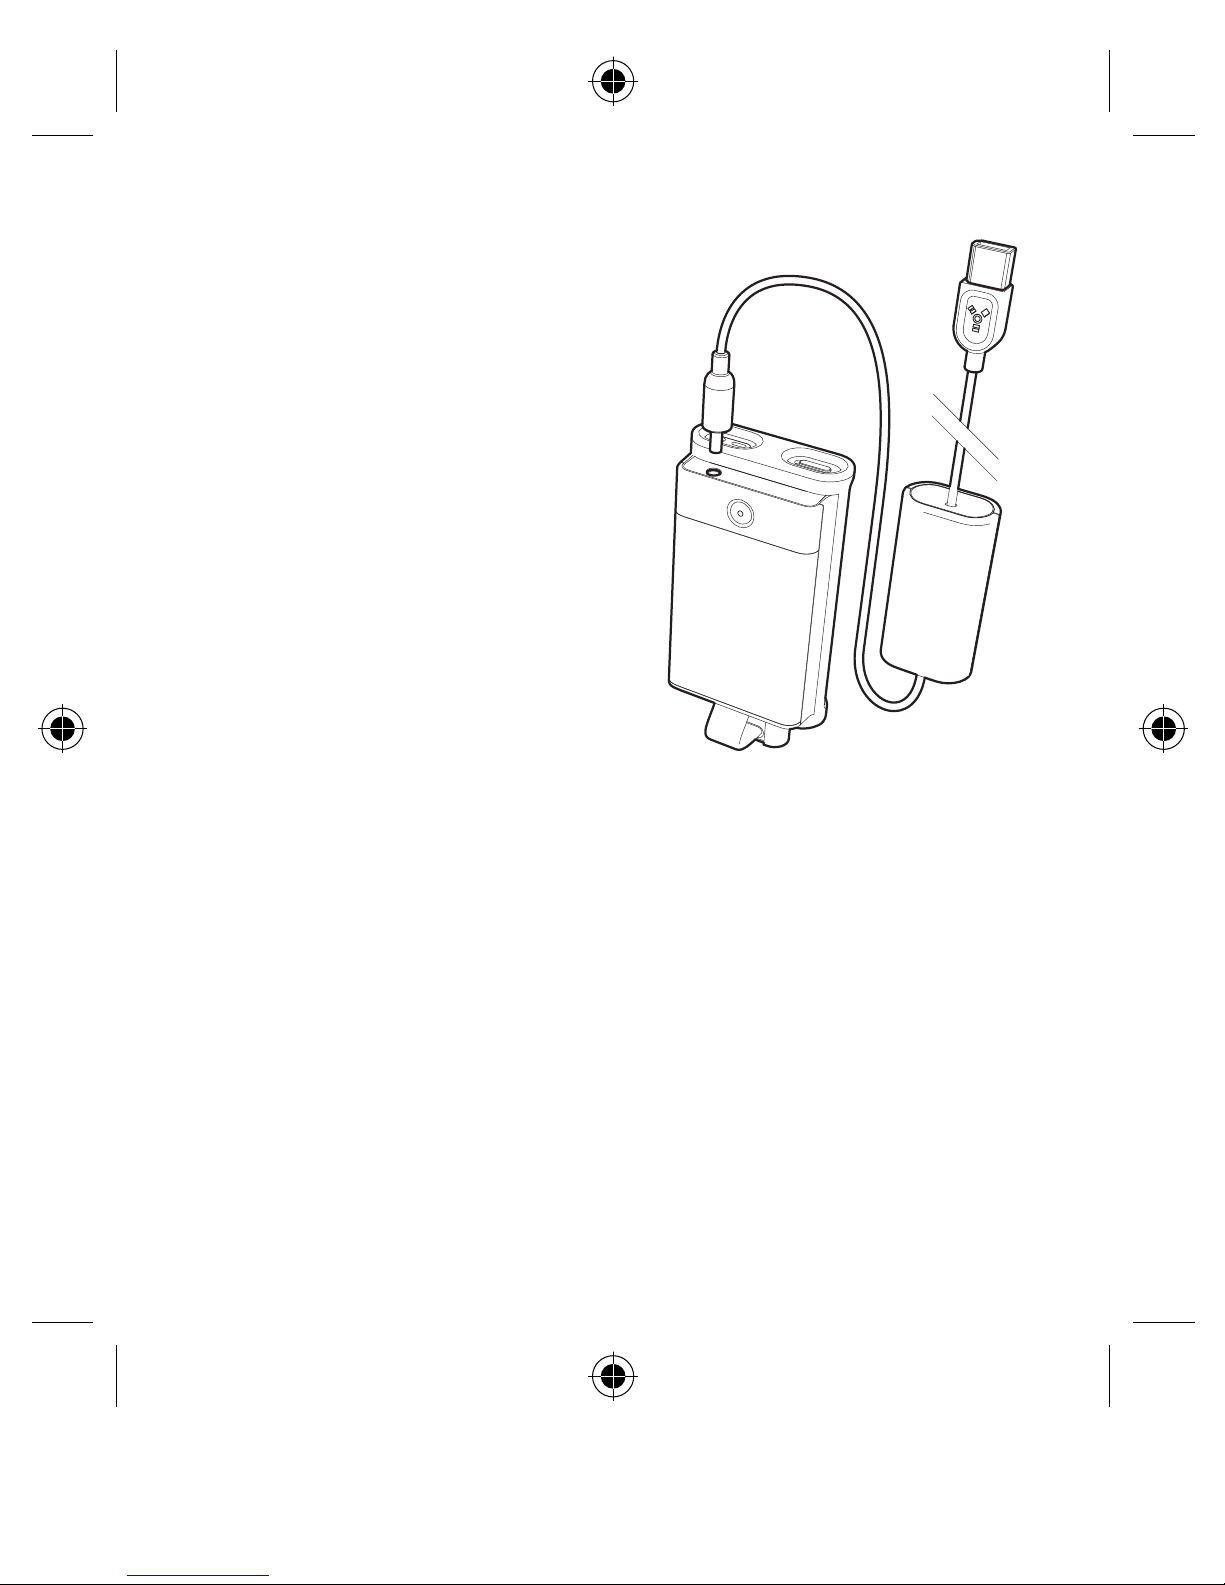
Charging the Belkin TunePower
For additional power and charging,
connect the DC plug end of the
included cable into the DC jack on
the top of the TunePower.
Connect the FireWire® end into
the AC wall charger that ships
with your iPod, or to any FireWire
port on a laptop or desktop
computer.
The LED charge indicator will illuminate when the Belkin
TunePower is charging. This indicator will turn off when
the battery has been charged to approximately 90%. To
maximize charge, leave the battery pack connected for 10
minutes after the indicator turns off. Disconnecting the
Belkin TunePower before this time, or leaving it connected
for longer periods, will not damage the TunePower.
While the iPod is connected to the TunePower, both the
iPod and the TunePower can be charged simultaneously.
After the TunePower is completely charged, the charging
cycle will continue to charge the iPod.