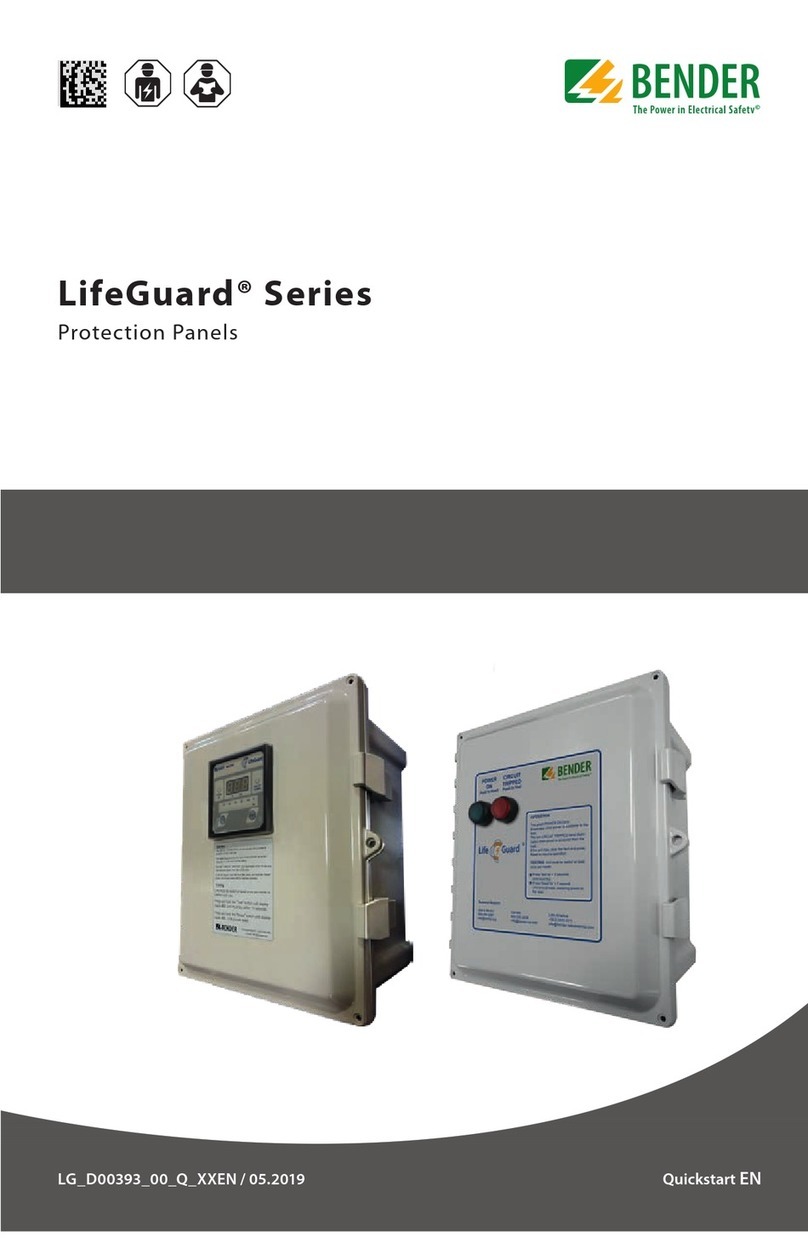
Bender LifeGuard LG2 Series User manual

Quickstart EN
LG_D00393_00_Q_XXEN / 12.2020
LifeGuard® LG2-Series
Protection Panels

2
LifeGuard® LG2-Series
LifeGuard® Protection Panels
This document is intended as a reference guide for installing and using a Bender LifeGuard®
LG2-series protection panel. This document includes installation, setup, and usage
instructions.
Only qualified maintenance personnel shall operate or service this equipment. These
instructions should not be viewed as sufficient for those who are not otherwise qualified to
operate or service this equipment. This document is intended to provide accurate
information only. No responsibility is assumed by Bender for any consequences arising
from use of this document.
Use of this document
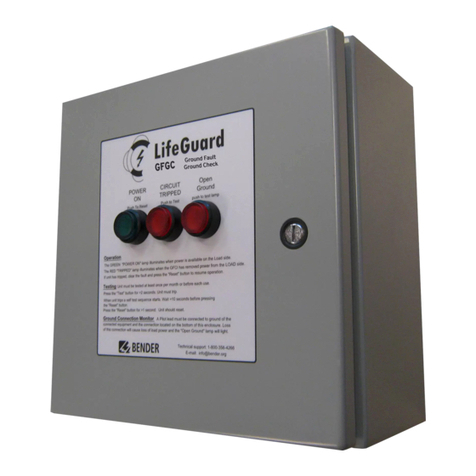
This quick start applies to standard LifeGuard models with lighted push button front
panels, as pictured above, as well as open panels with no enclosure.
Standard model
Installation
Mounting - NEMA 4X Polycarbonate Enclosure (enclosure code P)
The standard enclosure for LifeGuard protection panels is NEMA 4X polycarbonate. The en-
closure includes mounting feet and separate instructions on wall-mounting the enclosure.
Refer to these instructions for more information. Refer to the figure and table below for
dimensions.
Figure 1 - Dimensions of NEMA 4X polycarbonate enclosure
Table 1: Enclosure dimensions in inches (mm)

LifeGuard® LG2-Series
3
NEMA 4X Stainless Steel Enclosure (enclosure code S Option)
LifeGuard protection panels are available with a NEMA 4X stainless steel enclosure.
The enclosure includes separate instructions for wall-mounting the enclosure. Refer to
those instructions for more information. Dimensions below are in inches (mm.
Type Enclosure A x B x C D x E G x H
Standard 16x12x6 16“ x 12“ x 6“ 14.2“ x 10.2“ 14.5“ x 10.5“
(406 x 305 x 152) (361 x 259) (368 x 267)
If the LifeGuard was purchased without an enclosure (backplate only), consult the following
section “Wiring,” and the section “Backplate Only Models”.
Wiring
I HAZARD
- Disconnect all power before servicing.
OF ELECTRIC SHOCK, EXPLOSION, OR ARC FLASH
- Observe all local, state, and national codes, standards, and regulations.
A professional electrician, licensed in accordance with local laws and regulations, must
perform this installation. The enclosure must be penetrated in order to bring the line and
load conductors to the protective circuit. Bender recommends making these penetrations on
the bottom of the enclosure, and the use of NEMA 4X (minimum) fittings to maintain the
environmental rating of the enclosure. The specifics of the installation will dictate further.
Connect the LifeGuard protection panel in series with the protected circuit. Circuit-conductor
connection varies based on the number of conductors and system voltage. Observe the
following requirements during installation:
• Use copper wire only. For models rated less than 100 A, use 60 °C /140 °F (minimum) rated
conductors. For 100 A models (or for systems where the required 60 °C conductor cannot
be accepted), use conductors rated for 75 °C (167 °F).
• Disconnect switch, branch circuit protection, and/or overload relay must be provided
separately.

4
LifeGuard® LG2-Series
• All active conductors, including the neutral (when used), must be brought into the device
and passed through the current transformer and connected to the line side of the
contactor, as shown in the following diagrams. Standard LifeGuard models are suitable
for 120 to 600-V circuits and are factory-configured for 600 V. For other voltages, relocate
the control-transformer primary tap as required by following the included instructions.
•Connect the load or protected branch circuit to the load side of the contactor.
• Connect the line and load ground (bond) wires to the ground lug on the backplate. Do
not route the ground wire through the current transformer.
Voltage Conductors (not including ground) Referenced Wiring Diagram
120 VAC 1ph / 2w (L1, N) Figure W1
208 VAC 3ph / 3w (L1, L2, L3) Figure W2
208/120 VAC 3ph / 4w (L1, L2, L3, N) Figure W3
240/120 VAC 1ph / 3w (L1, L2, N) Figure W4
480 VAC 3ph / 3w (L1, L2, L3) Figure W2
480/277 VAC 3ph / 4w (L1, L2, L3, N) Figure W3
600 VAC 3ph / 3w (L1, L2, L3) Figure W2
600/347 VAC 3ph / 4w (L1, L2, L3, N) Figure W3
Figure W1 -
Single-Phase, Two-Wire
Congurations (L1, N)
Figure W2 -
Three-Phase, Three-Wire
Congurations (L1, L2, L3)
7L4
5L3
3L2
1L1
8T4
6T3
4T2
2T1
L1
L2
L3
N
Line Load
GND
Note 1
L1
N
GND
CT
600
480
277
240
208
120
CPT
7L4
5L3
3L2
1L1
8T4
6T3
4T2
2T1
L1
L2
L3
N
Line Load
GND
Note 1
Note 2
L1
L3
L2
GND
CT
600
480
277
240
208
120
CPT

LifeGuard® LG2-Series
5
Figure W3 -
Three-Phase, Four-Wire
Congurations (L1, L2,
L3, N)
FigureW4 - Single-Phase
120/240 V Congurations
(L1, L2, N)
Note 1:Disconnect switch, branch circuit protection and/or overload relay must be provided
separately. Note 2: Three-phase three-wire supplies can be solidly or resistance grounded.
This section applies to LifeGuard models purchased without an enclosure and on a
backplate only. Refer to instructions below for additional requirements for installation and
wiring. Backplate-only models must be installed in a suitable enclosure.
Mounting - Backplate Only
Refer to the figure below for dimensions. The unit must be mounted in a location sufficient
to protect live electrical equipment. Use four #10 screws for mounting. It should be placed
X inches away from other equipment. This vertical clearance X (minimum depth of
enclosure, measured from the installed backplate) of the backplate is:
7L4
5L3
3L2
1L1
8T4
6T3
4T2
2T1
Note 1
Note 1
B
D
A
C
CT
Type A x B C x D
< 100 A 8.25“ x 10.25
(210 x 260)
8.88“ x 10.88“
(225 x 276)
100 A 12.25“ x 14.25“
(311 x 362)
12.88“ x 14.88“
(327 x 378)
• 6” (152 mm) for models less than 100 A
• 8” (203 mm) for 100 A models.
The mounting hole diameter is 1/4“ (6.4 mm).
Additional requirements - Backplate-Only Models (enclosure type N)
7L4
5L3
3L2
1L1
8T4
6T3
4T2
2T1
L1
L2
L3
N
Line Load
GND
1Note
L1
L3
N
L2
GND
CT
600
480
277
240
208
120
CPT
7L4
5L3
3L2
1L1
8T4
6T3
4T2
2T1
L1
L2
N
Line Load
GND
Note 1
Note 1 L1
L2
N
GND
CT
600
480
277
240
208
120
CPT

6
LifeGuard® LG2-Series
Use - Enclosure Front
Apply Power
To apply power, close the customer-supplied circuit breaker / disconnect on the line side of
the LifeGuard panel. If there are no ground faults present on the system, the green POWER
ON LED will light.
Perform Test (Trip Level Option F)
To perform a test on fixed 6-mA models with trip level option F:
• Push TEST for at least two seconds.
• The unit will trip, the green POWER ON LED will go out, and the red CIRCUIT TRIPPED LED
will illuminate. Power to connected loads will be interrupted.
• An internal self-test will initiate, taking approximately ten seconds.
• Push RESET for at least one second.
• If the internal self-test has completed, the unit will reset, the red CIRCUIT TRIPPED LED
will go out, and the green POWER ON LED will illuminate. Power will be restored to the
load.
Perform Test (Trip Level Option A)
To perform a test on field-adjustable models with trip level option A:
• Push TEST for at least two seconds.
• The unit will trip, the green POWER ON LED will go out, and the red CIRCUIT TRIPPED LED
will illuminate. Power to connected loads will be interrupted.
• Push RESET for at least one second.
• The unit will reset, the red CIRCUIT TRIPPED LED will go out, and the green POWER ON
LED will illuminate. Power will be restored to the load.
green
POWER LED / RESET button:
Illuminates when the panel has power and is not
tripped /
RESET button: Resets the panel if faults have been
cleared (momentary push).
red
TRIPPED LED / TEST button:
Illuminates when tripped /
TEST button: Performs a functional test
(hold for at least 2 seconds).
POWER
ON
Push to Reset
CIRCUIT
TRIPPED
Push to Test
OPERATION
The green POWER ON lamp
illuminates when power is available to the
load.
The red CIRCUIT TRIPPED lamp illumi-
nates when power is removed from the
load..
If the unit trips, clear the fault and press
Reset to resume operation.
TESTING Unit must be tested at least
once per month
Press Test for > 2 seconds.
Unit must trip.
Press Reset for > 1 second.
Unit should reset, restoring power to
the load.
USA & Mexico
800-356-4266
Canada
800-243-2438
Latin America
+56 2 2933 4211
Technical Support:
®

LifeGuard® LG2-Series
7
Canada: Bender Canada Inc.
5810 Ambler Drive, Unit 1
Mississauga, ON L4W 4J5
Toll-Free: 800-243-2438
Phone: 905-602-9990
E-mail: [email protected]
www.bender-ca.com
All rights reserved.
USA: Bender Inc.
420 Eagleview Blvd.
Exton, PA 19341
Toll-Free 800-356-4266
Phone: 610-383-9200
E-mail: info@benderinc.com
www.benderinc.com
12.2020 | All rights reserved.
UL 508A Industrial Control Panels
Approvals
Field Adjustment, Error Codes and troubleshooting
Models with trip level option A have field adjustable ground-fault-current trip level and trip
time. The factory defaults are 30 mA and 0 s. These models have a CTUB101-CTBC35P
current sensor, which has a three-position potentiometer that must be set to the correct
position depending on the RCMA420-D-2 ground-fault-current trip setting. For trip settings
up to 100 mA, the potentiometer must be rotated to the left position (pointing to 8 o’clock)
and for setting above 100 mA the potentiometer must be rotated to the vertical position (12
o’clock).
For details about protection relay settings, error codes, and troubleshooting, please refer
to the respective protection relay technical manuals, available online.
Table of contents
Other Bender Protection Device manuals
Popular Protection Device manuals by other brands
ABB
ABB REL 501-C1 2.5 Technical reference manual

MSA AUER
MSA AUER VAUTEX ELITE 3SL Type 1b ET EN 943-2 manual

cias
cias BF installation manual
Franklin Electric
Franklin Electric submonitor Installation & operation manual

Watershed Innovations
Watershed Innovations HydraBarrier Titan instructions

Ducati
Ducati 96767609B manual
