manuals.online logo
Brands
  1. Home
  2. •
  3. Brands
  4. •
  5. BENKISER
  6. •
  7. Plumbing Product
  8. •
  9. BENKISER 601 20 09-W User manual

BENKISER 601 20 09-W User manual

BEDIENUNGSANLEITUNG
INSTALLATION GUIDE
1
Urinal–Wandeinbauspüler 1/2“ Art. Nr. 601 20 09-W
Mauer-Aussparung
Wall Recess
Hoch
Height
137 mm
Breit
Width
95 mm
Tief
Depth
100 mm
Zuleitung
Supply line
R 1/2"
Ablauf
Outlet
R 1/2“
Markierung am Hartschaumblock
bündig mit fertiger Wand
Marking with rigid foam block even
to finished wall
Abbildung 1
Abbildung 2
1.
Wegen Verunreinigung der Leitung vor Montage kräftig
durchspülen. Hartschaumblock aufklappen, Wandeinbau-spüler
mit Überwurfmuttern ③½“ an Zuleitung und Ablauf
anschließen.
Flush pipe thouroughly before assembly. Open rigid foam block
and mount flush valve with union nuts 1/2“③
to supply line
and outlet.
Ausgleich der Leitungsabstände 91 + 3 durch Verdrehen des
Nippels ⑥möglich.
Pipe distances can be balanced by turning the nipple ⑥91 + 3
Hartschaumblock wieder schließen. Markierung am
Hartschaumblock soll mit fertig verfliester Wand bündig sein.
Ein Tiefenausgleich von 10mm ist möglich.
Close rigid foam block. Block shall be even with finished tiled
wall. Depth compensation of 10 mm is possible.
2.
Nach dem Verfliesen wird überstehender Hartschaumblock
abgeschnitten bzw. durchgebrochen. Der Wandeinbau-spüler
ist für Absaugbecken eingestellt.
After tiling, cut off protruding rigid foam block. Flush valve is
pre-set for extraction basin
Einstellung der gewünschten Wassermenge:
Regulierschraube ①nach rechts drehen –größere
Wassermenge, längere Spülzeit.
Regulierschraube ①nach links drehen –geringere
Wassermenge, kürzere Spülzeit.
Set the desired flush volume:
Turn adjusting screw ①right –greater flush volume, longer
flush duration
Turn adjusting screw ①left –lower flush volume, shorter flush
duration
Die Vorabsperrung ②dient a) zum Absperren des Spülers bei
Reparatur, b) zum Regulieren der Durchflussmenge. Die
Leitung ist abgesperrt, wenn Schraubenschlitz in rechtem
Winkel zur Fließrichtung steht. Die Leitung ist offen, wenn
Schraubenschlitz in Fließrichtung steht.
Stop valve ②serves to a) close the flush valve in case of
servicing, b) regulating flush volume. Screw slot right angled
to flow direction means closed, screw slot in line with flow
direction means open.
BEDIENUNGSANLEITUNG
INSTALLATION GUIDE
2
Abbildung 5
Abbildung 3
062 04 14
Abbildung 4
3.
Abdeckplatte mit Druckknopf auf Wandeinbauspüler
aufschieben, ausrichten und mit Innensechskantschraube ④
festklemmen.
Leerhub des Druckknopfes mit Stellschraube ⑤(bis max. 10
mm) ausgleichen.
Mount cover plate with puh button to flush valve, adjust and
clamp with hexagon socket screw ④.
Adjust space of push button with set screw⑤(up to 10 mm)
5. Bei zu langer Laufzeit
Abdeckplatte abnehmen
Vorabsperrung ②schließen
Druckknopf, Feder und Kolben entnehmen
Kartusche innen mit Leitungswasser ausspülen
Flush time is too long
Disassemble cover plate
Close stop valve ②
Remove push button, spring and piston
Flush cartridge inside thouroughly with water
Lieferumfang:
Supplied with:
Selbstschluss-Ventil mit Vorabsperrung, Anschlüsse ½“x½“
Self-closing valve incl. Stop valve, connection ½“ x ½“
Hartschaumblock
Rigid foam block
Abdeckplatte mit verstellbarem Druckknopf
Cover plate incl. Adjustable push button
Innensechskantschlüssel
Allen key
2 Stück Dichtungen ½“
2 x sealing ½“
Montageanleitung
Installation guide
4. Ersatzteile:
Spare parts:
Verschleißteile sind als Baugruppen
austauschbar, ein Ausbau der Anlage ist
nicht erforderlich.
Wearing parts are exchangeable without
disassembling the whole system

Other BENKISER Plumbing Product manuals
BENKISER SINTRA 1995263 Product manual

BENKISER

BENKISER SINTRA 1995263 Product manual

BENKISER 1991010 User manual

BENKISER

BENKISER 1991010 User manual

BENKISER Metrix Schwanenhals Product manual

BENKISER

BENKISER Metrix Schwanenhals Product manual

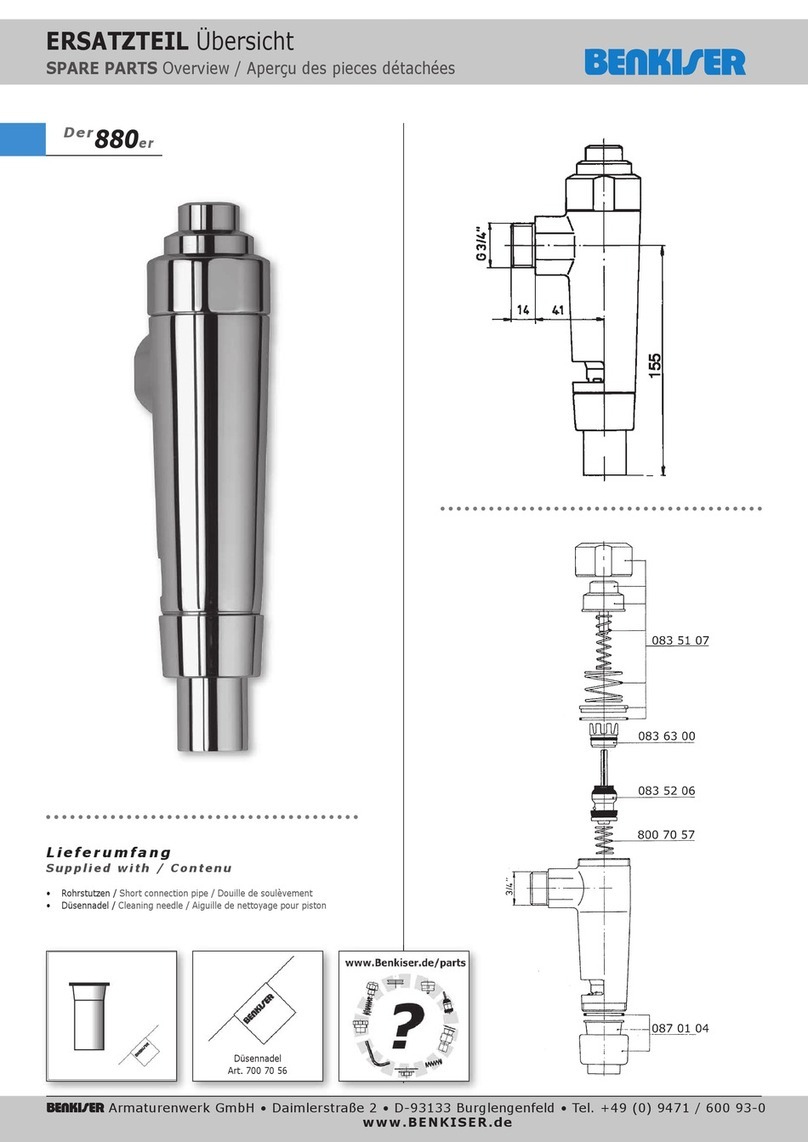
BENKISER 880 Manual

BENKISER

BENKISER 880 Manual

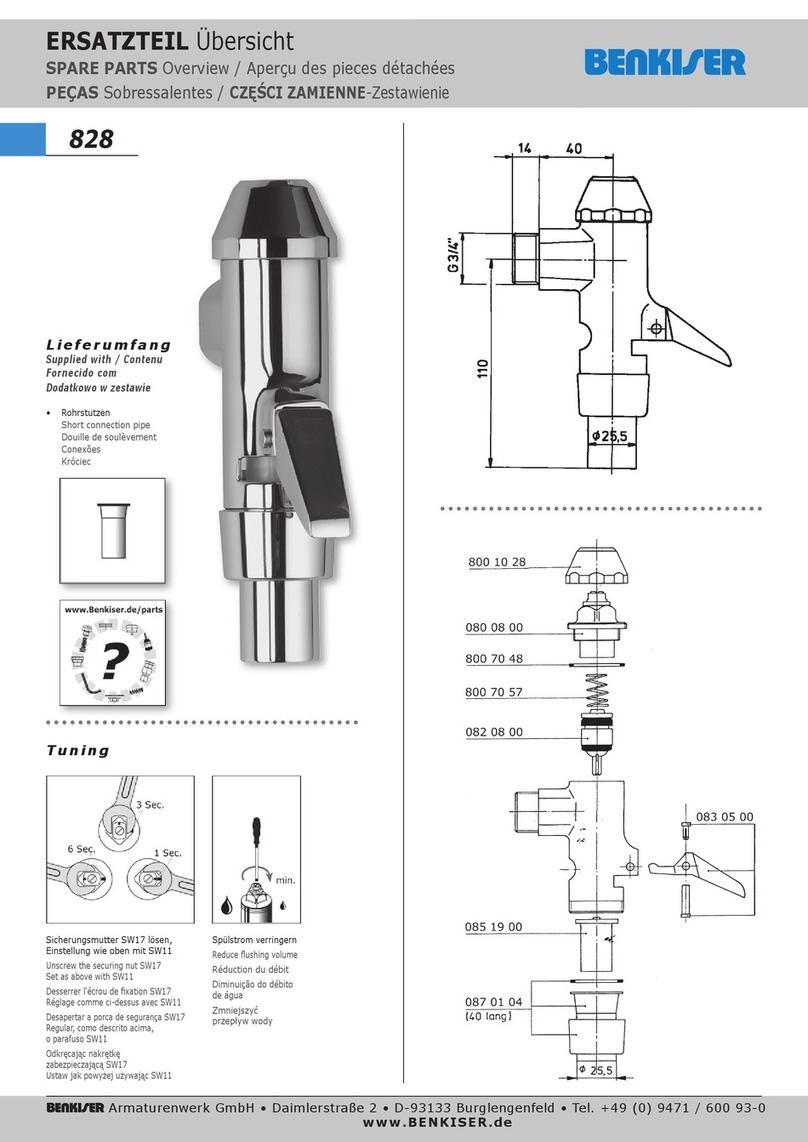
BENKISER 828 User manual

BENKISER

BENKISER 828 User manual

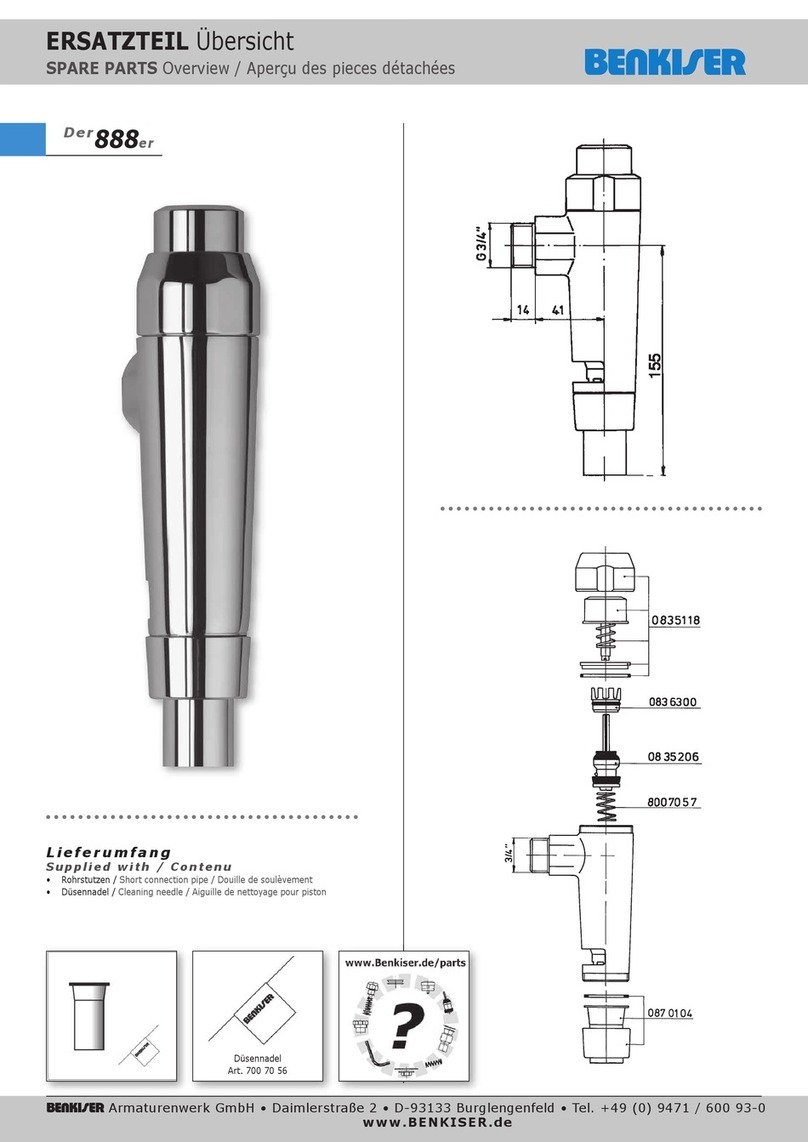
BENKISER 888 Manual

BENKISER

BENKISER 888 Manual

BENKISER 1990101 User manual

BENKISER

BENKISER 1990101 User manual
BENKISER METRIX II Product manual

BENKISER

BENKISER METRIX II Product manual
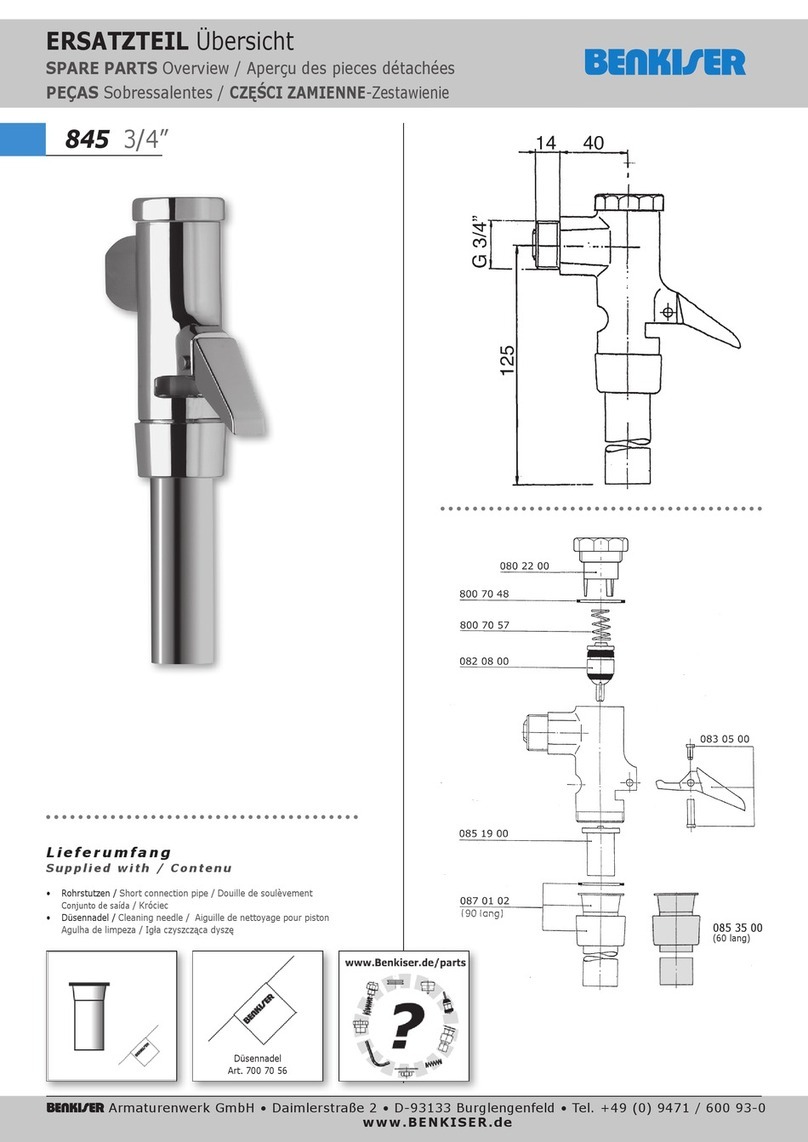
BENKISER 845 User manual

BENKISER

BENKISER 845 User manual
Popular Plumbing Product manuals by other brands

Zoeller QWIK JON ULTIMA 202 installation instructions

Zoeller

Zoeller QWIK JON ULTIMA 202 installation instructions

Moen TS3302TB installation guide

Moen

Moen TS3302TB installation guide

Kalia Castylat Joki FU1223 Installation instructions / warranty

Kalia

Kalia Castylat Joki FU1223 Installation instructions / warranty

Glacier bay HD67440W-6001 Installation and care guide

Glacier bay

Glacier bay HD67440W-6001 Installation and care guide

Grohe Get 23 227 manual

Grohe

Grohe Get 23 227 manual

Hans Grohe Bodyvette Stop 28467000 Assembly instructions

Hans Grohe

Hans Grohe Bodyvette Stop 28467000 Assembly instructions

KEUCO Edition 90 square 59102 010000 Mounting instruction

KEUCO

KEUCO Edition 90 square 59102 010000 Mounting instruction

Kohler BRAZN K-702242T installation instructions

Kohler

Kohler BRAZN K-702242T installation instructions

Hans Grohe Ecostat 2001 13340 Series Assembly instructions

Hans Grohe

Hans Grohe Ecostat 2001 13340 Series Assembly instructions

Allen + Roth 67691W-6204 manual

Allen + Roth

Allen + Roth 67691W-6204 manual

Grohe Avensys Installation instructions and operating guide

Grohe

Grohe Avensys Installation instructions and operating guide

Hans Grohe Swing C 06119000 Features & dimensions

Hans Grohe

Hans Grohe Swing C 06119000 Features & dimensions

PEERLESS P99616LF Series quick start guide

PEERLESS

PEERLESS P99616LF Series quick start guide

Laufen LIS CW2 8.9466.1.000.000.1 manual

Laufen

Laufen LIS CW2 8.9466.1.000.000.1 manual

Grohe TECTRON 37 421 manual

Grohe

Grohe TECTRON 37 421 manual

FCI ASF-0008 installation manual

FCI

FCI ASF-0008 installation manual

Elkay Allure Installation instructions manual

Elkay

Elkay Allure Installation instructions manual

Caroma CARE 800 EASY HEIGHT ARMREST installation instructions

Caroma

Caroma CARE 800 EASY HEIGHT ARMREST installation instructions

manuals.online logo
manuals.online logoBrands
  • About & Mission
  • Contact us
  • Privacy Policy
  • Terms and Conditions

Copyright 2025 Manuals.Online. All Rights Reserved.