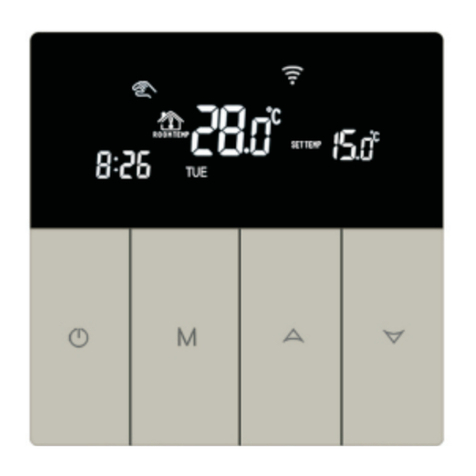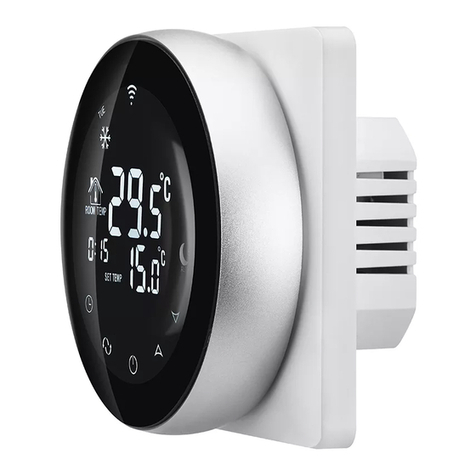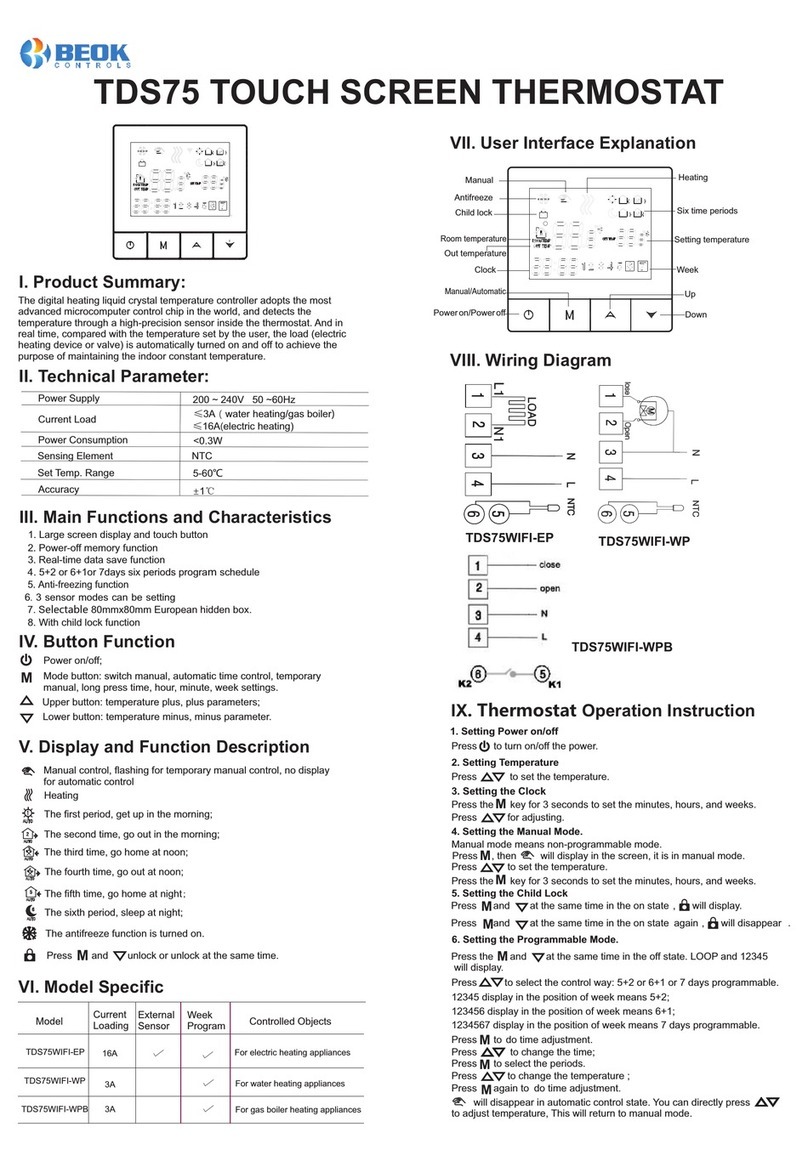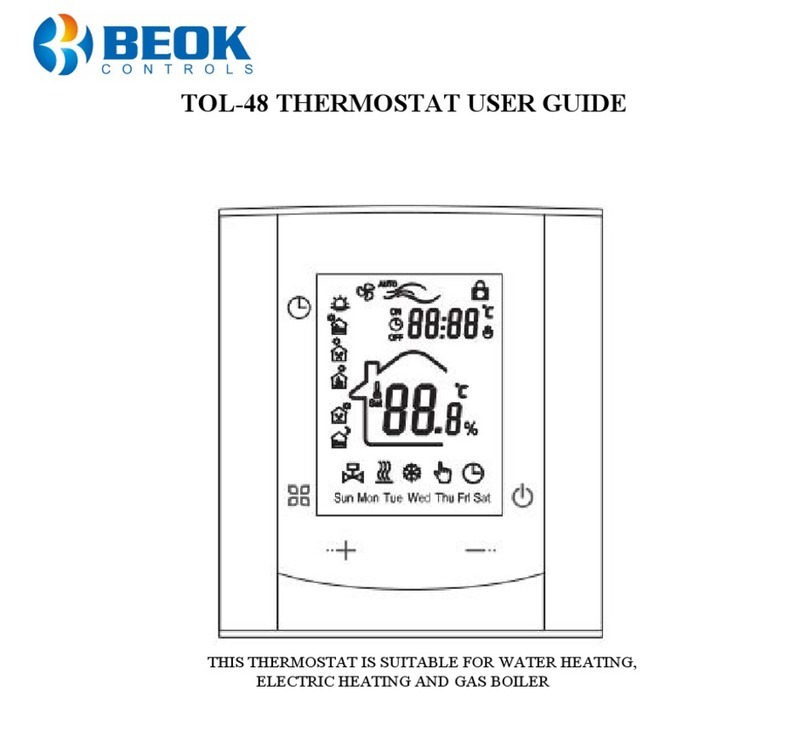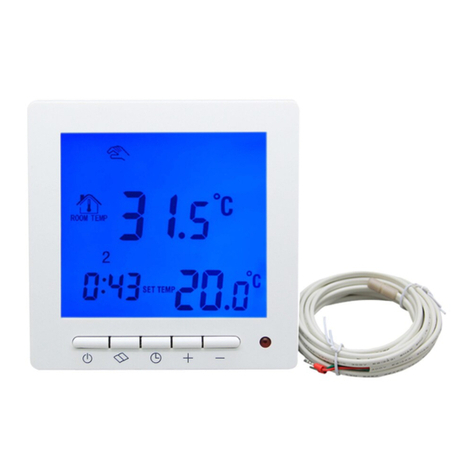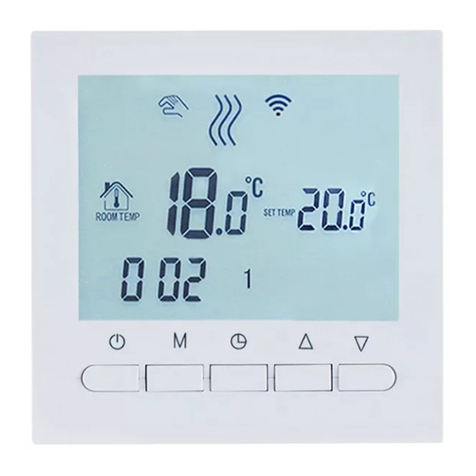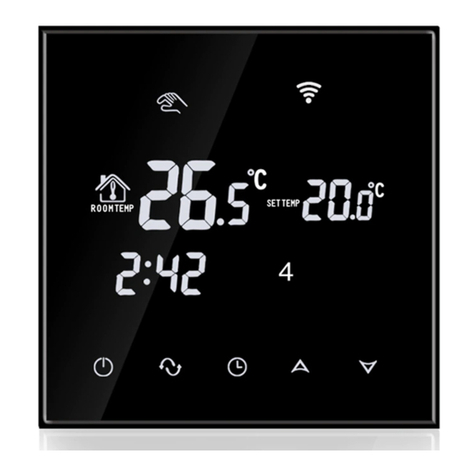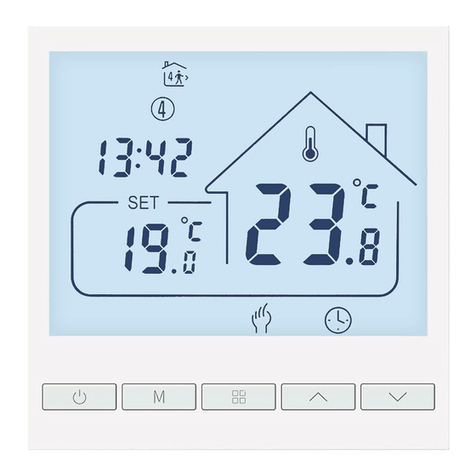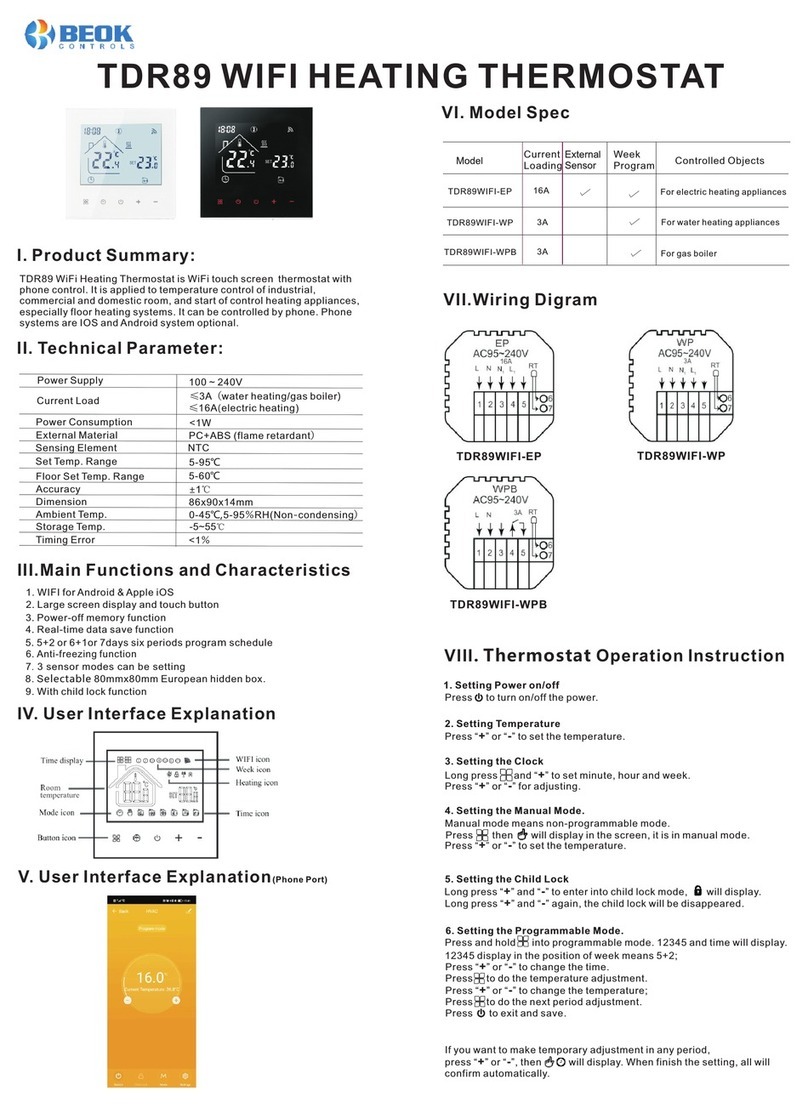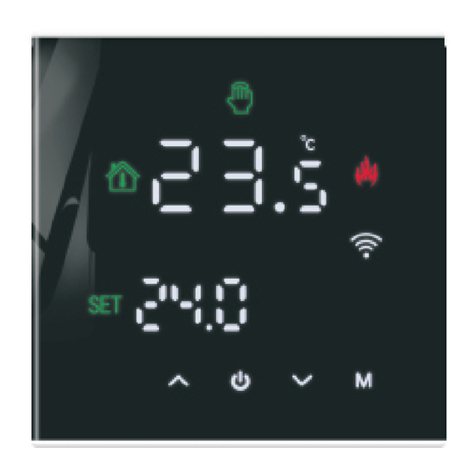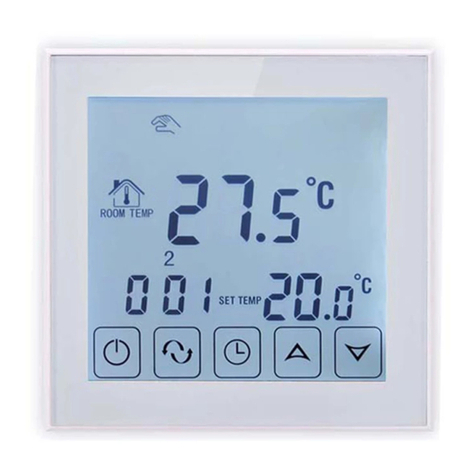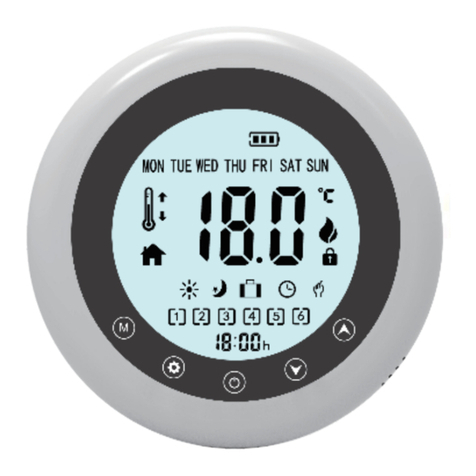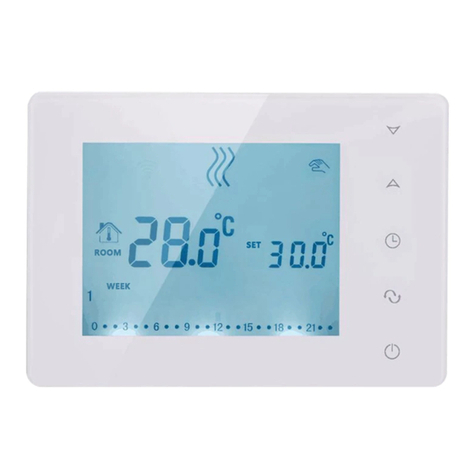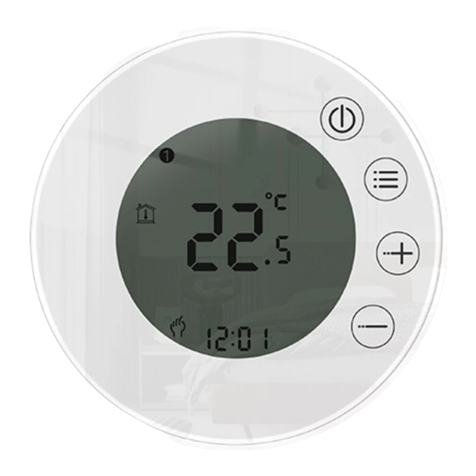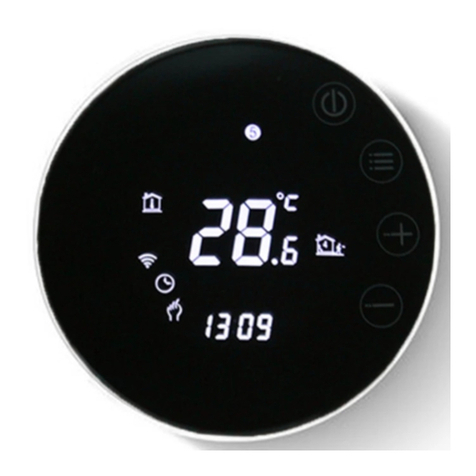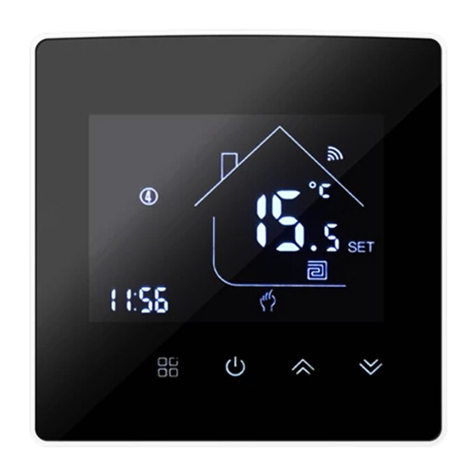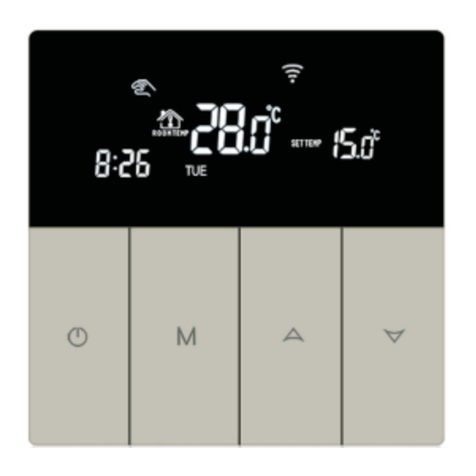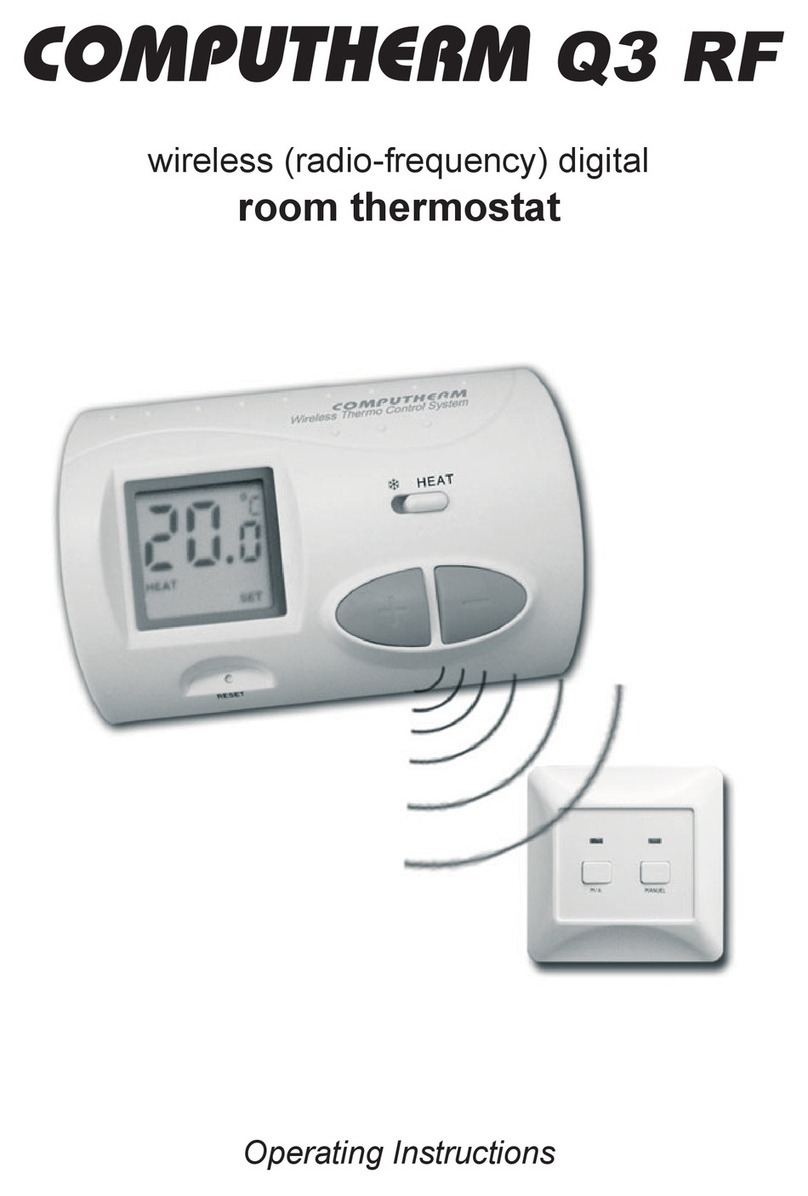
LCD Screen ThermostatX. ATT:Thank you for buying this product!Please read this manual for complete instructions on installing and operating your thermostat. If you require further assistance, please feel free to contact us.In the box you will find: ThermostatExternal sensorUser ManualScrewsOur Service:We offer the warranty of 24 months from the sales day.During the warranty, if it is belong to the quality issue, we will fix or replace them for you by free after test them.If it is not quality problem or beyond the warranty time, we will charge for the after-sales service.TOL63R-ACTOL63R-AC2√√√√ModelPS: if you need remote controller, you can order it seperately.English version is availableBEOK6. Setting the Regular BootPress for more than 3 seconds, after setting the time, press until and “hh” twinkling. press to adjust the hours.After the adjustment of hours, press until the “mm” twinkling, press to adjust the minutes. After the completion of all adjustments ,pressto confirm, then does not twinkle, Regular boot setup is complete.The operation of canceling Regular boot is the same, press to the state of Regular boot, then pressing ,the is twinkling, Regular boot has been canceled.7. Setting the Off TimerAfter the setting of Regular boot, press again, until and “hh” twinkling,press to adjust the hours. After the adjustment of hours is complete,press until the “mm” twinkling, press to adjust the minutes. After the completion of all adjustment, press to confirm, then doesnot twinkling, Off timer setup is complete.The operation of canceling Off timer is the same, press to the state ofOff timer, then pressing , the is twinkling, Off timer has been canceled.The setting of the third period and forth period are same with the first andsecond period, the icons are (on, off/into the room, out of the house)8. Setting the Circulation of Timer SwitchAfter setting the time of timer switch, press the ,there will be “LooP",then press ,week display area will displays the day of the week, or the transformation of “12345" “123456",or “1234567".If the screen only displays the day of the week, then the timer switch settingis valid only for the day. If it displays “12345",then the timer switch is valid from Monday to Friday, and Saturday and Sunday will be invalid.If it displays “123456",then the timer switch is valid from Monday to Saturday,and Sunday will be invalid. If it displays “1234567",then the timer switch is valid everyday.9.Advanced Setting ModeTemperature Adjustment(Attn: Only when your room temperature is different with actual temperature, you do this operation.)In power-on status, press about 7 seconds, then “XX X” will display on the bottom of the screen. For Example: “26 5” means temp is 26.5℃then you can press to modify the temperature.It will confirm automatically after correct temp twinkling 7 seconds.Fan Coil Controlling Mode Setting(Only for 2 pipe)(You can select the fan coil In control & Out of control.)In “F00” mode, when room temperature reaches to the setted temp, the fan coil stops working.In power-on status, press about 7 seconds, “XX X” will display on the bottom of the screen, then continue to press again, “F00” or “F01” will display.Press to choose “F00” or “F01” In “F01” mode, when room temperature reaches to the setted temp, the fan coil goes on working.IX. Installation InstructionThis product is suitable for standard 80*80mm wall box and 60 mm european round box.1.Connect the line of power and valve into the terminals. Fix the wall plate into the wall box by a screw drive.2.Connect the lines with the LCD board.3.Connect the LCD board into the wall plate.NOTICE: The installation wire should be 1.5-2.5mm2.
