WS-4 / WS-10 and EWS-4 / EWS-10 Display Messages
Display Status Messages
The following messages are used to display the state of the Paging Station during normal operation. More
information on display status messages can be found in the Vocia Help File.
No Network: The paging station is not connected to a functioning network or is not participating
in a Vocia configuration. Please check network connections and settings.
Destination Idle: The paging station is ready and there are no busy zones among the
destinations selected by the Page Code.
Destination Busy: Signifies that at least one of the destination zones is busy with a lower priority
page. When paging into a busy zone, the lower priority message will be lost.
Destination Delay: At least one of the destination zones is busy with a page of equal priority.
When paging into a busy zone at an equal priority, the message will be recorded in the DS-4 or
DS-10 locally and played when the busy zones become available.
Not Available: The selected Page Code is not available. The message “Code Barred” or
“Undefined” will appear in the top left corner of the display. Please choose a different Page Code
or assign the selected Page Code to the desk station.
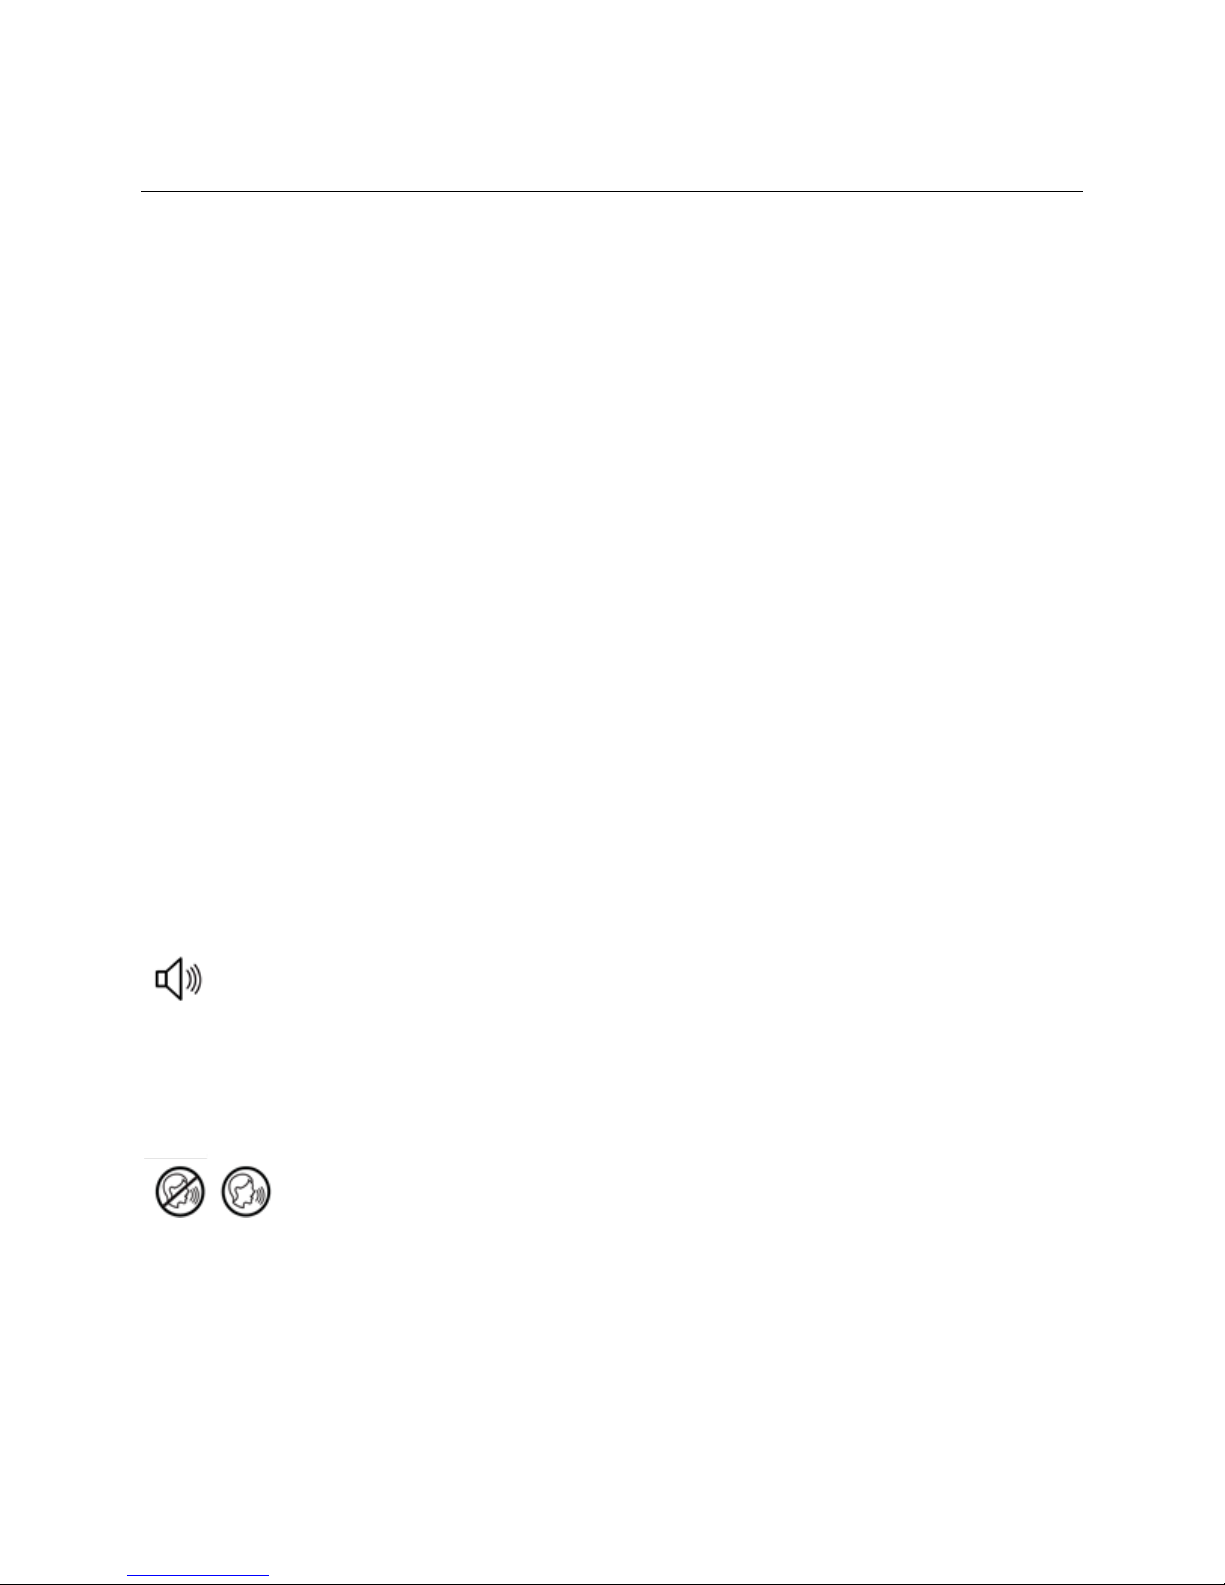
Please Wait: The PTT button has been pressed and the system is assigning paging resources
and playing the chime. Simultaneously, the amber LED below the “Wait” icon will illuminate.
Request Failed: The PTT button has been pressed and the request has failed. If a recorded
message is associated with this Page Code, please check that an MS-1 is online and configured
to play the announcement.
Please Talk Now: The PTT button has been pressed, the page has been correctly set up in the
system, any assigned chime has finished playing, and the audio path is open. This status
message corresponds with the green LED illuminated below the “Please Talk Now” icon.
Request Queued: The selected Page Code represents a request to play a recorded
announcement. When the zone(s) are ready to receive the announcement, the message will be
played and the DS-4 or DS-10 will return to the Destination Idle state.
Cancel Request?: The selected Page Code is a Delayed Release page. Once the PTT button is
released, the “Cancel” prompt will flash on the display. The “Cancel Request?” message is
displayed for five seconds. If the user presses the Cancel button within this five-second period,
the recorded page will be discarded and the system will return to idle status. If five seconds
elapses and the user does not press the Cancel button, the message will be released for
playback as soon as all destination zones are available.
Page Will End in “x” Secs: This message is displayed when a page termination is imminent
(either due to lack of memory or a timeout). The “x” signifies a value in seconds.
Security : If PIN access is enabled the paging station will display a ‘Security access required’
message.
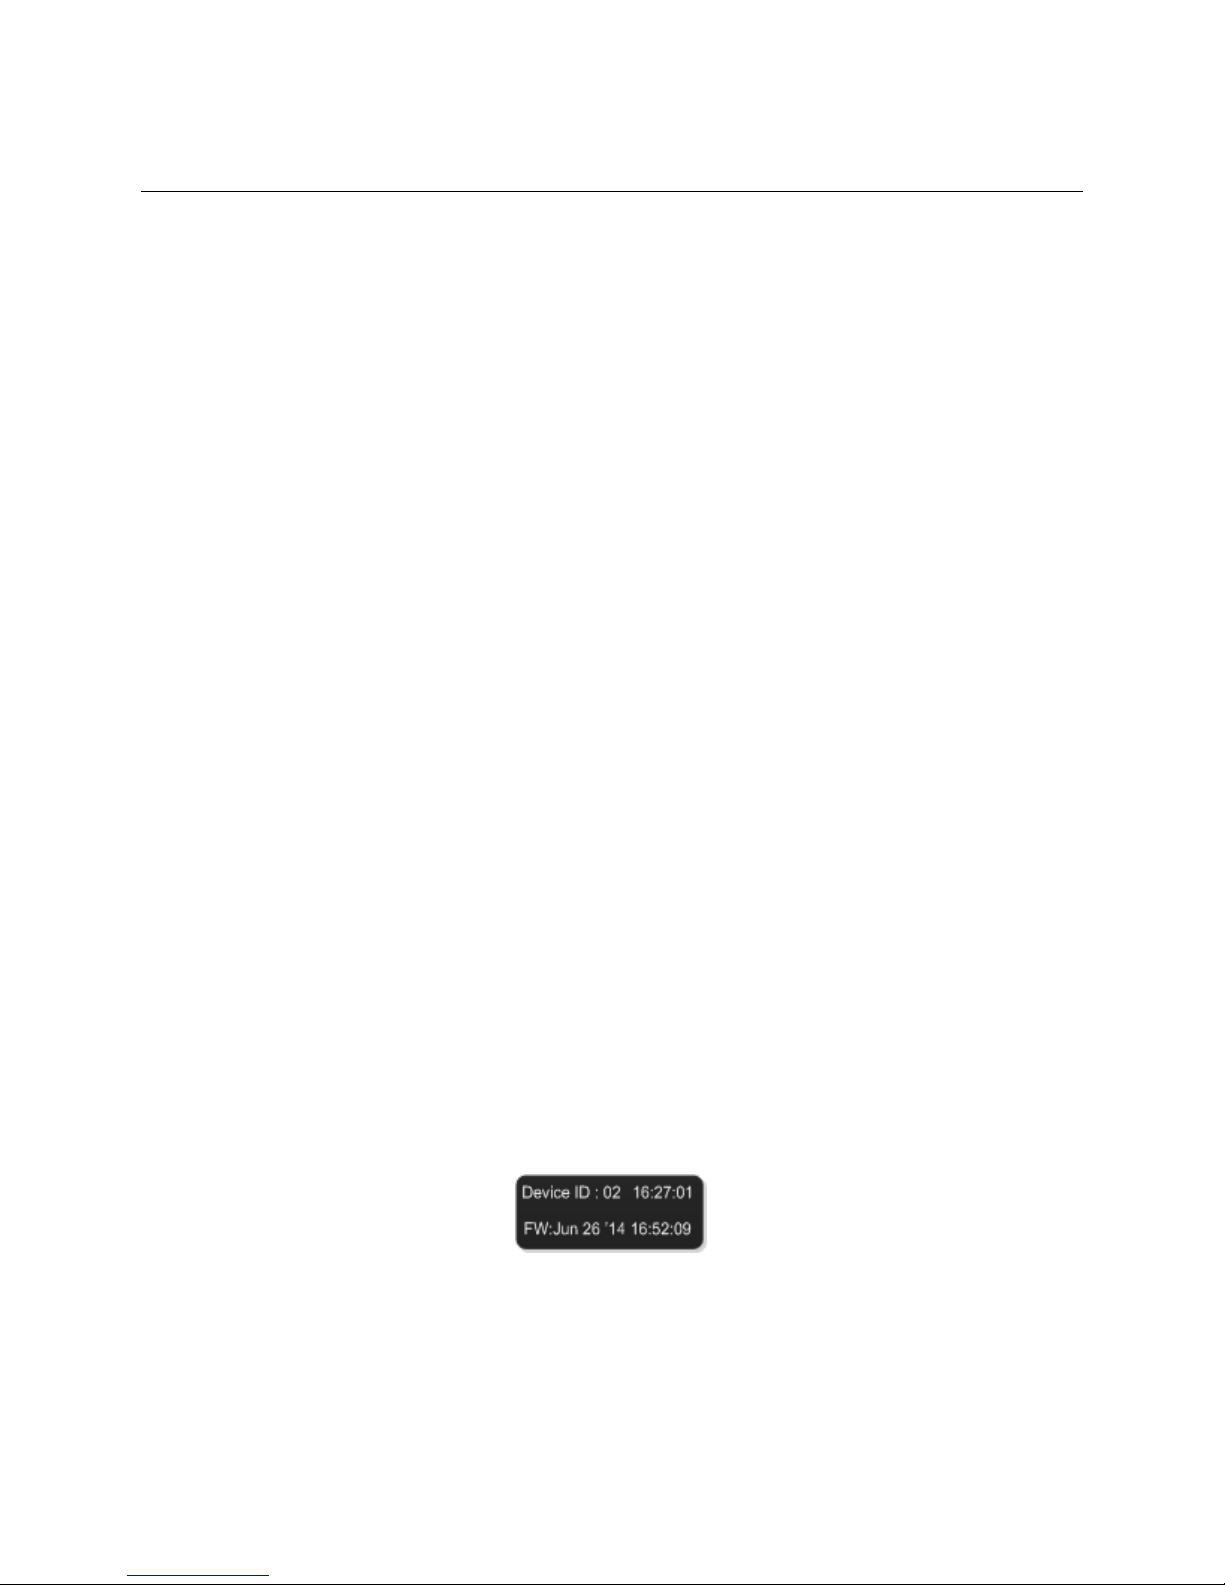
Device Information
To access the Device Information Screen, simultaneously press and hold three buttons. The Device
Information Screen shows the Device ID, the system time, and the running firmware Version.