Bibene N9 User manual

N9 Smart Driveway Alarm
User Manual

Chapter 1 Introducon ............................................
Chapter 2 Product Features .....................................
Chapter 3 Product Diagram .....................................
3.1 Sensor Overview ............................................
3.2 How to Powering Your Sensor ..............................
3.3 Receiver Overview ...........................................
Chapter 4 APP Operaon&Monitoring ....................
4.1.1 Register Account .........................................
4.1.2 Wi-Fi Configuraon ......................................
4.2 APP Funcon Introducon ...............................
4.2.1 Sensor Seng ..............................................
4.2.1.1 Zone Seng ..............................................
4.2.1.2 Add or Delete sensors ................................
4.2.2 Seng Buon ..............................................
4.3 Installing your Sensor .....................................
4.4 Adjusng Sensor Field of View ..........................
Chapter 5 Low Baery Indicaon .............................
Chapter 6 Factory Reset ...................................... ...
Chapter 7 LED Indicator ...........................................
Chapter 8 Total Clear .............................................
Chapter 9 Specificaon ..........................................
Chapter 10 Alexa Control ........................................
Table of Contents:
2
2
2
2
4
4
5
6
7
12
13
13
14
15
17
18
18
19
19
19
20
20

Chapter 1 Introducon
Thanks for purchasing BIBENE N9 WIFI Smart Driveway
Alarm. Please read this user manual carefully before use, we
will update this manual on a regular basis in accordance with
the addion or upgrade of the product features. If you need
any assistance, please contact our support team, we will
contact you within 24 hours.
Customer Service Email Address: lhxing@hotmail.com
Chapter 2 Product Features
The N9 WIFI Smart Driveway Alarm uses a Passive Infra-Red
(PIR) Moon Sensor to detect movement of people and
vehicles. The Base Staon is powered by the DC adapter or
USB cable and 3 AA baeries to supply power in case of a
power outage.
Alerng You When Visitors Enter Your Driveway
Deterring Trespassers and Thieves from Entering Your
Property or Building
Alerng You to Wildlife on Your Land
Using in Drive-Thrus to Signal that a Customer Has Pulled
in, and More!
NOTE: The Base Staon is intended for indoor use ONLY.
Chapter 3 Product Diagram
3.1 Sensor Overview
You can pair up to 12 sensors to your receiver (2 Per Zone).
Each zone can have its own unique reminder melody.
Mounng
Plate
Ball-joint
Adjustment
Screw
Sensor Eye
Field-of-view
Adjustment
Cover
Distance
Sensivity
Switch
An-dismantle
Switch
LE D Indicator
Switch
Baery
Compartment
(2 AA Baeries)
SWITCH#1
6m Detecon Range
12 Detecon Range (Default)
SWITCH#2
LED Indicator OFF
LED Indicator ON (Default)
SWITCH#3
An-Break Buon
1 2
3
OFF
ON
OFF
ON
OFF
ON
32

3.2 How to Powering Your Sensor
The sensor runs on 2 AA baeries, and operates wirelessly at
a maximum distance from the receiver of 1050 (350m).
To insert baeries into the remote sensor:
1.Remove the holder on the back of the sensor and then
unscrew the sensor to access the baery compartment. (Be
careful the screws are very small, don't lose them.)
2.Install 2 AA baeries, replace the cover and secure the
screws.
3.3 Receiver Overview
The receiver has SIX zones that you can use to cover a variety
of locaons. You can also have mulple receivers in different
locaons in your home or business, so you can hear the
alarm chimes.
LE D Indicator
Volume Up/Down
Music Audion
Seng
Charging Port
Baery
Compartment
Chapter 4 APP Operaon&Monitoring
4.1 Scan the QR code, or search "N9" in the APP Store or
Google Play to download and install the APP.
IOS Android/Google Play
5
4

Warm Tips: Tap "Allow" to allow receiving noficaon from
"N9"
4.1.1 Register Account
Register one account if you are first to use the app. Type into
E m a i l a n d p a s s w o rd ,t h e n c l i c k " C o n fi r m " , re g i s t e r
finished.You can share your login account with your family
members.
Please Note: As Email registraon doesn't
need to enter the verificaon code, please
make sure that the Email address is correct.
Users can find and set the new password
through the Email when forget password.)
4.1.2 Wi-Fi Configuraon
Step 1: Connect N9 receiver with power socket, the panel
will be powered on automacally and beep once. Then LED
light will flash purple and cyan indicates that the waing for
configuring.
5V/1A
Step2: Make sure that your smart phone is connected to
your WIFI network on the whole me.
Please Note: N9 doesn't support WIFI of
5Ghz band. If you use dual-band (5Ghz and
2.4Ghz) router, please make sure to connect
this system with the 2.4Ghz instead of the
5Ghz.
76

Step3: Aer account registraon, enter into device list, click
"+" to choose "N9" device, there are T W O netwo r k
connecng modes, W I - F I Configuraon Mode and A P
Connecon Mode.
A.W I-FI Configuraon Mode
1.Click "NEXT STEP" to go to Network Configuraon Mode
page.
2.Long press “Volume” key on the receiver, the LE D will flash
blue and emit “ W I F I confi g u r i n g , please enter W I F I
password in the APP”.
3.Then click “N E X T S T E P ” on the A P P to enter W I F I
password. APP will start the 60 seconds of countdown to
configure.
4.The LED of receiver will flash in cyan 5 mes means
successfully configured.
5.The device will under LAN UNBOUND DEVICE, shows NOT
BOUND.
6.Click the device to bind the device and the device will
under ONLINE DEVICE.
98

B. AP Connecon Mode
1.Click "NEX T STEP" to go to AP Connecon Mode.
2.Enter the WI-FI password of your network, then click next
step.
3.Long press “Volume” and “LED”key on the receiver, the
LED will flash green and emit “WIFI configuring, please
enter WIF I password on the APP”.
4.Then click “Set up” on the APP to find out the WIFI of the
receiver, usually named as “XPG-GAgent-xx”. Then enter the
W I F I p assword o f the rec e iver, d efa ult p assword i s
123456789.
5.Aer connected to receiver, click to return to the APP, the
LED of receiver will flash in cyan 5 mes means successfully
configured.
6.The device will under LAN UNBOUND DEVICE, shows NOT
BOUND.
7.Click the device to bind the device and the device will
under ONLINE DEVICE.
Please Note: A P connecon mode was used to judge
whether this system fits your router. If it cannot return to the
APP control page, this system may not fits your router,
please contact us to return it.
1110

4.2 APP Funcon Introducon
Click the ON LINE DEVICE to enter the control page for more
operaon.
4.2.1 Sensor Seng
4.2.1.1 Zone Seng
Click “ ” to enter Zone seng then click “Zone 1” to
setup Zone 1 and so on.
Melody
Volume
WIFI
Device
Icon Descripon
Tap "Seng" for alarm panel sengs
Tap “Arm” icon, the sensors synchronized
with the alarm panel will be armed.
Tap “Sensors” icon to add sensors
Tap "Disarm" icon, the sensors synchronized
with alarm panel will be disarmed.
Click to choose the music
Click to tune the volume
Check the strength of the WIFI signal
Device informaon
Music Audion
Previous Music
Next Music
1312

4.2.1.2 Add or Delete sensors
Click “Add” to add sensor. LED will stay in RED, then wave
your hand before the sensor to trigger the sensor, the host
will "BEEP" twice and flash twice, indicang the sensor is
successfully bound to the defense zone. If the host "BEEP"
and flash once, indicang that this sensor has been bound
into other zones. Click “Del” to delete the sensor, the LED
will flash and beep four mes. Customer can also click the
Car to choose Come in or Go away Status.
Trigger the Sensor
1 foot away
4.2.2 Seng Buon
Click “ ”for more seng.
Name
Zone Name
Alarm Switch
Push Switch
Interval
Remind Time
Music List
Voice
Descripon
Click to setup the zone name
ON: System will alarm when triggered.
OFF: System will NOT alarm when triggered.
ON: System will send noficaon when
triggered.
OFF: System will NOT send noficaon
when triggered.
Click to choose the tesng interval.
Maximum 4 seconds.
Click to choose the remind mes.
Maximum 4 mes.
Click to choose the music
ON: System will remind you when triggered.
OFF: System will NOT remind you when
triggered.
Please note: If the alarm switch is off, it
won't have the voice reminder.
1514

4.3 Installing your Sensor
We recommend mounng the moon sensor at least 3 to 4
(1 m) above the ground and (6-8m) away from the driveway
on a sturdy, non-metal surface (i.e. a wall, wooden post or
tree). This will decrease or eliminate false alarms from small
animals, give you a longer area to pick up movement, and
avoid unwanted alarms from nearby lawns/roads.
Please Note: Always test that your sensor is
working in your desired locaon before
installing it. Avoid placing your sensor in a
locaon where sunlight will directly into the
sensor eye. Direct sunlight may cause false
alarms and/or damage to the PIR sensor.
Name
Device Name
Password
Timing Sengs
Don't Disturb
Push Switch
Descripon
Click to setup the device name
Setup the password of the system,
default password is 1234
Set up the auto Arm/Disarm me
Set up the don't disturb me, when on,
you will not receive the noficaon
when the system was triggered.
Setup the nullificaon you want to
receive
1716

4.4 Adjusng Sensor Field of View
Expect for the adjustable detecng distance, customer can
also adjust the view degree by changing the cover.
5°
10°
110°
15°
90°
5°
Chapter 5 Low Baery Indicaon
5.1 Sensor Low baery Indicaon
When the sensor is in low baery, it will send a low signal to
t h e h o st , w h i l e t h e h o s t r e c e i ve s t h e s i g n a l f ro m
corresponding defense zone, the LED will flash 3 mes
suggesng that the sensor of this Zone is in low power,
customer should replace baery. Customer will get the
noficaon from A PP too.
Chapter 6 Factory Reset
Long press the and at the same me then plug in
the receiver, the host will beep once and and the LED will
flash red once then release the buon, the music will return
to original seng. Please note, the sensor is sll bound to
the host.
Chapter 8 Total Clear
Chapter 7 LED Indicator
ZONE SETTING
Defense Zone 1
Defense Zone 2
Defense Zone 3
Defense Zone 4
Defense Zone 5
Defense Zone 6
LED I NDICATOR
RED
GREEN
BLUE
PURPLE
CYAN
YELLOW
1918
Long press【 】aer the host is powered on, wait unl
the slow "BEE P" sound and green light flashing 10 mes,
when the green LED flashing fast means the host has total
clear and delete all the sensors, the host will return to the
factory state.

Chapter 9 Specificaon
Operang voltage: External USB-5V DC power supply / 3 AA
baeries
Shutdown Current: <10uA
Working Current: <80mA
Receiving Frequency: 433MHz
Receiving Distance: 350m (Open Area)
20 21
Chapter 10 Alexa Control
Foreword:
BIBENE N9 works with Alexa, once you have added to N9
(Skills Name) into Alexa, you can Arm/Disarm your N9 alarm
system anywhere with your IOS/Android Smartphone or
tablet.
You have to acvate them in a specific way:
"Alexa, tell [white tower] to arm".
"Alexa, tell [white tower] to disarm".
For example, "Alexa, Tell white tower to disarm."
Prepare Before Use:
Please download Alexa free App in your smartphone first and
make sure the Echo have connected with Wi-Fi already.
Add N9 from Skills into Echo:
Step1: Login in Alexa.
Step2:Click “Skills” and go to home page.

2322
Step3:Search for “N9” and Enable the App binding.
Step4: Please sign in with your N9 App account and password
you have registered already.
Step5:Please click “Yes and Go to Set PIN”.
Step6: Setup a 4 digits PI N code. (Only Digits is acceptable)
N9

24
Delete the N9 Skill.
Enter “Your Skill” and “disable Skill” to delete.
DISABL E SKILL
SETTIN G S
Table of contents
Other Bibene Security System manuals
Popular Security System manuals by other brands
X10
X10 MS10A Set up and operating instructions
Amico
Amico Chemetron Retro-Fit Manual
Vantage Hearth
Vantage Hearth VV-SA300K-GSK2 user manual
Gigaset
Gigaset elements motion Series Simple Start Guide
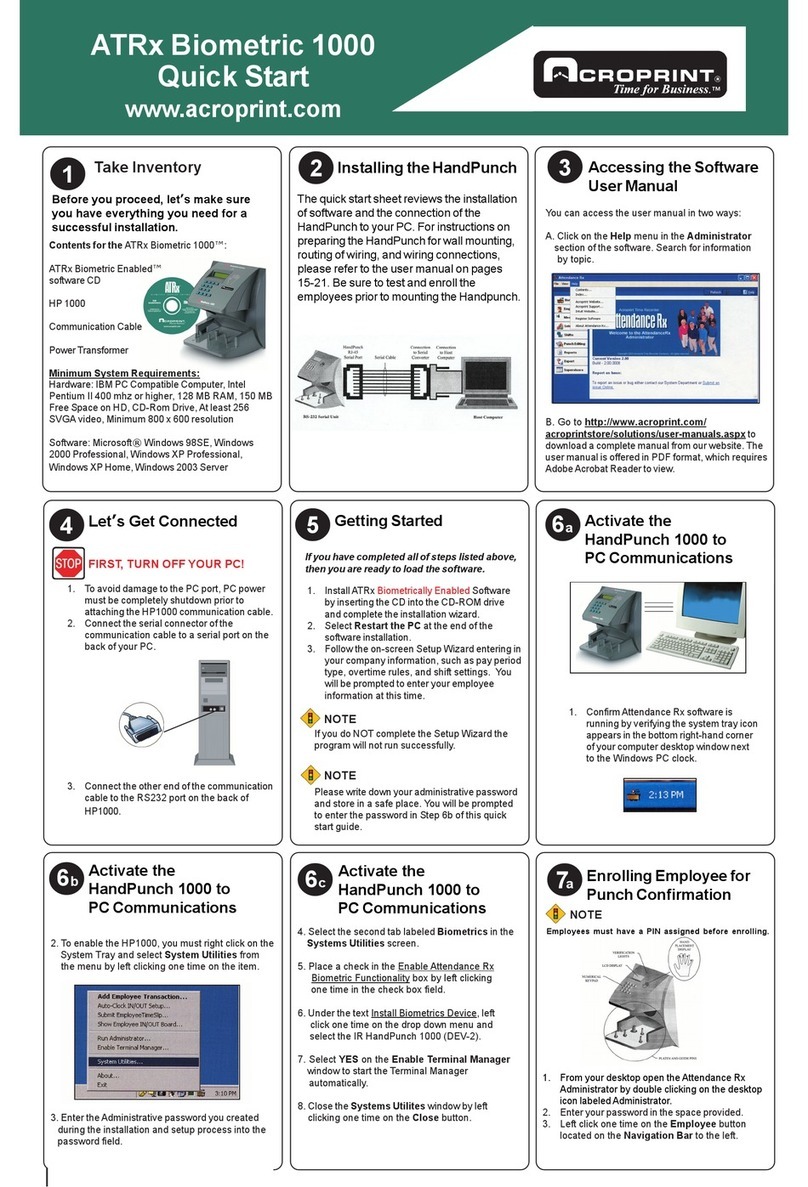
Acroprint
Acroprint ATRx Biometric 1000 quick start guide

Firedland
Firedland MA5 Installation and operating instructions
