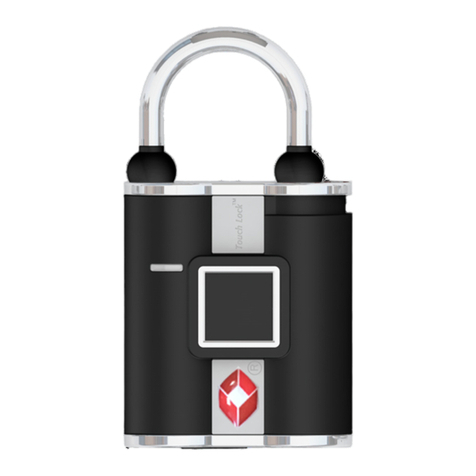
BIO-key TOUCHLOCK BT BL0509 User manual

BIO-key International, Inc.
www.bio-key.com
www.bio-key.com.hk
Warranty registration: http://support.bio-key.com/warranty
Made in China
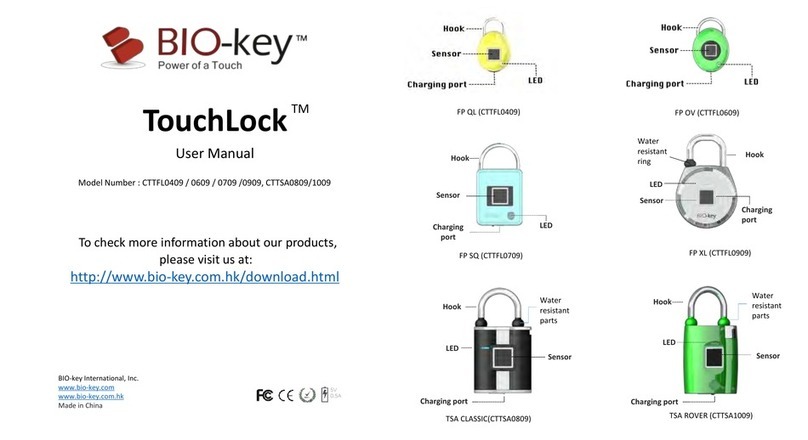
Model Number : BL0509(XL)/BL1209(XS)/BS1609(TSA)
Manual Instruction
TOUCHLOCK BT
Download theApp using QR Code or simply by
Searching TouchLock or TouchLock BT
in theApp store:
iOS 8.0 or above
TM
FCC ID: 2AIKJ-BL
Changes or modifications not expressly approved by the party responsible for compliance
could void the user’s authority to operate the equipment.
This device complies with Part 15 of the FCC Rules. Operation is subject to the following
two conditions:
(1) this device may not cause harmful interference, and
(2) this device must accept any interference received, including interference that may
cause undesired operation.
Note: This equipment has been tested and found to comply with the limits for a Class B
digital device, pursuant to Part 15 of the FCC Rules. These limits are designed to provide
reasonable protection against harmful interference in a residential installation. This
equipment generates, uses, and can radiate radio frequency energy, and if not installed
and used in accordance with the instructions, may cause harmful interference to radio
communications. However, there is no guarantee that interference will not occur in a
particular installation. If this equipment does cause harmful interference to radio or television
reception, which can be determined by turning the equipment off and on, the user is
encouraged to try to correct the interference by one or more of the following measures:
–Reorient or relocate the receiving antenna.
–Increase the separation between the equipment and receiver.
–Connect the equipment into an outlet on a circuit different from that to
which the receiver is connected.
–Consult the dealer or an experienced radio/TV technician for help.
This equipment complies with FCC radiation exposure limits set forth for an uncontrolled
environment. This equipment should be installed and operated with a minimum distance of
20cm between the radiator & your body. This transmitter must not be co-located or
operating in conjunction with any other antenna or transmitter.
Android 4.3 or above

TOUCHLOCK BT 2. REGISTER ADMIN USER
PLEASE DOWNLOAD THE APP BEFORE USING
3. SETTINGS
Select the lock and tap ‘Setting’ to see the details.
*Only the admin user can change the admin password and reset the lock to
factory settings.
Go to the settings and
change the default admin
and unlock password.
You can also customize
the name and profile
picture of you lock!
Default password
Unlock:33333333
Admin:00000000
1.To power on: Press the
hook once and wait for
the flashing blue light.
2. Open the App and the
activated lock will
appear on the screen.
3.To power off: Long press
the hook and release till
you see the flashing blue
light.
TM
Hook
LED
Charging port
Charging
port
BLE LOCK XL BLE LOCK XS
1. ACTIVATION
Connection
UnConnected
Click on the arrow to
enter the operation
screen for each lock.
Click on the “MyLock”
Icon on the right corner
to show the registered
locks ONLY.
1.
Open the App and the
locks within the range will
appear on the screen.
2.
Click on the lock icon to enter
the operation page and click the
tab on the bottom to activate.
3.
The yellow tab on the bottom
indicates the lock is successfully
activated and you can start the
registration process.
4. You will be able to change the Admin password or
Unlock password after the lock is registered
successfully.
5. "Register Admin Success"
message will appear.
Hook
LED
Hook
LED
Charging port
TSA BT
* The lock will be powered off automatically after 4 hours with operation is performed.

SAFETY WARNING & INSTRUCTION
Read before using your Lock
The following sections provide critical safety and regulatory information for TouchLock BT and
instructions on how to access more detailed electronic version of the publications developed
for your Lock.
To watch the video instructions or download the electronic version of
this manual instruction, please visit:
http://www.bio-key.com.hk/download.html
DANGER
!
Failure to follow the safety precautions described below may result in severe injury
to people, damage to the product or property.
*Do not attempt to disassemble or modify the product.
Attempting to do so can cause personal injury, burning, electric shock or fire.
*Keep the product away from fire.
WARNING
!
Failure to follow the safety precautions described below may result in severe injury
to people, damage to the product or property.
*Please use the proper voltage when charging.
The use improper power usage supply may result in product being damaged.
To avoid possible injury:
*Discontinue use immediately if you sense abnormal smell, smoke, discoloration or if there
is any allergic reaction.
*Avoid heavy impacts such as throwing or slamming.
*Avoid placing a conductive substance in terminal, or do not short-circuit it.
*Avoid touching the terminal.
CAUTION
!
Failure to follow the safety precautions described below may result in severe injury
to people, damage to the product or property.
*Discontinue use if the product is damaged.
*Discontinue use if the terminal or Micro-USB cable is damaged.
*Remove the Micro-USB cable from the product when it is not in use or being charged.
*Parental supervision is recommended for age 12 or under.
*Recharge the battery if the product is left long and not being used.
*Do not put the product in trash that is disposed of in landfills. When disposing of the
product, comply with local ordinances or regulations.
5. ADD ADDITIONAL USER
1.
The additional user
needs to be authorized
by the admin user of
the lock to enroll:
Open the App on the
user’s smart phone and
click on the icon.
2.
Follow the
instructions to
send the SMS and
the Admin
password.
3. Type in the
admin
password.
4. "Register User
Success" message will
appear.
4. UNLOCK
1. Click on "Open".
2. Use either fingerprint
or unlock password to
unlock.
3.
The lock is opened
successfully.
Admin User

“>”をタップして、
錠ごとの操作画面へ
右下の“MyLock”をタップ
すると、登録済みの錠だ
けが表示されます
1
.
錠の電源をオンにする:錠の
フックを短く(0.5秒未満)
押
して、上図のように、青色
の
LEDライトが2
秒間点滅したら、
錠のBluetooth
が有効になり
ます。
2
.
スマートフォンのアプ
リケーションを開くと、
起動中の錠が画面に表
示されます。
•
3分以上操作しないと
、
錠は自動的にシャットダ
ウンします。
1.管理者登録
1. スマートフォンのアプリケーションを開くと、Bluetoothが有効になっている錠が画面に表示
されます。
2. 錠を選択して操作画面を表示します。“Connect”(接続)をタップします。
3. 錠とスマートフォンが正しく接続されると、画面下部の“Register”(登録)ボタンが黄色に変
わります。登録ボタンをタップして、錠を登録します。
4. 錠が正しく登録されると、管理者パスワードと開錠パスワードが変更できるようになります。
5. “Register Admin Successfully!“(管理者を登録しました)が表示されます。
3. 開錠
4. ユーザーの追加
1. ユーザの追加には管理者の承認が必要です。:
管理者は左下のメッセージアイコンをタップし、指示に従って新規ユーザーに
管理者パスワードをSMSで送信しておきます。
2. 新規ユーザーのスマートフォンでアプリケーションを開きます。管理者登録と
同様にして錠とスマートフォンを接続し、登録ボタンをタップします。
3. 管理者パスワードを入力します。
4. "Register User Successfully!(ユーザーを登録しました)"が表示されます。
2. 設定変更
*「Change Admin Password (管理者パスワードの変更)」と「Reset to Factory
(工場出荷時の設定に戻す)」は、管理者のみが使用できます。
‘Setting’ (設定)画面で
は、管理者パスワードと
開錠パスワードが変更で
きます。また、錠の名称
や写真のカスタマイズも
可能です。
パスワード初期値
*開錠 :33333333
*管理者:00000000
錠を選んで‘Setting’ (設定)をタップするとその錠の詳細設定が表示されます。
1. 黄色い“Open”(開錠)ボタンをタップします。
2. 画面下部に開錠モードの選択が表示されます。
3. 指紋による開錠、またはパスワードによる開錠が選択できます。
TOUCHLOCK BT
TM
* 4時間以上操作しないと、錠は自動的にシャットダウンします。

安全上のご注意
・ご使用の前に、この「安全上のご注意」をよくお読みの上、正しくお使いください。また、お読みに
なった後は大切に保管してください。
・ここで記述された注意事項は、お使いになる人や、他の人への危険、財産への損害を未然に防
ぐための内容を記載していますので、必ずお守りください。
表示の説明
・次の表示の区分は、表示内容を守らず、誤った使用をした場合に生じる危害や損害の程度を説
明しています。
操作ビデオの視聴や操作マニュアルのダウンロードは、
http://www.bio-key.com.hk/download.htmlを参照してください。
危険
警告
注意
!
!
!
この表示は、取扱いを誤った場合、「死亡または重傷を
負う危険が切迫して生じることが想定される」内容です。
この表示は、取扱いを誤った場合、「死亡また
は重傷を負う可能性が想定される」内容です。
この表示は、取扱いを誤った場合、「軽傷を負う可能性
が想定される場合および物的損害の発生が想定され
る」内容です。
!危険
・分解、改造をしないでください。
-火災、やけど、けが、感電などの原因となります。
・火の中に投入したり、電子レンジ、IH調理器などの過熱調理器で熱を加 えたり、圧力釜など
の高圧容器に入れたり、近くに置いたりしないでください。また炎天下の車内などに放置しな
いでく ださい。
-火災、やけど、けが、感電などの原因となります。
!警告
・指定の電源、電圧で使用してください。
-誤った電源、電圧で充電すると本機の故障の原因となります。
・使用中、充電中、保管中に、異臭、イオン、発煙、発熱、変色、変形などの異常が見ら
れ た場合は、ただちに使用を中止してください。
-本機の故障の原因となります。
・落下させる、踏みつける、投げつけるなど強い衝撃、振動を与えないでください。
-本機の故障の原因となります。
・本機の端子に導電性異物(金属片、鉛筆の芯など)を接触させたり端子をショートさせ
ないでください、また、水などの液体やほこりが内部に入らないようにしてください。
-本機の故障の原因となります。
・本機にMicro-USBケーブルを抜き差しするときは、金属製ストラップなどの金属類を端
子に接触させたり、手や指など体の一部を触れないでください。
-本機の故障の原因となります。
!注意
・本機が破損したまま使用しないでください。
・Micro-USBケーブルのコードや端子が痛んだら使用しないでください。
・使用しない場合には本機からMicro-USBケーブルを抜いてください。
・子供が使用する場合は、保護者が取扱い方法を教え、誤った使い方をさせないでくだ
さい。
・乳幼児の手の届く場所に置かないでください。
-誤って飲み込んだり、けがなどの原因になります。
・本機を長時間放置しておくと自己放電により電圧が低下します。ご使用の前に充電を
行ってください。
・不要になった本機を一般のゴミと一緒に捨てないでください。地方自治体の条例に
従って処理するようお願いします。

點擊“>”進入每
個鎖的操作頁面
點擊右上角的“MyLock”
圖標只顯示已注冊的智能鎖
1.
開機: 按壓鎖扣一次,
藍
燈亮。
2.
打開應用程序,激活的
鎖將出現在屏幕上。
•
若3分钟無任何操作,智能鎖自動
關機。
1.注冊管理員賬戶
1.打開應用程序,藍牙範圍內的鎖將出現在屏幕上。
2. 點擊鎖圖標進入操作頁面,然後點擊屏幕底部注冊按鍵激活智能鎖。
3. 屏幕底部注冊按鍵變爲黃色表明智能鎖已經激活成功,這樣你就可以開始注冊。
4. 在智能鎖成功注冊後,您可以更改管理密碼或解鎖密碼。
5.“管理員注冊成功”的信息會顯示在屏幕上。
2.設置
選擇智能鎖並點擊屏幕底部的“設置”按鈕查看更多信息。
*只有管理員可以更改管理密碼以及將鎖恢複出廠設置。
3.開鎖
1. 點擊“Open”按鈕。
2. 使用指紋或者開鎖密碼開鎖。
3. 智能鎖成功開鎖。
4.增加其他用戶
1. 其他用戶需要獲得智能鎖的管理員授權才能注冊:
打開用戶智能手機上的應用程序並點擊圖標。
2. 按照說明發送短信和管理密碼。
3. 輸入管理密碼。
4. “用戶注冊成功” 信息會顯示在屏幕上。
通過設置修改初始密碼
和開鎖密碼;還可以自
由定制智能鎖的名字和
頭像照片。
默認密碼
•開鎖密碼:33333333
•管理密碼:00000000
TOUCHLOCK BT
TM
• 若4小時無任何操作,智能鎖自動關機。

安全警告及指引
* 使用此產品前, 請先閱讀安全警告及指引及正確使用此產品. 閱讀後也請保存好
此指引.
* 此指引是為了用家正確使用, 避免不當使用傷及自身或其它人, 以及防止不當使
用破壞此產品. 請跟據指引來使用.
各標示的說明
* 以下標示說明如不根據以下各項指引使用的可能帶來的傷害及破壞程度, 以及
不當使用此產品.
觀看視頻使用說明或下載電子版本說明書, 請瀏覽
http://www.bio-key.com.hk/download.html
DANGER
WARNING
CAUTION
!
!
!
如不跟安全措施使用,
有較高可能造成嚴重傷害甚或死亡.
如不跟安全措施使用, 有可能造成
嚴重傷害甚或死亡
如不跟安全措施使用, 或會造成受傷
或損壞附近的物品
!
* 不要試圖打開維修, 拆開, 改裝或打開產品
-以避免造成個人受傷, 燙傷,觸電或燒傷
* 不要放在火種上, 不要放入或放近煮食用具,焗爐, 微波爐, 壓力煲或其它用具
內加熱,, 不要放在太陽底下晒著的汽車內.
-以避免造成個人受傷, 燙傷,觸電或燒傷.
!
!注意
* 當產品損壞了, 不要使用產品.
* 如充電端子或充電線損壞請不要使用.
* 當產品不在使用及不在充電, 請拔掉充電線.
* 兒童使用此產品, 家長請教導正確使用方法及確保正常使用.
* 請保存此產品在幼兒不能接觸到的地方.
-以避免幼兒不小心吞入肚或造成受傷
* 如產品放久了沒用, 電壓或會降低因電池慢慢自然放電, 再使用前請充電.
* 不要當一般廢物丟廢物箱, 請跟據當地規定處理帶電池產品的方法處理.
DANGER
WARNING
* 請使用正確的電源及電壓充電
-如果用不當電源或電壓充電, 或會做成產品損壞
* 當發現產品存放後, 正在使用中或充電中出現異味, 出烟,過熱, 變色或變形,請停止使用
-如不停止使用或會做成受傷或燙傷.
* 不要使用過大力度拍打, 拋, 搖動,擠壓.
-以避免做成產品損壞.
•不要放導電物進充電口的端子(例如, 金屬件或鉛筆) , 或不要做成充電端子短路, 也不要
放液体或灰塵進充電口
-以避免做成產品損壞.
* 在插充電缐及拔充電線時,不要用手觸碰充電端子, 及不要用手指或金屬件插內充電口.
-以避免做成產品損壞.

Fast-Click Unlock Mode
Caution: Please set up your personalized Fast-Click Code after admin fingerprint
registration IMMEDIATELY.
Code Registration :
Fast-Click allows you to create a custom access code of short and long taps to manually un-lock
without a phone.
Set-up Guide: The Fast-Click code is a 6-digit code made up of a string of 6 long and short taps.
Example:
1.1 To enter the code registration mode:
- Tap and hold the hook for 5 seconds and wait for a flashing blue light, continue holding until
the red and blue light flashes.
1.2 Input your first Fast-Click digit:
- A long tap is greater than 1 second and less than 5 seconds, hold the hook until the red and
blue light turns on and that indicates a successful enrollment of a long tap.
- A short tap is less than 1 second, release the hook and that will activate a rapid flashing blue
light, indicates a successful enrollment of a short tap.
1.3 The red and blue light will flash rapidly after each successful enrollment.
1.4 Repeat step 2 until all 6 digits are successfully enrolled. After a code has been successfully
registered, a blue light will be activated and stay on for 4 seconds.
* Please write down your code after registration: __ __ __ __ __ __
Unlock Using Fast-Click Code or Change Your Code:
To Unlock:
2.1 Tap and hold the hook for 5 seconds and wait for a flashing blue light, continue holding until
the red and blue light flashes slowly.
2.2 Enter your registered code and wait until the blue light activates, that indicates the code is
entered correctly. The lock will be unlocked after 3 seconds.
2.3 If the code is entered incorrectly, a red light will be activated and turns into a slow flashing red
and blue light right after, then you can re-enter your registered Fast Click code.
* The lock will exit the Fast-Click Unlock Mode after 4 attempts of entering the wrong code.
Change Your Code:
3.1 Repeat the previous step 2.1,2.2 and tap the hook within 3 seconds after the blue light is
activated, then a rapid red blue light will flash, indicates a new code can be enrolled.
(The previous registered code will be erased automatically)
3.2 Repeat step 1.2,1.3 and 1.4 in Code Registration section to input your new Fast-Click Code.
Erase the Fast-Click code
The admin user of the lock can erase all the data including the registered Fast-Click Code
using the TouchLock App on the mobile devices.
4.1 Open the App and go to the “settings”.
4.2 Click on the “Reset to Factory” and type in the admin password.
FAQ :
- In the unlikely event the battery dies while locked, TouchLock BT should be charged using an
external battery to provide quick access to un-lock.
- For other questions or more instructions, please visit us
http://www.bio-key.com.hk/download.html
摩斯碼後備開鎖模式
注意 : 鎖注冊管理員后, 請立即設置摩斯密碼, 以防其它人搶先設置摩斯密碼
摩斯碼注冊:
摩斯碼模式容許你建立一個自定的長同短碼組合的代碼,不需使用手機開鎖.
設定指引:
摩斯碼是以6位代碼, 以一串6 個長或短組合成. 例子:
1. 1 進入注冊摩斯碼模式:
-長按鎖鈎 5 秒, 等到藍灯閃後, 繼續按住鎖鈎直至紅藍灯快閃.
2. 2 輸入你的摩斯碼:
-長碼是要按鎖鈎多於1 秒, 少於5 秒, 直到出現紅藍灯亮放手, 顯示已成功輸入一個長碼.
-短碼是要按鎖鈎少於1 秒放手, 出現藍灯快閃, 顯示已成功輸入一個短碼.
1.3 每次成功輸入一個碼, 紅藍灯會快閃, 提示可以輸入下一個碼.
1.4 重覆第2 步直至成功輸入6 個位的摩斯碼, 當摩斯碼成功登入後, 藍灯會亮起4 秒.
* 請注冊後, 請記下你登入的代碼: __ __ __ __ __ __
以摩斯碼開鎖或更改代碼
開鎖:
2.1 長按鎖鈎 5 秒, 等到藍灯閃後, 繼續按住鎖鈎直至紅藍灯慢閃.
2.2 輸入你已注冊的代碼, 待藍灯亮後, 顯示代碼輸入正確, 三秒後會自動開鎖.
2.3 如輸入錯誤, 紅灯會亮起, 然後會轉為紅藍灯慢閃, 之後你可以重新再輸入已注冊的摩斯碼.
* 如果四次輸入都錯誤, 鎖會離開摩斯碼模式.
更改你的代碼
3.1 重覆前面開鎖的第1和2 步驟,在藍灯亮起的三秒內, 按動鎖鈎, 然後會出現紅藍灯快閃, 顯示
一個新的摩斯碼可以注冊(之前已注冊的會自動刪除).
3.2 重覆摩斯碼注冊的2,3,4 步輸入新的摩斯碼.
刪除摩斯碼
管理者用戶可以用手機上的TOUCHLOCK APP刪除所有資料, 包括已注冊之摩斯碼.
4.1 打開APP, 進入"SETTINGS (設定)"
4.2 點擊"RESET TO FACTORY" 及輸入管理者密碼.
FAQ :
-如在不正常狀態下鎖上鎖了但没法打開鎖, 請以外置充電器充電快速充電然後開鎖.
-其它問題或需要更詳細指示, 請瀏覽我們網站
http://www.bio-key.com.hk/download.html

フック・クリック開錠モード
注意:指紋を登録後すみやかに、専用のフック・クリック・コードを設定してください。
コードの登録:
フック・クリックを使って、フックの短い押下げと長押しを組み合わせて専用のアクセス
コードを作成すると、スマートフォンを使わずにマニュアルで開錠できます。
設定ガイド:
フック・クリックは6桁からなるコードです。長押しと短い押下げを6回組み合わせて作成し
ます。例:
1.1 コード登録モードの入力方法:
-フックを5秒間押し続けると、青いライトが点滅します。そのまま、赤と青のライトが点
滅するまで押し続けます。
1.2 1番目のフック・クリックの入力:
-長押しを登録するときは、フックを1秒以上(5秒まで)押し続けます。長押しが登録さ
れると、赤と青のライトが点灯します。
-短い押下げを登録するときは、フックを押して1秒未満で離します。短い押下げが登
録されると、青いライトがすばやく点滅します。
1.3 1回の押下げが登録されるごとに、赤と青のライトがすばやく点滅します。
1.4 1.2の操作を繰り返して、6回分を登録します。一連のコードが登録されると、青いライ
トが4秒間点灯します。
* 登録したコードをメモしておいてください: __ __ __ __ __ __
フック・クリック・コードで開錠、またはコードの変更:
開錠方法:
2.1 フックを5秒間押し続けると、青いライトが点滅します。そのまま、赤と青のライトがゆっ
くりと点滅するまで押し続けます。
2.2 登録したコードを入力します。コードが正しく入力されると青いライトが点灯し、3秒後
に開錠します。
2.3 入力したコードが正しくないときは、赤いライトが点灯した後、赤と青のライトがすばや
く点滅するので、フック・クリック・コードを再入力してください。
* 間違ったコードを4回入力すると、フック・クリックの開錠モードが終了します。
コードの変更:
3.1 前述の操作をして2.1,2.2の青いライトが点灯後、3秒が経過する前にフックを押し下
げます。赤と青のライトがすばやく点滅したら、新しいコードが登録できます。
(前回登録したコードは、自動的に消去されます。)
3.2「コードの登録」の1.2~1.4の操作をして新しいフック・クリック・コードを入力します。
フック・クリック・コードの消去
登録されている指紋の消去を実行すると登録されているフック・クリック・コードも無効になります。
操作方法は本マニュアルの指紋の消去操作を参照してください。
FAQ:
-万が一,施錠中に充電が切れた場合は,モバイルバッテリー等を使用して充電し,開錠で
きるようにしておいて下さい。
-その他の質問や錠の詳しい操作方法については、
http://www.bio-key.com.hk/download.html
This manual suits for next models
5
Other BIO-key Lock manuals
Popular Lock manuals by other brands
Command access
Command access VLP-UL-M-KIT Insert Instructions
Intelligent Biometric Controls
Intelligent Biometric Controls 1TouchIQ2 Series user guide

LOX
LOX EM3500 installation manual
Assa Abloy
Assa Abloy eCLIQ operating instructions
Allegion
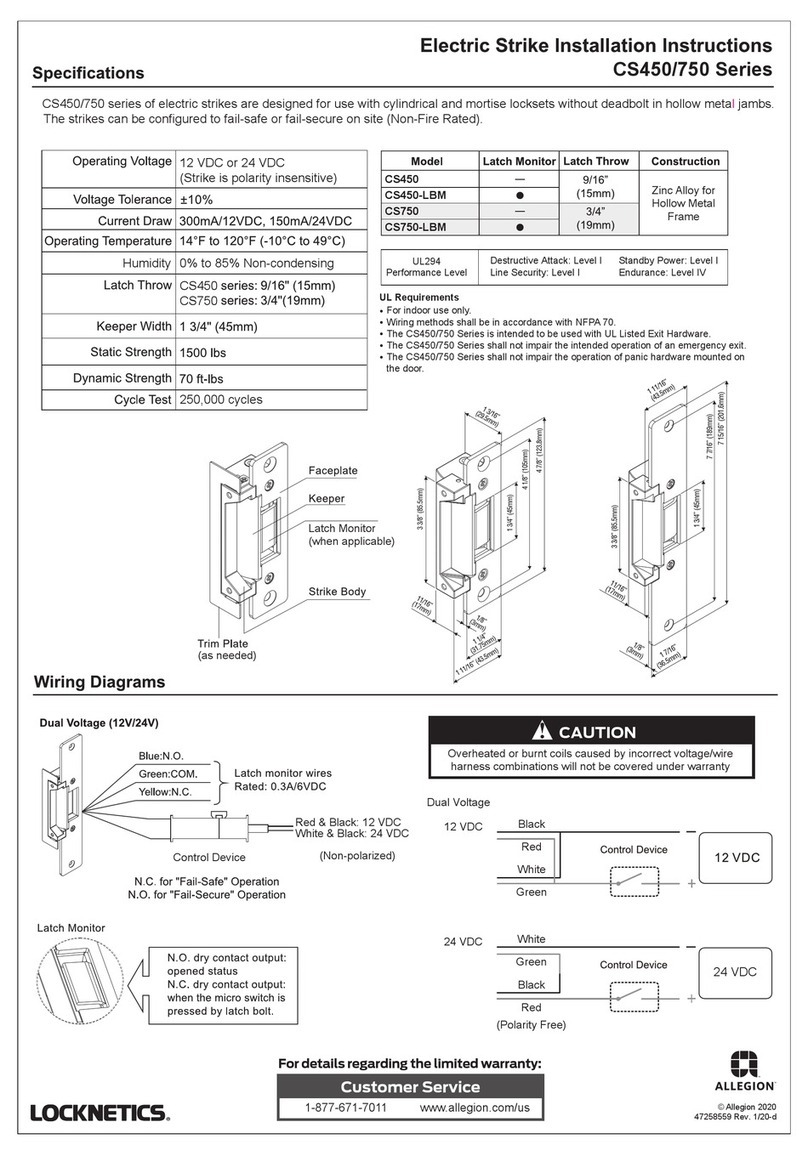
Allegion LOCKNETICS CS450 Series installation instructions
Siemens
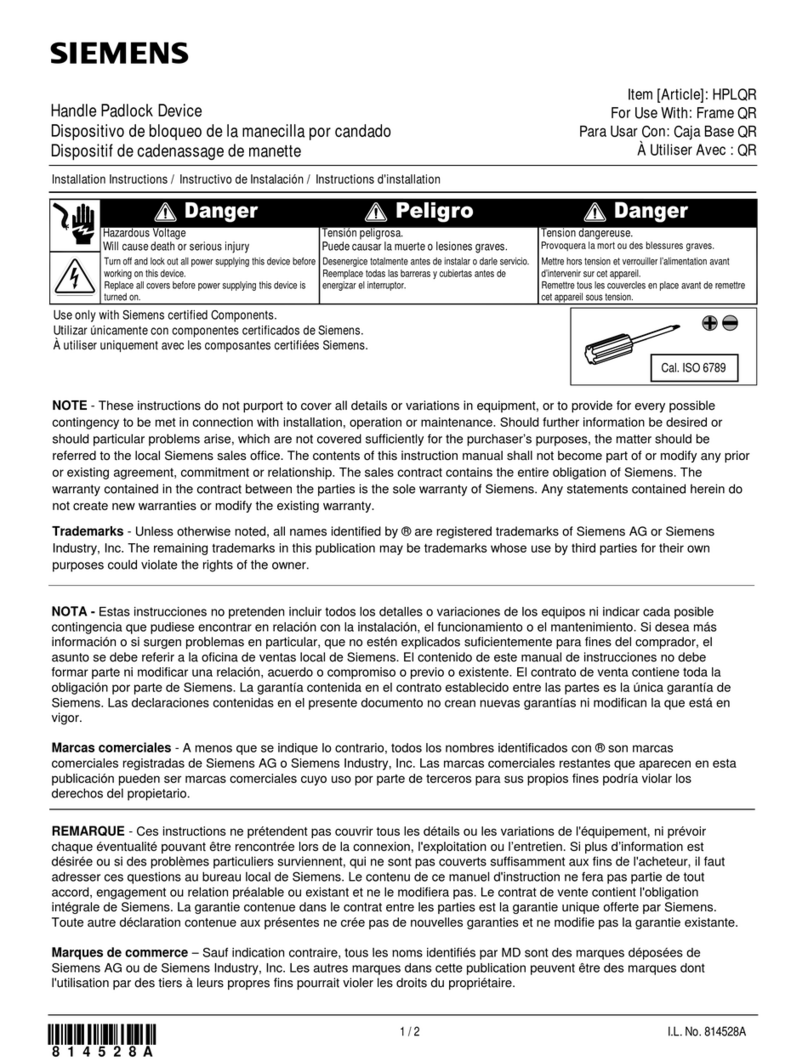
Siemens HPLQR manual
