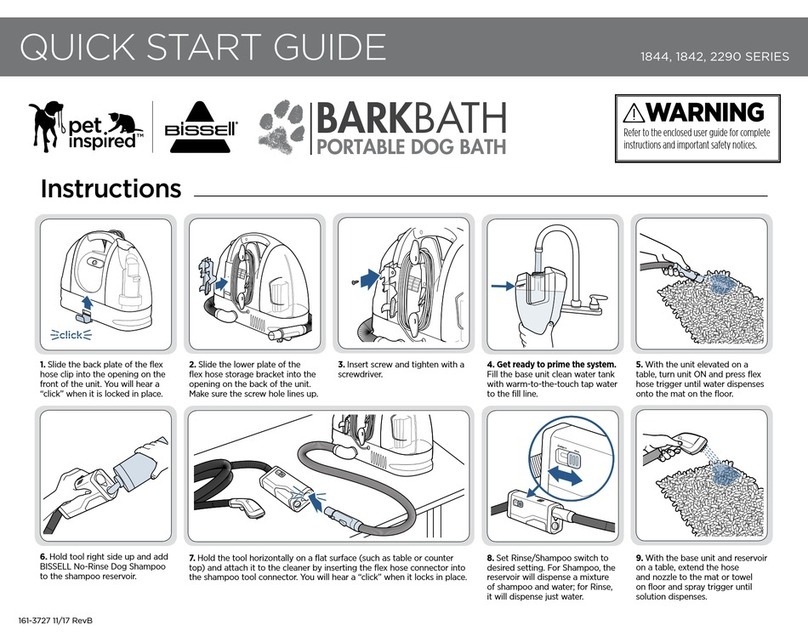
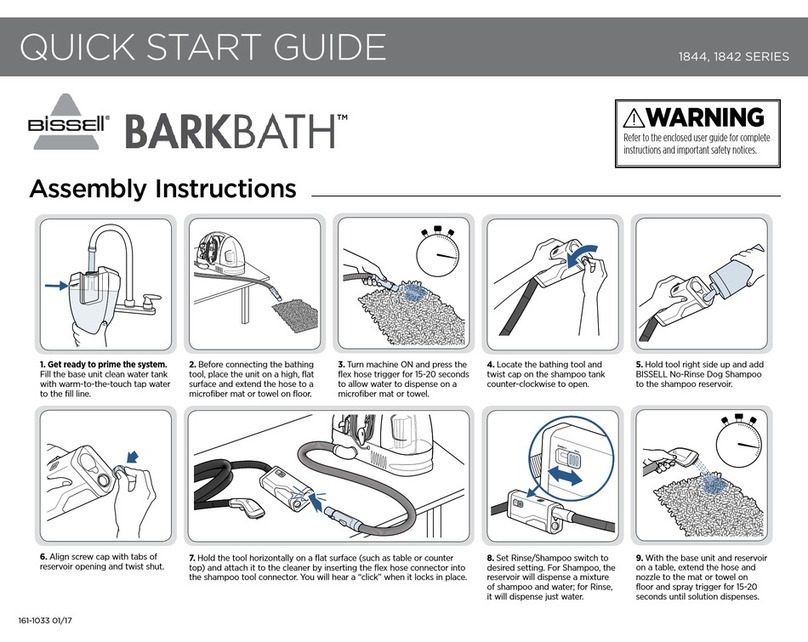
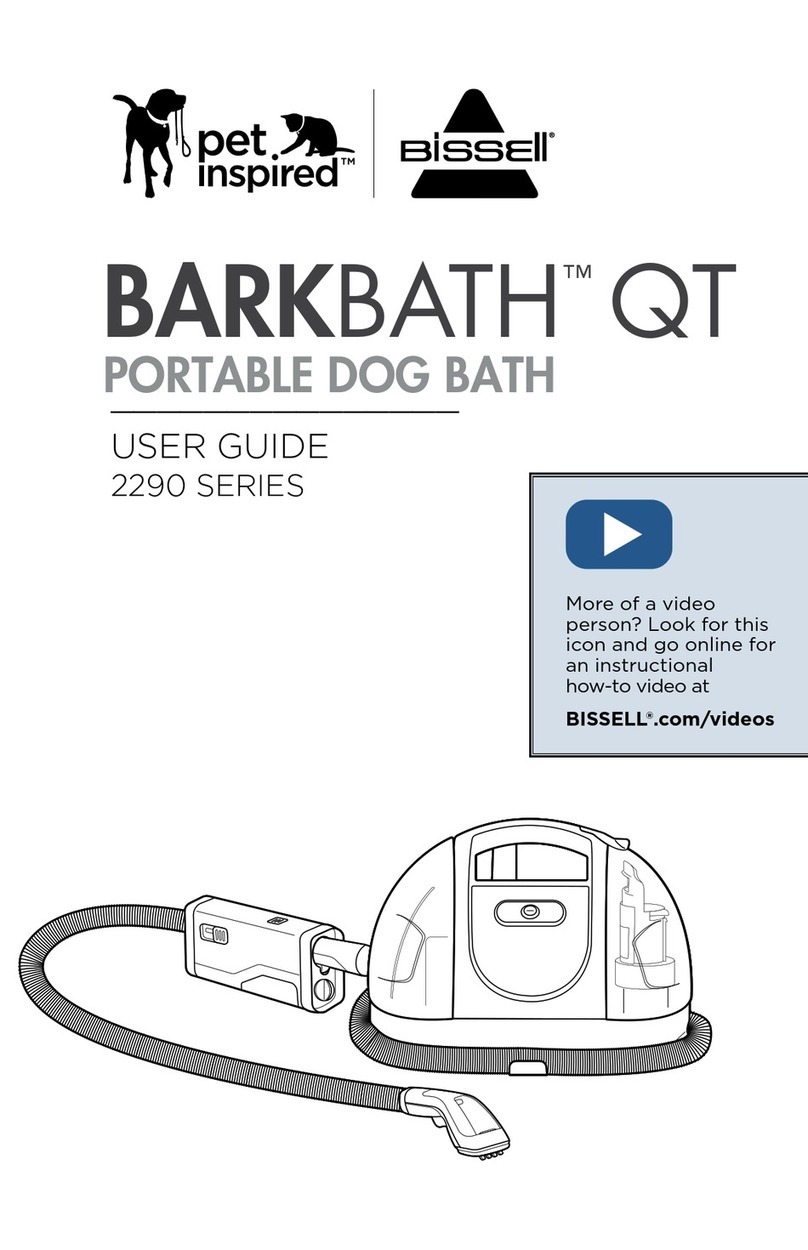
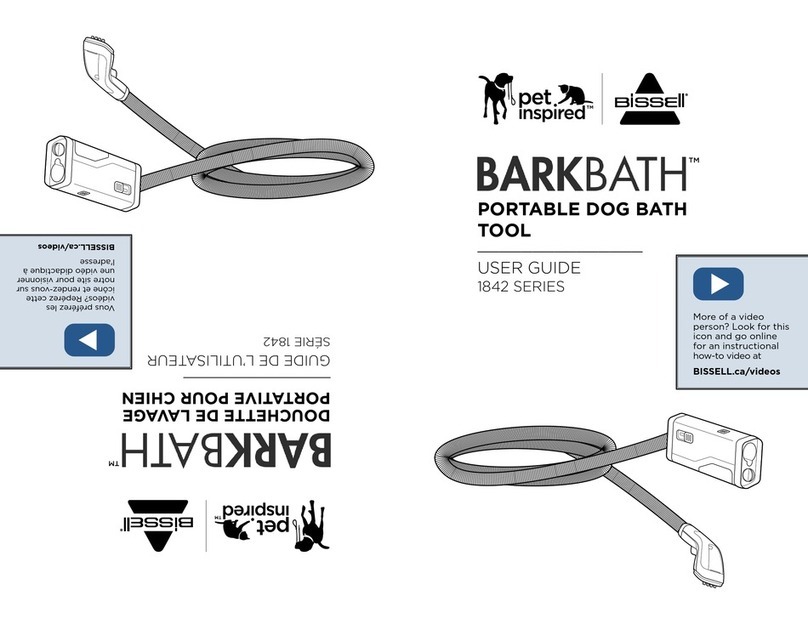
Bissell BARKBATH 2592 Series User manual

BARKBATH
DUAL USE Series 2592
™


3
Hudson
rescued in 2012
As a young pup, Hudson was
discarded from his litter due to
his grey coat and black spots.
His appearance didn’t matter to Stacy
who fell in love with his big brown puppy
eyes at the rescue – spots and all. Today
Husdon is a happy and healthy Great Dane.
He is a “leaner” and his favorite things are
hugs and snuggles. Not all unwanted pets
receive a second chance like Hudson did,
but that is what we are working to change.
When you purchase a BISSELL® pet product
and activate the donation to BISSELL Pet
Foundation®, you are helping pets just like
Hudson find a caring and loving home.
Hudson’s Story

4
WARNING
Improper connection of the equipment-grounding conductor can result in
a risk of electrical shock. Check with a qualified electrician or service
person if you aren’t sure if the outlet is properly grounded. DO NOT
MODIFY THE PLUG. If it will not fit the outlet, have a proper outlet
installed by a qualified electrician. This appliance is designed for use on a
nominal 120-volt circuit, and has a grounding attachment plug that looks
like the plug in the illustration. Make certain that the appliance is
connected to an outlet having the same configuration as the plug.
No plug adapter should be used with this appliance.
GROUNDING INSTRUCTIONS
This appliance must be connected to a grounded wiring system. If it
should malfunction or break down, grounding provides a safe path of least
resistance for electrical current, reducing the risk of
electrical shock. The cord for this appliance has an
equipment grounding conductor and a grounding plug.
It must only be plugged into an outlet that is properly
installed and grounded in accordance with
all local codes and ordinances.
WARNING
TO REDUCE THE RISK OF FIRE, ELECTRIC
SHOCK, OR INJURY:
» Use only warm tap water. Do not use
heated water.
» Connect to a properly grounded outlet only.
See grounding instructions. Do not modify the
3-prong grounded plug.
» Do not leave appliance when it is plugged in.
Unplug from outlet when not in use and
before servicing.
» Do not expose to rain. Store indoors.
» Do not allow to be used as a toy. Close
attention is necessary when used by
or near children.
» Do not use for any purpose other than
described in this user guide. Use only
manufacturer’s recommended attachments.
» Do not use with damaged cord or plug. If
appliance is not working as it should, has been
dropped, damaged, left outdoors, or dropped
into water, have it repaired at an authorized
service center.
» Do not pull or carry by cord, use cord as a
handle, close a door on cord, or pull cord
around sharp edges or corners. Do not run
appliance over cord. Keep cord away from
heated surfaces.
» Do not unplug by pulling on cord. To unplug,
grasp the plug, not the cord.
» Do not handle plug or appliance with
wet hands.
» Do not put any object into openings. Do not
use with any opening blocked; keep openings
free of dust, lint, hair, and anything that may
reduce air flow.
» Keep hair, loose clothing, fingers, and all
parts of body away from openings and
moving parts.
» Turn off all controls before plugging or
unplugging appliance.
» Do not use appliance in an enclosed space
filled with vapors given off by oil-base paint,
paint thinner, some moth-proofing
substances, flammable dust, or other explosive
or toxic vapors.
» Keep appliance on a level surface.
» Do not carry the appliance while in use.
» Do not immerse appliance in water or place in
area where splashing may occur.
» Liquid must not be directed towards
equipment containing electrical components.
» Use extra care when cleaning on stairs.
» Always install float before any wet
pick-up operation.
» Do not use to pick up flammable or
combustible materials (lighter fluid, gasoline,
kerosine, etc.) or use in areas where that
may be present.
» Do not use to pick up toxic materials
(chlorine bleach, ammonia, drain cleaner, etc.).
» Do not pick up anything that is burning
or smoking such as cigarettes, matches,
or hot ashes.
» Use only BISSELL® cleaning products intended
for use with this appliance to prevent internal
component damage See the Cleaning Fluid
section of this guide.
» Children should be supervised to ensure
that they do not play with appliance.
» Plastic film can be dangerous. To avoid danger
of suffocation, keep away from children.
IMPORTANT SAFETY INSTRUCTIONS
READ ALL INSTRUCTIONS BEFORE USING YOUR PORTABLE DOG BATH SYSTEM.
When using an electrical appliance, basic precautions should be observed, including the following:
This model is for household use only. Commercial use of this unit voids the manufacturers warranty.
SAVE THESE INSTRUCTIONS FOR FUTURE USE
Grounded
Outlets
Grounding Pin
WARRANTY
1-Year limited warranty, may vary by state. Visit support.BISSELL.com or call 1-800-237-7691 for complete warranty information.
5
What’s in the Box?
Safety Instructions...........4
Warranty ....................4
What’s in the Box ............5
Getting Started ..............6
Acclimate You Dog ..........7
Bathing Your Dog .........9-11
Cleaning Your Carpet .......13
Cleaning Your Product ... 14-15
Maintenance & Care ........16
Storage ....................17
Dog Coat Guide ......... 18-19
Troubleshooting ........... 20
Product Registration........22
HydroRinse™
Tool
Hose Clip
Deep CleaningOther Accessories
Pet Cleaning
Pet Cleaning
Tool Clip
Pet Shampoo
Tank
Pet Cleaning
Tool
Spray Nozzles
BARKBATH™ Unit
Grooming Clips
20oz No-Rinse
Dog Shampoo
8oz Deep
Cleaning Formula
Deep Cleaning
Solution Tank
Adaptor Tool 3-inch Deep
Cleaning Tool
Tool Tray

6
Wait! Before you get started...
ASSEMBLY
Insert hose clip.
Insert pet cleaning tool clip.
Wrap flex hose around unit.
Place tray on top with icons facing
back. Insert nozzles and clips.
Hose ClipPet Cleaning
Tool Clip
Tool Tray
BARKBATH™ Unit
1 2
3
You will need the following: Let’s get started!
4
-Place unit on microfiber mat at least 4 feet away
from bathing location to reduce sound.
- Lay down a separate towel where you will be
bathing your dog, preferably in an area where
your dog feels safe.
- Always use a BISSELL® No-Rinse Dog Shampoo.
- Tighten your clean & dirty water tank before use.
HELPFUL TIPS:
4 feet

Some dogs are sensitive to loud noises, fans, vacuums or other loud appliances.
Here are some quick training steps to help your dog have a great experience with this new bathing method.
Noise-Sensitive or Anxious Dog?
Step 1
- Place the unit in a room where you plan to bathe
your dog. With the unit turned off, allow your
dog to become familiar with it.
- With the unit turned off, have your dog walk over
to the unit and use the spray nozzle as a “comb”
to brush your dog.
- Praise your dog and offer a treat.
Step 2
- With your dog out of the room, turn the unit on.
Leave the unit on and offer your dog a treat.
- Turn the unit off.
- Repeat the last two steps of Step 1.
Step 3
- Turn the unit on, have your dog enter the room
and give the dog a treat.
- With the unit on, and without pulling the trigger
to release water, “comb” your dog’s fur with the
bathing tool.
- Turn the unit off and offer a treat.
Step 4
- Turn the unit on and have your dog enter the room.
- Comb a small section of your dog’s fur with the unit on
and pull the trigger in quick, short bursts to acclimate
your dog to feeling the shampoo on their skin.
- Once your dog is comfortable with the unit, you’re now
ready to enjoy bathing your dog with the BARKBATH™.
TRAINING STEPS:

Find more formulas at BISSELL.com
Cleaning Formulas
WARNING
To reduce the risk of fire and electric shock due to internal component damage, use only
BISSELL cleaning formula intended for use with this machine.
No-Rinse Dog Shampoos
Deep Cleaning Formulas
BISSELL Professional
Spot & Stain + Oxy
BISSELL Clean & Fresh
No-Rinse Shampoo
BISSELL Spot &
Stain with Febreze® BISSELL Pet Stain
& Odor BISSELL Spot & Stain
BISSELL Free & Clear
No-Rinse Shampoo
BISSELL® Odor & Skunk
No-Rinse Shampoo
BISSELL Vitamin E
No-Rinse Shampoo
BISSELL Honey Blossom
No-Rinse Shampoo
BISSELL Oatmeal
No-Rinse Shampoo
BISSELL White Tea &
Aloe No-Rinse Shampoo

9
BATHING YOUR DOG
You will need the following:
Let’s get started!
Fill your clean water tank
with warm water.
Add BISSELL® No-Rinse Dog
Shampoo to pet shampoo tank.
Replace pet
shampoo tank.
Find a spray nozzle & grooming clip that
works best for your dog.
Attach your spray nozzle & grooming clip
to the pet cleaning tool.
1 2 3
54
Pet Shampoo
Tank
Pet Cleaning
Tool
Spray Nozzles
BARKBATH™ Unit
Grooming Clips
20oz No-Rinse
Dog Shampoo
OR
Spray Nozzles
Grooming Clips
A
B
Replace the clean
water tank.
AB

10
4 feet
9
Place microfiber mat on floor with
BARKBATH™ on top.
This will help dampen the sound for your dog.
Place nozzle flush against your dog’s body. Pull spray trigger and groom
your dog in a downward motion. Release the trigger and lift away after
each pass. Continue until your dog is clean.
Remove finger from trigger.
Make a few drying passes on your
dog to remove excess water.
Place another towel on ground for your dog.
Place towel a few feet away from your BARKBATH
to help further reduce sound.
7
6
8
Don’t forget the
BARKBATH cleans
from the skin up.
AB

11
4
Helpful tips...
Here are some helpful tips to know about your BARKBATH unit.
For a complete Dog Coat Guide see pages 18-19.
If you want to use only water,
flip the switch on your
BARKBATH to rinse mode.
To prime your unit, spray
the mircofiber pad.
Remember to wipe
the hair off grooming
clip & spray nozzle
throughout bathing
your dog.
Make sure to test the
temperature of the
water before using the
BARKBATH on your dog.
Spray a clean cloth. Once finished, your dog
may still be a little damp.
123
1110
Wipe your dogs face and paws after
you are finished with the BARKBATH™.
For more tips and videos, visit us
online at www.BISSELL.com/videos.
Always use gunuine BISSELL® No-Rinse
Dog Shampoo. Other shampoos may harm
the machine and will void the warranty.
NOTE
A
B


13
Let’s get started!
CLEANING YOUR CARPET
8oz Deep
Cleaning Formula
Deep Cleaning
Solution Tank
3-inch Deep
Cleaning Tool
You will need the following:
BARKBATH™ Unit
Adaptor Tool
Fill your clean water tank
with warm water.
Connect adaptor tool.
Connect deep cleaning
tool to adaptor tool.
Hold trigger to spray dirty area. Push down and pull
back to clean the mess.
Add deep cleaning formula to
solution tank.
1 2 3
54
OR
Place deep cleaning solution tank & clean
water tank back in your BARKBATH.
6
A
B
A
B

14
B
A
3
3
2
CLEANING YOUR PRODUCT
Remove the dirty water tank. Place the empty tank back in unit.Pour out dirty water.
Attach adaptor tool. Switch unit to rinse mode.
Press and hold trigger for 30 seconds. Release trigger and let machine run for an
additional 30 seconds to clear water in hose.
Attach HydroRinse tool.
CAUTION
For your safety, always turn OFF and unplug your BARKBATH™ before cleaning or servicing.
1
1
HydroRinse
Tool
Adaptor Tool
BARKBATH Unit
30 30
You will need the following:
Emptying Dirty Water Tank:
Cleaning with HydroRinse™ Tool:
2
4
OR

B
B
A
A
Remove the dirty water tank.
Twist dirty tank cap and remove
separator stack. Pour out dirty water.
Place separator stack and cap onto dirty
tank and firmly tighten. Place dirty tank onto unit.
1 2 3
5
46
Cleaning Dirty Water Tank:
Handwash your dirty tank with mild
dish soap. Dry for 24 hours before
you reassemble.
This tank is not dishwasher safe.

16
B
Cleaning your Pet Tool:
MAINTENANCE & CARE
1 2 3
54 6
Remove your spray nozzle & grooming
clip from the pet cleaning tool.
Dry your pet tool with
a clean cloth.
Wipe under your pet cleaning
tool tray with a dry cloth.
To clean all of your pet tools, use
warm water and mild dish soap.
To remove left behind hair,
clean your tools with a brush.
Remove the lens off of your
pet cleaning tool. Clean and
remove fur or hair
if necessary.
A

17
STORAGE
Wrap hose around unit.
Leave unit in rinse
mode for storage.
Store unit in
cool dry place.
Wrap the cord around clips Place extra tools and accessories
in storage bag.
1 2 3
54
To reduce the risk of a
leaking condition, do not store where
freezing may occur. Damage to internal
components may result.
NOTICE

18
DOG COAT GUIDE
Dog Fur/Hair Type Popular Dog Breed Examples
Smooth Bulldog, Terrier (Jack Russell, Fox, Manchester, Bull, Boston), Beagle,
Boxer, Pug, Rottweiler, Pointer, Dachshund, Great Dane, Doberman
Pinscher, Greyhound, Chihuahua, Vizslas
Wiry Terriers (Border, Dandle, Irish, Scottish, Highland),
Aenpinscher, Otterhound
Curly Curly-Coated Retriever, Bishon Frise, American Water Spaniels, Poodle,
Goldendoodle, Labradoodle
Silky Terrier (Yorkshire, Silky), Irish Setter, Cocker Spaniel, Afghan Hound,
Chinese Crested
Hypoallergenic Terrior (Yorkshire, Welsh, Irish, Lakeland, Miniature Bull, Soft-Coated
Wheaten), Cockapoo, Labradoodle, Poodle, Shih Tzu, Minature
Schnauzer, Brussels Grion, Barbet, Basenji
Medium Golden Retriever, German Shepard, Boarder Collie, Siberian Husky,
Akita, Cavalier King Charles Spaniel, Corgi, Brittany, Saint Bernard,
Australian Shepard
Double Labrador Retriever, Golden Retriever, Siberian Husky, Masti, Samoyed,
Malamute, German Shepard, Bernese Mountain Dog, Corgi, Pomeranian,
Sheepdog (Shetland, Old English), Yorkshire Terrier, Keeshond,
Newfoundland, Chow Chow
Flowing Terrier (Yorkshire, Silky, Skye, Tibetian), Springer Spaniel, Shih Tzu,
Maltese, Lhasa Apso, Afghan Hound
Need some help selecting a spray nozzle & grooming clip for your dog? Use our guide below.
Try dierent combinations and find the best one that works for you and your dog.
There might be dierent combinations for dierent parts of your dog.
NOTE

19
Short Medium Long Smooth Fine Thick
Most likely to work best for this dog fur/hair type. Likely to work well for this dog fur/hair type.

20
Problem Possible causes Remedies
Reduced
or no suction
Hair build-up on suction nozzle Clean as needed while washing dog
Tool is not firmly placed against dog's body Firmly press tool against dog’s body, and periodically let go of spray trigger to allow
for drying strokes
Area under dirty water tank has sand,
hair, or debris
Remove dirty water tank and clean any sand or debris off inlet on the base of the machine and
the gasket on the bottom of dirty water tank
Dirty tank full or not seated properly Empty tank and replace, snapping top lid into place
Clog or build-up in hose Suction hot water up to clear hose
Loose hose connection Ensure machine hose is locked in place into the bathing tool
Reduced spray
or
not spraying
Solution or water tank is empty Check and refill both water and bathing tool solution tanks
Spray tip clogged Rinse tool with warm water and use soft bristle brush on spray tips
Loose hose connection Ensure machine hose is locked in place into the bathing tool.
Hold trigger until water comes out
Lost prime Turn unit off; Refill the water tank (and shampoo tank if needed), turn unit on and hold
the trigger until spray resumes
Water has not reached the recovery tank Suction water up until it appears in the recovery tank
Leaking
Dirty water tank gasket not in place or damaged Place gasket in correctly (notched); If damaged, replace gasket
Loose hose connection Ensure machine hose is locked in place into the bathing tool; Hold trigger until water comes out
Damage or torn hose Have an authorized technician repair unit
Bathing tool solution cap not in place Make sure the solution cap on the bathing tool is in place with a gasket in the cap
Clean water tank cap is not securely tightened Remove clean water tank, unscrew cap, then place cap back on tank and tighten securely
Water still remains bathing tool/hose Similar to a garden hose, water may remain in the hose after unit is off
No power
to unit
Outlet not working Test outlet with a small appliance like a cell phone charger, and use another outlet if needed
Fuse/breaker to outlet tripped Reset the breaker
Dog still dirty
or smells
Difficult Odor (ie. skunk) Rewash with BISSELL® Odor & Skunk no-rinse shampoo or consult a professional for very
difficult odors
Shampoo
not foaming
Shampoo is designed to not be foamy Continue using appropriate no rinse shampoo that is not foamy
Shampoo is
not flowing
Not using a BISSELL no-rinse dog shampoo Always use a BISSELL no-rinse dog shampoo
Rinse/Shampoo switch not fully engaged Make sure switch is securely selected to the desired function
Lost prime Turn unit off; Refill the water tank (and shampoo tank if needed), turn unit on and hold the
trigger until spray resumes
TROUBLESHOOTING
WARNING
To reduce the risk of electric shock, turn power swtich o and disconnect plug from electrical
outlet before performing maintenance or troubleshooting checks.
Table of contents
Other Bissell Pet Care Product manuals

Bissell
Bissell Pet Inspired BarkBath QT 2290 Series User manual

Bissell
Bissell BARKBATH 1844 SERIES User manual

Bissell
Bissell PET HAIR ERASER 2475 Series User manual

Bissell
Bissell BARKBATH 1842 Series User manual

Bissell
Bissell BARKBATH User manual

Bissell
Bissell BARKBATH 1844 SERIES User manual

Bissell
Bissell BARKBATH 1844 SERIES User manual

Bissell
Bissell 1782 Series User manual