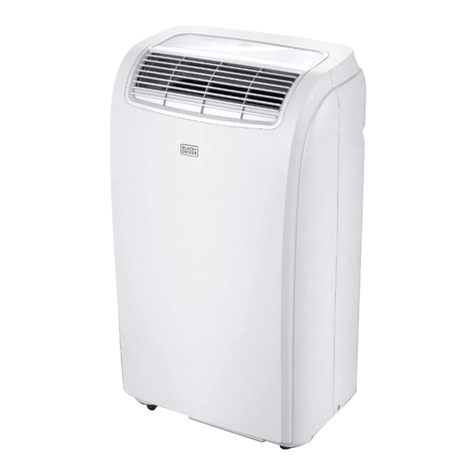
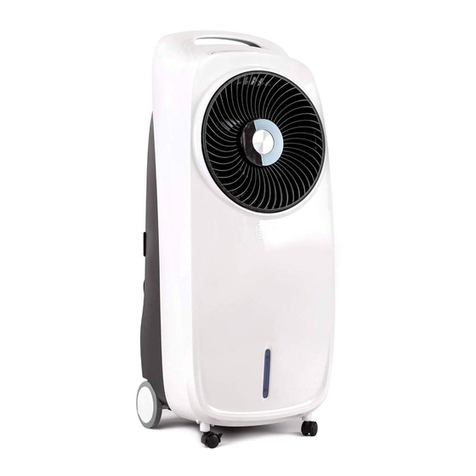
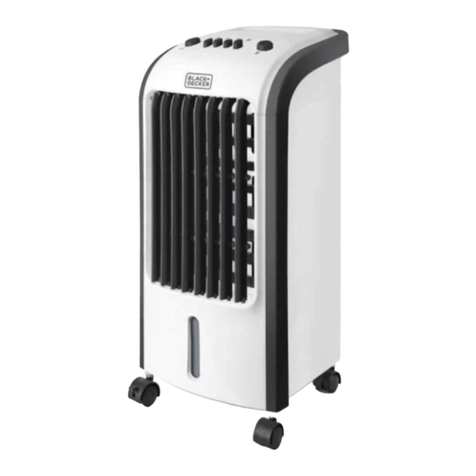
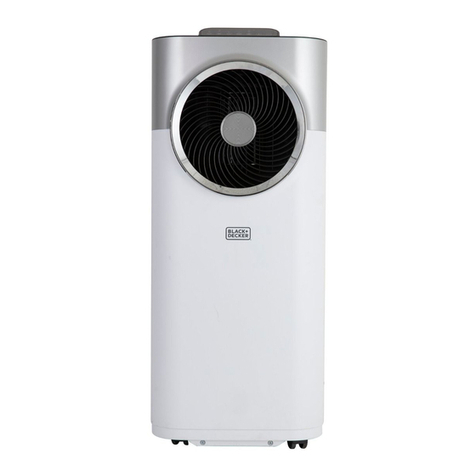
Black & Decker BXAC65001GB User manual
Other Black & Decker Air Conditioner manuals
Black & Decker
Black & Decker BPC08CJ User manual
Black & Decker
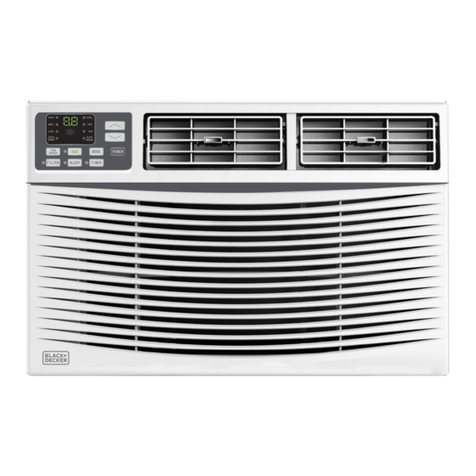
Black & Decker BWAC06WT User manual
Black & Decker
Black & Decker BPC14CJ Installation instructions
Black & Decker
Black & Decker BPC14CJ User manual
Black & Decker
Black & Decker BXAC40008GB User manual
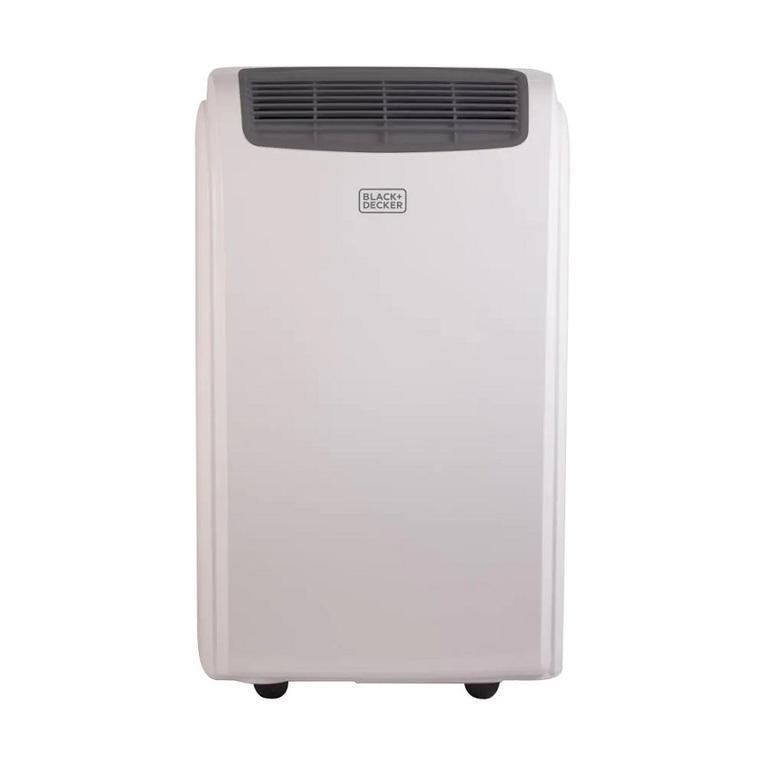
Black & Decker
Black & Decker BPACT08 SERIES User manual

Black & Decker
Black & Decker BWAC08WTB User manual
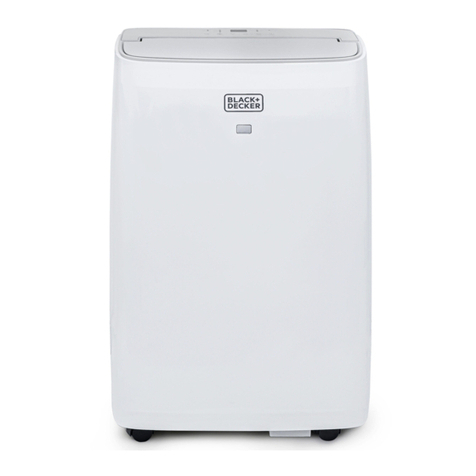
Black & Decker
Black & Decker BPT10WTB User manual
Black & Decker
Black & Decker BPACT08WT User manual
Black & Decker
Black & Decker BXAC9000E User manual
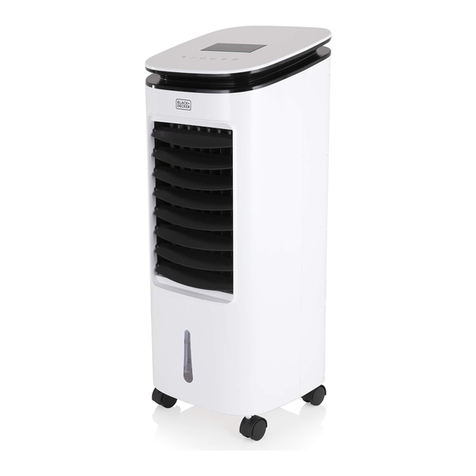
Black & Decker
Black & Decker BXAC65002GB User manual
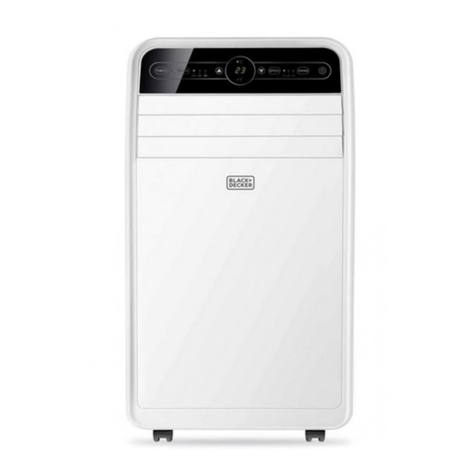
Black & Decker
Black & Decker BXAC9001E User manual
Black & Decker
Black & Decker BXAC40005GB User manual
Black & Decker
Black & Decker BPP06WTB User manual
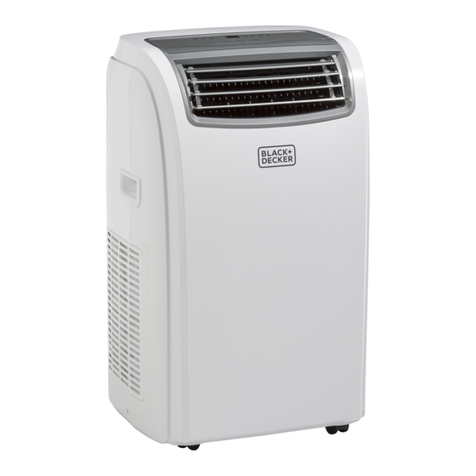
Black & Decker
Black & Decker BPACT12 Series User manual
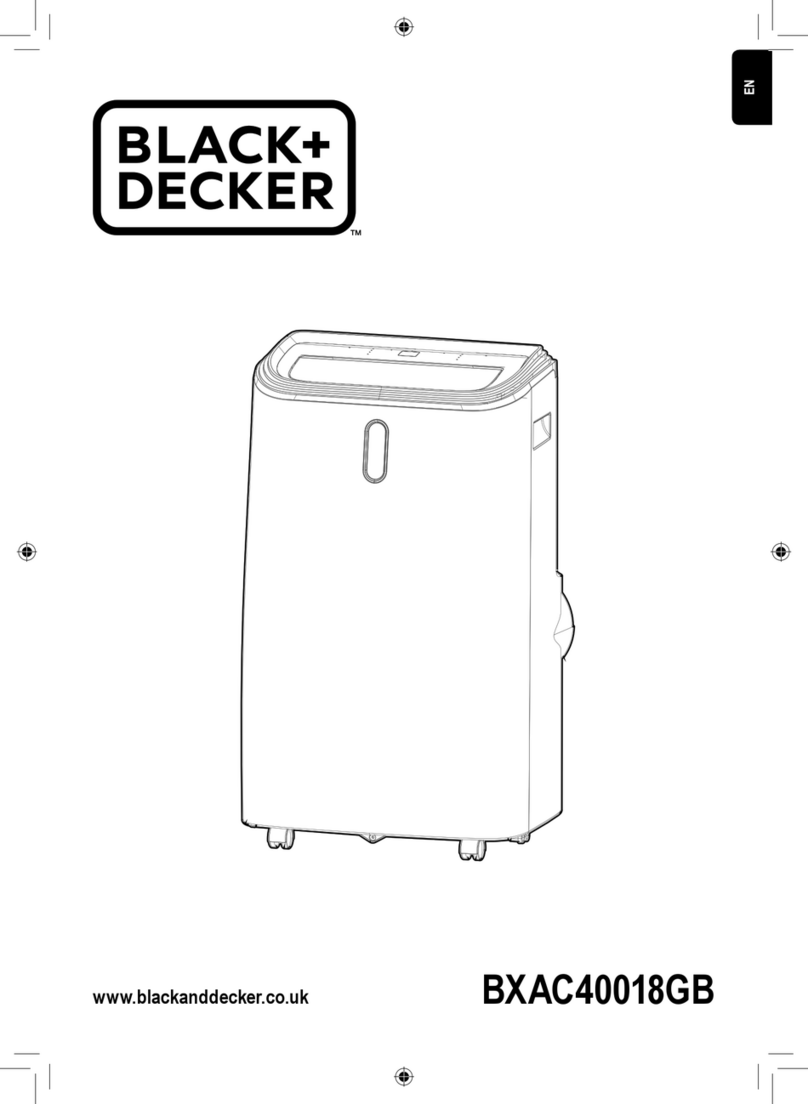
Black & Decker
Black & Decker BXAC40018GB User manual
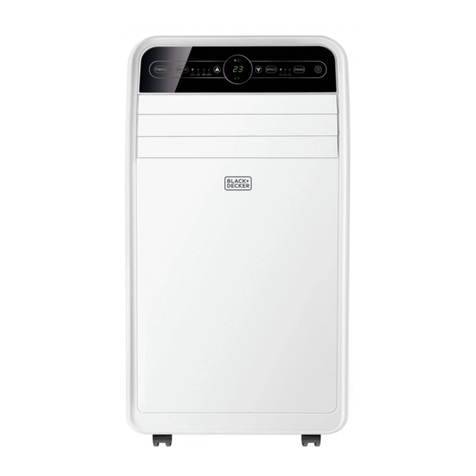
Black & Decker
Black & Decker BXAC12001E User manual
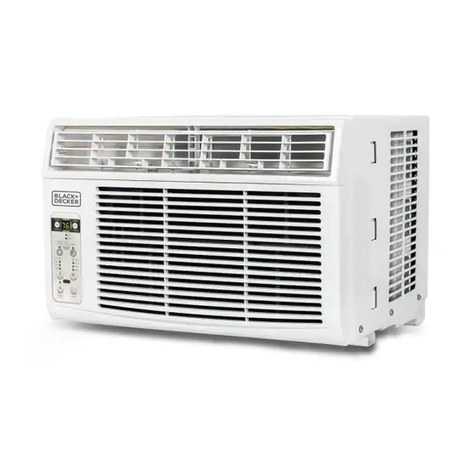
Black & Decker
Black & Decker BD06WT6 User manual

Black & Decker
Black & Decker BPACT14H Series User manual
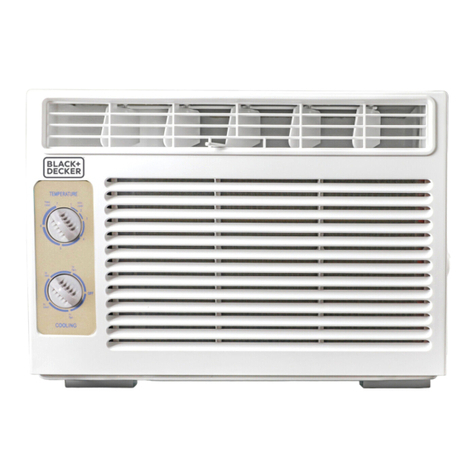
Black & Decker
Black & Decker BD05MWT6 User manual
Popular Air Conditioner manuals by other brands

CIAT
CIAT Magister 2 Series Installation, Operation, Commissioning, Maintenance

Bestron
Bestron AAC6000 instruction manual

Frigidaire
Frigidaire FFRE0533S1E0 Use & care guide

Samsung
Samsung AS09HM3N user manual

Frigidaire
Frigidaire CRA073PU11 use & care

Soleus Air
Soleus Air GB-PAC-08E4 operating instructions

McQuay
McQuay MCK020A Technical manual

Webasto
Webasto Frigo Top 25 DS Instructions for use

Frigidaire
Frigidaire FAZ12ES2A installation instructions

Mitsubishi Electric
Mitsubishi Electric MSC-GE20VB operating instructions

Mitsubishi Electric
Mitsubishi Electric PLA-M100EA installation manual

Daikin
Daikin Split Sensira R32 Service manual

