manuals.online logo
Brands
  1. Home
  2. •
  3. Brands
  4. •
  5. Blaupunkt
  6. •
  7. Security Sensor
  8. •
  9. Blaupunkt HD-S1 User manual

Blaupunkt HD-S1 User manual

Other Blaupunkt Security Sensor manuals

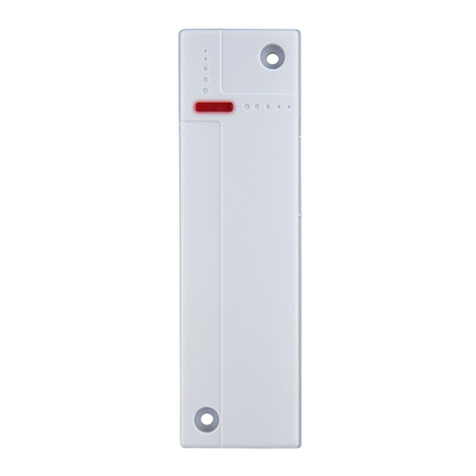
Blaupunkt ISD-WD1 User manual

Blaupunkt

Blaupunkt ISD-WD1 User manual

Blaupunkt HD-S1 User manual

Blaupunkt

Blaupunkt HD-S1 User manual

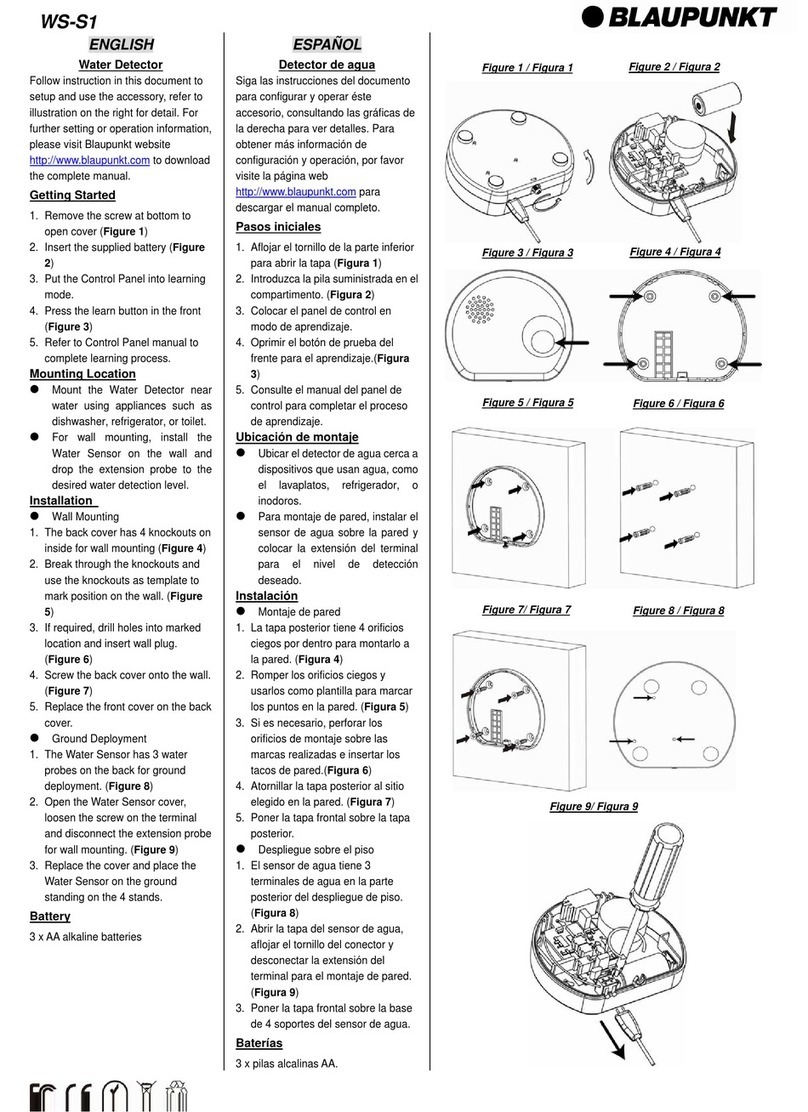
Blaupunkt WS-S1 User manual

Blaupunkt

Blaupunkt WS-S1 User manual

Blaupunkt IR-S1L User manual

Blaupunkt

Blaupunkt IR-S1L User manual

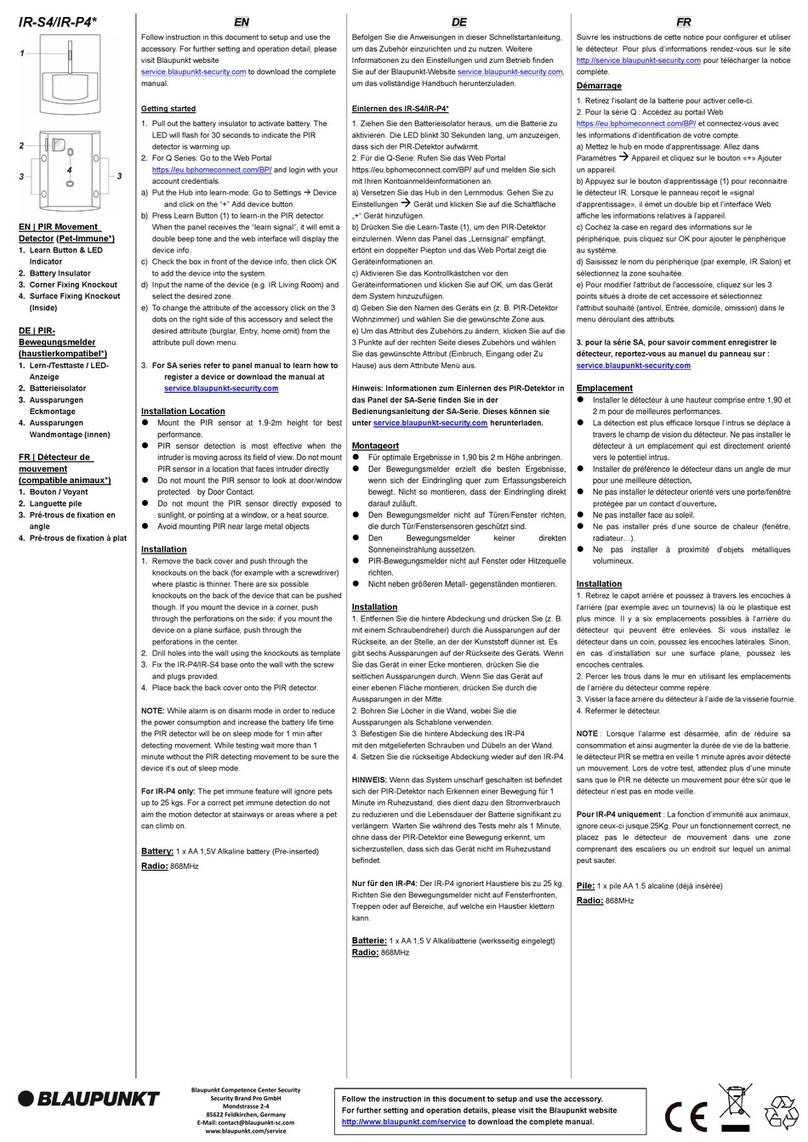
Blaupunkt IR-S4 User manual

Blaupunkt

Blaupunkt IR-S4 User manual

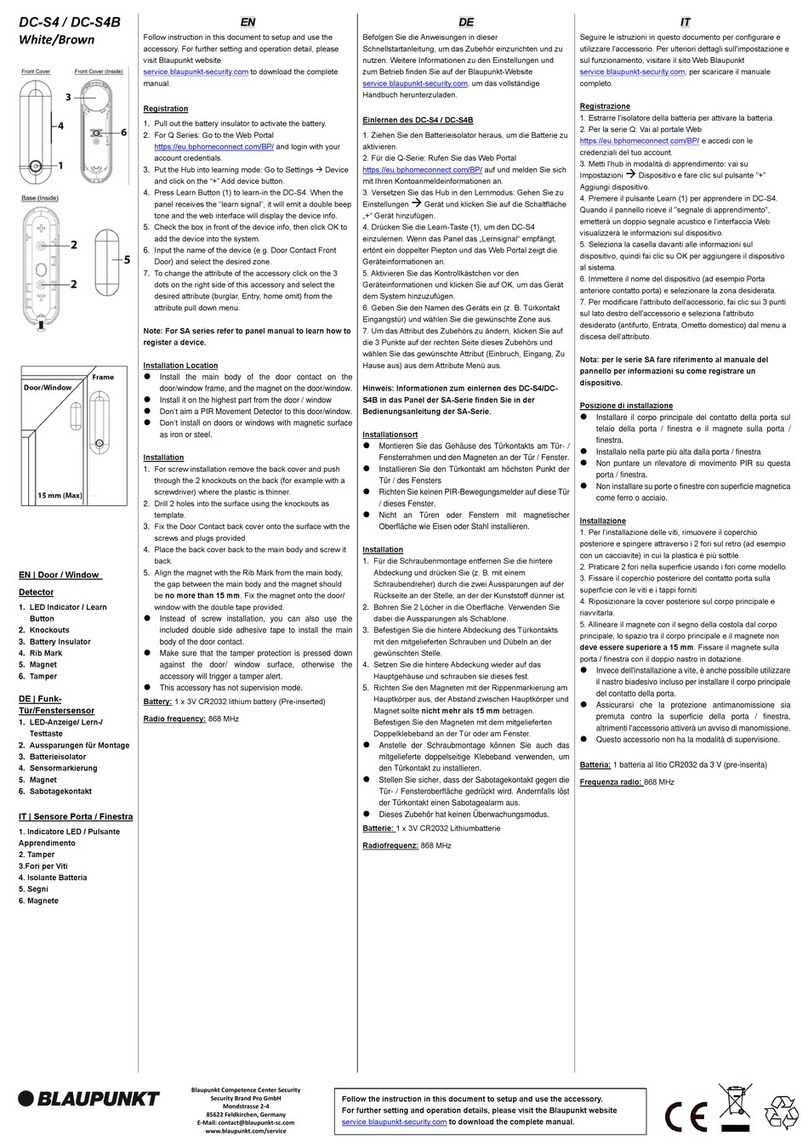
Blaupunkt DC-S4 User manual

Blaupunkt

Blaupunkt DC-S4 User manual

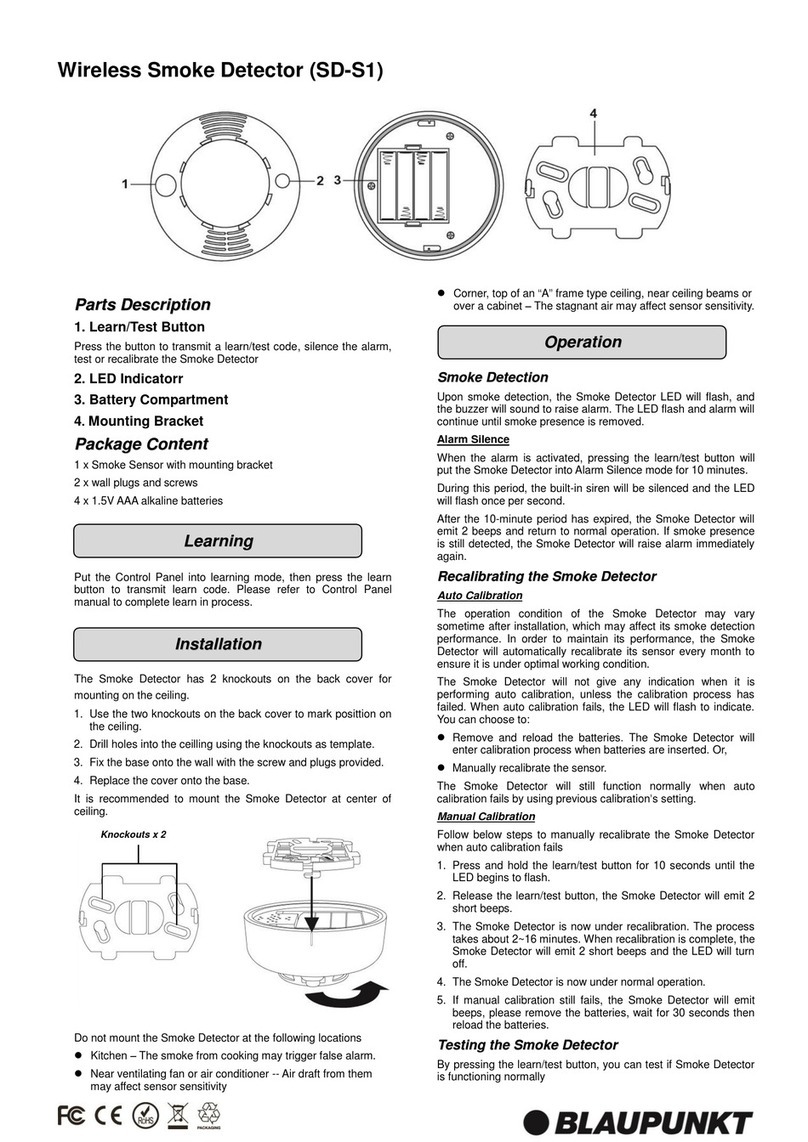
Blaupunkt SD-S1 User manual

Blaupunkt

Blaupunkt SD-S1 User manual

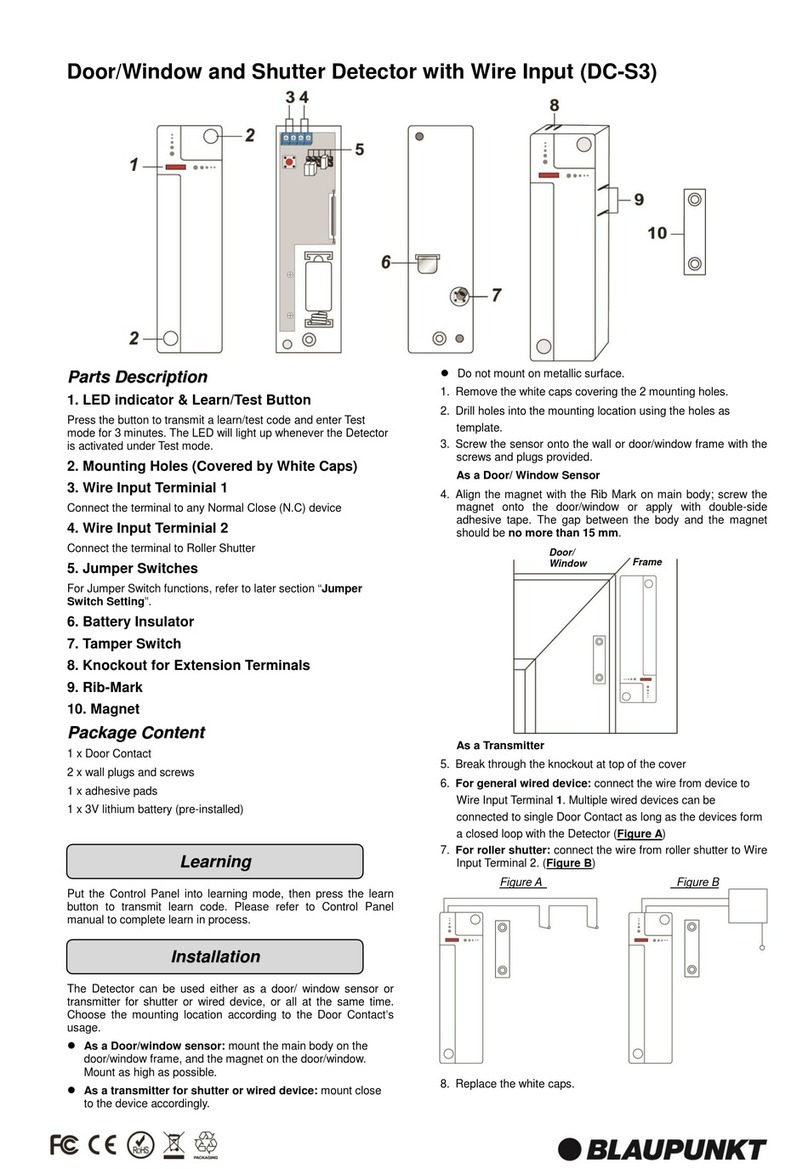
Blaupunkt DC-S3 User manual

Blaupunkt

Blaupunkt DC-S3 User manual

Blaupunkt DC-S2 User manual

Blaupunkt

Blaupunkt DC-S2 User manual

Blaupunkt CO-S1 User manual

Blaupunkt

Blaupunkt CO-S1 User manual

Blaupunkt DC-S3 User manual

Blaupunkt

Blaupunkt DC-S3 User manual

Blaupunkt IR-S1 User manual

Blaupunkt

Blaupunkt IR-S1 User manual

Popular Security Sensor manuals by other brands

Honeywell Home PROSiXCOCN Installation and setup guide

Honeywell Home

Honeywell Home PROSiXCOCN Installation and setup guide

Duevi SIRPZ-RB-868 Operation

Duevi

Duevi SIRPZ-RB-868 Operation

RKI 65-2483RK Operator's manual

RKI

RKI 65-2483RK Operator's manual

Nortech PD160 Enhanced Series user manual

Nortech

Nortech PD160 Enhanced Series user manual

Omron K8AC-H2 manual

Omron

Omron K8AC-H2 manual

Agilent Technologies G8610 Series Quick reference card

Agilent Technologies

Agilent Technologies G8610 Series Quick reference card

Shinko SE2EA-1-0-0 instruction manual

Shinko

Shinko SE2EA-1-0-0 instruction manual

Det-Tronics X Series instructions

Det-Tronics

Det-Tronics X Series instructions

ACR Electronics COBHAM RCL-300A Product support manual

ACR Electronics

ACR Electronics COBHAM RCL-300A Product support manual

TOOLCRAFT 1712612 operating instructions

TOOLCRAFT

TOOLCRAFT 1712612 operating instructions

Elkron IM600 Installation, programming and functions manual

Elkron

Elkron IM600 Installation, programming and functions manual

Bosch WEU PDO 6 Original instructions

Bosch

Bosch WEU PDO 6 Original instructions

THORLABS PDA10JT user guide

THORLABS

THORLABS PDA10JT user guide

Waeco UV-DETECT operating manual

Waeco

Waeco UV-DETECT operating manual

Intermatic IOS-DSIMF manual

Intermatic

Intermatic IOS-DSIMF manual

Siemens AZL66 Series manual

Siemens

Siemens AZL66 Series manual

BTI Profiline Multi Finder operating instructions

BTI

BTI Profiline Multi Finder operating instructions

Challenger SL01 instruction manual

Challenger

Challenger SL01 instruction manual

manuals.online logo
manuals.online logoBrands
  • About & Mission
  • Contact us
  • Privacy Policy
  • Terms and Conditions

Copyright 2025 Manuals.Online. All Rights Reserved.

HD-S1

ENGLISH
Heat Detector
Follow instruction in this document to
setup and use the accessory, refer to
illustration on the right for detail. For
further setting or operation information,
please visit Blaupunkt website
http://www.blaupunkt.com to download
the complete manual.
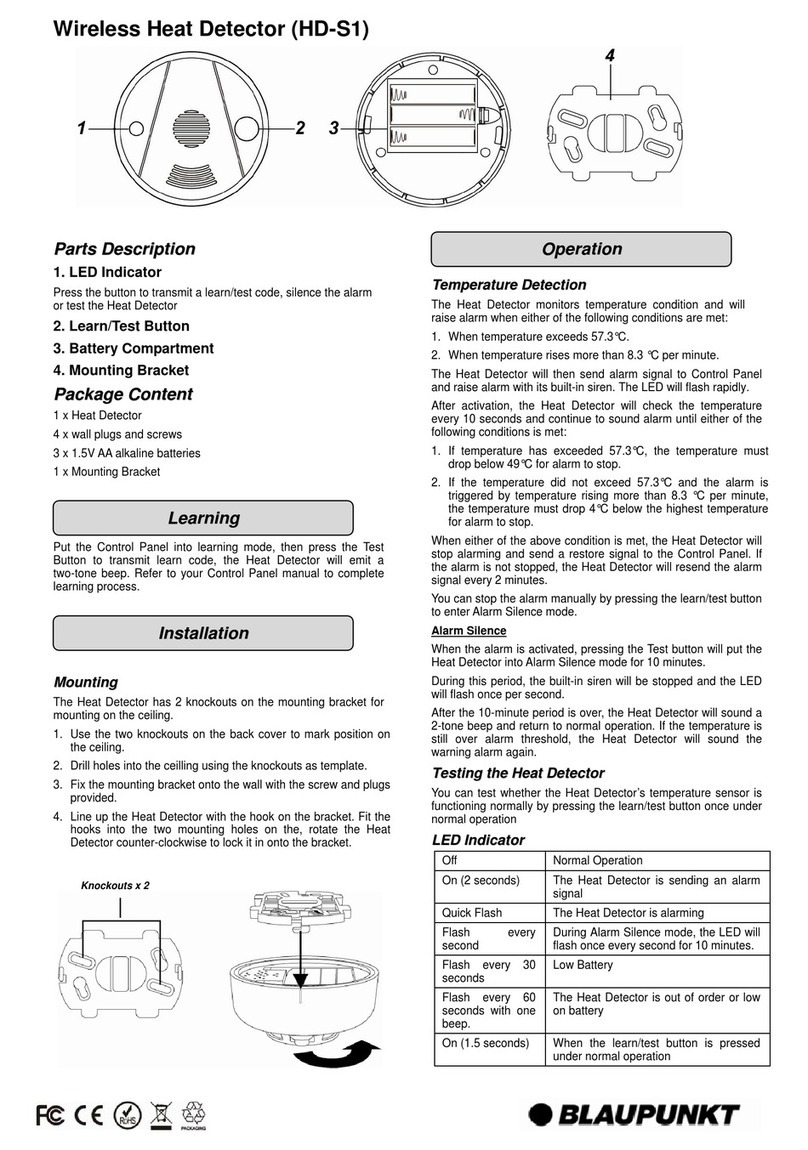
Getting Started
1. Remove the mounting bracket
(Figure 1) then open the battery
compartment cover. (Figure 2)
2. Insert the supplied batteries
(Figure 3) and replace the battery
compartment cover
3. Put the Control Panel into learning
mode.
4. Press the learn button in the front.
(Figure 4)
5. Refer to Control Panel manual to
complete learning process.
Mounting Location
Mount the Heat Detector on the ceiling
at the following locations.
Kitchen and garage – The smoke
presence in these location
prevented Smoke Detector
deployment and should be
protected by Heat Detector.
Chemical storage – Fire caused
by chemical material may burn
very quickly with extreme heat yet
little smoke. In this case the Heat
Detector will be able to react more
quickly than Smoke Detector.
Installation
1. Use the two mounting holes on the
mounting bracket to mark position
on the ceiling. (Figure 5)
2. If required, drill holes into marked
location and insert wall plug.
(Figure 6)
3. Screw the bracket onto the wall.
(Figure 7)
4. Hook the Heat Detector main body
on the mounting bracket and turn
clockwise to secure.(Figure 8)
Battery
3 x AA alkaline batteries
ESPAÑOL
Detector de calor
Siga las instrucciones del documento
para configurar y operar éste
accesorio, consultando las gráficas de
la derecha para ver detalles. Para
obtener más información de
configuración y operación, por favor
visite la página web
http://www.blaupunkt.com para
descargar el manual completo.
Pasos iniciales
1. Retirar el soporte de montaje
(Figura 1), luego abrir la tapa del
compartimento de pilas. (Figura 2)
2. Introducir las pilas suministradas
(Figura 3) y cerrar la tapa de las
pilas.
3. Colocar el panel de control en
modo de aprendizaje.
4. Oprimir el botón de prueba que
está al frente.(Figura 4)
5. Consulte el manual del panel de
control para completar el proceso
de aprendizaje.
Ubicación de montaje
Ubicar el detector de calor sobre el
techo de:
Cocina y garaje – Como la
presencia del humo en estas
áreas no permitió ubicar el
detector de humos, deberá ser
protegido por el detector de calor.
Almacen de químicos – El fuego
producido por material químico se
quemará rápidamente con
excesivo calor sin la presencia de
humo. Para estos casos el
detector de calor podrá reaccionar
mas rápidamenteque el detector
de humos.
Instalación
1. Utilice los 2 orificios del soporte de
montaje para marcar la ubicación
en el techo.(Figura 5&6)
2. Si es necesario, perforar los
orificios de montaje sobre las
marcas realizadas e insertar los
tacos de pared .(Figura 7)
3. Atornillar el soporte sobre la pared.
(Figura 8)
4. Enganchar el detector de calor
sobre el soporte de montaje y
girarlo hacia la derecha para
asegurarlo.(Figura 9)
Baterías
3 x pilas alcalinas AA
Figure 1 / Figura 1
Figure 6 / Figura 6
Figure 2 / Figura 2
Figure 3 / Figura 3 Figure 4 / Figura 4
Figure 7 / Figura 7
Figure 5 / Figura 5
Figure 8 / Figura 8
Figure 9 / Figura 9
HD-S1

FRANCAIS
Détecteur de chaleur
Suivre les instructions de cette notice
pour enregistrer et utiliser le détecteur ;
pour plus de détails, voir les images
sur la droite.
Enregistrement
1. Enlever la fixation murale (Figure
1), puis ouvrir le couvercle du
compartiment piles. (Figure 2)
2. Insérer les piles fournies dans le
compartiment (Figure 3) et
refermer le compartiment piles. Le
détecteur émet deux bips.
3. Mettre la centrale en mode
Enregistrement.
4. Appuyer sur le bouton
d’enregistrement. (Figure 4)
5. Se référer à la notice de la centrale
pour finir l’enregistrement.
Emplacement
Installer le détecteur sur le plafond aux
endroits suivants :
Cuisine et garage – La présence
de fumée dans ces lieux empêche
l’utilisation d’un détecteur de
fumée.
Stockage de produits chimiques –
Les feux provoqués par des
produits chimiques produisent
une chaleur très forte mais peu de
fumée. Pour ces raisons il est
préférable d’installer un détecteur
de chaleur.
Installation
1. Utiliser les deux trous sur la fixation
murale pour marquer
l’emplacement sur le plafond.
(Figure 5)
2. Si nécessaire, percer des trous à
l’emplacement marqué et insérer
des chevilles. (Figure 6)
3. Visser la fixation murale. (Figure 7)
4. Poser le détecteur sur la fixation et
tourner dans le sens des aiguilles
d’une montre pour le fixer.
(Figure 8)
Piles
3 x AA alcaline
PORTUGUÊS
Detector de Calor
Siga as instruções neste documento
para instalação e uso do acessório.
Para mais configuração e detalhes de
operação, por favor visite o site
Blaupunkt http://www.blaupunkt.com
para baixar o manual completo.
Começando
1. Remova o suporte de montagem
(Figura 1), em seguida, abra a
tampa do compartimento da bateria.
(Figura 2)
2. Insira as pilhas fornecida
(Figura 3) e recoloque a tampa do
compartimento da bateria
3. Coloque o Painel de Controle no
modo de aprendizagem.
4. Pressione o botão de programação
na parte da frente (Figura 4)
5. Consulte o manual do painel de
controle para concluir o processo
de aprendizagem.
Local de Montagem
Monte o detector de calor no teto, nos
seguintes locais
Cozinha e garagem - A presença
de fumaça nesta localização
impedido Fumaça Detector de
implantação e devem ser
protegidos por Detector de calor.
Armazenamento de produtos
químicos - Incêndio causado por
material químico pode queimar
muito rapidamente com o calor
extremo ainda pouca fumaça.
Neste caso, o detector de calor
será capaz de reagir mais
rapidamente do que o detector de
fumo
Instalação
1. Use os dois orifícios de fixação do
suporte de montagem para marcar
posição sobre o teto. (Figura 5)
2. Se necessário, fazer furos em local
marcado e inserir ficha de parede.
(Figura 6)
3. Aperte o suporte na parede.
(Figura 7)
4. Prenda o corpo principal Detector
de calor no suporte de montagem e
gire no sentido horário para fixar.
(Figura 8)
Bateria
3 pilhas alcalinas AA





Figure 1 / Figura 1
Figure 6 / Figura 6
Figure 2 / Figura 2
Figure 3 / Figura 3 Figure 4 / Figura 4
Figure 7 / Figura 7
Figure 5 / Figura 5
Figure 8 / Figura 8
Figure 9 / Figura 9