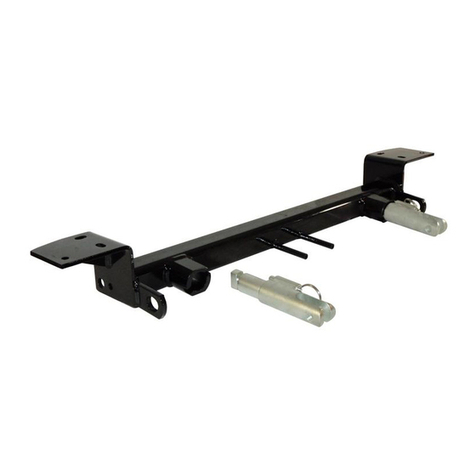
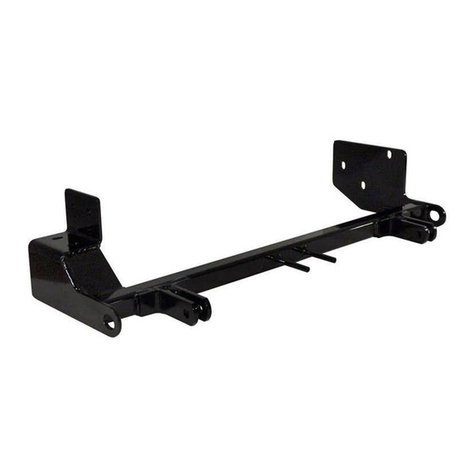
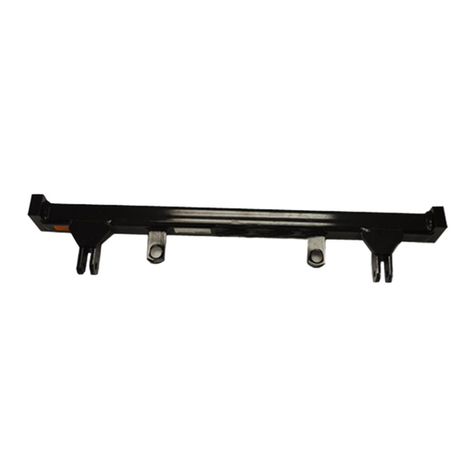
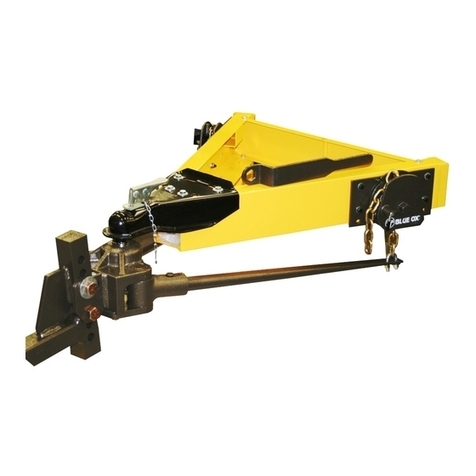
Blue Ox DH2303 User manual

DH2303
2016 Chevy/GMC 2500/3500
(Standard & Long Box)
Installation Instructions
Page 1 of 9
Please read these Installation Instructions in their entirety prior to
installing or operating this equipment.
Serial Number
Bolt Size Grade 5 Grade 8
1/4” 10 14
5/16” 19 29
3/8” 33 47
7/16” 54 78
1/2” 78 119
5/8” 154 230
3/4” 257 380
Bolt Torque Specications
Torque in Foot-Pounds for Inch Bolts
Bolt Torque Specications
Torque in Foot-Pounds for Metric Bolts
Bolt Size Grade 8.8 Grade 10.9
6MM 6 8
8MM 16 22
10MM 31 40
12MM 54 70
14MM 89 117
16MM 161 230
18MM 222 318
This hitch is rated to 30,000 lbs. Gross Towing Weight
and 7,500 lbs. Tongue Weight
!
Refer to your vehicle’s owner’s manual for
maximum towing capacity. DO NOT exceed
vehicle, tongue or hitch weight ratings - failure to
follow vehicle manufacturer’s recommendations
could result in damage to your vehicle, personal
injury or death.
WARNING !
Failure to read and follow these instructions could
result in separation of the trailer from the truck,
causing property damage, loss of towed vehicle,
personal injury or death.
WARNING

DH2303
2016 Chevy/GMC 2500/3500 (Standard & Long Box)
Installation Instructions
Page 2 of 9
NOTICE
• When a bed liner is installed, compensation of the bed liner thickness must be accounted for when
measuring the ball location in the box bed.
• When using power drills be aware of the dangers of torque and drill bit length.
• When using a reciprocating saw be aware of objects behind the cutting surface.
• Use a good quality paint to spray cut edges of frame to prevent rusting.
• Be sure to use Loctite®Red on all bolts before tightening. Tighten all bolts according to the torque
chart provided.
• The installer must instruct the operator on proper ball installation and locking procedures.
• Dealer or installer be certain the user receives these instruction sheets.
• If the hitch is in an accident, it must be replaced. DO NOT use it again! An accident can cause
unseen damage and using it again could result in more damage or serious injury. DO NOT use the
hitch if it is damaged or missing parts.
• Trailer brakes are required.
• Alwaysinsurethereissufcientclearancebetweenthehitchballinthestoredpositionandthe
vehicle’s rear differential.
• Donotuseanyopenameunderthetruckbedtocutorweld.Thereisextremedangerof
explosionorre.
• Vehicle must be securely blocked and brakes set before beginning to work underneath the vehicle.
• Do not clamp hitch over any wiring or brake lines.
• Always make sure trailer is loaded slightly tongue heavy. Do not pull a trailer that is lighter on the
tongue end.
• Always insure the hitch ball is locked into the hitch prior to towing.
!WARNINGS
Instruction Notes: The exhaust hangers are removed and reinstalled for the hitch installation. Some
drilling and trimming is required.
Placeallcomponentsthatareremovedonaat,sturdysurface.Allitemswillbereinstalledunless
otherwise noted after the hitch is installed.
The dimensional variations between otherwise identical vehicles can be considerable. While this hitch
was designed for easy installation, it may be necessary to modify the hitch slightly to compensate for
vehicle manufacturer’s tolerances.
Maintenance/Care
• Periodically clean any dirt/debris from the ball and ball housing and moderately lubricate them with
white lithium grease or equivalent grease.

DH2303
2016 Chevy/GMC 2500/3500 (Standard & Long Box)
Installation Instructions
Page 3 of 9
4
9
8
2
11
6
18
16
7
15
9
1
16 17
13
10
16
12
9
3
5
9
14
Tools Required
Torque Wrench
Drill
Tape Measure
Loctite®RED
5” Hole Saw
19/32” Drill Bit
3/4” Socket
3/4” Wrench
15/16” Socket
Front of Vehicle
Item No. Part No. Description Qty.
1.................................61-7328 .............................1/2”-13 Hex Bolt Plate x 10-1/2”L ....................................1
2.................................62-3822 .............................Hitch Ball .........................................................................1
3.................................62-3996 .............................DH2303 Center Section ..................................................1
4.................................101-8041 ...........................DH2303 PS Side Plate ....................................................1
5.................................101-8042 ...........................DH2303 DS Side Plate....................................................1
6.................................101-8632 ...........................5/8” Locking Plate............................................................4
7.................................101-8741 ...........................DH2303 Front Cross Member .........................................1
8.................................102-7636 ...........................DH2303 Back Cross Member..........................................1
9.................................201-0051 ...........................1/2”-13 x 1-1/2” Hex Head Bolt, Grade 5, ZP ..................9
10...............................201-0068 ...........................1/2”-13 x 1-3/4” Hex Head Bolt, Grade 5, ZP ..................2
11 ...............................201-0275 ...........................1/2”-13 x 3-3/4” x 2-1/2” U-Bolt, ZP .................................2
12...............................201-0293 ...........................5/8”-11 x 2” Carriage Bolt, ZP..........................................4
13...............................202-0072 ...........................1/2”-13 Hex Flange Whiz Lock Nut, ZP...........................6
14...............................202-0073 ...........................5/8”-11 Hex Flange Whiz Lock Nut, ZP ...........................4
15...............................202-0185 ...........................1/2”-13 Hex Nylon Lock Nut, Grade 8, ZP.......................4
16...............................203-0005 ...........................1/2” Flat Washer, ZP......................................................12
17...............................203-0012 ...........................1/2” Lock Washer, ZP ......................................................6
18...............................222-0159 ...........................Compression Spring (.05” Dia x .85” x 2”).......................4
19...............................229-0976(not shown) ........5/8” x 48” Fishwire...........................................................4
20...............................250-0264(not shown) ........Ball Housing Plug ............................................................1
Important:
Use only genuine factory replacement parts on your hitch. Do NOT substitute homemade or non-typical parts. If a bolt is lost or in need of replacement,
for your safety and the preservation of your hitch, be sure to use a replacement bolt of the same grade (In most cases it will be Grade 5, please
reference the parts list above). Replacement parts may be ordered through your nearest Blue Ox® Dealer or Distributor. Failing to follow and/or altering
these installation instructions in either installation or required equipment will void the manufacturer’s warranty.

DH2303
2016 Chevy/GMC 2500/3500 (Standard & Long Box)
Installation Instructions
Page 4 of 9
1. Using the vehicles jack handle tool,
remove the spare tire as per vehicles
owners manual.
2. Drop the exhaust by sliding the three
(3) hangers out of the rubber insulators.
There is one (1) on either side of the axle
andone(1)inbackofthemufer.
Note: Using silicone spray on the hangers
eases removal from rubber insulators.
Behind Axle
Forward of Axle
Behind Mufer
3. 2016 Models: Remove the four (4) bolts
from the ends of the heat shield and set
aside.
Older Models: Remove the heat shield by
cutting between two (2) bed frame rails on
the underside of the bed above the axle
(as shown by the dotted lines).
2016

DH2303
2016 Chevy/GMC 2500/3500 (Standard & Long Box)
Installation Instructions
Page 5 of 9
6. Install the center section, by sliding it
in from the backside over the axle then
aligning with the hole in the bed. Secure in
place.
7. On both sides of the center section, bolt
the cross members to the center section
with the supplied 1/2” hardware. Do not
fully tighten hardware.
4. On the inside of the bed, measure from the
rear (not the tailgate) forward 50-3/8” for a
8’ bed or 45-1/2” for a 6’-6” bed and mark.
Measure between the wheel wells and mark
center. Using a 5” holesaw, drill a hole thru
the bed.
Note: Using a board while drilling decreases
chances of the bit wobbling out of position
(left inset). It is also recomended to debur
the hole so the hitch will sit tight against the
bed (right inset).
5. Slide the cross members in from the side.
Pushtheatendinjustaheadoftherib.
Slide the angle in part way, lift up and
bendtheribthennishpushingitin,then
bend the rib back. Turn so that the holes
are on the lower side, facing down and to
the back.
Optional: Loosen the bed bolts and lift the
bed to clear cross members.

DH2303
2016 Chevy/GMC 2500/3500 (Standard & Long Box)
Installation Instructions
Page 6 of 9
9. Align the holes at the end of the angle and
the rear cross member. Install a 1/2”-13 x
1-1/2”boltwitha1/2”lockandatwasher.
On the front use a 1/2”-13 x 1-1/2” bolt
with a 1/2” lock washer and 1/2”-13 nut.
Do this on both sides of the vehicle.
8. On the backside of the bed rib, measure
to the 1”x2” cross member. Set to an
equal distance on both sides so the hitch
is square with the vehicle.
10. Installtheshwireintotheholeinthesideplatethrutheframeandouthenearestframehole.
Installtheplate&carriageboltontotheshwireandpullthrutheframeandoutthesideplate
hole. Install the nut onto the bolt. Do this to both side plate holes on both sides of the vehicle.

DH2303
2016 Chevy/GMC 2500/3500 (Standard & Long Box)
Installation Instructions
Page 7 of 9
12. Using a 19/32” drill bit, drill the two (2)
holes closest to the ball thru the bed. Do
this on both sides of the center section.
13. Insert the 1/2”-13 u-bolts thru the holes
fromthetopside.Installa1/2”atwasher,
aspring,another1/2”atwasherand
1/2”-13 lock nut onto each u-bolt stud.
Tighten until the washers are touching the
spring without compressing it.
14. Reinstall the exhaust to the factory
hangers. Reinstall the spare tire per the
vehicles owners manual.
11. Check the rotation of the top collar at
this time to insure the bed is not rubbing
against it and it can rotate freely. If
necessary drop the center section and
remove any obstructions.
Once rotation is checked, fully tighten
all hardware to the appropriate torque
specications.

DH2303
2016 Chevy/GMC 2500/3500 (Standard & Long Box)
Installation Instructions
Page 8 of 9
Installing the Hitch Ball
Removing the Hitch Ball
2. Align the ball with the collar and drop the
ball into the hitch. Release the locking
collar. Pull up on the ball to insure it is
locked into the housing.
1. Rotate the locking collar to release the
latch pawl.
1. Rotate the locking collar to release the
latch pawl. Pull straight up on the ball to
remove from the hitch.

DH2303
2016 Chevy/GMC 2500/3500 (Standard & Long Box)
Installation Instructions
Page 9 of 9
Storing the Hitch Ball
1. Rotate the locking collar to release the
latch pawl. Align the ball with the collar
and drop the ball into the hitch.
2. Release the locking collar.
CUSTOMER SERVICE COMMITMENT
Blue Ox® is committed to providing you with exceptional customer care throughout your lifetime
with our products. Our team is here to assist you with any questions you may have regarding the
performance of your product.
Additionally, please visit our website to see which rallies our Destination America team will be
attending. For a nominal fee, our service technician will service your towing system to ensure it’s in
proper working condition. Also, as a commitment to our customers, should you visit our factory, you
can stay at our full service Blue Ox® campground at no charge along with enjoying a factory tour.
Again,thankyouforbeingourcustomerandfortheconfidenceyouhaveshowninthe
performanceof our products. It is because of customers like you we enjoy the success we have
today.
Shop for other trailer hitches & towing accessories on our website.
Other Blue Ox Automobile Accessories manuals

Blue Ox
Blue Ox Patriot BRK2010 User manual

Blue Ox
Blue Ox BX1502 User manual

Blue Ox
Blue Ox BX1504 User manual

Blue Ox
Blue Ox BedSaver BXR4102 User manual

Blue Ox
Blue Ox BX3776 User manual

Blue Ox
Blue Ox bx1126 User manual

Blue Ox
Blue Ox BX1117 User manual

Blue Ox
Blue Ox BX2610 User manual

Blue Ox
Blue Ox TRION BX7520P User manual

Blue Ox
Blue Ox BX1678 User manual

Blue Ox
Blue Ox BX4102 User manual

Blue Ox
Blue Ox BX1120 User manual

Blue Ox
Blue Ox BX7365 User manual

Blue Ox
Blue Ox BX3781 User manual

Blue Ox
Blue Ox BX1141 User manual

Blue Ox
Blue Ox BX1126 User manual

Blue Ox
Blue Ox BX2711 User manual

Blue Ox
Blue Ox BX1136 Service manual

Blue Ox
Blue Ox AVENTA II User manual

Blue Ox
Blue Ox BX3772 User manual