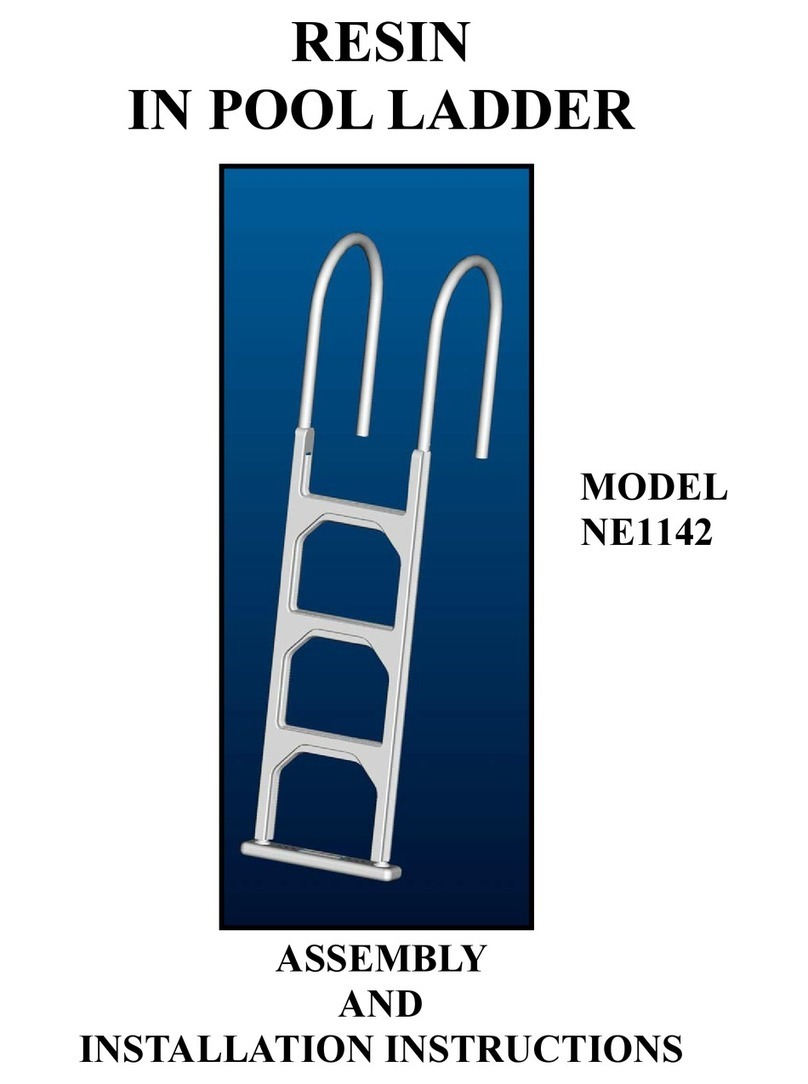
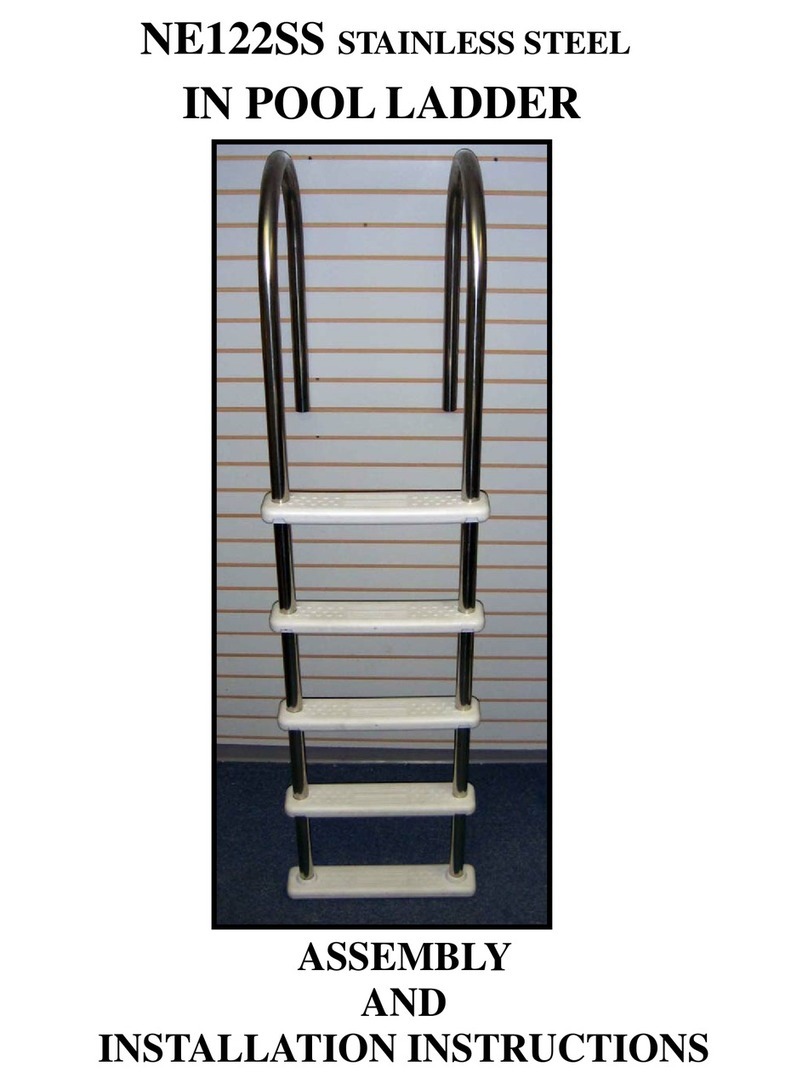
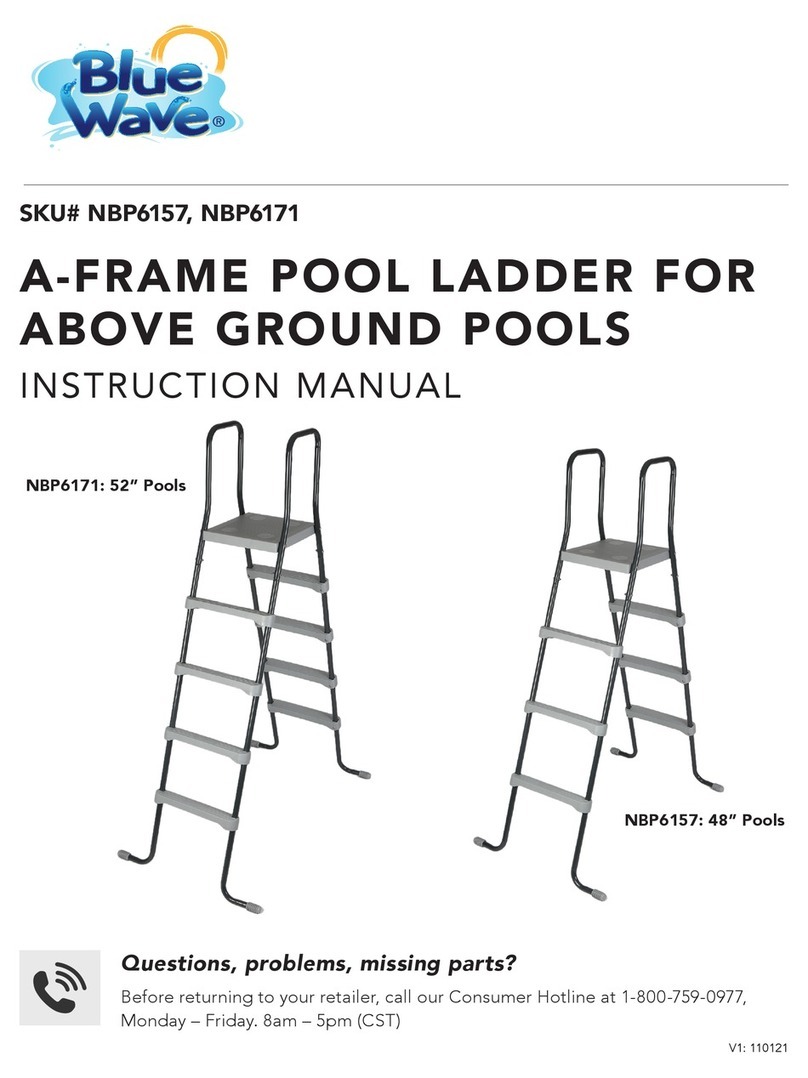
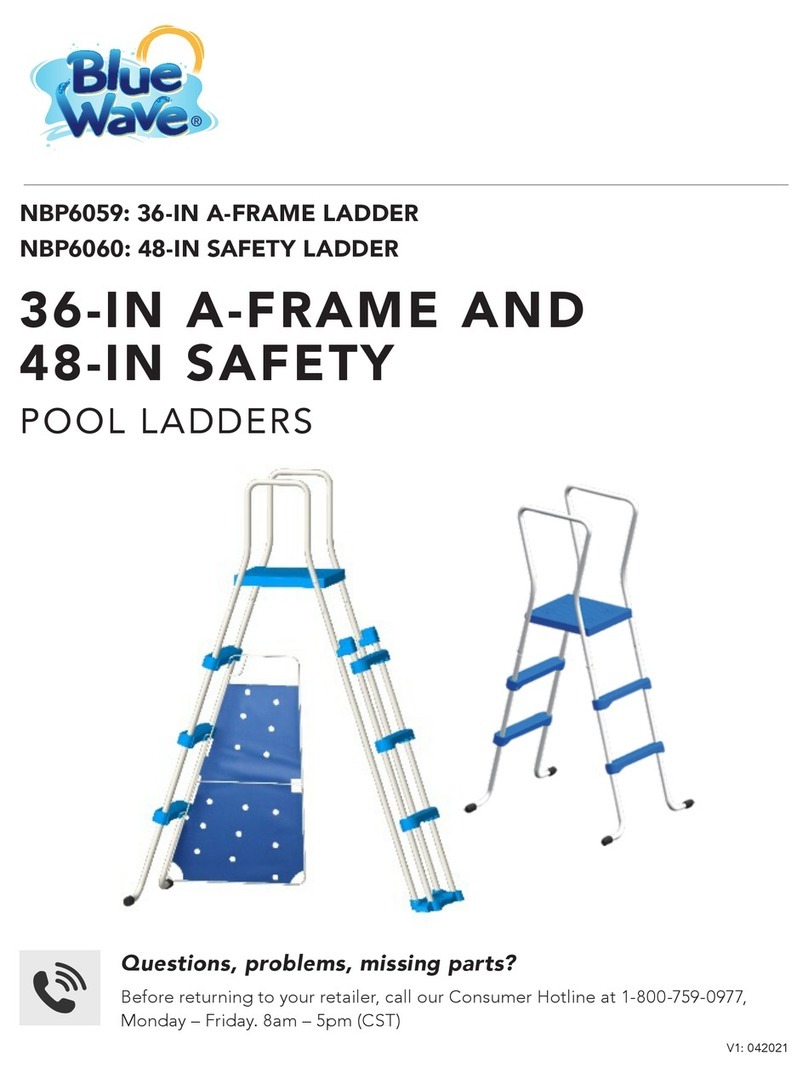
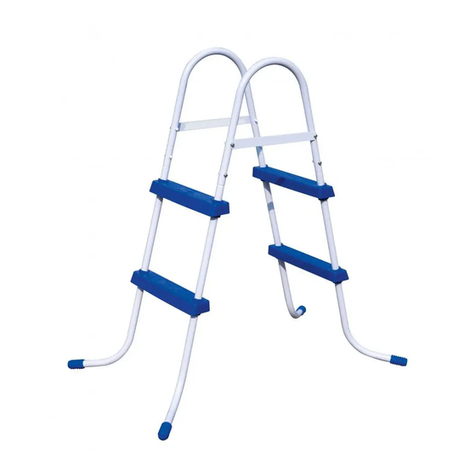
Blue Wave NE1215 User manual

LADDER ASSEMBLY INSTRUCTIONS
WARNING - VERY IMPORTANT
* LADDER WEIGHT LIMIT IS 300 POUNDS
* LOOSE HARDWARE WILL RESULT IN LADDER FAILURE.
* The ladder will fail if the Machine Screws (45), Washers (46), Lock Washers (47),
and Cap Nuts (48) holding handles to legs are not properly installed.
TOOLS REQUIRED:
• Phillips head screwdriver • Small adjustable wrench
1. Separate the Ladder Legs (40) – 2 pieces each left and right. Look for the “L” and “R”
on the top of the legs.
2. Start with one “R” ladder leg section (40). Carefully pry open one ladder step clip (44)
from the side, just enough to get over the top section of the ladder leg, and slide it from
the top of the leg down to the lowest indented section as shown in Figure 1. The ridge
on the ladder clip should be on the inside of the leg as shown in Figure 2. Repeat with
“L” leg section.
3. Slide a step (42) down over both legs. Make sure that the side of the step marked with
an “R” is on the right side leg. Slide the step down until the ladder step clips (44) in-
serts into the underside of the step and the ridges inside of the clips lock into place. The ladder step clips should stay in the
indented section of the ladder leg as you press the steps down
over them. The ladder step clips should insert flush against the
bottom of the step. See Figure 2.
4. Repeat Steps 2 and 3, installing the rest of the ladder step clips
(44) and steps (42) for the first section.
5. Assemble the second ladder leg section in the same manner,
repeating step 2-4.
6. The Machine Screws (45) should be installed from the inside of
the Handle (41), and out through the Ladder Handle Brace with
Safety Label (49) on the outside. Make sure that the English
warning label is facing out on both handle sections. Install the
Lock Washer (47), and thread the Cap Nut (48) on until the Lad-
der Brace tightens up against the Handle.
7. Stand both ladder leg sections in the upright position, with feet
facing outward, as shown in Figure 3. Place the ladder handles
(41), with the ladder handle braces on the outside of the ladder,
on top of both ladder leg sections.
8. Make sure all of the steps are now level (parallel to the ground)
and that the Safety Warning Labels are facing outward in the
right direction as in # 6 above.
9. From the inside of the ladder handles, insert the four machine screws (45) through the flat washers (46), then through the
handle and fasten in place using the four lock washers (47) and cap nuts (48). See Figure 4.
NOTE: THIS STEP IS VERY IMPORTANT BECAUSE IT KEEPS THE HANDLES FROM SEPARATING FROM THE
LEGS - LADDER FAILURE WILL RESULT IF SCREWS ARE NOT PROPERLY INSTALLED!
MAINTENANCE: 1. Keep ladder steps cleared off and free of mud, which causes slipping.
2. Retighten ladder hardware periodically; LOOSE HARDWARE WILL CAUSE LADDER FAILURE.
1.
Locate ladder on a solid base, use the pool ladder as the only means of entering
and exiting pool.
LADDER SAFETY 2 . O N E P E R S O N O N T H E L A D D E R / S T A I R A T A T I M E , i n s t r u c t e v e r y o n e
not to swing, rock, jump, or dive from ladder.
3. FOR ENTRY / EXIT OF POOL, FACE THE LADDER AT ALL TIMES.
4.
VERY IMPORTANT: REMOVE AND SECURE LADDER WHEN POOL IS
NOT OCCUPIED; Help save a life by preventing unauthorized access to Pool.
5. Ladder shall be assembled and installed per manufacturer’s instruction.
6. To reduce the risk of injury or death, do not permit children to use this
product unless they are closely supervised at all times.
7. During nighttime pool use, artificial lighting shall be used to illuminate all
safety signs, ladders, steps, deck surfaces and walks.
THIS LADDER IS DESIGNED AND MANUFACTURED FOR THE SPECIFIC POOL
WALL HEIGHT A N D O R D E C K OF TH E POOL .
REMOVE AND SECURE LADDER WHEN POOL IS NOT OCCUPIED!
POOL LADDER PARTS LIST
KEY DESCRIPTION 3 FT.
POOL
WALL
HEIGHT
3.5 FT.
POOL
WALL
HEIGHT
4 FT.
POOL
WALL
HEIGHT
52”
POOL
WALL
HEIGHT
40 Ladder Legs 4 4 4 4
41 Ladder Handles 2 2 2 2
42 Ladder Steps 6 6 8 8
43 Leg End Caps 4 4 4 4
44 Ladder Step Clips 12 12 16 16
45 Machine Screws 8 8 8 8
46 Washers 4 4 4 8
47 Locking Washers 8 8 8 8
48 Cap Nuts 8 8 8 8
49 Ladder Brace w/ Safety Label 2 2 2 2
50 Anti-Entrapment Barrier 1 1 1 1
51 Lock Pin 1 1 1 1
!
WARNING:
084-120155

TO PREVENT ENTRAPMENT OR DROWNING DO NOT SWIM THROUGH, BEHIND, OR AROUND LADDER.
NO DIVING / NO JUMPING FROM LADDER - SHALLOW WATER!
REMOVE AND SECURE LADDER WHEN POOL IS NOT OCCUPIED.
TO REDUCE THE RISK OF INJURY, DO NOT PERMIT CHILDREN TO USE THIS PRODUCT UNLESS THEY ARE CLOSELY SUPERVISED AT ALL TIMES.
!
WARNING
Install Ladder Handles (41) so that the braces with
the warning labels are on the outside of the ladder
legs, as shown.
The Machine Screws (45) should be installed from the
inside of the Handle (41), and then out through the Ladder
Handle Brace with Safety Label (49) on the outside. Make
sure that the English warning label is facing out on both
handle sections. Install the Lock Washer (47), and thread
the Cap Nut (48) on until the Ladder Brace tightens up
against the Handle.
Ladder Step Clips (44)
snap around the indents
on the Ladder Legs (40).
Ridges on Ladder
Step Clips face in.
Fig. 2
Fig. 1
Fig. 4
Fig. 3
3 Foot
&
3-1/2 Foot
Ladder
Section
Shown
Ladder
Handle
Brace
Labels
4-Foot
&
52-Inch
Ladder
Section
Shown
48 47 45
41
46
42
44
40
43
45
47
48
49
41
Fig. 5
NOTICE: Additional Safety Info is molded into each Ladder Step.
Please take some time to become familiar with this info.

AS REQUIRED BY ANSI/APSP-4 STANDARD FOR ABOVEGROUND RESIDENTIAL SWIMMING POOLS THIS
LADDER IS EQUIPPED WITH AN ANTI-ENTRAPMENT BARRIER TO PREVENT CHILDREN FROM SWIMMING
BEHIND OR THROUGH THE RUNGS OF THE LADDER. IT IS NOT INTENDED AS A SUBSTITUTE FOR COMPETENT
ADULT SUPERVISION. LADDER MUST BE REMOVED AND SECURED WHEN THE POOL IS NOT OCCUPIED; THIS
HELPS PREVENT UNAUTHORIZED ENTRY TO THE POOL AND MAY SAVE A LIFE!
Install the Anti-Entrapment Barrier as shown on Page 2 FIG. 5. NOTE: In FIG. 6 & 7 you see assembled Ladders with the Anti-Entrap-
ment Barrier in place on each. Be sure all the Barrier’s support brackets are properly inserted into the molded pockets on each of the steps
DET. 1. Next insert the Lock Pin into the top support bracket hole as shown in DET. 2
NOTE: The Anti-Entrapment Barrier must be installed on the Ladder section used inside the Pool!
Fig. 6
4-Foot
&
52-Inch
Ladder
Shown
DET. 1
FRAME POOL
LADDER BARRIER
INSTALLED
DET. 2
Fig. 7
RING POOL
LADDER BARRIER
INSTALLED
Should you encounter any problems, contact the Customer Service Representative/Parts Department at (800) 813-0206
from 8 AM to 5 PM Mon. thru Fri. EST. Extended operating days and hours during peak season requirements.
3-Foot
&
42-Inch
Ladder
Shown
LOCK PIN
RING POOL
BARRIER
FRAME POOL
BARRIER
51
PATENT PENDING
LADDER
BARRIER
DESIGN
Table of contents
Other Blue Wave Ladder manuals
Popular Ladder manuals by other brands
TUBESCA-COMABI
TUBESCA-COMABI PROFORT X'TEND operating instructions
Loyal
Loyal Red Giant quick start guide
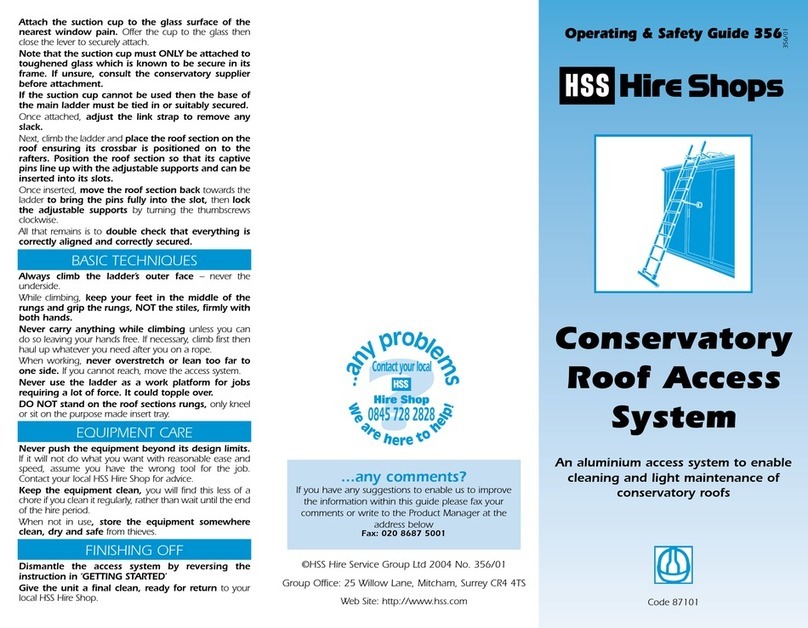
HSS Hire
HSS Hire Conservatory Roof Access System Operating & safety guide
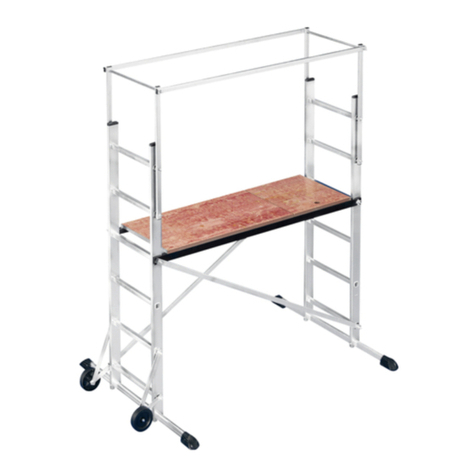
Hailo
Hailo ProfiStep Duo INSTRUCTION FOR ERECTION AND USE
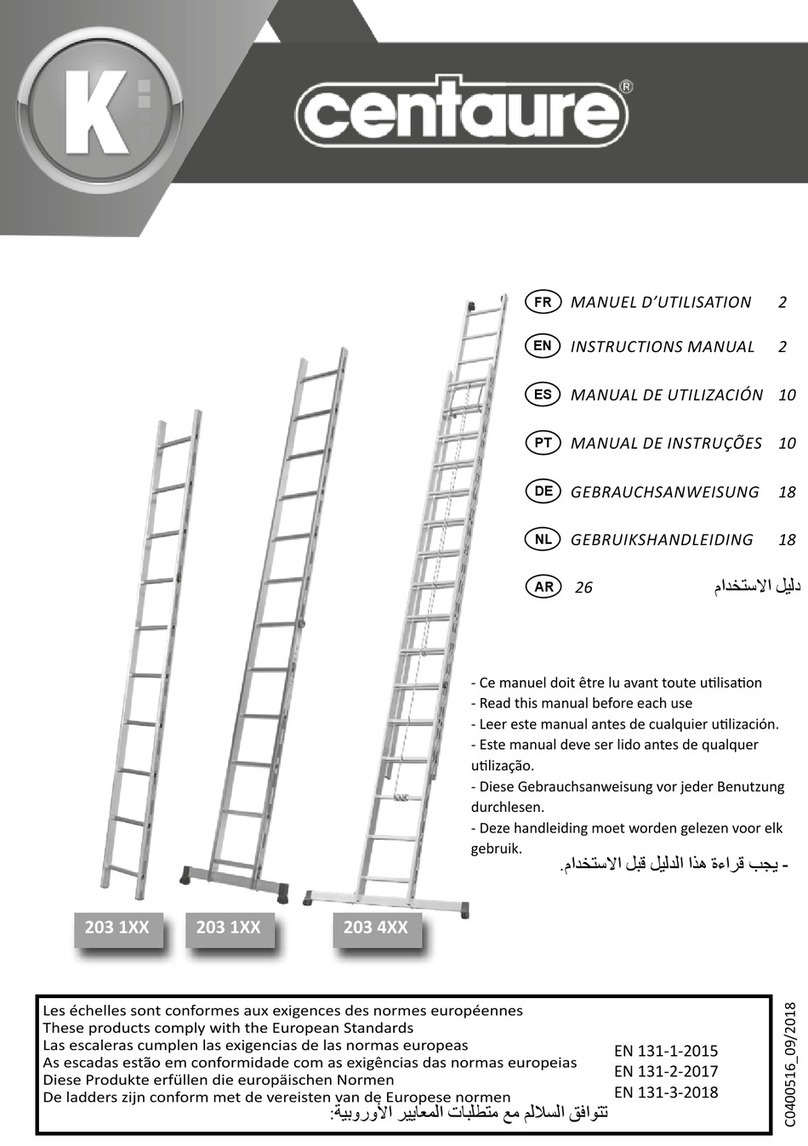
Centaure
Centaure 203 1 Series instruction manual
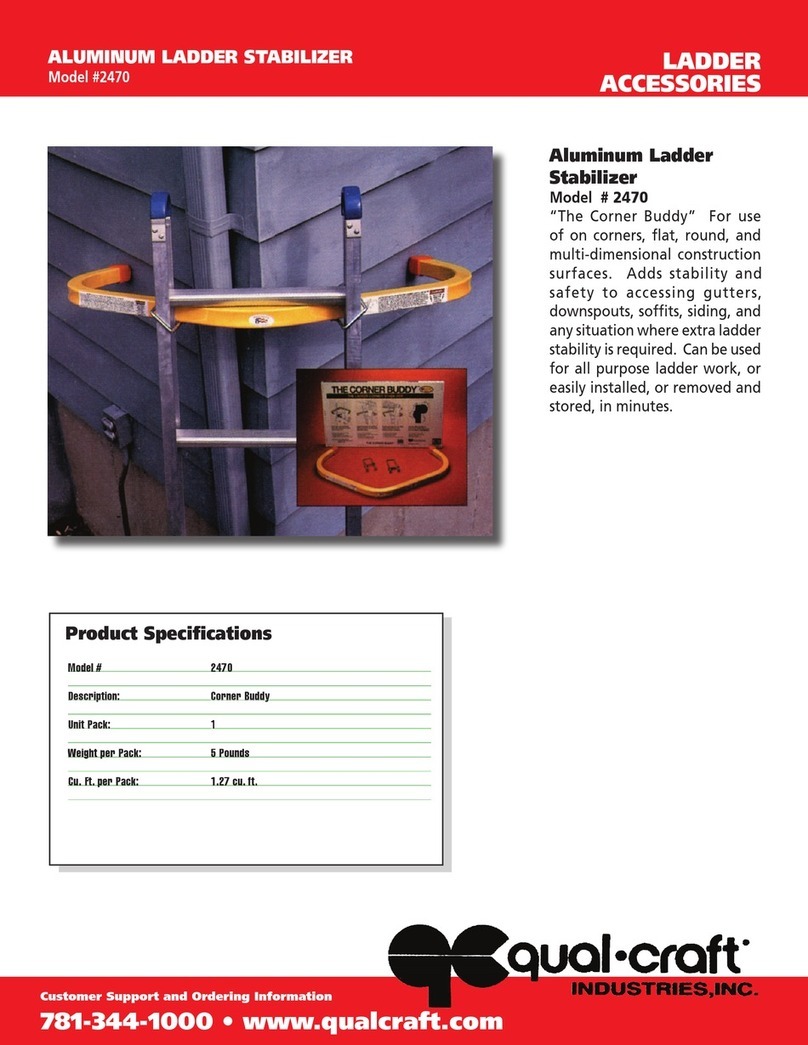
Qual Craft
Qual Craft Corner Buddy 2470 Quick start quide

