Bob and Brad QL/MINI.Q2-D User manual

User Manual
QL/MINI.Q2-D
Mini Massage Gun


Warnings and Safety Cautions
It is important to know the following before
use, otherwise it may cause damage or become
dangerous!
• For use only by healthy adults other than older
adults;
• Use the product only on the soft tissues of the
body without causing pain or discomfort;
• Do not use on the head, or any hard or bony part
of the body;
• Either controlled downward pressure or the
application of pressure may produce bruising.
Check the massage area frequently and - stop
using the product as soon as signs of pain or
discomfort appear;
• Use only on dry, clean skin surfaces on body parts,
pressing and moving gently on the skin;
• Keep your fingers, hair or other body parts away
from the shaft and back of the vibrating head, as
they may get caught;
• Do not apply to bony areas where there is less
muscle coverage, such as the shins, backs of the
feet, back of the hands;
• Do not use the product on or around sensitive
areas such as eyes, teeth, breast implants, genital
organs, artificial limbs, etc;
• Do not place the product in any area where there
is a risk of fracture;
• If the pain is persistent, discontinue use
immediately and consult a physician.
• This product is not a medical device, it's not
1

• recommended for medical use, not intended for
medical use in hospitals;
• Please check the main unit and cable before
using, if damaged, it must be replaced by the
manufacturer or its appointed professional to
avoid danger;
FCC Statement
1.This device complies with Part 15 of the FCC Rules.
Operation is subject to the following.
Two conditions:
(1 ) This device may not cause harmful interference.
(2 ) This device must accept any interference received,
including interference that may cause undesired
operation.
FCC Statement NOTE:
This equipment has been tested and found to comply
with the limits for a Class B digital device, pursuant to
Part 15 of the FCC Rules. These limits are designed
to provide reasonable protection against harmful
interference in a residential installation. However,
there is no guarantee that interference will not occur in
a particular installation. If this equipment does cause
harmful interference to radio or television reception,
which can be determined by turning the equipment
off and on, the user is encouraged to try to correct
2

the interference by one or more of the following
measures:
• Reorient or relocate the receiving antenna.
• Increase the separation between the equipment
and receiver.
• Connect the equipment into an outlet on a
circuit different from that to which the receiver is
connected.
• Consult the dealer or an experienced radio/TV
technician for help with the supplied fastener. DO
NOT hang the unit by the power cord.
Disclaimer
Please contact your physician before using the Bob
and Brad QL/MINI.Q2-D massage gunif you have
any physical health concerns or have any of the
following conditions:
Pregnancy, diabetes, epilepsy, migraines, herniated
disks, spondylolisthesis, recent joint replacements or
IUDs. Please also contact your physician before use if
you have undergone recent surgery or have any metal
pins or plates in your body.
3

Main Structure and The Fittings
4

Main Structure and The Fittings
5

Operation Steps
Removing And Replacing A Massage Head
1. Before attaching the massage head, turn off the
massage gun.
2. Grab the inserted head and firmly pull out to
remove it.
3. Insert the stem of a new head into the unit, press
firmly to secure.
(Note: Fork-head need to be installed as shown in the
attached picture, otherwise there is a risk of falling
off!)
Turn the device ON/OFF And Changing
Percussion Massage Frequency
1. Turn the device ON/OFF In the shutdown state,
press the " " button on the panel for 2 seconds to
turn on
6

2. To changing percussion massage frequency when
the device is on, press the button" "to turn on the
first gear.lf you would like to advance to a higher
setting, press the button " "again. The active gear
will be indicated by the back light. To pause the
massage unit the button " " for 2 seconds. Press
for 2 seconds again to resume.
Noted:
A. After 10 minutes of operation, the device
automatically changes to level 0 and stops output;
B. The LED light indicates the corresponding strike
frequency level, the lowest at level 1 and the
highest at level 5;
C. When the device is in standby (0 level), it will
automatically shut down without any operation
after 20 seconds.
Battery Display
When the device is running, the battery indicator is
red, indicating that the power is less than 30%; when
the indicator is red and blinking it's indicating that the
power is less than 20%, and should be charged soon.
Charging
1. Before the first use, please fully charge the device.
To charge fully, it takes 3 hours.
2. Connect the output end of the connection line to a
DC charging port at the bottom of the device, and
then connect the input end of the connection
7

line to the mobile power source or mobile phone
charger (5V/2A, if the charging current or voltage is
less than 5 V/2 A, charging time will be longer. Any
regular phone adapters will be able to charge the
massage gun without a problem.)
3. When connecting the power cable the light will
appear green and, it means the device is charging,
when fully charged the green indicator will turn off.
4. The battery can be charged at any power level;
when charging, please ensure that the device
is off, when the device is running, charging will
automatically be protected.
Recharge fully using the USB-A to USB-C Cable for
3-4 hours. It will not take charge if you are using
USB-C to USB-C cable.
The battery lights should be flickering when taking
charge. Press and hold the power button for 3-5
seconds.
How to Fix Your Massage Gun if it
Stops Working
1.
2.
8

Technical Details:
QL/MINI.Q2-D Mini Massage Gun
Speed: 1800-3000 r/min
Rated Power: 25W
Dimensions: 14.6x8.6x4.8cm / 5.7 "x3.3 "x1 .8 "
Battery:
Rated Voltage: 11.1V
Battery capacity: 2500mAh
Charging time: 210 minutes
Guarantee
This product comes with a one-year warranty from the
date of purchase. Warranty will be void due to any of
the following:
Damaged due to improper usage or storage.
Damaged by attempting to repair or disassembling
the device. Period of warranty exceeded.
9

Utilize the Bob and Brad massage gun before, during, or after your workout for maximum
benefits. This massage gun can help accelerate muscle tissue responsiveness by increasing
hydration, range of motion and function to tight muscles.
Indication
Action
Speed
Pressure
Warm Up /
Activation
Activate and prime
muscles prior to
exercise.
Reduce risk of injury.
Level 3
Light to
Moderate
Mid Workout /
Myofascial
Mobility
Help muscle recovery
and reactivation. Level 4
Heavy
(especially
for large
muscle
groups)
Recovery
Relax muscles and aid
recovery.
Down-regulate or turn
off muscles.
Level 1
or 2
Moderate to
Heavy
P
ain Modulatio
n
Reduction in pain to
increase movement.
Level 1
Light
Body
Awareness
Improve movement or
mechanics of a joint.
Activation of a muscle.
Draw attention to a
muscle
All
Levels
Light to
Moderate
Indication
Warm UP
/Activation
Mid Workout /
Myofascial
Mobility
Recovery
Pain
Modulation
Body
Duration
Muscle Position
Movement
30 sec or
less
Relaxed. Move
along the muscle
.
Quick, high
speed over
area.
8-12 sec Target specific
area. Localised
90 sec or
more
Move along the
muscle.
Slow
movement
along the
muscle
10 to 30
sec
Relaxed.
Localised spot.
Over painful
area.
10 to 20
sec
Relaxed or with
movement
Over specific
target area or
movement
over area.
10

11
ATTACHMENT:
PROTOCOL: Sweep from A to B on
each sice for 1 minute
BALL HEAD
DURATION: 2 minutes
2 Minutes
CHEST
ATTACHMENT:
PROTOCOL: Sweep from A to B on
each sice for 1 minute
BALL HEAD
DURATION: 2 minutes
2 Minutes
ABS

12
ATTACHMENT:
PROTOCOL: Sweep from A to B on each
side for 30 seconds
BALL HEAD
DURATION: 1 minute
1 Minute
UPPER TRAPS
ATTACHMENT: BALL HEAD
PROTOCOL: Sweep from A to B on
each side for 1 minute
STEP 1: Upper back
DURATION: 2 minutes
PROTOCOL: Sweep from A to B
on each side for 1 minute
STEP 2: Lower back
DURATION: 2 minutes
4 Minutes
UPPER BACK

13
ATTACHMENT:
PROTOCOL: Sweep from A to B on
each side for 1 minute
BALL HEAD
DURATION: 2 minutes
2 Minutes
SHOULDERS
ATTACHMENT:
PROTOCOL: Sweep from A to B on
each side for 1 minute
BALL HEAD
DURATION: 2 minutes
2 Minute
BICEPS

14
ATTACHMENT:
PROTOCOL: Sweep from A to B on each
side for 2 minutes
BALL HEAD
DURATION: 4 minutes
4 Minutes
TRICEPS
ATTACHMENT:
PROTOCOL: Sweep from A to B on
each sice for 1 minute
BALL HEAD
DURATION: 2 minutes
2 Minutes
FOREARM

ATTACHMENT:
PROTOCOL: Sweep from A to B on each
side for 30 seconds
BALL HEAD
DURATION: 1 minutes
1 Minute
HANDS
ATTACHMENT:
PROTOCOL: Sweep from A to B on
each sice for 1 minute
BALL HEAD
DURATION: 2 minutes
2 Minutes
HIP FLEXORS
15

ATTACHMENT:
PROTOCOL: Sweep from A to B on
each sice for 30 seconds
BALL HEAD
DURATION: 1 minute
1 Minute
SHINS
ATTACHMENT:
PROTOCOL: Sweep from A to B on
each side for 2 minutes
FLAT HEAD
DURATION: 4 minutes
4 Minutes
GLUTES
16

ATTACHMENT:
PROTOCOL: Sweep from A to B on
each sice for 1 minute
BALL HEAD
DURATION: 2 minutes
2 Minutes
HAMSTRINGS
ATTACHMENT:
PROTOCOL: Sweep from A to B on
each sice for 1 minute
BALL HEAD
DURATION: 2 minutes
2 Minutes
CALVES
17

ATTACHMENT:
PROTOCOL: Sweep from A to B on
each sice for 2 minutes
BALL HEAD
DURATION: 4 minutes
4 Minutes
FEET
18
Other manuals for QL/MINI.Q2-D
1
Table of contents
Languages:
Other Bob and Brad Massager manuals
Bob and Brad
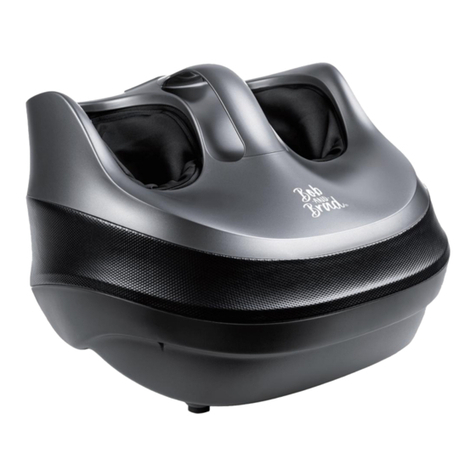
Bob and Brad K38S User manual
Bob and Brad
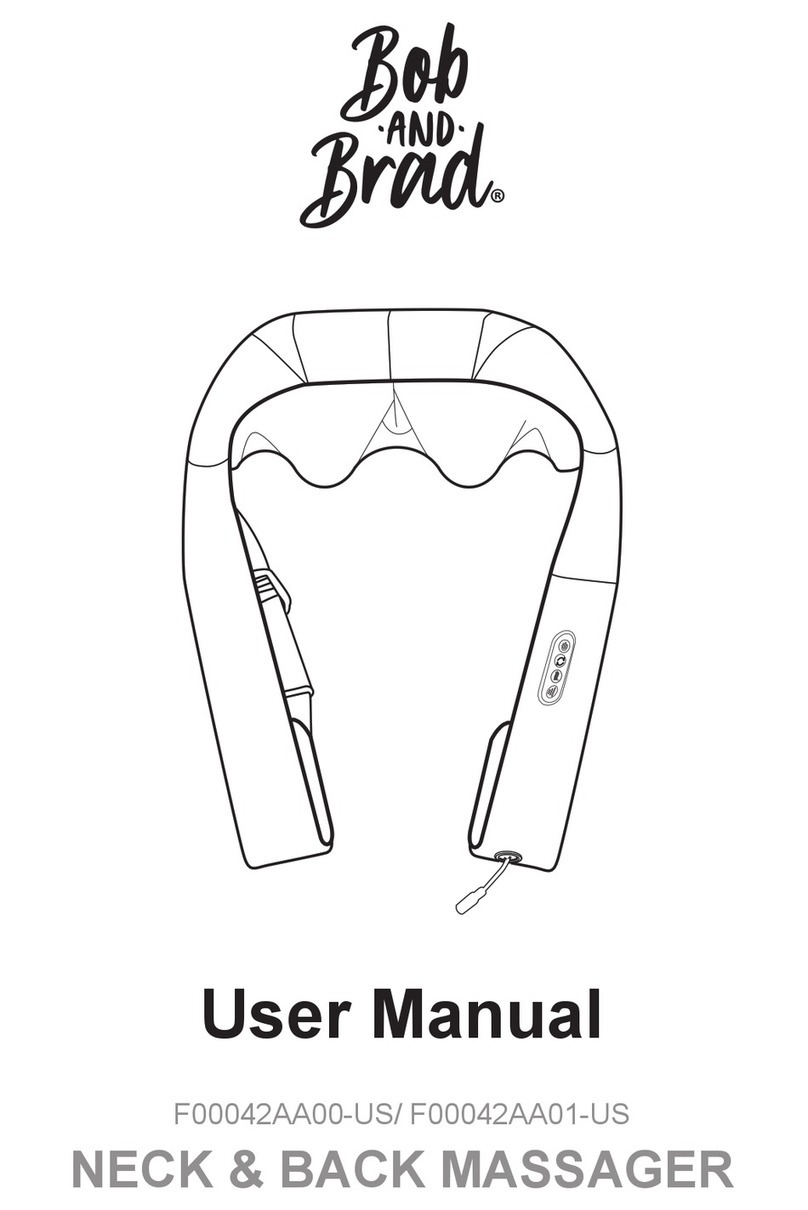
Bob and Brad F00042AA00-US User manual
Bob and Brad
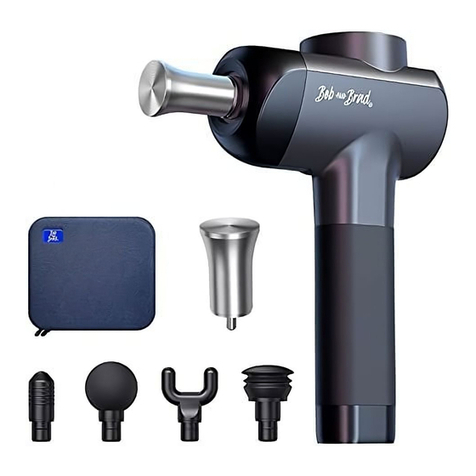
Bob and Brad QL/DMS.X6-C User manual
Bob and Brad
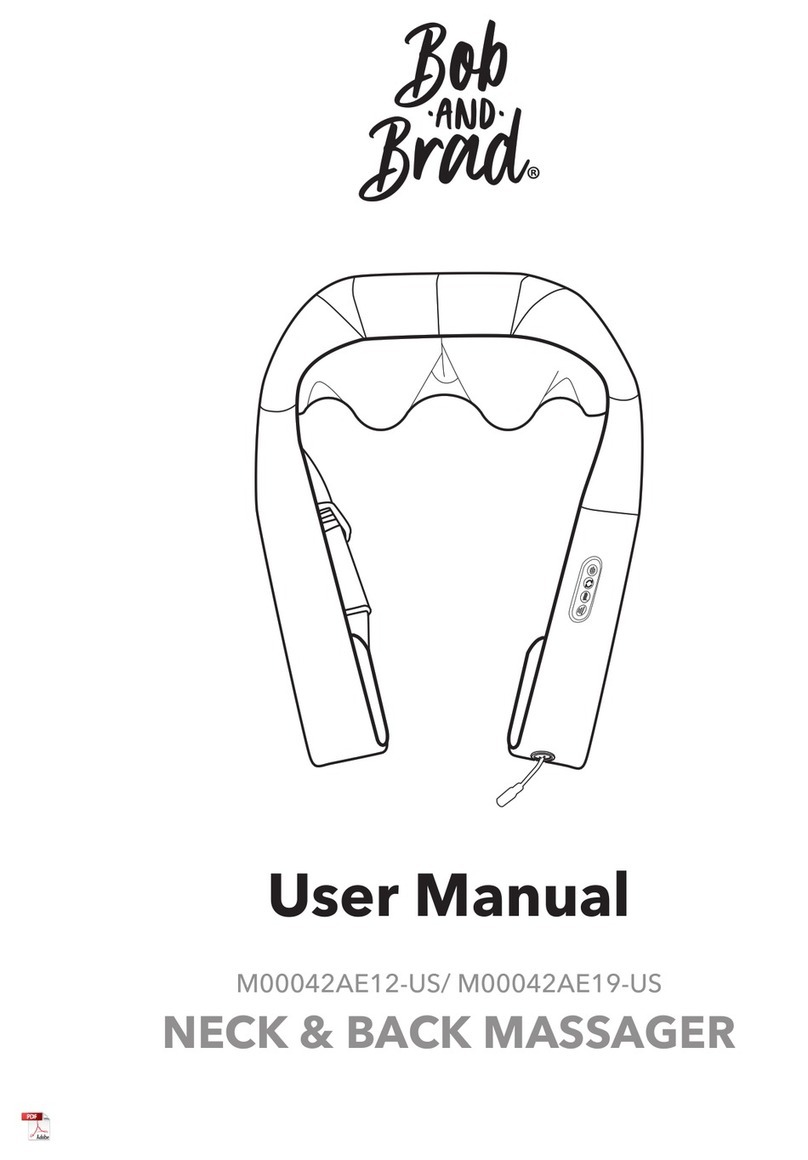
Bob and Brad M00042AE12-US User manual
Bob and Brad
Bob and Brad QL/DMS.C2-D User manual
Bob and Brad
Bob and Brad QL/MINI.Q2-D User manual
Bob and Brad
Bob and Brad QL/DMS.T2-C User manual
Bob and Brad
Bob and Brad 721 User manual


