BOCK belluno User manual

Assembly and operating instruction
Nursing care beds
· belluno
· livorno / livorno low / livorno hydraulic
· verona / verona low
· combiflex / combiflex.fc
· practico
· practico 25/80
· practico comfort
· practico economic

Dear customer,
In deciding to buy a nursing care bed from Bock you have opted
for a care product that has a long service life and delivers first
class functionality at the highest safety level. Our electrically
adjustable care beds guarantee optimum comfort when lying,
and support professional care activities. The focus is on people
who need care, encouragement and protection.
We have created the basic requirements for this with our care
products. We urge you to prevent potential malfunction and risk
of accidents by complying strictly with the safety and operating
instructions and carrying out the necessary maintenance.
Sincerely yours,
Klaus Bock

3
Content
1. Preamble and general information
1.1 Intended use
1.2 Definition of person groups
1.3 Safety instructions
1.4 Life time/ Gurantee
1.5 Type label
2. General functionality description
3. Electric components
3.1 Drive unit
3.2 Locking device for all functions
3.3 Drive with level adjustments
3.4 The lockable hand control
3.5 Caution: Electrically operated drive
4. The drives
4.1 The 24 volt drives
4.1.1 The drive systems
4.1.2 The external switched- mode power supply
4.2 The drives with mains isolation
4.2.1 Dual-drive systems
4.2.2 The mains isloation
4.2.3 The ICS drive
5. Assembly and operation
5.1 Technical datas
5.2 belluno
5.3 livorno / livorno low/ livorno hydraulic
5.4 verona / verona low
5.5 combiflex / combiflex.fc
5.6 practico / practico 25/80 / practico comfort / practico economic
5.7 Assembly of the side rails
5.8 Control
5.9 Relocation / Repositioning
5.10 Transport- and storage conditions
5.11 Information on the functionality
5.12 Disposal
5.13 Troubleshooting
6. Accessories
6.1 Special dimensions
6.2 Assembly – Bed extension
6.3 Assembly – Accessories
6.4 Mattresses
7. Cleaning, maintenance and disinfection
7.1 Cleaning and maintenance
7.2 Disinfection
7.3 Hazard prevention
8. Continuous functionality check including service
9. Guidelines and declaraction of conformity
10. Declaration of conformity
11. Continuous functionality check (guideline)
12. Sales partners
4
9
16
20
26
27
30
32
34
38
50
56
58
60
62
64
68

4
1. Preamble and general informa-
tion
The various bed systems that are made by Hermann Bock GmbH
meet the special requirements for use in rehabilitation and the-
rapy establishments as well as for care at home. Thereby relia-
ble functionality and long-life-cylce are what characterize each
single bed model as particulary high quality. Provided, that the
bed is used in accordance with its purpose and serviced at regu-
lar intervals, the bed requires only a low level of maintenance.
Each healthcare bed manufactured by the company Hermann
Bock must pass a quality inspection and will be issued with a
quality certificate by the TÜV before it leaves the production
line. Hence, every healthcare bed meets the requirements of
the directive 93/42/ EWG for medical devices (Class I). The beds
have been manufactured and certified in accordance with the
applicable standards for beds used for medical purposes.
Since April 2013, the standard applying to the beds has changed
in line with the requirements of EN 60601-2- 52: 2010. The elec-
trical component parts are in conformity with the safety standard
EN 60601-1:2006 for medical devices.
The new standard distinguishes the beds between five different
areas of application:
1. Intensive care in hospital, Intensive care bed
2. Short-term care in hospital or another medical facility,
in-patient bed
3. Long-term care in medical environment, in-patient
care bed
4. Home care treatment, sheer home care bed
5. Home care nursing service
>Bock Top Advice
The specification of which
and how many componen-
ts have to be available for
the visual control, can be
extracted from the relative
user´s manual. Starting with
chapter 5.
* Bock Hazard Note
In order to avoid possible
damages and malfunction
during the assembly and
operation, the assembly and
operating instruction has to
be read completly.

5
1.1 Intended use
The health care bed has been designed for the positioning of
persons in need of care or patients of medical facilities as of the
year of 12 and a body height of at least 150 cm. The beds are
intended for use in retirement or care retirement homes, reha-
bilitation facilities and with respect to home care treatment. Its
purpose is to provide relief from disabilities and to facilitate the
care process. Any other use is considered to be not intended;
therefore all and any liability is excluded, if any damages can be
attributed to any such unintended use.
The Trendelenburg function is a special equipment and does not
belong to the basic equipment. This function can only be carried
out by specialized personnel. Beds, which are applied in the ap-
plication area 4, will be equipped with the hand control without
Trendelenburg.
The nursing care bed is not suited for the use in hospitals. In
case that the nursing care bed is equipped with visible castors, it
is suitable for the transport of the patient. The nursing care bed
is movable while the patient is inside. To prepare the transport,
fasten the castors; bring the nursing care bed into the lowest,
horizontal position. Than unfasten the castors and move the bed.
After the transport fasten the castors. In case that the nursing
care bed is equipped with covered castors, it is only destined to
be moved inside the patient´s room, for cleaning and access to
the patient. If the nursing care bed is equipped with feet, it is not
possible to move it.
Important: The beds are not equipped with any particular
connections that provide for a potential equalization. Electri-
cal medical devices connected to the patient´s intravascular
or intracardiac system must not be used. The operator of the
medical device shall be responsible for the conformity of the
combination of the devices with the requirements of DIN EN
60601-1:2006.
This user´s manual contains safety notes. All persons working
with the beds must be acquainted with the contents of these
instructions. The improper use may involve hazards.

6
1.2 Definition of person groups
Operator
Operators (e.g. medical supply stores, specialist dealers, facili-
ties, and cost units) include all physical or juridical persons, who
use the beds or have the beds used for medical purposes. The
briefing on the use of the products shall generally be conducted
by the operator.
User
Users are persons, whose training, experience, or briefing on
the product allows them to operate the health care bed or car-
ry out works on it. The user is capable of recognizing possible
hazards or to prevent such from occurring and to assess the
physical condition of the patient.
Patient / Resident
Persons in need of care, disabled or invalid persons lying in a
care bed.
Professionals
Professionals include staff assigned by the operator, who are,
owing to their training or briefing allowed to deliver, mount, dis-
mount, and transport the bed. As a general rule, these persons
must be instructed to the guidelines concerning the cleaning
and disinfection of the health care bed.
1.3 Safety notes
The use of all moveable component parts in accordance with
their intended use is not only crucial with respect to the hazard
prevention for the patient but also when it comes to the safety
of the relatives and/or the nursing staff. Another important
aspect to be considered with respect to the operation of the
bed is the individual physical condition of the patient and the
kind and degree of their disability.
Please make sure that any hazards that might occur from unin-
tended adjustments and incorrect operation are avoided by
enabling the locking device. Whenever the operator, e.g. nur-
sing staff or caring relatives leave the room, it is recommen-
ded to lock all operating functions of the bed; this can be done
by means of the key at the hand control. For this purpose,
the lying surface needs to be brought to the lowest position,
and in a next step, the locking function can be enabled by
means of the key, which can be found at the back side of the
locking device. Just turn the key, pull it out and check, if the
locking function is really working by trying the buttons of the
hand control.
>Bock Top Advice
In the event of unidentifia-
ble errors, malfunctions, or
damages of the electrically
driven bed or its accessory,
the power plug should be
disconnected immediately
and the emergency lowe-
ring function should be
enabled. Please inform the
operator or the Hermann
Bock support team.
* Bock Hazard Note
The operator has the
responsability to take spe-
cial safety precautions for
anixous or restless patients,
to avoid the catch of sin-
gle extremities or the falling
out of bed. The bock ser-
vice team will be pleased
to advice you on possible
solutions for this cases.

7
These recommendations are particularly important,
> if the patient´s disability hinders them to operate the hand
control,
> if the patient or nursing staff could be at risk due to unwan-
ted adjustments,
> if the side rails are raised, so that there is a risk of crushing
or getting trapped,
> if there are unattended children in the room.
Always pay attention that the hand control is hooked into the
handle at the bed so that it cannot drop down.
As a general rule, the bed should be operated by instructed nur-
sing staff or relatives, or in attendance of instructed persons.
When making adjustments to the lying surface, it should be made
sure, that the patient´s limbs are not positioned in the adjustment
area of the side rails. The patient´s appropriate lying position is
likewise important when it comes to adjustments to the side rails.
Prior to making any electrical adjustment, it should, as a general
rule, be made sure that the patient´s limbs are not positioned in
the adjustment area between the chassis and the head- or foot
board, resp. that there are no persons in the area between the
floor and the raised lying surface. These areas exhibit a particular
high risk of crushing injuries.
The permitted person weight depends on the total weight of the
equipment that has been mounted to the bed (mattresses and
other electronic medical devices). The respective max. safe capa-
city is specified on the name plate, which is attached to the fra-
me of the lying surface.
1.4 Life time / gurantee
This nursing care bed has been developed, designed and con-
tructed for a save and long use. In case of proper operation and
use, the nursing care bed has an expected life time of approx.
2-10 years. The life time depends on the usaage condition and
frequency. Therefore a longer lifte time in the institutions is ex-
pected.
Attention:
In case of unauthorized technical modification of the product, all
warranty claims extinguish.
This product is not approved for the North Americanm market,
especially the United States of America (USA). The distribution
and use of this nursing care bed, also by third parties is prohibited
by the manufacturer.

8
1.5 Type label (Example)
(1) Model description
(2) Date of manufacturing: Day, month, and year
(3) Serial number: Order confirmation number – serial number
(4) Power supply voltage; power frequency; power input.
(5) Switch on time
(6) Drive protection type
(7) Safe capacity/ max. person weight
(8) Manufacturer
(9) Symbols (on the right-hand side)
CEmarkinaccordancewiththedirectivefor
medicalproduct
IPX4
Protectionoftheelectricalequipmentagainst
splashingwater
MedicalapplicationdevicetypeB
Onlytobeusedindryrooms
ProtectioncalssII(doubleisolation,protective
insulation)
WhendisposedwithinEuropeannUnion,the
productdisposedtoaseparatewastecollection.
Theproductmustbedisposedtotheseparate
domesticwaste
Symbolformax.personweight
Symbolformax.safecapacity
Symbolforattendingtheuser´smanual

9
2. General functionality
description
Design configuration and functionality
The lying surface and its four sections
In the standard version, the lying surface comes with comfort
wooden slats (may be supplemented with a metal lying surface
or special suspension systems) and is made up of four sections:
head section, fixed seat support, upper - and lower leg section.
The complete frame of the lying surface has been welded from
steel tubes and stove-enameled using a PES-powder coating.
The electrical stepless variable height adjustment of the lying
surface is controlled by means of 24 V-direct current motors and
the smooth-running keys of the hand control. The head section
can be electronically adjusted. The leg part consits of a two-part
feet bracket. The stepless adjustment of the position can be
made by means of the hand control. The control via the electro-
nic hand control allows also for an automatic triple function for
the stretched elevation of the legs towards the heart- and knee
bend. In the event of a blackout, the back- and leg part can be
lowered by means of a 9 V battery.
Head section Thigh section
Fixed seat support
Lower leg section

10
The chassis
The height adjustment of the beds can either be made via two
height-adjustable actuators or a basic frame which can be ope-
rated via a single or double-drive. The surface of this steel tube
construction is stove-enameled with a PES-powder coating.
The side rails
Every health care bed comes with integrated side rails on both
sides and therefore, exhibits a special degree of safety. The side
rails can be raised and lowered by means of a steel bar. Owing
to an integrated slider, the sliding blocks are particularly smooth
and the ends are provided with a well-designed sealing cap. An
ergonomically shaped trigger button allows for the easy operati-
on of the side rails. According to the bed model, customers can
choose between long and short side rails.
The splitted side rail*
The health bed is optionally available including splitted side rails.
The splitted side rails prevent the patient from falling out of the
bed and enable a safe and easy stepping in and out of bed. Due
to the easy trigger mechanism, the individual side rail elements
can be brought into the uppest or lowest position.
* Not available with all models.

11
Operating the plug-on or plugged-in side rails
The locking device of the plug-on or plugged-in side rails is
installed at the backside of the metal facing, which is attached
beneath the wooden side rails.
If the splitted side rails should be lowered, one has to unlock
each side rail element individually.
For this purpose, just grab the upper edge of the side rail. Use
your other hand to take hold of the moveable handle bar, which
is situated at the metal bar underneath the wooden side rail (Fig
1). The handle bar is provided with a latex cover at the edge.
Now, just press the handle bar together in order to release the
side rail locking (Fig 2).
Once the lock is released, take off your hand from the handle bar
and lower the wooden side rail by slightly moving to the front
and bottom (Fig. 3). Please make sure to pull out your hand,
before lowering the side rails, as there might be otherwise the
risk of crushing injuries.
Fig.1 Fig. 2 Fig. 3
* Bock Hazard Note
When making any electri-
cal adjustment of the lying
surface, please ensure that
all patient´s extremities
are not in touch with the
side rails. Furthermore,
it is very important that,
while operating the side
rails, the patient lies in an
appropiated position.
>Bock Top Advice
If from the diagonal posi-
tion (Fig.3) the side rail
should not be further
lowered but should be rai-
sed, please grab the top
of the middle bar and pull
it up until it is locked in
place.

12
Usage of the splitted telescopic side rails
Each side rail element can be adjusted individually. The locking
mechanisms are on the middle bar and on the end panels. In
order to lower the side rails please grab the upper part of the
telescopic bar, lift it a little bit and with the other hand push the
button of the locking mechanism (Fig. 2). You are now able to
lower this part of the side rail easily. The side rail is now in a dia-
gonal position (Fig. 3).
Fig. 2 Fig. 3
In order to lower the other part of the side rail, please grab the
side rail on the other end panel. Push the locking device on the
end panel (Fig.4) and lower it slowly. Now the side rail is in the
lowered position (Fig. 5).
Fig. 4 Fig. 5
>Bock Top Advice
When using different mat-
tress thicknesses, the
minimal height of 22 cm
minus the compression,
measured from the upper
edge of the side rails above
the mattress, must not
be undershot. The use of
higher mattresses requires
an additional plug-on rails
which is available as acces-
sory.
Various nursing beds by
Bock provide special func-
tions whose description can
be found under chapter 5 in
the assembly manual of the
individual models.
Note:
Provided, that the braces/
mounting points of the side
rails are positioned outside
of the side rails (bright grey
depiction), distance A which
runs along the lower side
rails towards the lying surface
applies.

13
When one of the side rails is to be adjusted to the top position so
as to prevent the patient from slipping out, just hold the middle
of the upper side rail in the handle hold and pull it to the upper
side, until it locks into place on both sides. Now, the side rail is
in the uppest position (fig 6).
Handling of the continuous side rail
The release button for the adjustment of the continuous side
rails is mounted at the top of the end panels on the inside, and
can be found right next to the metal guide rails for the side rail
mechanism.
In order to lower the side rails, grasp the upper side rail (Fig 1),
slightly lift it and push one of the release buttons at the end
panels (Fig. 2). Now, the side rail of the respective side gets
released and can be easily lowered down to the end stop (Fig.
3). Now, the side rail has been brought into a diagonal position.
In order to lower the other side, just repeat the steps mentioned
above at the facing side. Now the side rail has been brought into
the lowest position.
Provided, that one of the side rails is to be adjusted to the upper
position so as to prevent the patient from slipping out,grasp the
middle of the upper side rail and pull it to the upper side, until it
locks into place at both ends. Now, the side rail is in the uppest
position.
Fig. 1 Fig. 2 Fig.3
The main purpose of the side rails is to prevent the patient from
falling out of the bed. This protection by means of the side
rails does not automatically provide sufficient protection with
very frail patients and therefore, it is necessary to provide further
protective measures such as the additional mounting of side rail
bumpers (accessories).
The distances between the side rails needs to be less than 12
cm. Note that the continuous side rails must not remain in dia-
gonal position, when they are being used.
Fig. 6
* Bock Hazard Note
Please note that the side
rails should only be opera-
ted by instructed care per-
sonnel.
* Bock Hazard Note
– Only use original Bock
siderails that are availa-
ble as accessories for all
our care beds.
– Only use technically
perfect, undamaged side
rails with the permissi-
ble gaps.
– Make sure that the side
rails slot into place secu-
rely.
– Before attaching the side
rails and before every
movement of the bed,
check all mechanical
parts of the bedstead
and siderails that are
used to fasten the side-
rails to make sure they
are not damaged.
– The operation of the side
rail should always be
carried out with utmost
care, since fingers can
easily be squashed bet-
ween the longitudinal
bars.

14
Fig. 1: Continuous wooden/steel side rails , two side rails
Fig. 2: Continuous wooden/steel side rails , three side rails
Fig. 3 Telescopic wooden side rails, duo middle bar
Fig 4: Telescopic wooden side rail, solo middle bar in the middle

15
All measures in mm.
* Depending on the lying surface length
Single telespoci bar on the head/foot end are optinal. Description Art.No.
Wooden side rails (Set: 95 / 95mm) 90223
Area Description Wooden side rails (Set: 95 / 110mm) 91247
Steel side rails (Set: 95 / 110mm) 91314
BHeight 1 of the side rail Wooden side rails (Set: 95 / 95mm) 91566
CHeight 2 of the side rails Wooden side rails (Set: 95 / 110mm) 91531
D Width 1 of the side rail
Duo telescopic bar in the middle (Fig. 3)
Duo telescopic bar in the middle (Fig. 3) 91210
Wooden side rails head end : (set: 95 / 95mm) 80344
Wooden side rails foot end (set: 95 / 95mm) 80345
Solo telescopic bar in the middle (fig. 4)
Solo telescopic bar (head right, foot left) 91211
Solo telescopic bar (head left, foot right) 91212
Wooden side rails (set: 95 / 95mm) 80346
Solo telescopic bar (head right, foot left) 91211
J Width 2 of the side rail Solo telescopic bar (head left, foot right) 91212
Continuous wooden side rails( Set: 95 / 95mm) 80346
Fitting plug-in 91264
Fitting plug-on 91260
Wooden side rail 80118
Telescopic bar on head and foot end( without fig.)
Plug-in/plug on wooden side rails (Fig. 5)
Continuous wooden/steel side rails
Three side rails (Fig. 2)
Telescopic wooden side rails
2 side rails (Fig. 1)
Distance between head end and side rail
Height of the upper edge of the side rail above
unpressured mattress
Thickness of the mattress of intended use
Smallest distance between side rail and lying
surface (without side panneling of the frame if
provided)
L
Distance between foot end and side rail
A
H
I
K
F Distance between the splitted side rails
Distance between the elements within the side
rails
E
Distance between lying surface and upper edge
of the side rail
G
Legend
Fig 5: Wooden plug-in/plug-on side rail
The meassures in brackets is valid as optional
Description
Article number

16
3. Electric components
3.1 Drive unit
The drive unit consists of a twin drive which combines two sepa-
rate drive units for the electrical adjustment of the back and leg
part. A switch-mode supply with rectifier is part of the external
motor system. This switch-mode supply converts the input vol-
tage of 110-240 V AC at 50-60 HZ at 70-180 W into a low voltage
of 29 V DC. With this non-hazardous low voltage the motors and
the hand control are operated. The cables are isolated twice and
the power plug disposes of a primary fuse.
The internal emergency lowering is carried out by a 9 V battery.
In addition a power adjustment takes care of a constant veloci-
ty. The safety demands therfore corresponds to the safety class
II and the moisture protection IPX4.
The maximum switch-on time is indicated on the bed (type
label). E.g. 10% (2 min. on/ 18 min. off) means that each elec-
tronic adjustment should only be done for 2 min in 18 min (over-
heat control).
In case that the maximum operation interval of two minutes is
exceeded, due to e.g. continuous operation of the hand control,
overheating of the actuators resulting in the immediate discon-
nection of the bed´s power supply through the thermal fuse. It
takes a cooling-down time of approx. one hour, until the power
supply is automatically switched on again.
3.2 Locking device for all functions
The standard hand control with its 6 buttons comes with an
integrated locking device enabling the nursing staff to lock all
functions of the hand control by means of a key.
3.3 Level adjustment drive
The adjustment of the lifting appliance is effected through one
or two integrated low-voltage direct current drives whose range
of adjustment depends upon an integrated end-switch. The
adjustment drive is connected with the control unit by means of
a spiral cable.
* Bock Hazard Note
The maximum switch-on
time should not be more
than 2 minutes. A subse-
quent break of 18 minutes
has to be observed.
9-V-block batery for emergency
lowering

17
3.4 The lockable hand control, fault safe operation
The extra-large, easily operable 6 buttons positioned on the ergo-
nomically shaped hand control provide the main functions and
can be controlled at the touch of a finger. Each of the operating
buttons is labeled with appropriate symbols.
As long as the button for the adjustment of the actuators is pus-
hed, the actuators are operating. A spiral-shaped cable provides
the necessary clearance whilst the operation is being performed.
The rear side mounted clip is rotatable by 90° on
both sides. The radius is exactly in line with the radius of the
side rail and the lifter, so that there are no unsteady clearances.
The possibly disturbing position of the hand control while perfor-
ming cleaning or maintaining operations can be avoided simply
by turning it to another side or easily clipping it onto any spot
of the bed.
The Bock hand control
Function button 1 Head rest up
Function button 2 Head rest down
Function button 3 Foot part up
Function button 4 Foot part leg part down
Function button 5 Lying surface up
Function button 6 Lying surface down
>Bock Top Advice
The drives with the
E-transformer 24V: Due
to the low standby- mode
consumption (max. W)
and the ideal efficiency of
the power plug, the bed is
remakable ecomomic in
the energy consumption.
Drives with the mains iso-
lation: Due to the mains
isolation the bed is com-
pletly smog free and
remakable ecomomic in
the energy consumpti-
on. Electricity is only used
when the bed is adjustes
by the hand control
* Bock Hazard Note
The high safety standards
of Hermann Bock´s health
care beds is not under-
stood as a exclusion of
all risks. The strict com-
pliance with all specifica-
tions and instructions con-
cerning the intendes use
provide the prevention of
all risks.

18
Moreover, on the back side the hand control disposes of an inte-
grated locking device. That can be activated by using the provi-
ded nurse key. For the setting of the electronic functions of the
bed, just put the key into the lock on the back side and turn it to
the desired function.
Key for the locking device
Switch setting 1 Hand control active
Switch setting 2 & 4 Hand control inactive
Switch setting 3 Activation of Trendelenburg function
(with beds providing the Trendelenburg
function)
3.5 Caution: Electrically operated drive
Hermann Bock calls its electrically operated nursing and therapy
beds health beds, because they considerably facilitate the care
recipient´s recovery process in both physical and mental aspects
while relieving pain at the same time thanks to their versatile
functions. When applied as medical product, electrically opera-
ted beds require particular consideration with respect to the con-
tinuous safety inspections. These include the safe and professi-
onal handling of the bed, the daily check of the electrical equip-
ment, and the proper maintenance and cleaning.

19
In oder to avoid damages to the cables, the cable installation
should be places off-side potentional damage areas. Also avoid
contact with square-edged componements. Notes for an appro-
priate cable installation can be found in chapter 5. All potentional
risks of exposure to too high contact voltages should be exclu-
ded, as this helps to prevent injuires caused by any electrical
shock. This may especially occur when the mains connection
has been damaged, the leak currents are unacceptable or too
high, or liquids have penetrated the motor housing, e.g. caused
by improper cleaning.
* Bock Hazard Note
The simultaneous use of
electrical devices my cau-
se, especially in the direct
enviorment of the rea-
dy-to operate bed, low
electromagnetic interac-
tions between the electri-
cal devices, such as radio
noises. When such a rare
case occures, you should
extend the distance bet-
ween the devices. Do not
use the same wall socket
or switch off the noisy
device temporarily.
If the bed is not operated
in line with its purpose,
thus silmultaneously with
electrical, medical devices,
you should deactive the
functions of the bed for
the time being. The deacti-
vation can be done by the
integrated locking device
on the back side of the
hand control.

20
4. The drives
4.1 The 24 Volt drives
Hermann Bock equipped their health care beds with various
Limoss drive systems.
4.1.1 The drives system
Both, the double drive for the stepless adjustment of the lying
surfaces and the linear drive applied for the height adjustment
of the lifting frames are each made up of four main components.
– Housing
– Drive
– Gearbox
– Spindle with nut
The housing principle and its double drive and the single drive
guarantees the permanent function of all drive components. The
special construction design is based on two load absorbing hou-
sing cases. Owing to a detailed internal engineering, the paten-
ted design of the inner housing constitutes an essential requi-
rement for the precisely fitting intake of the drive technology.
* Bock Hazard Note
Never open any drive com-
ponents!
Both repair and exchange of
components are only allo-
wed to be done by especial-
ly authorised experts.
Other manuals for belluno
1
This manual suits for next models
11
Table of contents
Other BOCK Medical Equipment manuals
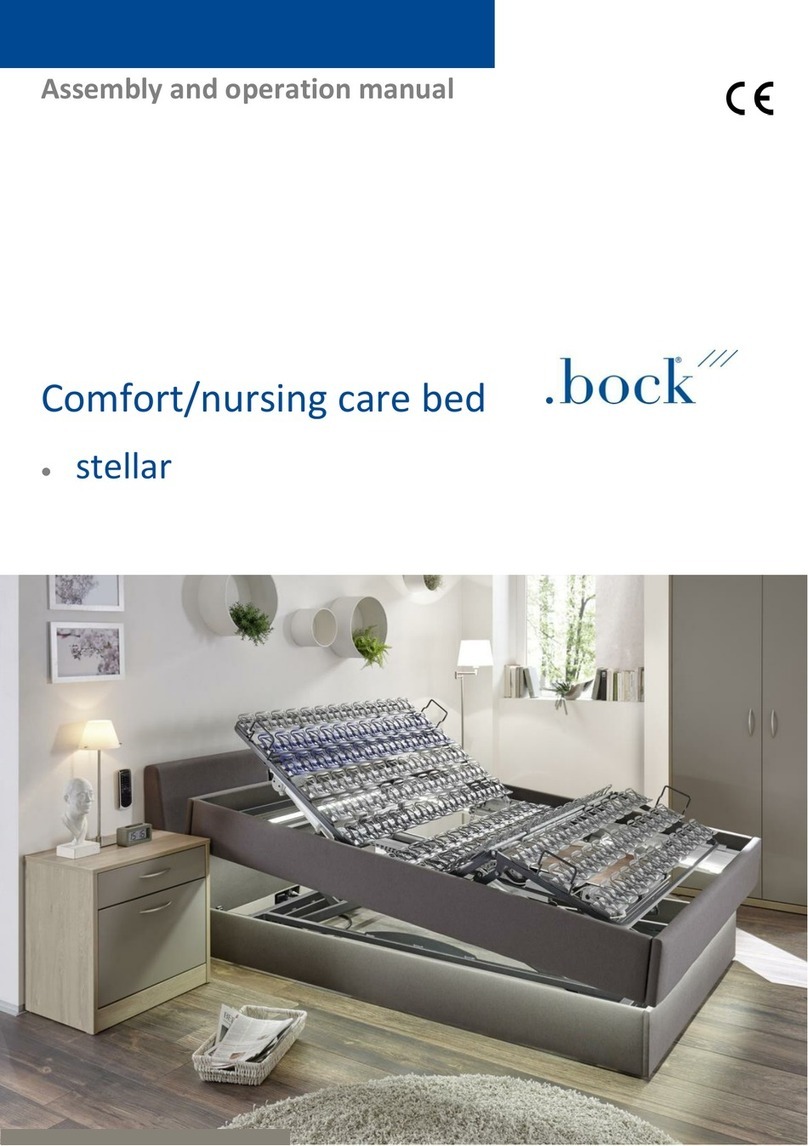
BOCK
BOCK Stellar Installation and operating instructions

BOCK
BOCK practico alu 25/80 Planning guide
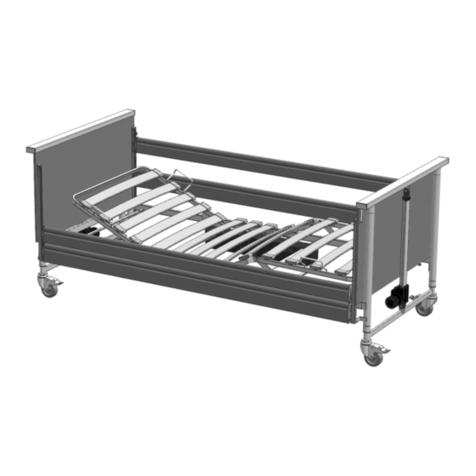
BOCK
BOCK Nursing domiflex 3 User manual
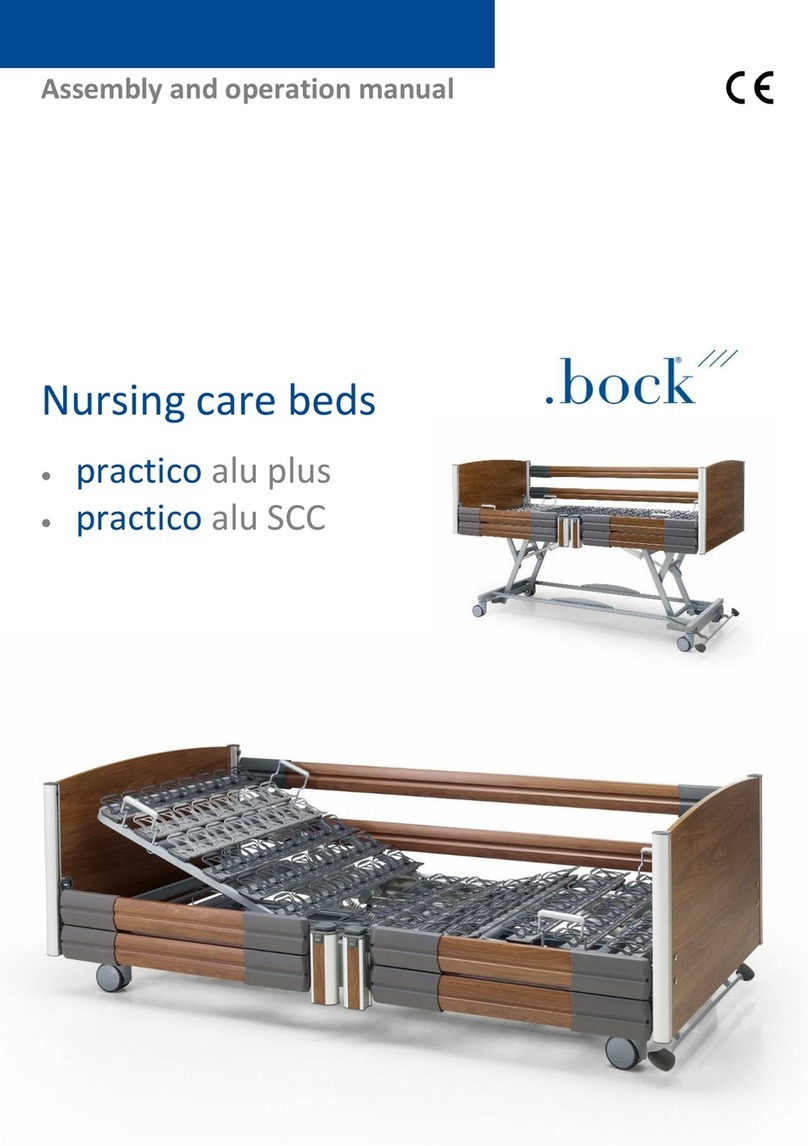
BOCK
BOCK practico alu plus Installation and operating instructions
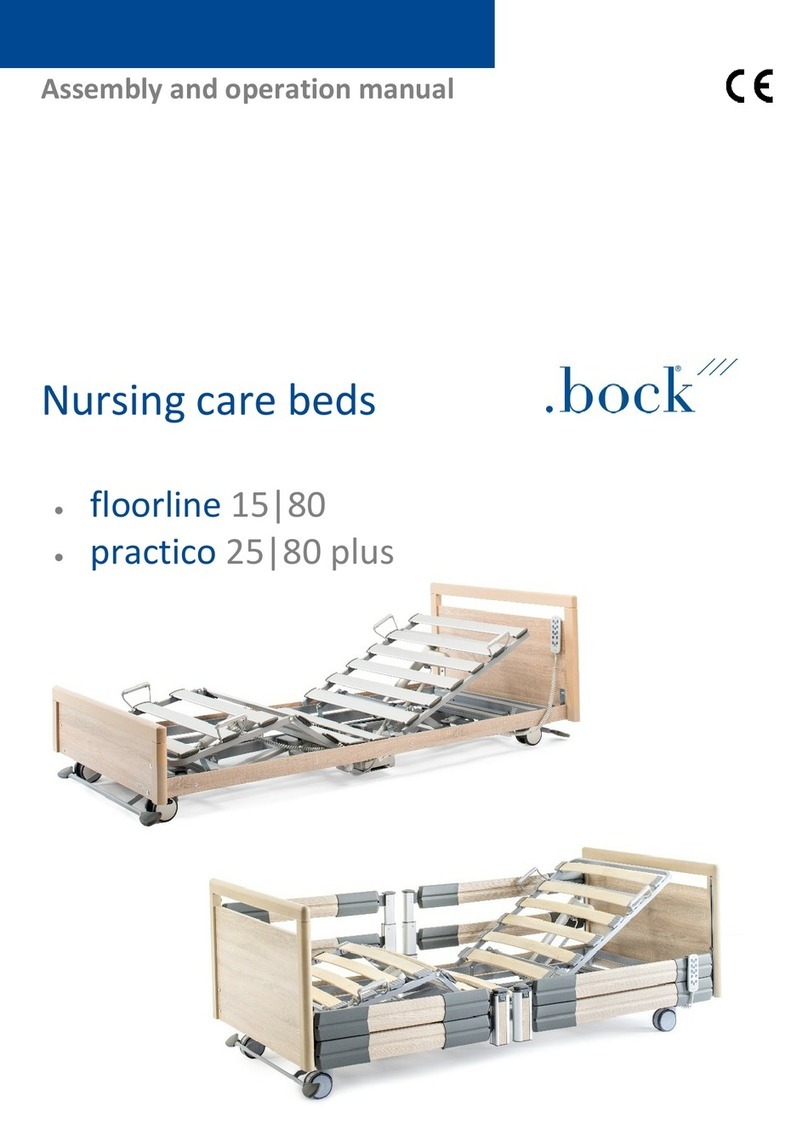
BOCK
BOCK floorline 15 Installation and operating instructions
BOCK
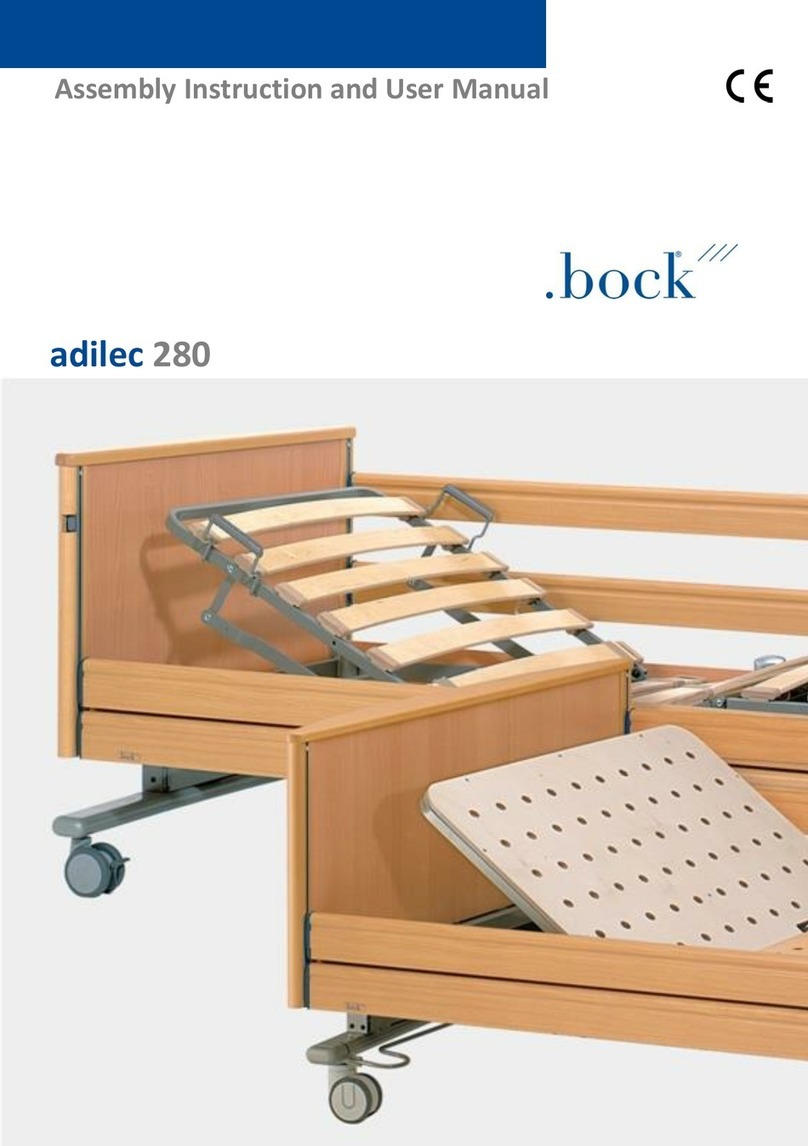
BOCK adilec 280 Installation instructions
Popular Medical Equipment manuals by other brands

Getinge
Getinge Arjohuntleigh Nimbus 3 Professional Instructions for use

Mettler Electronics
Mettler Electronics Sonicator 730 Maintenance manual

Pressalit Care
Pressalit Care R1100 Mounting instruction

Denas MS
Denas MS DENAS-T operating manual

bort medical
bort medical ActiveColor quick guide

AccuVein
AccuVein AV400 user manual


