DCN Next Generation | Quick Reference Card | DCN-DIS Discussion Unit (Single Delegate)
Bosch Security Systems | 2005-09 | 9922 141 70661 © Bosch Security Systems B.V. | Data subject to change without notice
en
Microphone
To enable the microphone:
Push the microphone button to enable the microphone
of your discussion unit.
• If the red light around the microphone button comes
on, you can speak.
• If the green light around the microphone button
comes on, your request-to-speak is accepted. You
cannot speak until the red light around the
microphone button comes on.
To cancel a request-to-speak:
When the green light around the microphone button is
on, push the microphone button to cancel the
request-to-speak. The operator can disable the
possibility to cancel the request-to-speak.
To disable the microphone:
When the red light around the microphone button is on,
push the microphone button to disable the microphone.
The red light around the microphone button goes off.
The operator can disable the possibility to disable the
microphone.
To make a request-to-respond:
When the operator enables the response function, you
can make a request-to-respond to speak to the current
speaker. Push voting button 3to make a
request-to-respond. The yellow light around voting
button 3flashes. You cannot speak until the operator
adds you to the response list. When the operator adds
you to the response list, the red light around the
microphone button comes on.
To cancel a request-to-respond:
When the yellow light around voting button 3flashes,
push voting button 3to cancel the request-to-respond.
The operator can disable the possibility to disable the
request-to-respond.
VIP mode
When the yellow light around the microphone button
comes on, your discussion unit is in the VIP mode. In
the VIP mode:
• You can always enable the microphone.
• You cannot make a request-to-speak.
Voice mode
When your discussion unit is in the Voice mode, the
microphone is always enabled. Push and hold the
microphone button to temporarily disable the
microphone. In the Voice mode, you cannot make a
request-to-speak.
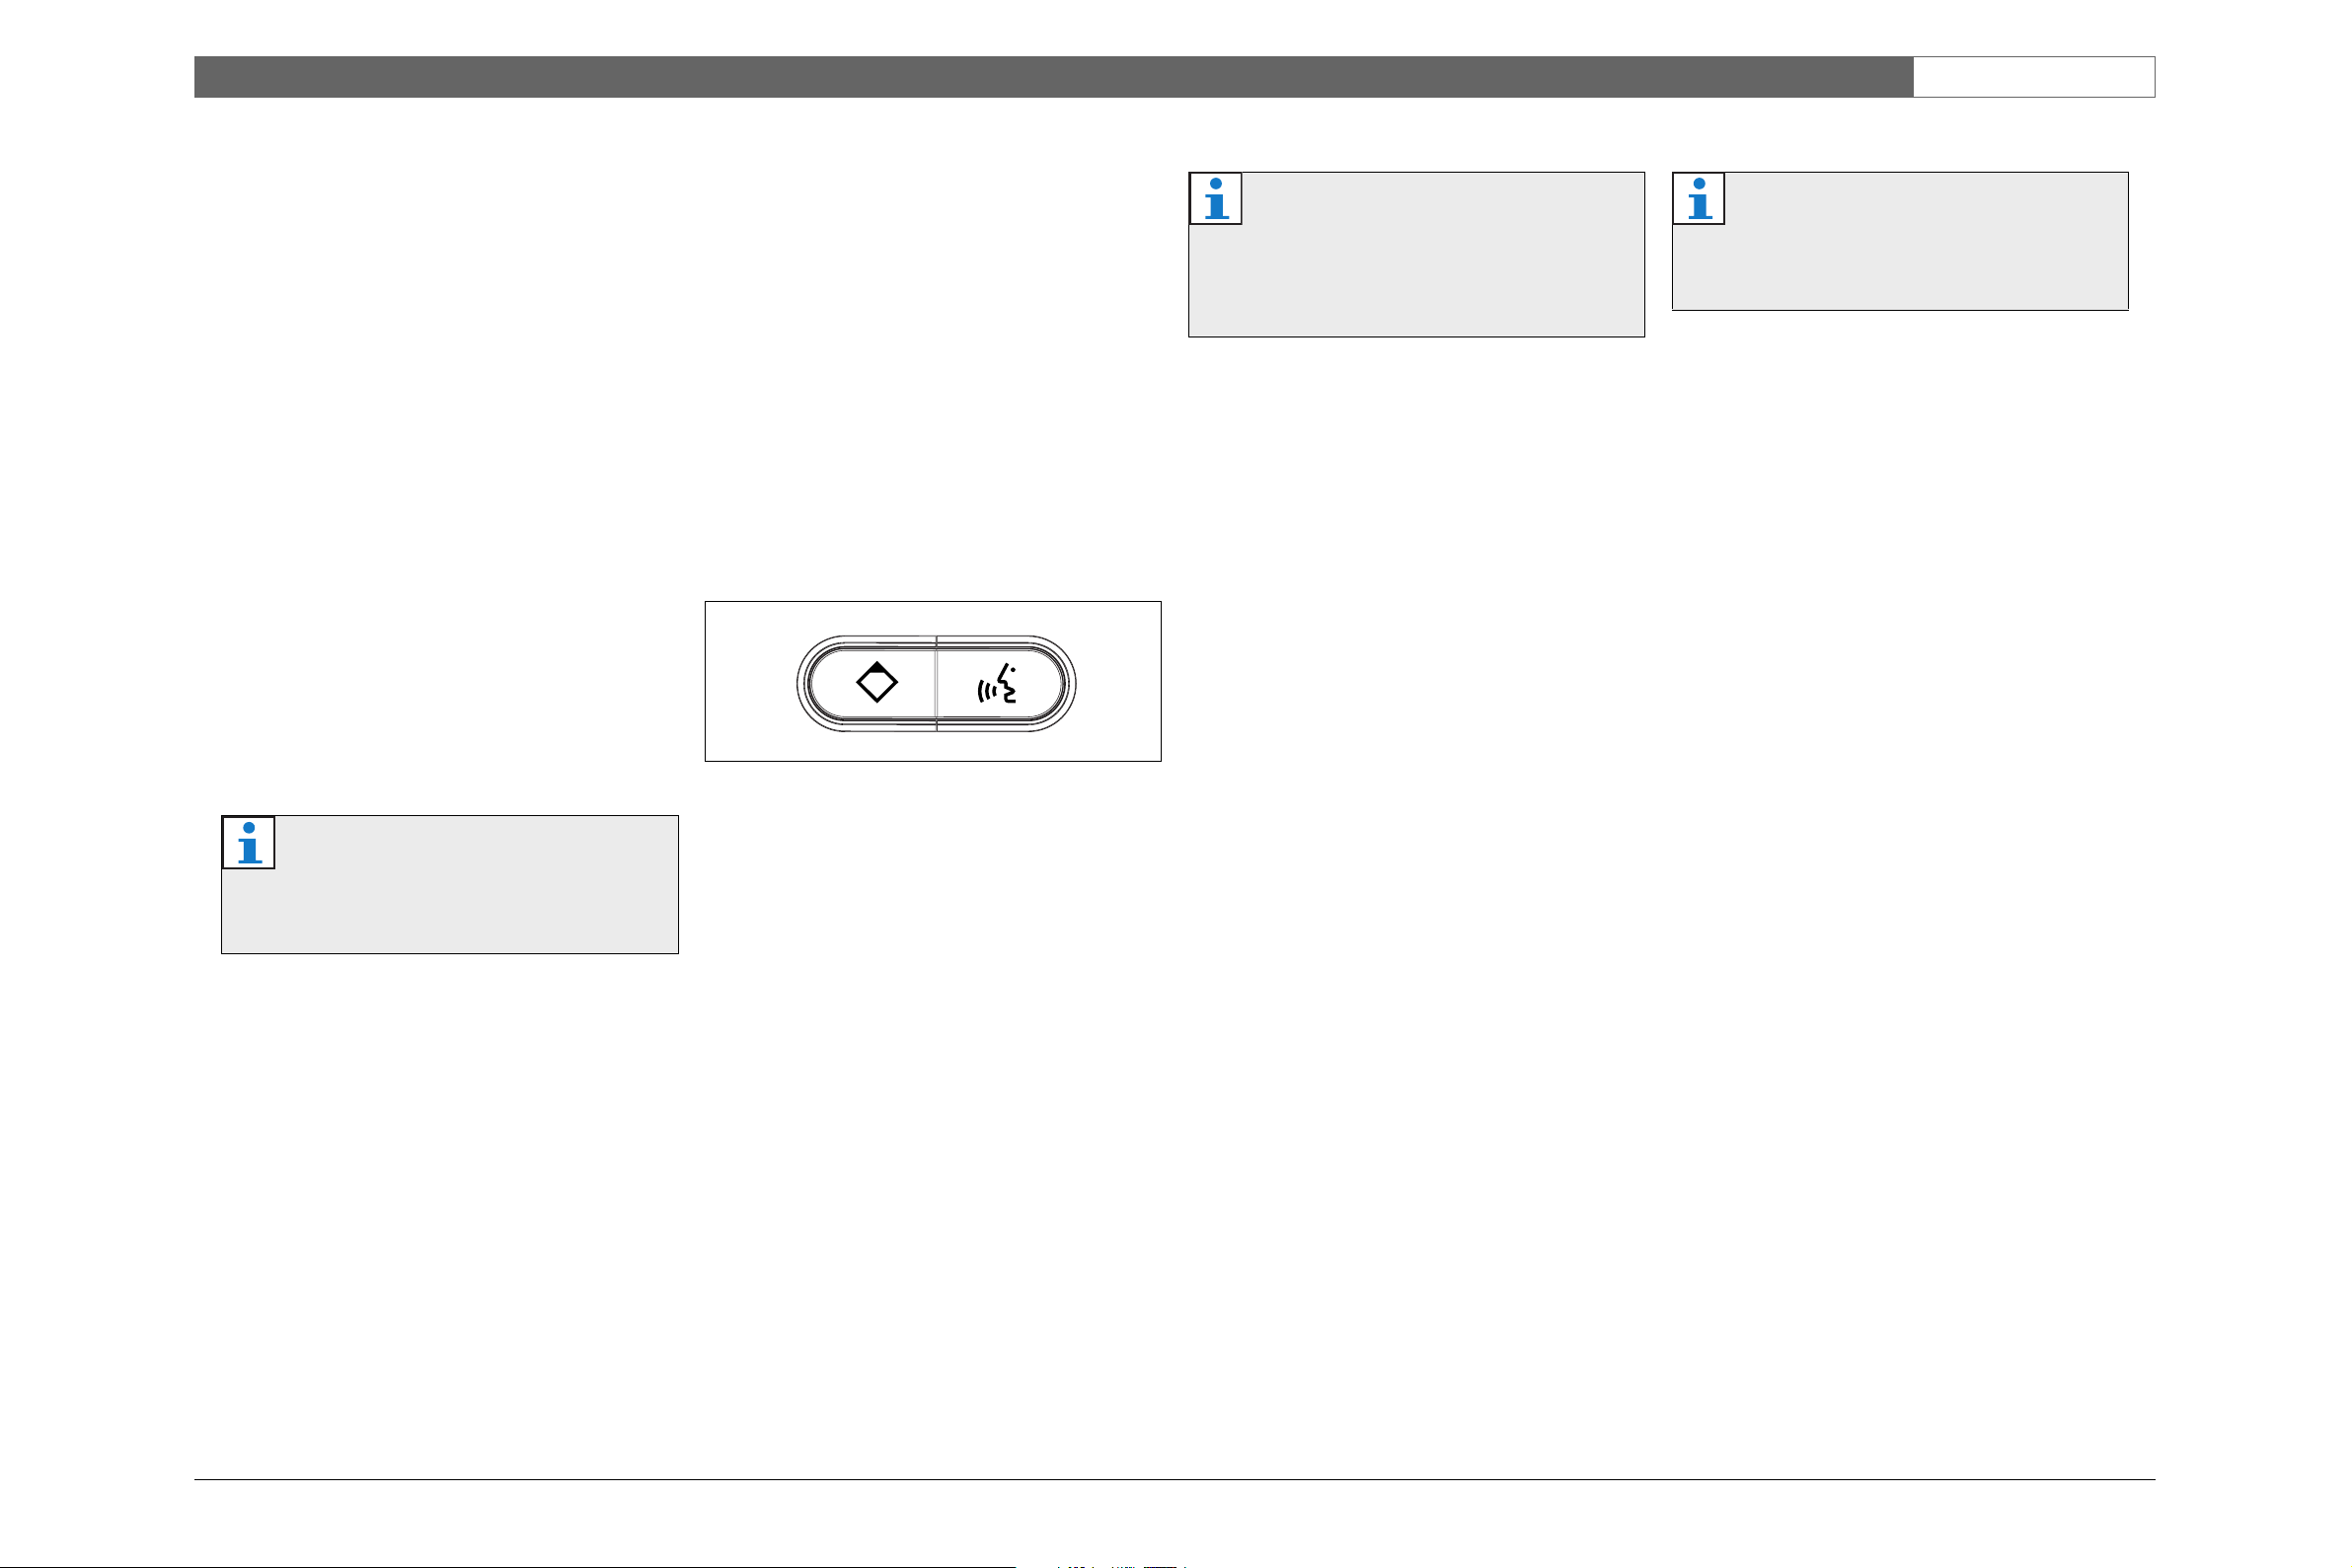
Auxiliary control
Your discussion unit can have two microphone buttons
(refer to the figure below).
When your discussion unit has two microphone buttons,
the left microphone button is an auxiliary control.
Channel selector
With the channel selector, you can select the channel
that is sent to the headphones. The channel selector is
automatically enabled when you connect headphones to
the discussion unit.
Voting
Standard procedure:
1 The chairman or operator starts a voting session.
When the voting session is started, the yellow light
adjacent to voting button 1flashes.
2 Push voting button 1to show the system that you are
present. The yellow lights around the available
voting buttons flash.
3 Make your vote. You can change your vote until the
chairman or operator stops the voting session.
Note
Some types of discussion units do not have
voting buttons. With these types of discussion
units, you cannot make a request-to-respond.
Note
Some types of discussion units do not have a
channel selector. With these types of discussion
units, you cannot change the audio signal that is
sent to the headphones.
Note
Some types of discussion units do not have
voting buttons. With these types of discussion
units, you cannot make votes.


