manuals.online logo
Brands
  1. Home
  2. •
  3. Brands
  4. •
  5. Bradley
  6. •
  7. Control Unit
  8. •
  9. Bradley S67-610 User manual

Bradley S67-610 User manual

P.O. Box 309, Menomonee Falls, WI USA 53052-0309
PHONE 800.BRADLEY (800.272.3539) FAX 262.251 5817
bradleycorp.com
Installation
215-1812 Rev. A; ECN 14-03-005B
© 2014 Bradley
Page 1 of 5 7/1/2014
ABP-1C Single Valve
Ablution System
S67-610 1C ABP Single Compression
Valve (SV)
S67-609 1C ABP Single Compression
Valve with Lever (SVL)
Table of Contents
Rough-Ins .....................................2–3
Installation .......................................4
Cleaning and Maintenance ..........................5
IMPORTANT!
Read this entire installation manual to ensure proper installation. When finished with the
installation, file this manual with the owner or maintenance department. Compliance and
conformity to local codes and ordinances is the responsibility of the installer.
Separate parts from packaging and make sure all parts are accounted for before
discarding packaging material. If any parts are missing, do not begin installation until
you obtain the missing parts.
Make sure that all water supply lines have been flushed and then completely turned off
before beginning installation. Debris in supply lines can cause valves to malfunction.
Product warranties may be found under “Products” on our web site at
www.bradleycorp.com.
Installation
THIS
SIDE
UP
Packing List
•
•
•
•
SV Valve
SVL Valve
2
Single Compression Valve for ABP-1C Single Valve Ablution System Installation
7/1/2014 Bradley • 215-1812 Rev. A; ECN 14-03-005B
Standard Installation
Alternate Installation for
shallow wall depth
No Stop With Stop
5"
(127mm)
1-7/16"
(37mm)
1-5/8"
(42mm)
4-1/2"
(115mm)
1-1/2"
(39mm)
3/4"
(20mm)
3"
(77mm)
3-1/4"
(83mm)
1/2" NPT
Inlets and
Outlets
1/2" NPT
Handle Sleeve Escutcheon
Note orientation
of Sleeve
Note Sleeve rotated
180 from standard
installation
Ø 1-1/2" hole
required
Escutcheon
Outline
Escutcheon
Outline
Wall opening
outline
Optional
Stop
3-1/4" standard
installation rough-in
2-1/2" alternate
installation rough-in
Rough-in (Single Valve - SV)
1a
3
Installation Single Compression Valve for ABP-1C Single Valve Ablution System
Bradley • 215-1812 Rev. A; ECN 14-03-005B 7/1/2014
Standard Installation
Alternate Installation for
shallow wall depth
No Stop With Stop
5"
(127mm)
1-7/16"
(37mm)
1-5/8"
(42mm)
4-1/2"
(115mm)
1-1/2"
(39mm)
3/4"
(20mm)
3"
(77mm)
3-1/4"
(83mm)
1/2" NPT
Inlets and
Outlets
1/2" NPT
Handle Sleeve Escutcheon
Note orientation
of Sleeve
Note Sleeve rotated
180 from standard
installation
Escutcheon
Outline
Escutcheon
Outline
Wall opening
outline
Optional
Stop
3-3/8" to 4" standard
installation rough-in
2-3/8" to 3-3/4" alternate
installation rough-in
Rough-in (Single Valve with Lever Handle - SVL)
1b
Ø 1-1/2" hole
required
4
Single Compression Valve for ABP-1C Single Valve Ablution System Installation
7/1/2014 Bradley • 215-1812 Rev. A; ECN 14-03-005B
Installation
2
Elbows, Adapters and
Piping supplied by others
FRONT MOUNT
REAR MOUNT
Elbows, Adapters and
Piping supplied by others
1/2" Brass Pipe
Plug (Supplied
by Bradley)
1/2" Brass Pipe
Plug (Supplied
by Bradley)
1/2" NPT
Outlets
1/2" NPT
Outlets
Optional
1/2" Stop
(S27-102)
Optional
1/2" Stop
(S27-102)
Optional
ABL Spout
Quick
Connect Kit
(S45-2848)
Optional
ABL Spout
Quick
Connect Kit
(S45-2848)
3/8" NPT Outlet
3/8" NPT Outlet
Frame
Optional 1C
Spout (SSPS
Shown, SX
assembled in the
same manner)
Optional 1C
Spout (SSPS
Shown, SX
assembled in the
same manner)
Model SVL Shown,
Model SV is assembled in
teh same manner
Model SVL Shown,
Model SV is assembled in
teh same manner
A
Connect valve to supply line and
spout or diverter. Valve must be
held in place using rigid piping
and clamp (supplied by installer).
BAttach escutcheon, sleeve and
handle to valve after wall is
finished.
Flush the supply line before
making connection.
For further information see operation and service guides
215-1369-2C (for SVL) and 215-1369-2D (for SV)
5
Installation Single Compression Valve for ABP-1C Single Valve Ablution System
Bradley • 215-1812 Rev. A; ECN 14-03-005B 7/1/2014
Cleaning and maintenance instructions for stainless steel
Material Description: Stainless steel is extremely durable, and maintenance is simple and inexpensive. Proper care,
particularly under corrosive conditions, is essential. Always start with the simplest solution and work your way toward
the more complicated.
Routine cleaning: Daily or as often as needed use a solution of warm water and soap, detergent, or ammonia. Apply the
cleaning solution per the manufacturer’s instructions and always use a soft cloth or sponge to avoid damaging the finish.
Stubborn Stains: To remove stains from stainless steel use a stainless steel cleaner and polish such as Ball®
stainless steel cleaner or a soft abrasive. Always follow the manufacturer’s instructions and apply in the same
direction as the polish lines.
Spout/Head: If the spout/head delivers an uneven spray, remove the spout/head from the unit, disassemble, and
remove foreign matter. Then reassemble spout/head and reinstall into unit.
CAUTION! Never use ordinary steel wool or steel brushes on stainless steel. Always use stainless steel
wool or stainless steel brushes.
Special Situations for Material
Fingerprints and Smears: To remove fingerprints or smears use a high quality stainless steel cleaner and polish in
accordance with the manufacturer’s instructions. Many of these products leave a protective coating that helps prevent
future smears and fingerprints.
Grease and Oil : To remove grease and oil use a quality commercial detergent or caustic cleaner. Apply in
accordance to the manufacturer’s instructions and in the direction of the polish lines.
Precautions: Avoid prolonged contact with chlorides (bleaches, salts), bromides (sanitizing agents), thiocyanates (pesticides,
photography chemicals, and some foods), and iodides on stainless steel equipment, especially if acid conditions exist.
CAUTION! Do not permit salty solutions to evaporate and dry on stainless steel.
The appearance of rust streaks on stainless steel leads to the belief that the stainless steel is rusting. Look for the actual
source of the rust in some iron or steel particles which may be touching, but not actually a part of the stainless steel structure.
NOTE: Strongly acidic or caustic cleaners may attack the steel, causing a reddish film to appear. The use of these
cleaners should be avoided.
Brand Names: Use of brand names is intended only to indicate a type of cleaner. This does not constitute an
endorsement, nor does the omission of any brand name cleaner imply its inadequacy. Many products named are
regional in distribution, and can be found in local supermarkets, department and hardware stores, or through your
cleaning service. It is emphasized that all products should be used in strict accordance with package instructions.

This manual suits for next models

1

Other Bradley Control Unit manuals

Bradley S45-1986 User manual

Bradley

Bradley S45-1986 User manual

Bradley S19-2000 Series User manual

Bradley

Bradley S19-2000 Series User manual

Bradley EFX60 User manual

Bradley

Bradley EFX60 User manual

Bradley E90-252 HFP Guide

Bradley

Bradley E90-252 HFP Guide

Bradley S19-2200 User manual

Bradley

Bradley S19-2200 User manual

Bradley S19-2100 User manual

Bradley

Bradley S19-2100 User manual

Bradley S59-2007 User manual

Bradley

Bradley S59-2007 User manual

Bradley EFX25 User manual

Bradley

Bradley EFX25 User manual

Bradley EFX 120 Series User manual

Bradley

Bradley EFX 120 Series User manual

Bradley Equa-Flo HD Operation manual

Bradley

Bradley Equa-Flo HD Operation manual

Bradley S59-2005T1 User manual

Bradley

Bradley S59-2005T1 User manual

Bradley EFX 20/S19-2150 User manual

Bradley

Bradley EFX 20/S19-2150 User manual

Bradley Equa-Flo HD S59-1005 User manual

Bradley

Bradley Equa-Flo HD S59-1005 User manual

Bradley EFX8/S19-2000 Series User manual

Bradley

Bradley EFX8/S19-2000 Series User manual

Bradley TouchTime S45-1941 User manual

Bradley

Bradley TouchTime S45-1941 User manual

Bradley Equa-Flo EFT1 User manual

Bradley

Bradley Equa-Flo EFT1 User manual

Bradley AST4 Operation manual

Bradley

Bradley AST4 Operation manual

Bradley EFX 125/S19-2300 User manual

Bradley

Bradley EFX 125/S19-2300 User manual

Bradley S59-5000 Series User manual

Bradley

Bradley S59-5000 Series User manual

Bradley HL 200 User manual

Bradley

Bradley HL 200 User manual

Bradley Equa-Flo S59-1005SR User manual

Bradley

Bradley Equa-Flo S59-1005SR User manual

Bradley EFX 8 User manual

Bradley

Bradley EFX 8 User manual

Bradley EFX 60 S19-2200 Series User manual
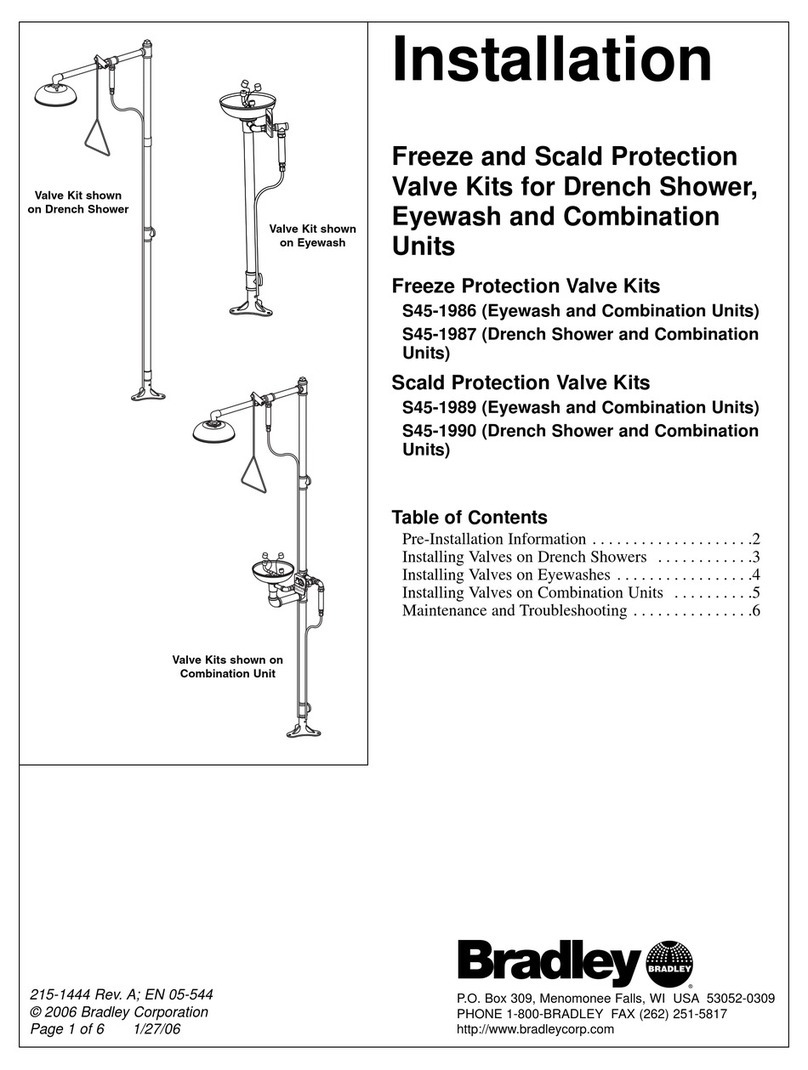
Bradley

Bradley EFX 60 S19-2200 Series User manual

Bradley S19-2100 User manual

Bradley

Bradley S19-2100 User manual

Popular Control Unit manuals by other brands

Shure A15AS manual

Shure

Shure A15AS manual

Ross HBH Series operating instructions

Ross

Ross HBH Series operating instructions

Ebyte E104-BT11 user manual

Ebyte

Ebyte E104-BT11 user manual

cashco 988 NSTALLATION, OPERATION & MAINTENANCE MANUAL

cashco

cashco 988 NSTALLATION, OPERATION & MAINTENANCE MANUAL

Greystone Energy Systems GT-AI Series installation instructions

Greystone Energy Systems

Greystone Energy Systems GT-AI Series installation instructions

Carrier 7C-CM-C1K-XA installation guide

Carrier

Carrier 7C-CM-C1K-XA installation guide

BFT PERSEO CBE quick start guide

BFT

BFT PERSEO CBE quick start guide

Siemens RUGGEDCOM RS900 installation guide

Siemens

Siemens RUGGEDCOM RS900 installation guide

Festo CTEU-CO Manual, Functions and maintenance

Festo

Festo CTEU-CO Manual, Functions and maintenance

Mitsubishi Electric MELSEC iQ-R Series Safety guide

Mitsubishi Electric

Mitsubishi Electric MELSEC iQ-R Series Safety guide

GEA VARIVENT Y Operating	 instruction

GEA

GEA VARIVENT Y Operating instruction

SCHUNK MV Series Assembly and operating manual

SCHUNK

SCHUNK MV Series Assembly and operating manual

Redback A 2387 operating instructions

Redback

Redback A 2387 operating instructions

TechNexion XORE-WIZARD-IMX8M-MINI quick start guide

TechNexion

TechNexion XORE-WIZARD-IMX8M-MINI quick start guide

Feig Electronic ID ISC.MRMU102-A installation manual

Feig Electronic

Feig Electronic ID ISC.MRMU102-A installation manual

TCi Turbo Hydramatic 350 installation instructions

TCi

TCi Turbo Hydramatic 350 installation instructions

Infineon GTM TOM Interrupt 1 manual

Infineon

Infineon GTM TOM Interrupt 1 manual

hexinverter AteOhAte: Mutant HiHats Assembly manual

hexinverter

hexinverter AteOhAte: Mutant HiHats Assembly manual

manuals.online logo
manuals.online logoBrands
  • About & Mission
  • Contact us
  • Privacy Policy
  • Terms and Conditions

Copyright 2025 Manuals.Online. All Rights Reserved.