manuals.online logo
Brands
  1. Home
  2. •
  3. Brands
  4. •
  5. BRIO
  6. •
  7. Water Filtration System
  8. •
  9. BRIO 3 Stage System User manual

BRIO 3 Stage System User manual

3 Stage System
Filter Change
Step By Step Guide On Changing Your Filters
Let us help!
1-844-257-4103
cs@organize.com
R
Materials Needed
Materials Included
A
B
C
F
1
1
1
1
1
Part Description Quantity
A
B
C
D
E
Filter Flushing Tube
Shut-O Valve Tube (7 FT.)
Filter Housing (For Filter Flushing)
Sediment Filter
Carbon Filter
FFeed Water Adapter 1
If there is a drop in water pressure in your home
or on the pressure gauge, it is usually a sign that it is time
to replace your filters. It is recommended to replace filters
when the pressure has dropped between 10-20 PSI.
Handy Tip!
Enjoy consistent access to pure and refreshing
water when you replace filters in a timely manner.
On average, each filter is good for 6 months,
depending on various factors. The amount of
time varies greatly depending on the quality
of water, temperature and pressure of your
water supply. Due to these factors, filter
lifespan may be longer or shorter.
Thank you! D E F
Step 2 : Turn O Cooler
COLD HOT
Turn o the switches
located on the back
of the unit. Once the
switches have been
flipped to the o position,
unplug the unit from the outlet.
Step 3 : Drain Cooler Tank
Place a large bucket beneath
the drain outlet located on the
back of the dispenser and
remove the drain cover, begin
to drain water.
Locate the cold water
supply and shut o the
flow of water.
Step 1 : Turn O Water Supply
B
Step 4 : Remove Inlet Line
Once the cooler has been
drained, unplug the inlet line.
As a precaution, place a towel
underneath the inlet line to
absorb any potential water left
in the cooler.
C
D
B
A. Connect the filter (D)
to the filter housing
(C) by twisting the
filter (D) clockwise.
B
Step 5 : Flush New Filter
Flush each filter for a
minimum of 5 minutes.
The recommended rate
is 1.5-3 gallons of water
(about 10 minutes) or
until the water is clear in
appearance.
Shut o the valve at the
water source and remove
the filter housing from the
tube (B).
D.
E.
B.
C. Connect the filter
flushing tube (A) to the
right side of the filter
housing (C) and lay the
open end of the flushing
tube (A) over a sink or
receptacle to collect water.
Repeat process with the
second filter (E) and third filter (F).
Connect the tip of the
shut-o value tube (B)
to the left side of the
filter housing (C).
A
C
B
Step 6: Re-Install Inlet Line
Connect the tip of the
shut-o valve tube (B)
into the water inlet hole
on the back of the
dispenser. Once
connected, ensure the
valve on the tube (B) is
on and turn on the water
supply line.
Enjoy Your Water!
Once all the steps have
been followed and all the
connections have been
secured, turn on the water
supply line. Let water flow
through the cooler and
ensure that there are no
leaks at any of the
connection points. When
all points have been checked,
enjoy purified water in every cup!
Step 9 : Turn On Water Supply
Remove filters after turning
o the water supply. Simply
twist each filter clockwise in
the filter housings located
inside the dispenser cabinet.
Step 7 : Remove Used Filter
Twist each filter counter
clockwise into the filter
housings located inside
the dispenser cabinet.
Stage 1 goes on the left.
Stage 2 goes on the
right.
Step 8 : Install New Filter

Other BRIO Water Filtration System manuals
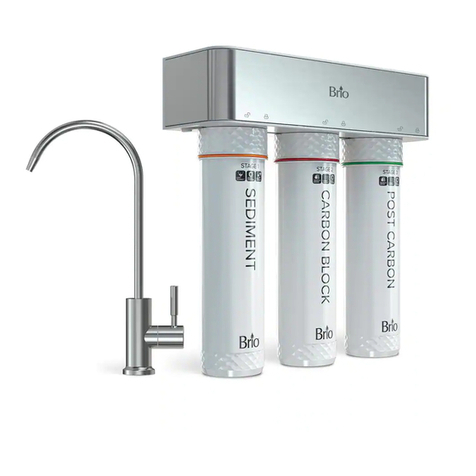
BRIO FUS300R User manual

BRIO

BRIO FUS300R User manual

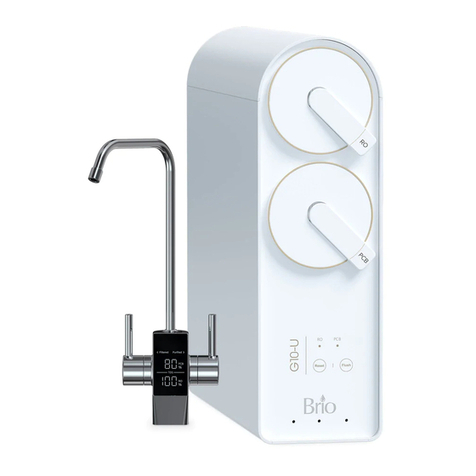
BRIO G10-U User guide

BRIO

BRIO G10-U User guide

BRIO CROS2400 User manual

BRIO

BRIO CROS2400 User manual

BRIO amphara UF100FWHT User guide

BRIO

BRIO amphara UF100FWHT User guide
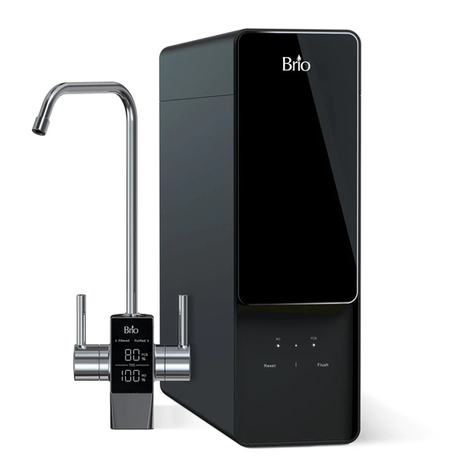
BRIO AQUUS TROE600COL User guide

BRIO

BRIO AQUUS TROE600COL User guide
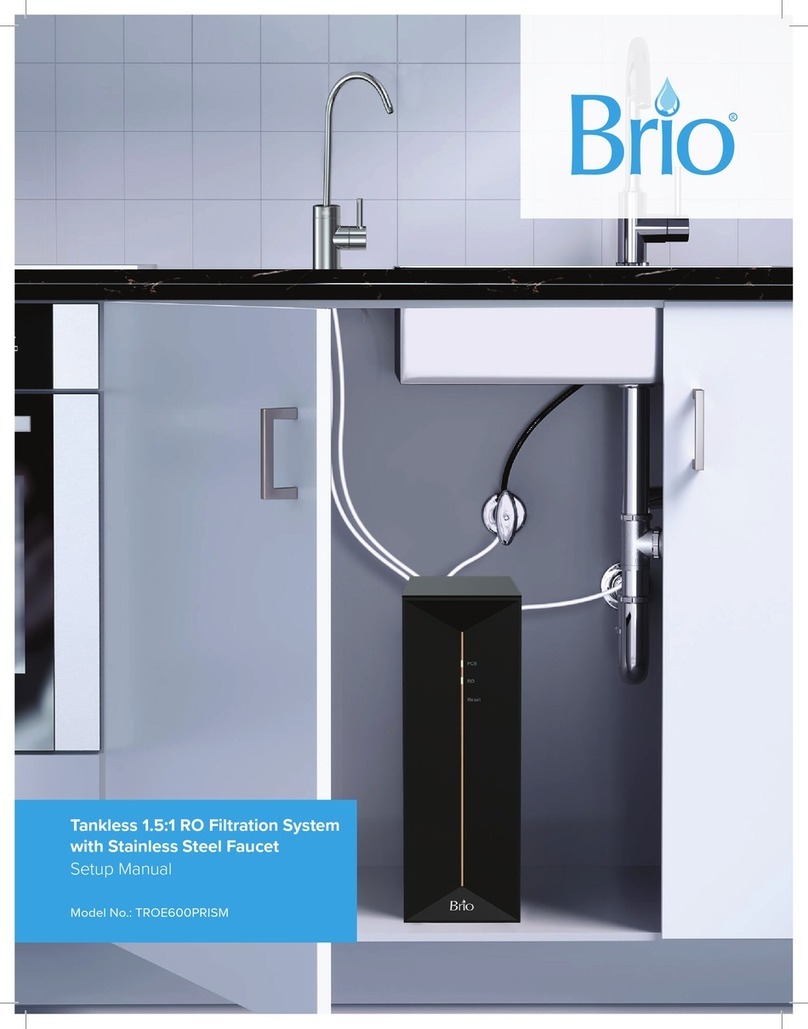
BRIO TROE600PRISM User guide

BRIO

BRIO TROE600PRISM User guide

BRIO G20-U User guide

BRIO

BRIO G20-U User guide

BRIO ROSL500 User guide

BRIO

BRIO ROSL500 User guide

BRIO amphora ROP100 User guide

BRIO

BRIO amphora ROP100 User guide

BRIO amphora User guide

BRIO

BRIO amphora User guide

Popular Water Filtration System manuals by other brands
PREMIER TECH Rewatec Ecoflo ST-500 owner's manual

PREMIER TECH

PREMIER TECH Rewatec Ecoflo ST-500 owner's manual

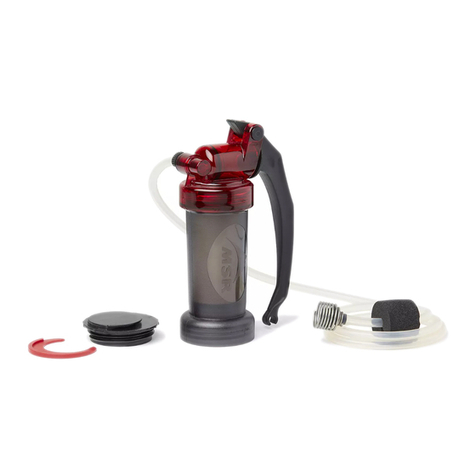
MSR MINIWORKS EX instruction manual

MSR

MSR MINIWORKS EX instruction manual

Blue Wave EASY CLEAN 100 instruction manual

Blue Wave

Blue Wave EASY CLEAN 100 instruction manual

Clean Water Living Water VORTEXer user guide

Clean Water

Clean Water Living Water VORTEXer user guide

Buhler K-AGF-VA-23 Brief instructions

Buhler

Buhler K-AGF-VA-23 Brief instructions

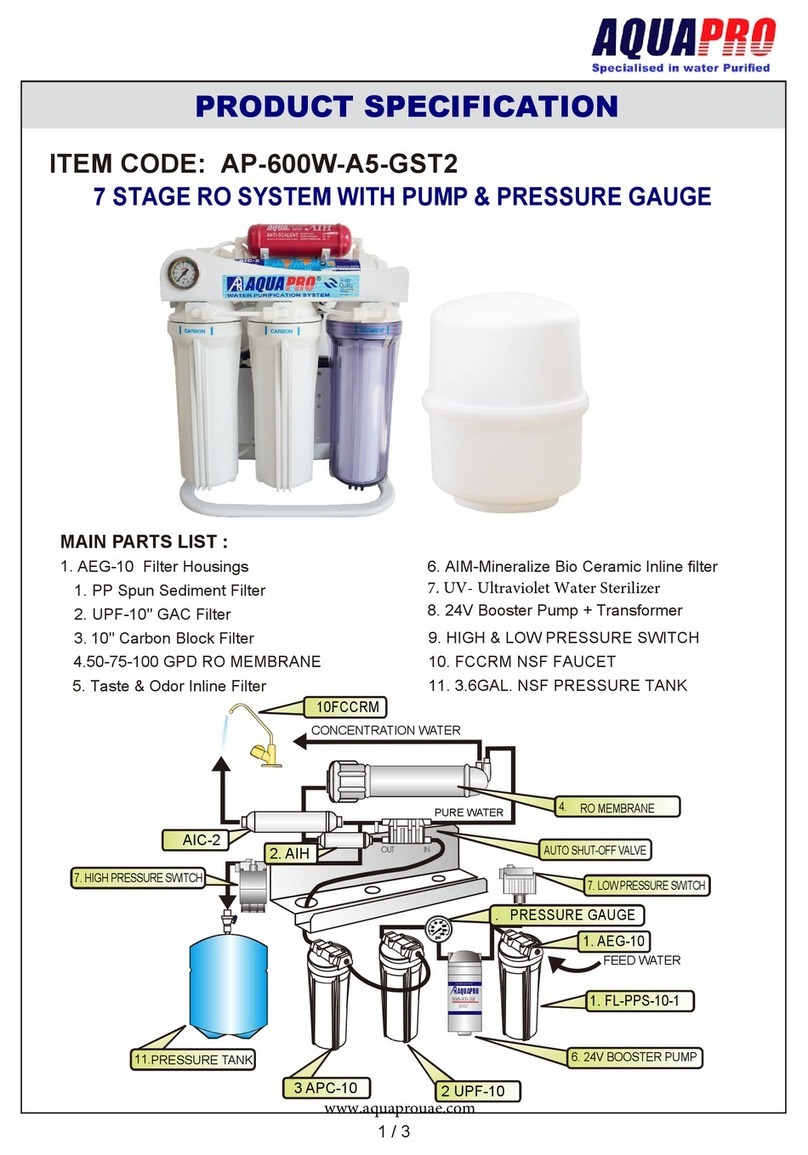
Aqua PRO AP-600W-A5-GST2 manual

Aqua PRO

Aqua PRO AP-600W-A5-GST2 manual

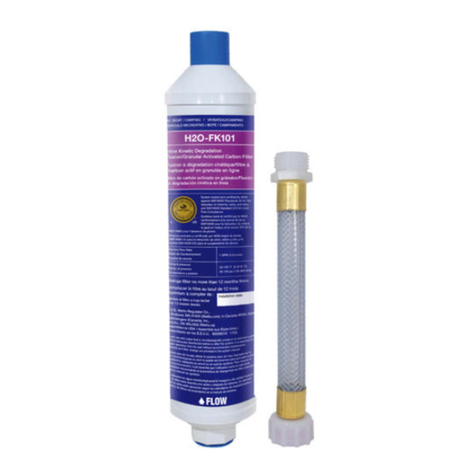
Watts pure H2O H2O-FK101 Installation, operation and maintenance manual
Watts

Watts pure H2O H2O-FK101 Installation, operation and maintenance manual

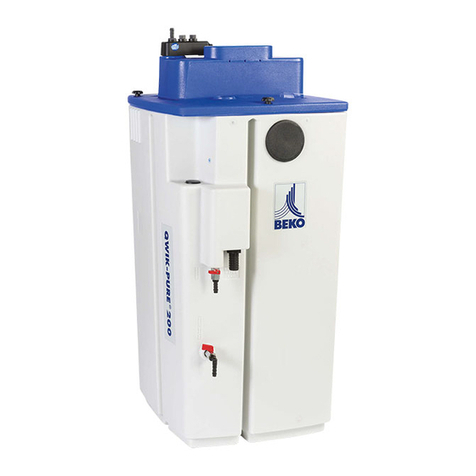
Beko QWIK-PURE 200 Instructions for installation and operation
Beko

Beko QWIK-PURE 200 Instructions for installation and operation

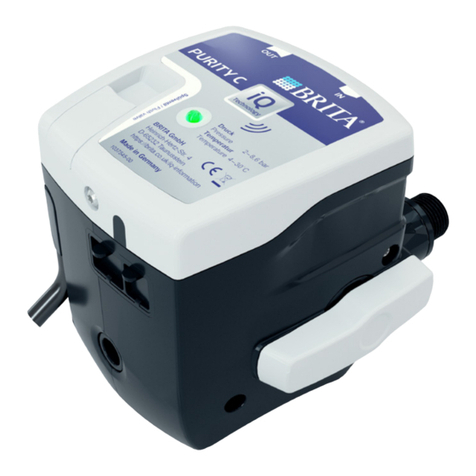
Brita PURITY C iQ Quick installation guide

Brita

Brita PURITY C iQ Quick installation guide

A.J.Antunes UF-216C Series owner's manual

A.J.Antunes

A.J.Antunes UF-216C Series owner's manual

Insignia NS-LGLT5531 Quick setup guide

Insignia

Insignia NS-LGLT5531 Quick setup guide

Hellenbrand Millennium MRO-35 datasheet

Hellenbrand

Hellenbrand Millennium MRO-35 datasheet

ElectroMaax Marine Watermaker Series Installation, operation & maintenance manual

ElectroMaax

ElectroMaax Marine Watermaker Series Installation, operation & maintenance manual

Crystal Quest CQE-SP-00809 Installation and operation guide
Crystal Quest

Crystal Quest CQE-SP-00809 Installation and operation guide

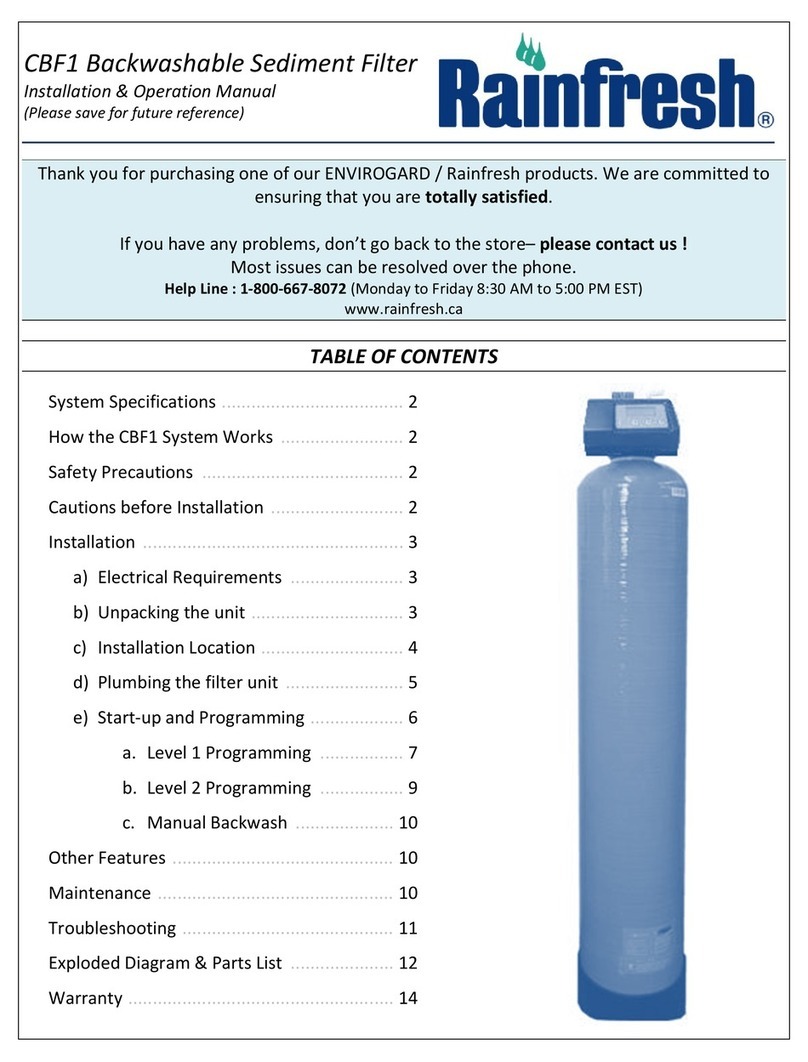
Rainfresh CBF1 Installation & operation manual
Rainfresh

Rainfresh CBF1 Installation & operation manual

ELECTOR Clarimax user guide

ELECTOR

ELECTOR Clarimax user guide

Zip Heater HydroTap G4 user guide

Zip Heater

Zip Heater HydroTap G4 user guide

EGT EGT-300 user manual

EGT

EGT EGT-300 user manual
manuals.online logo
manuals.online logoBrands
  • About & Mission
  • Contact us
  • Privacy Policy
  • Terms and Conditions

Copyright 2025 Manuals.Online. All Rights Reserved.