Electrical Connections
Regulations: The electrical
installation must be carried out
in accordance with the national
electrical regulations and installed by
a qualified person.
Safety: In the interests of electrical
safety a 30 mA residual current
device (R.C.D not supplied) should
be installed in the supply circuit. This
may be part of a consumer unit or a
separate unit.
Before starting work on the electrical
supply ensure the power supply is
isolated.
DO NOT allow the supply cord to
contact hot surfaces. The cord should
be safely routed and secured by
cable clips.
Connections: The power supply must
be permanently connected to the
fixed wiring of the mains supply using
the factory fitted supply cord, via a
switched fused spur o the ring main.
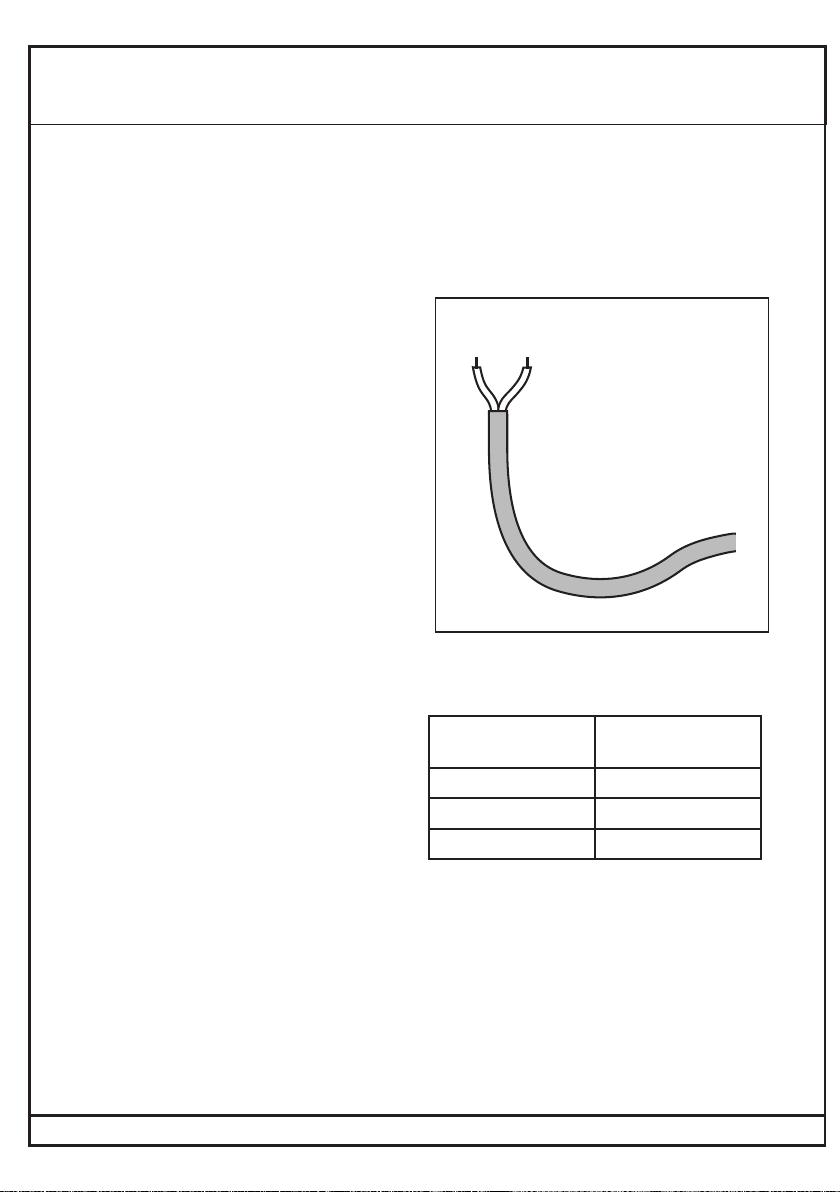
The wires in the mains lead are
coloured in accordance with the
following code:
Blue: Neutral
Brown: Live
As the colours of the wires in the
mains lead of this appliance may
not correspond with the coloured
markings identifying the terminals
in your connection unit proceed as
follows;-
The wire which is coloured blue must
be connected to the terminal which
The wire which is coloured brown
must be connected to the terminal
which is marked with the letter ‘L’ or
is coloured red.
Fuse: This following fuse size should
be used.
Model Fuse Size
(AMPS)
IRSD1-CP 3
IRSD1-BN 3
IRSD1-BZ 3
Supply Cord Replacement
If the supply cord is damaged, it
must be replaced by a genuine
Bristan supply cord. Contact Bristan
Customer Services on 0330 026
6273 to request new spare parts.
N L
is marked with the letter ‘N’ or is
coloured black.
5
Need help? Give us a call on 0330 026 6273 and speak to one of our trained advisors.
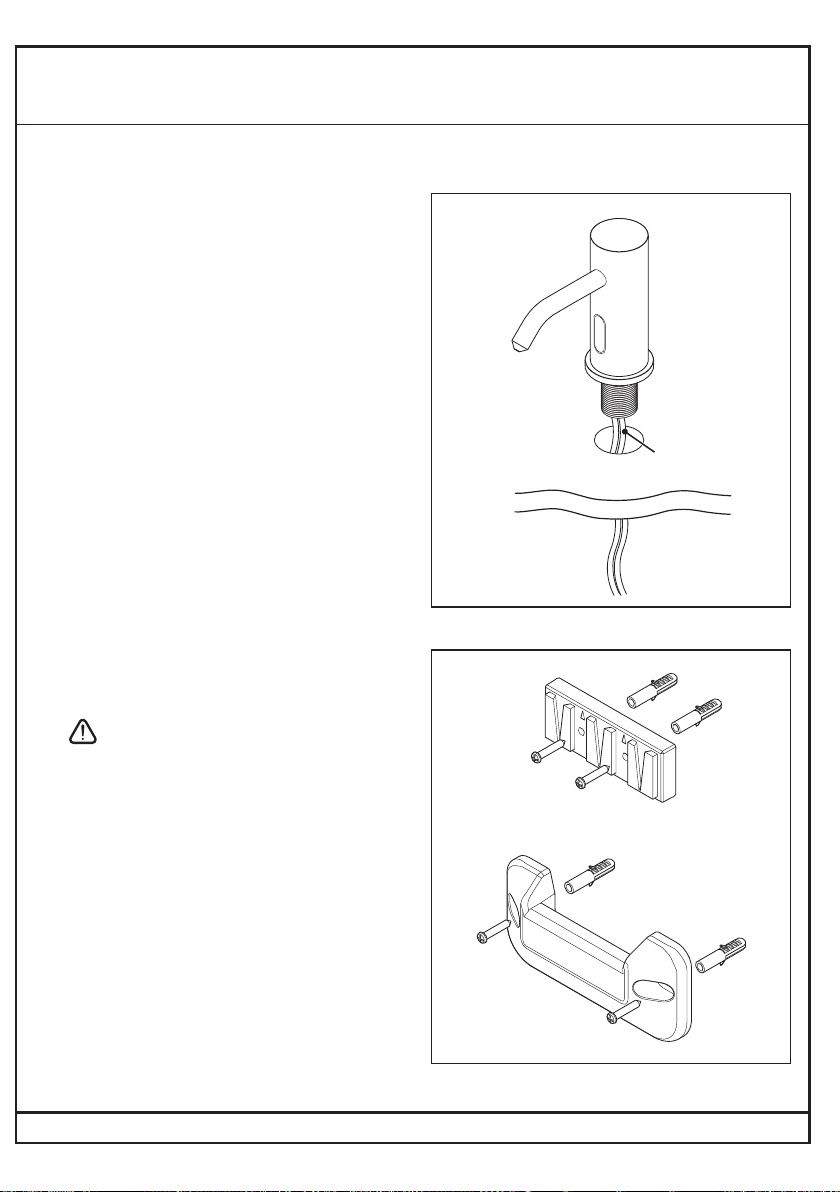
Installation Requirements