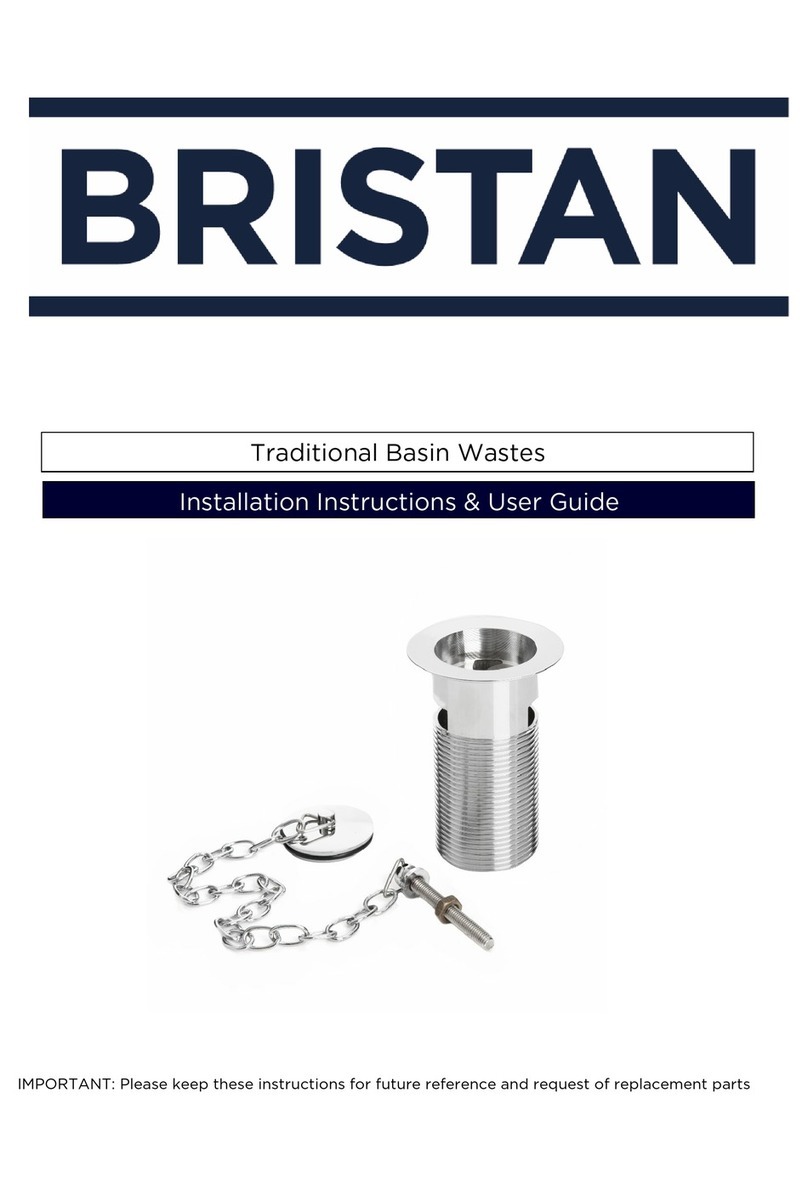
Bristan DUL2 SHXARFF C Wiring diagram
Other Bristan Plumbing Product manuals
Bristan
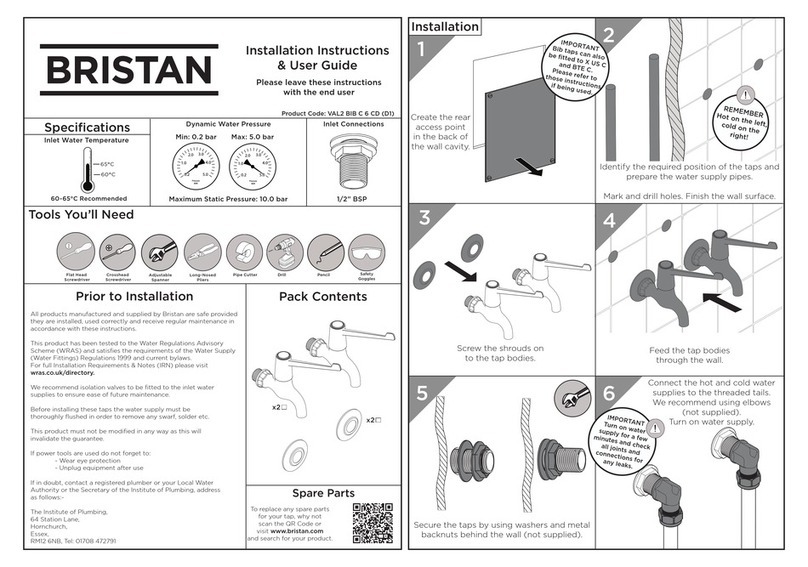
Bristan VAL2 BIB C 6 CD Wiring diagram
Bristan
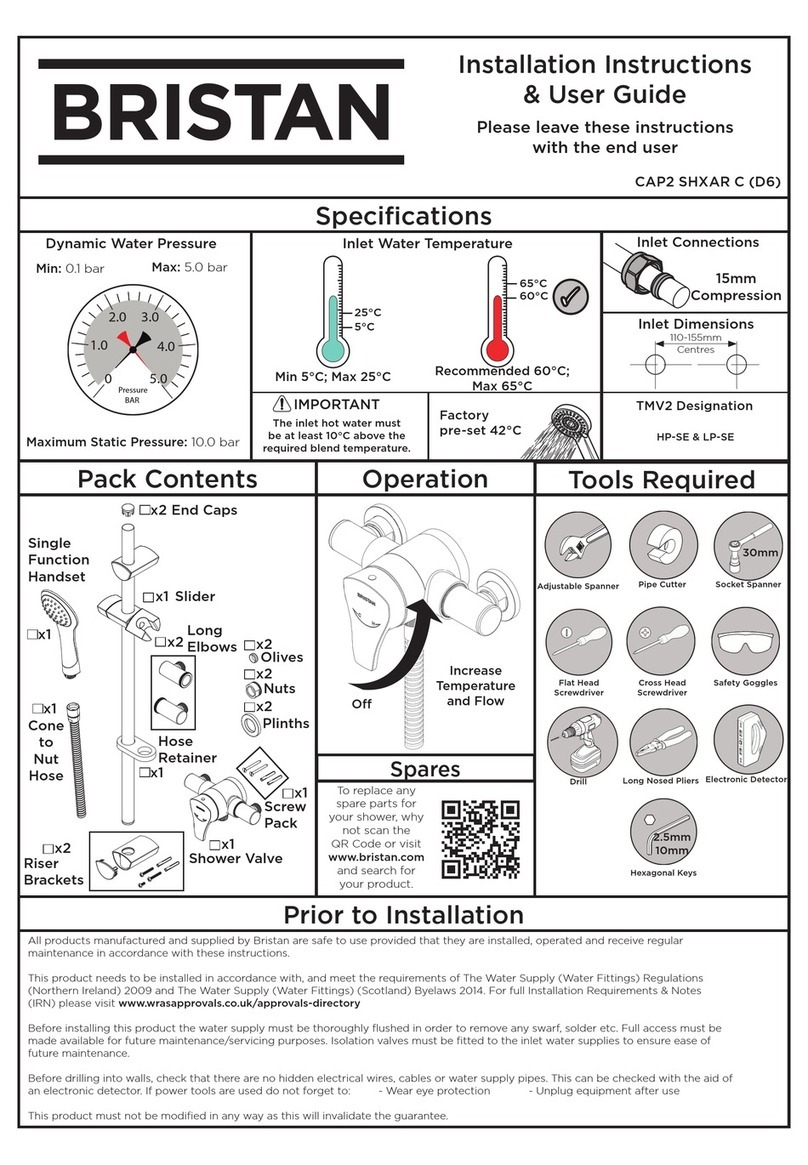
Bristan CAP2 SHXAR C (D6) Wiring diagram
Bristan
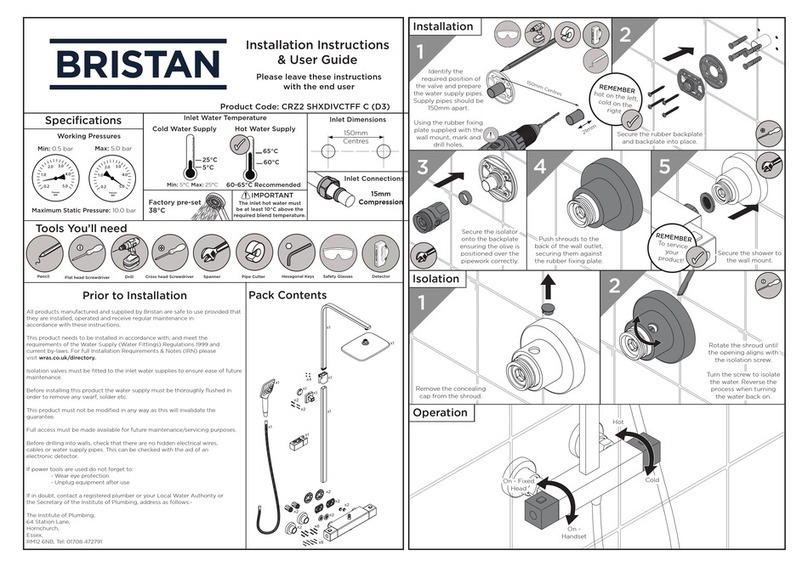
Bristan CRAZE CRZ2 SHXDIVCTFF C Wiring diagram

Bristan
Bristan Z2 DUS 1/2 C Wiring diagram
Bristan
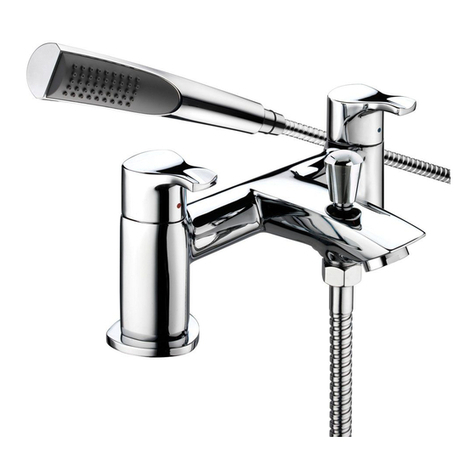
Bristan Jute JU BSM C User manual
Bristan
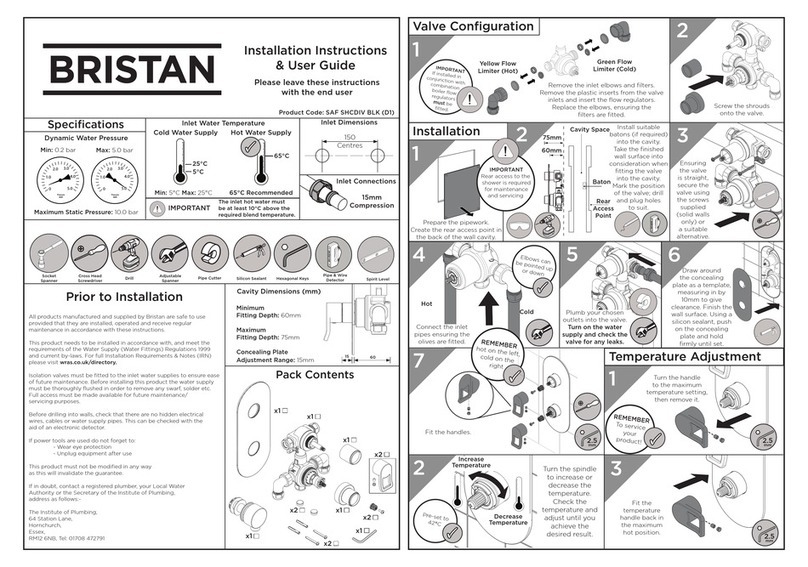
Bristan SAF SHCDIV BLK (D1) Wiring diagram
Bristan
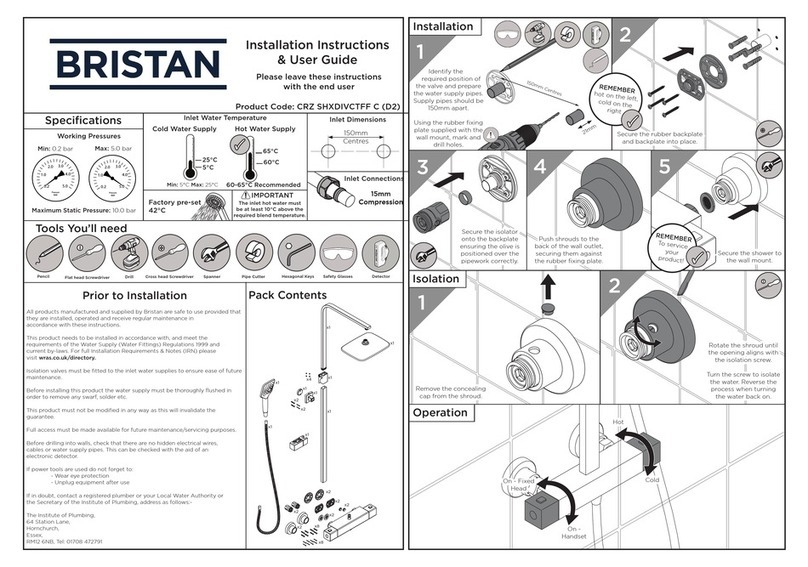
Bristan CRZ SHXDIVCTFF C Wiring diagram
Bristan
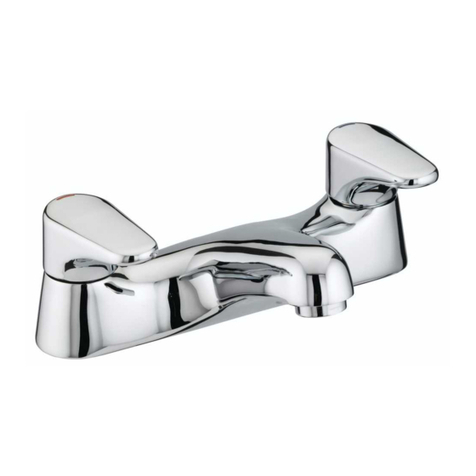
Bristan Jute JU BF C User manual
Bristan
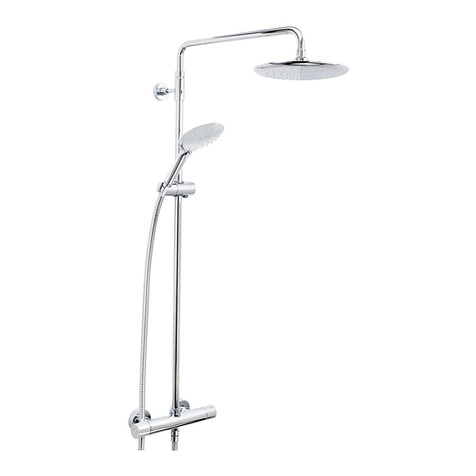
Bristan CR SHXDIVFF C Wiring diagram
Bristan
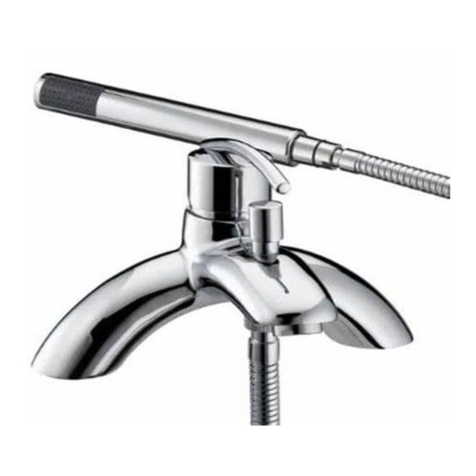
Bristan Palermo PA BSM C User manual
Bristan
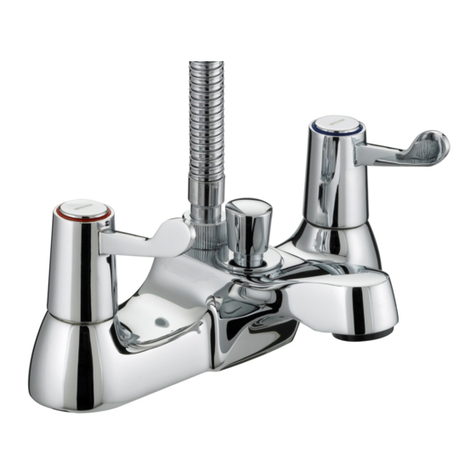
Bristan Value VAL BSM C CD Wiring diagram
Bristan
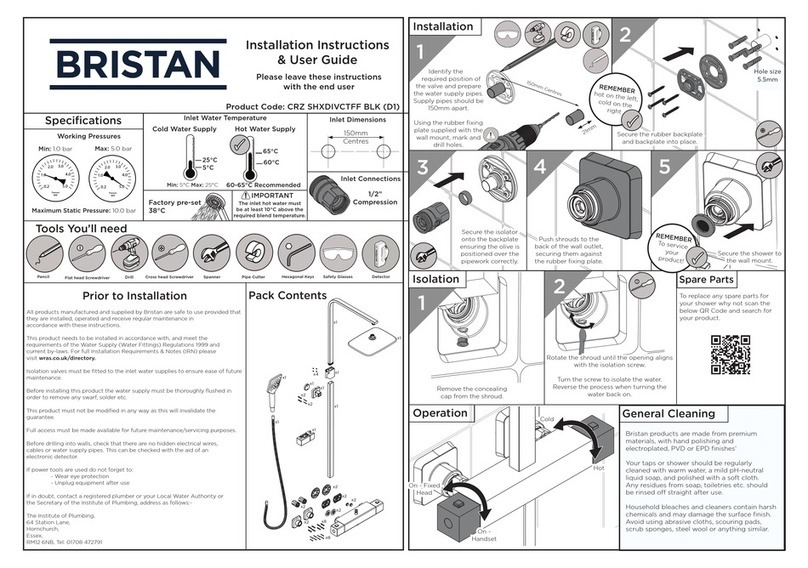
Bristan CRZ SHXDIVCTFF BLK (D1) Wiring diagram
Bristan
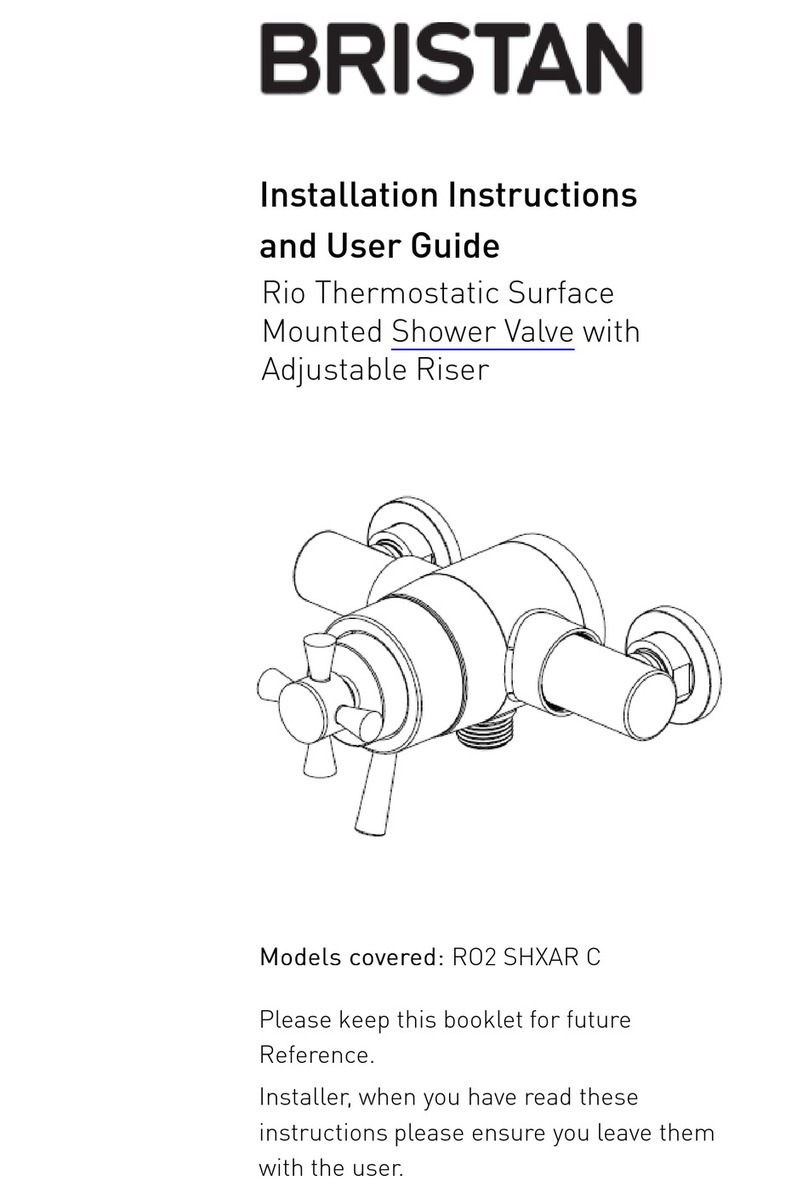
Bristan RO2 SHXAR C Mounting instructions

Bristan
Bristan IRN R001 User manual
Bristan
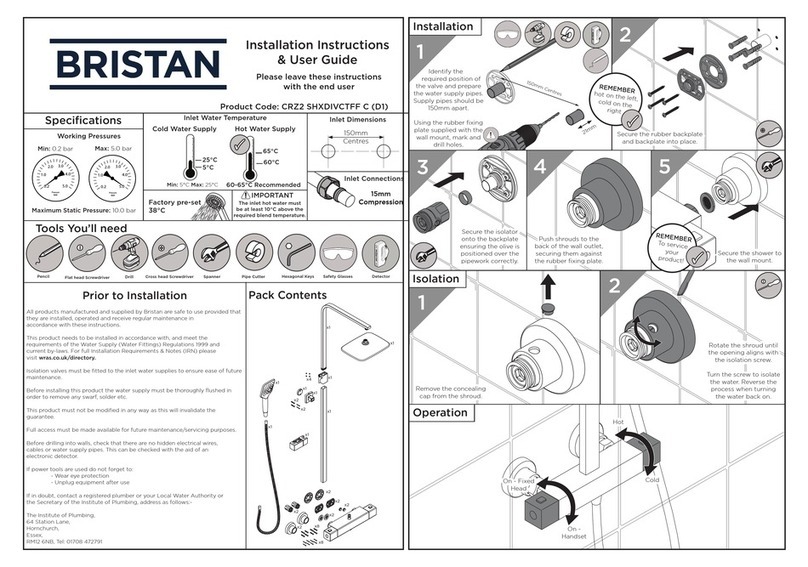
Bristan CRZ2 SHXDIVCTFF C Wiring diagram
Bristan
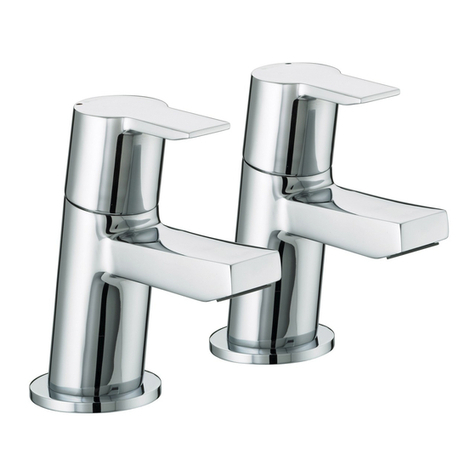
Bristan Pisa series Wiring diagram
Bristan
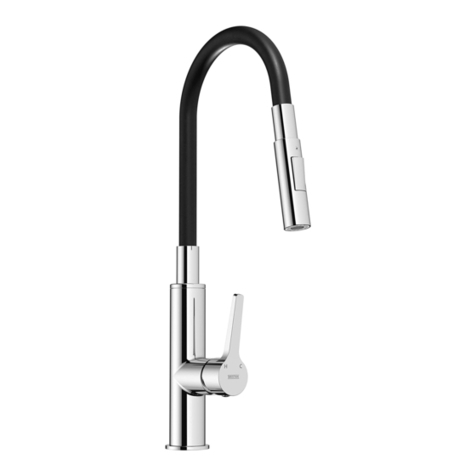
Bristan GLL FLEXSNK C (D1) Wiring diagram

Bristan
Bristan W BASIN07 C Wiring diagram

Bristan
Bristan WASTES W BATH09 C Wiring diagram

Bristan
Bristan WMNT11 C Mounting instructions
Popular Plumbing Product manuals by other brands

Weka
Weka 506.2020.00E ASSEMBLY, USER AND MAINTENANCE INSTRUCTIONS

American Standard
American Standard DetectLink 6072121 manual

Kohler
Kohler K-6228 Installation and care guide

Uponor
Uponor Contec TS Mounting instructions

Pfister
Pfister Selia 49-SL Quick installation guide

Fortis
Fortis VITRINA 6068700 quick start guide

Elkay
Elkay EDF15AC Installation, care & use manual

Hans Grohe
Hans Grohe AXOR Citterio E 36702000 Instructions for use/assembly instructions

baliv
baliv WT-140 manual

Kohler
Kohler Mira Eco Installation & user guide

BELLOSTA
BELLOSTA romina 0308/CC Installation instruction

Crosswater
Crosswater Heir 18-31 installation instructions
