If in number 1 position Bounce mode, push in
and turn the RED button towards the LOCK position.
Do this for each support leg.
A
B
C
To lower the seat to number 2 or 3 position, push
in and turn the RED button from Lock towards
Jump mode.
Now push down on the seat frame until you see
the number 2 or 3 appear. Push in the RED button
and turn towards the LOCK position. Repeat for
both leg tubes. The seat frame should now be
locked into this position.
DTo release back to Bounce mode, push in and turn
the RED button (on both sides) towards Jump
indicator.The seat frame will return to Bounce mode.
WALKER MODE(FIXED SEAT POSITION):
NOTE: To lock the support legs from Bounce into
Walker mode, select one of the 3 height positions.
NOTE: You might need to adjust the leg tube up or
down a little to allow the LOCK pin to engage
the support leg.
WALKER FUNCTION5. INSTALLING THE ADJUSTING SUPPORT LEGS2.
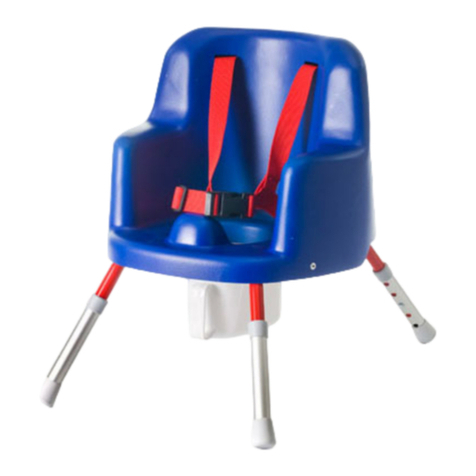
Identify the hole in the leg moulding and align
this with the small post on the base. Make sure
the RED button is facing to the outside.
A
BPosition the support leg over the lower base cavity
as shown. Make sure the RED button is facing to
the outside. Push down with some force until the
support leg locks into the base cavity.
CInstall both support legs.
DPull up to make sure it is engaged. If not repeat B.
NOTE: There is a left and right support leg.
