manuals.online logo
Brands
  1. Home
  2. •
  3. Brands
  4. •
  5. Broan
  6. •
  7. Blower
  8. •
  9. Broan HLB3 User manual

Broan HLB3 User manual

Page 1
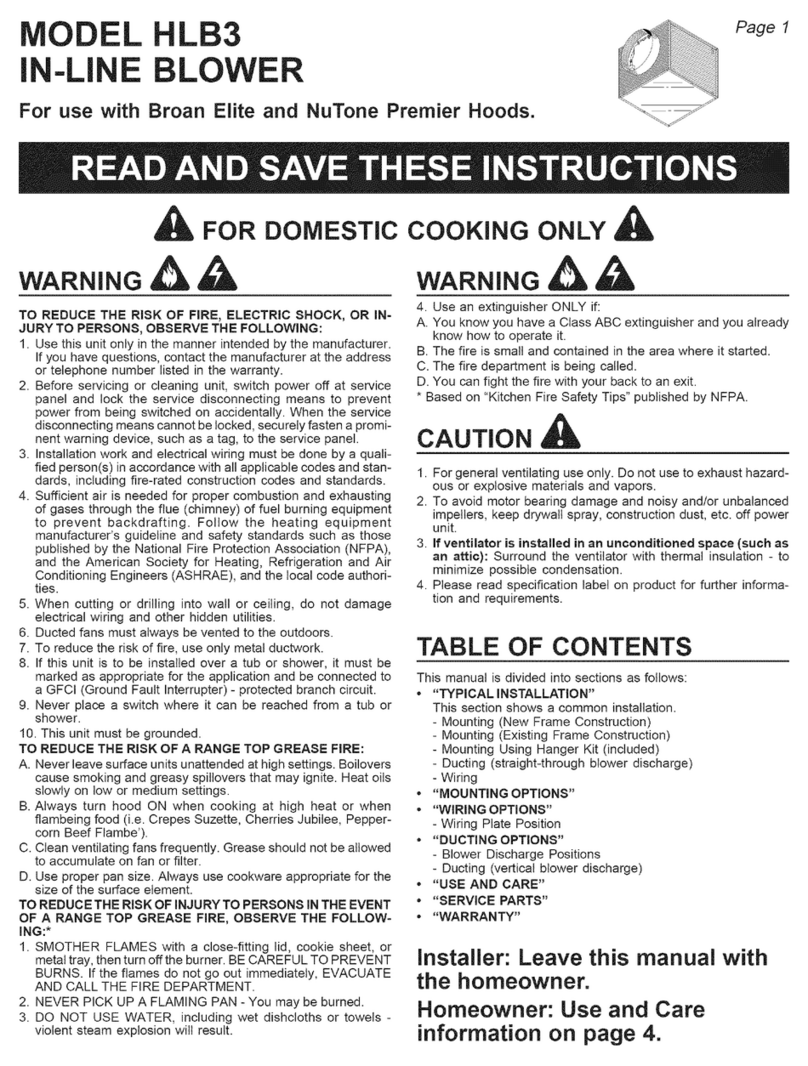
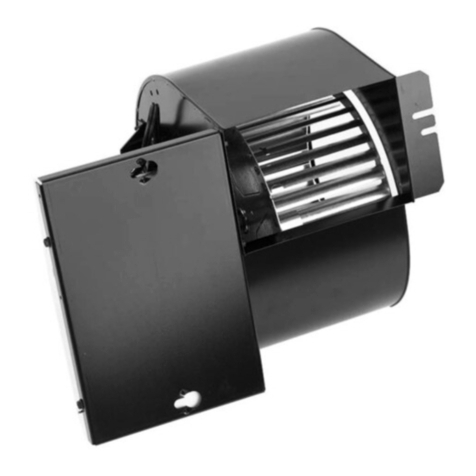
MODEL HLB3
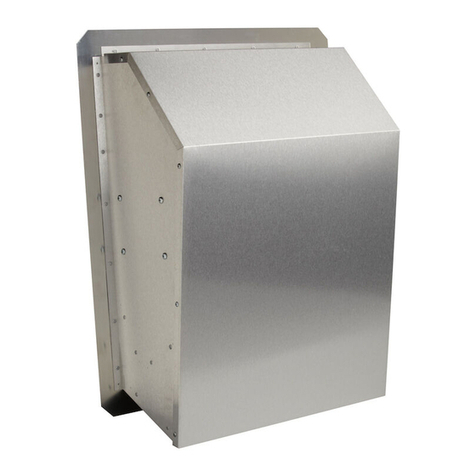
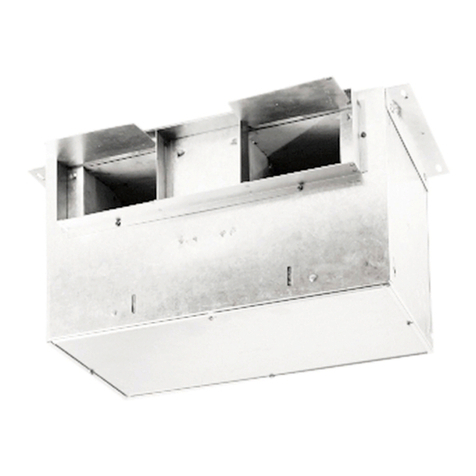
IN-LINE BLOWER
For use with Broan Elite and NuTone Premier Hoods.
WARNING
TO REDUCE THE RISK OF FIRE, ELECTRIC SHOCK, OR IN-
JURY TO PERSONS, OBSERVE THE FOLLOWING:
1. Use this unit only in the manner intended by the manufacturer.
If you have questions, contact the manufacturer at the address
or telephone number listed in the warranty.
2. Before servicing or cleaning unit, switch power off at service
panel and lock the service disconnecting means to prevent
power from being switched on accidentally. When the service
disconnectingmeanscannotbelocked,securelyfastenapromi-
nent warning device, such as a tag, to the service panel.
3. Installation work and electrical wiring must be done by a quali-
fied person(s) in accordance with all applicable codes and stan-
dards, including fire-rated construction codes and standards.
4. Sufficient air is needed for proper combustion and exhausting
of gases through the flue (chimney) of fuel burning equipment
to prevent backdrafting. Follow the heating equipment
manufacturer’s guideline and safety standards such as those
published by the National Fire Protection Association (NFPA),
and the American Society for Heating, Refrigeration and Air
Conditioning Engineers (ASHRAE), and the local code authori-
ties.
5. When cutting or drilling into wall or ceiling, do not damage
electrical wiring and other hidden utilities.
6. Ducted fans must always be vented to the outdoors.
7. To reduce the risk of fire, use only metal ductwork.
8. If this unit is to be installed over a tub or shower, it must be
marked as appropriate for the application and be connected to
a GFCI (Ground Fault Interrupter) - protected branch circuit.
9. Never place a switch where it can be reached from a tub or
shower.
10. This unit must be grounded.
TO REDUCE THE RISK OF A RANGE TOP GREASE FIRE:
A. Never leave surface units unattended at high settings. Boilovers
cause smoking and greasy spillovers that may ignite. Heat oils
slowly on low or medium settings.
B. Always turn hood ON when cooking at high heat or when
flambeing food (i.e. Crepes Suzette, Cherries Jubilee, Pepper-
corn Beef Flambe’).
C. Clean ventilating fans frequently. Grease should not be allowed
to accumulate on fan or filter.
D. Use proper pan size. Always use cookware appropriate for the
size of the surface element.
TOREDUCETHERISKOF INJURY TOPERSONS IN THEEVENT
OF A RANGE TOP GREASE FIRE, OBSERVE THE FOLLOW-
ING:*
1. SMOTHER FLAMES with a close-fitting lid, cookie sheet, or
metaltray,thenturnofftheburner.BECAREFULTOPREVENT
BURNS. If the flames do not go out immediately, EVACUATE
AND CALL THE FIRE DEPARTMENT.
2. NEVER PICK UP A FLAMING PAN - You may be burned.
3. DO NOT USE WATER, including wet dishcloths or towels -
violent steam explosion will result.
READ AND SAVE THESE INSTRUCTIONS
Installer: Leave this manual with
the homeowner.
Homeowner: Use and Care
information on page 4.
!
FOR DOMESTIC COOKING ONLY
!
WARNING
4. Use an extinguisher ONLY if:
A. You know you have a Class ABC extinguisher and you already
know how to operate it.
B. The fire is small and contained in the area where it started.
C. The fire department is being called.
D. You can fight the fire with your back to an exit.
* Based on “Kitchen Fire Safety Tips” published by NFPA.
CAUTION
!
1. For general ventilating use only. Do not use to exhaust hazard-
ous or explosive materials and vapors.
2. To avoid motor bearing damage and noisy and/or unbalanced
impellers, keep drywall spray, construction dust, etc. off power
unit.
3. If ventilator is installed in an unconditioned space (such as
an attic): Surround the ventilator with thermal insulation - to
minimize possible condensation.
4. Please read specification label on product for further informa-
tion and requirements.
TABLE OF CONTENTS
This manual is divided into sections as follows:
• “TYPICAL INSTALLATION”
This section shows a common installation.
- Mounting (New Frame Construction)
- Mounting (Existing Frame Construction)
- Mounting Using Hanger Kit (included)
- Ducting (straight-through blower discharge)
- Wiring
• “MOUNTING OPTIONS”
• “WIRING OPTIONS”
- Wiring Plate Position
• “DUCTING OPTIONS”
- Blower Discharge Positions
- Ducting (vertical blower discharge)
• “USE AND CARE”
• “SERVICE PARTS”
• “WARRANTY”
Call 1-800-667-8721 anywhere in the US and Canada -www.rangehoods.com
kitchen
accessories
::
U N L I M I T E D
rangehoods com
::
is a division of
.
Broan at
:: rangehoods com
.
Page 2
DUCTING
(Horizontal blower discharge)
Two ways to connect ductwork to a factory-shipped unit.
ROOF CAP
ROUND
ELBOW
ROUND DUCT
WALL
CAP
IMPORTANT:
Removeshippingtapefromdamper
Remove the shipping tape from the damper flap and make sure
that damper flap opens and closes freely inside the ductwork. Use
duct tape to make ductwork connections secure and air-tight.
Remove shipping ring from blower inlet
Remove the shipping ring from the blower inlet before operating
the ventilator.
10” ROUND DUCT
(OUTLET)
CEILINGJOIST
(16” centers
shown)
2 X 4 FRAMING
(wide side down)
MOUNTING
BRACKETS
(Attached to
opposite sides
of housing &
upside-down)
MOUNTING USING HANGER KIT (included)
Blower factory-shipped in straight-through
discharge position.
TYPICAL INSTALLATION
Blower factory-shipped in straight-through
discharge position.
ACCESS PANEL ACCESS
PANEL SCREW
GRILLE NUT
(Install into
square holes in
housing)
MOUNTING
BRACKET
10” ROUND
DUCT
(OUTLET)
10” ROUND
DUCT (INTAKE)
HANGER
KIT NUT &
WASHER
HANGER
KITBOLT
& WASHER
HANGER KIT
EYE-BOLT
HANGER
KIT CHAIN
8” TO 10” ROUND
TRANSITION
10” ROUND
DUCT
(INTAKE)
8” TO 10”
ROUND
TRANSITION
MOUNTING
(Existing Frame Construction)
TYPICAL INSTALLATION
MOUNTING
(New Frame Construction)
10” ROUND DUCT
Factory-shipped unit installed in new construction.
Blower
factory-
shipped
in straight
through
discharge
position. Mounting brackets factory-
shipped in position for
½” ceiling material.
ADDITIONAL
1½” FRAMING
CEILINGJOIST
(16” centers
shown)
10” ROUND
DUCT
MOUNTING SCREW
8” TO 10” ROUND
TRANSITION
EXTENSION
SPRING
kitchen
accessories
::
U N L I M I T E D
rangehoods
com
::
is a division of
.
Broan at
Call 1-800-667-8721 anywhere in the US and Canada -www.rangehoods.com
:: rangehoods com
.
Page 3
WIRING OPTIONS
DUCTING OPTIONS
BLOWER DISCHARGE POSITIONS
WIRING PLATE POSITION
Wiring plate mounts to side or top of housing.
HORIZONTALPOWER
CABLE CONNECTION
VERTICAL
POWER
CABLE
CONNECTION
Blower and duct connec-
tor in straight through
discharge position.
(Factory shipped)
DUCT
CONNECTOR DUCT
CONNECTOR
Blower and duct connec-
tor in right angle dis-
charge position.
BLOWER
BLOWER
Change
blower &
duct
connector
positions for
right angle
discharge.
DUCTING
(Right angle blower discharge)
Typical ductwork connection to a ventilator converted
to right angle discharge.
ROOF CAP
ROUND
DUCT
WIRING
PLATE
WHITE
TO
WHITE
BLACK
TO
BLACK TOP / BACK
OF HOUSING
GROUND TO
WIRINGPLATE
Ventilator can be wired from outside of housing.
Use UL approved connectors to wire per local codes.
,,yy
,,,,yyyy
12¼"
91
/
2"
to
101
/
2"
,,,yyy
,,,,yyyy
12¼"
1½"
to
2½"
,,,,yyyy
,,,
,,,
@@@
@@@




,,,
,,,
@@@
@@@




,,,
,,,
@@@
@@@




,,,
,,,
@@@
@@@




,,,
,,,
@@@
@@@




,,,
,,,
@@@
@@@




,,,
,,,
yyy
yyy
,,,@@@
,,,@@@
,,,@@@
,,,@@@
,,,@@@
,,,@@@
,,,yyy
MOUNTING OPTIONS
,,yy
,,,,yyyy
12¼"
1
1
/
8
"
MAX.
Mounting brackets in
factory-shipped position.
(Outlet parallel to joists.)
(New construction)
,,,yyy
,,,,yyyy
12¼"
10
3
/
4
"
to
11
3
/
4
"
,,,,yyyy
,,,yyy
,,,yyy
12¼"
¼-20 hex nuts secure mounting brackets to housing. Loosen and
re-tighten or remove and replace nuts as necessary for desired
mounting bracket position.
Mounting brackets flipped
over and mounted to
outlet sides of housing.
(Outlet parallel to joists.)
(Existing construction)
Mounting brackets
mounted to outlet sides of
housing.
(Outlet perpendicular to joists.)
(New construction)
Mounting brackets flipped
over and mounted to top
of sides of housing.
(Outlet parallel to joists.)
(New or existing construction)
,,yy
,,,,yyyy
12¼"
1
1
/
2
"
to
2
1
/
2
"
Mounting brackets flipped
over to give approx. 1”
more clearance.
(Outlet parallel to joists.)
(New construction)
Mounting brackets
mounted to top of sides of
housing.
(Outlet parallel to joists.)
(New or existing construction)
120 VAC
LINE IN
(from
range
hood)
WIRING
kitchen
accessories
::
U N L I M I T E D
rangehoods
com
::
is a division of
.
Broan at
Call 1-800-667-8721 anywhere in the US and Canada -www.rangehoods.com
:: rangehoods com
.

Other manuals for HLB3

1

Other Broan Blower manuals

Broan NuTone PM44 User manual

Broan

Broan NuTone PM44 User manual

Broan Best ILB11 User manual

Broan

Broan Best ILB11 User manual

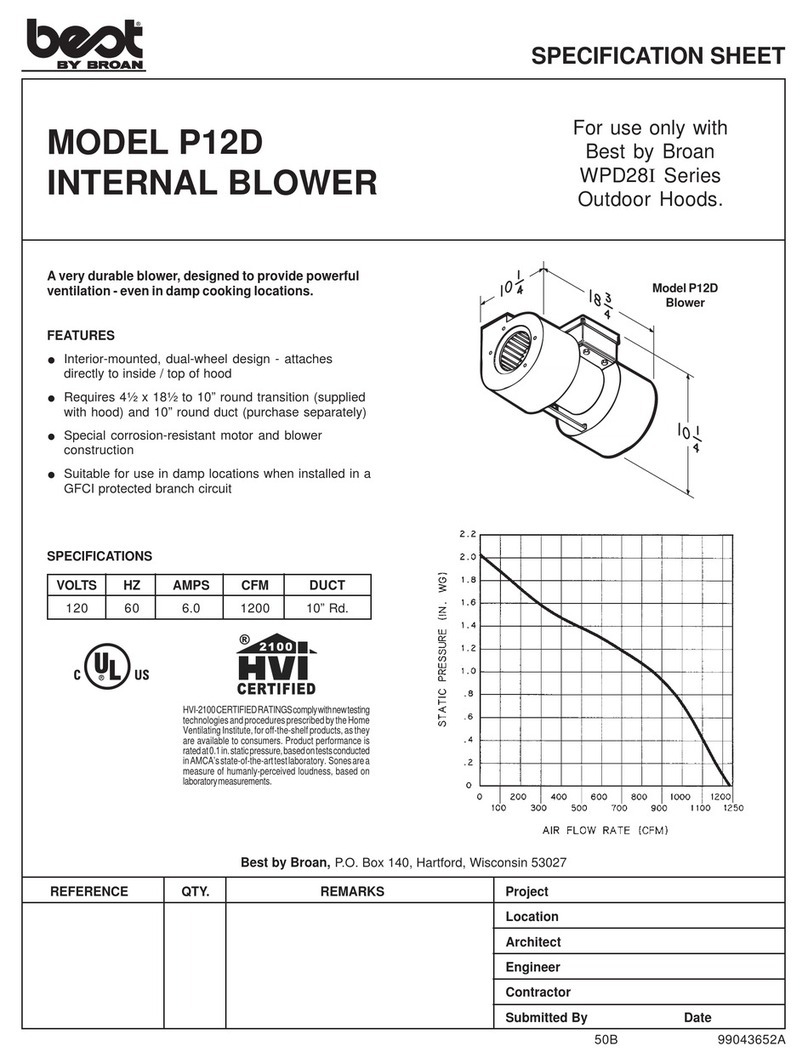
Broan P12D User manual

Broan

Broan P12D User manual

Broan NuTone 336 User manual

Broan

Broan NuTone 336 User manual

Broan NuTone 331H User manual

Broan

Broan NuTone 331H User manual

Broan HLB9 User manual

Broan

Broan HLB9 User manual

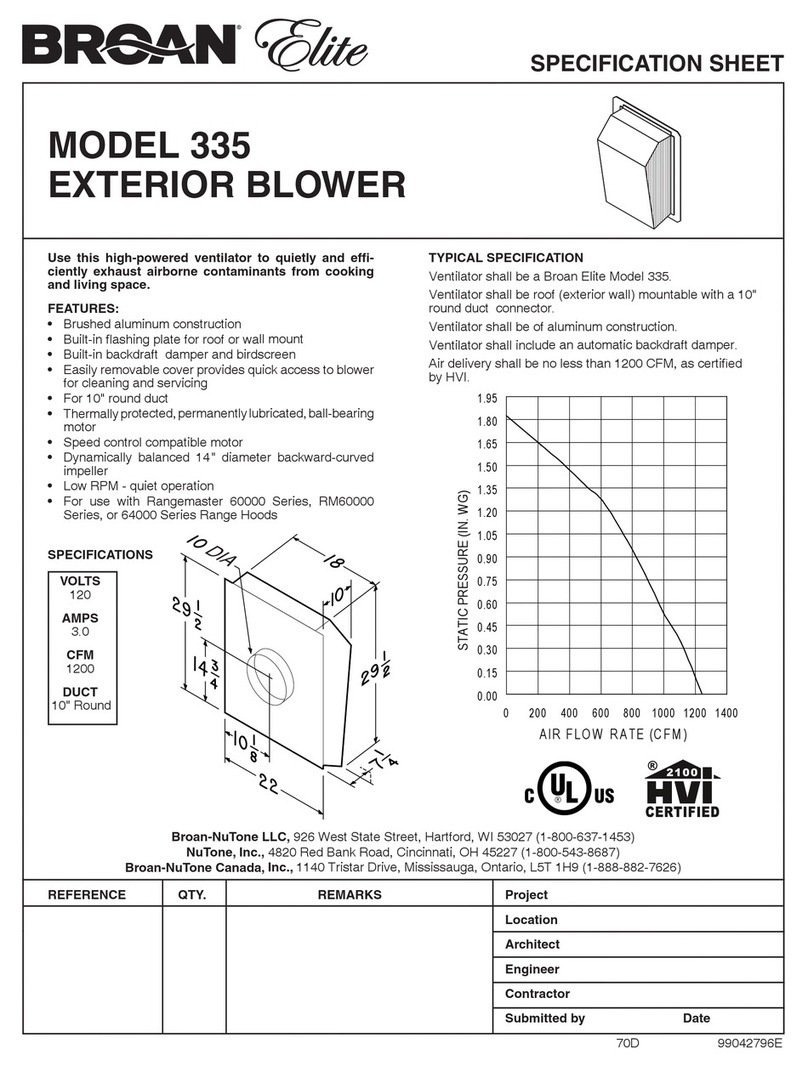
Broan Exterior Blower 335 User manual

Broan

Broan Exterior Blower 335 User manual

Broan HLB6 User manual

Broan

Broan HLB6 User manual

Broan NuTone 336 User manual

Broan

Broan NuTone 336 User manual

Broan NuTone 331H User manual

Broan

Broan NuTone 331H User manual

Broan RM325H User manual

Broan

Broan RM325H User manual

Broan NuTone 336 User manual

Broan

Broan NuTone 336 User manual

Broan Best EB15 User manual

Broan

Broan Best EB15 User manual

Broan P12 User manual

Broan

Broan P12 User manual

Broan HLB3 User manual

Broan

Broan HLB3 User manual

Broan P12D User manual

Broan

Broan P12D User manual

Broan NuTone 332H User manual

Broan

Broan NuTone 332H User manual

Broan Best ILB11 User manual

Broan

Broan Best ILB11 User manual

Broan Exterior Blower 335 User manual

Broan

Broan Exterior Blower 335 User manual

Popular Blower manuals by other brands

GreenWorks BVF442 Operator's manual

GreenWorks

GreenWorks BVF442 Operator's manual

Becker SV 8.130 operating instructions

Becker

Becker SV 8.130 operating instructions

Scarab Magnum Operator's manual

Scarab

Scarab Magnum Operator's manual

Husqvarna 1153191-26 Operator's manual

Husqvarna

Husqvarna 1153191-26 Operator's manual

Kärcher KM 120/250 R D manual

Kärcher

Kärcher KM 120/250 R D manual

Toro Flex-Force Power System 51824T Operator's manual

Toro

Toro Flex-Force Power System 51824T Operator's manual

Toro 319000001 Operator's manual

Toro

Toro 319000001 Operator's manual

Total TB2066 manual

Total

Total TB2066 manual

LawnMaster CLBL2406-1 instruction manual

LawnMaster

LawnMaster CLBL2406-1 instruction manual

Ryobi P2109VN Operator's manual

Ryobi

Ryobi P2109VN Operator's manual

F.P.Z. SCL K-MS MOR Series instructions

F.P.Z.

F.P.Z. SCL K-MS MOR Series instructions

Smithco 76-000-D Parts & Service

Smithco

Smithco 76-000-D Parts & Service

Stihl SR 320 instruction manual

Stihl

Stihl SR 320 instruction manual

Dolmar PB-7601.4 instruction manual

Dolmar

Dolmar PB-7601.4 instruction manual

Ferm EBM1003 Original instructions

Ferm

Ferm EBM1003 Original instructions

EarthWise OPP00075 Operator's manual

EarthWise

EarthWise OPP00075 Operator's manual

Ebmpapst R2E250-RB06-12 operating instructions

Ebmpapst

Ebmpapst R2E250-RB06-12 operating instructions

Ebmpapst S4E360-EC20-51 operating instructions

Ebmpapst

Ebmpapst S4E360-EC20-51 operating instructions

manuals.online logo
manuals.online logoBrands
  • About & Mission
  • Contact us
  • Privacy Policy
  • Terms and Conditions

Copyright 2025 Manuals.Online. All Rights Reserved.