manuals.online logo
Brands
  1. Home
  2. •
  3. Brands
  4. •
  5. Brother
  6. •
  7. Printer
  8. •
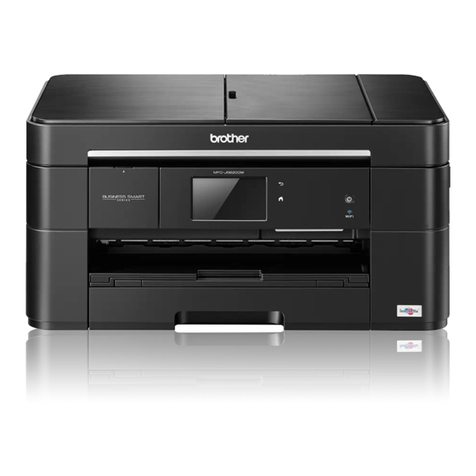
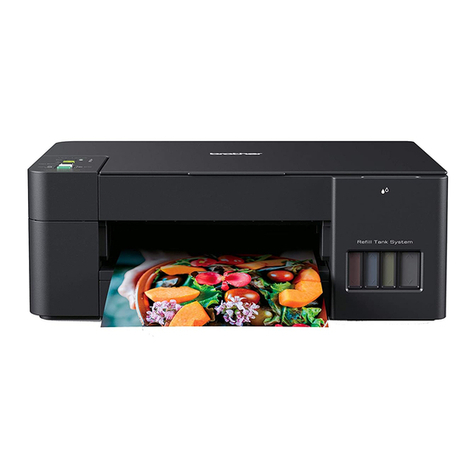
  9. Brother MFC-T920DW User manual

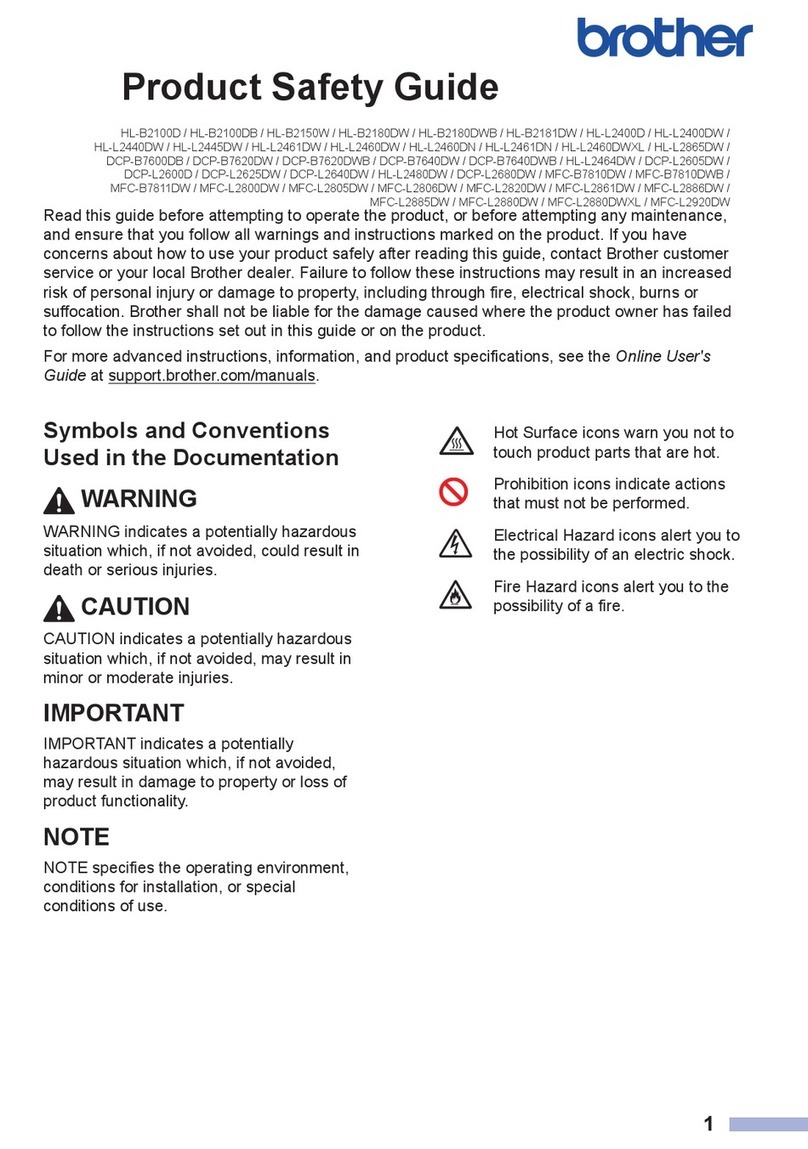
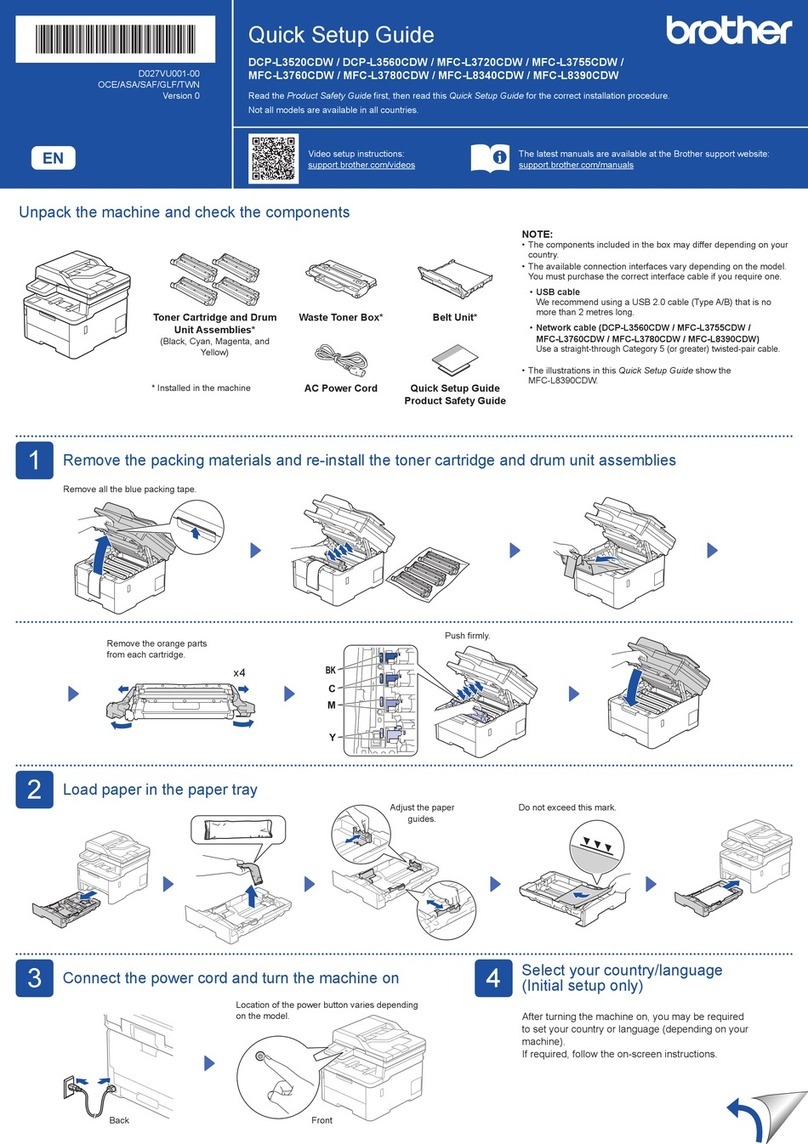
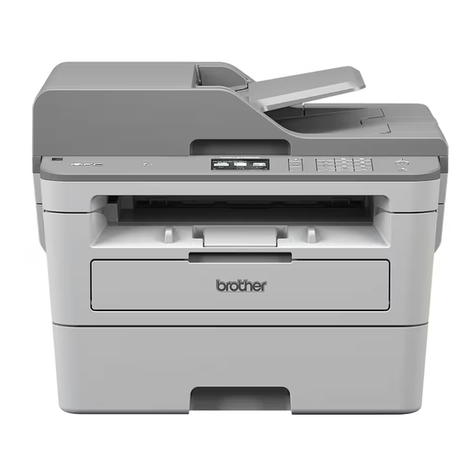
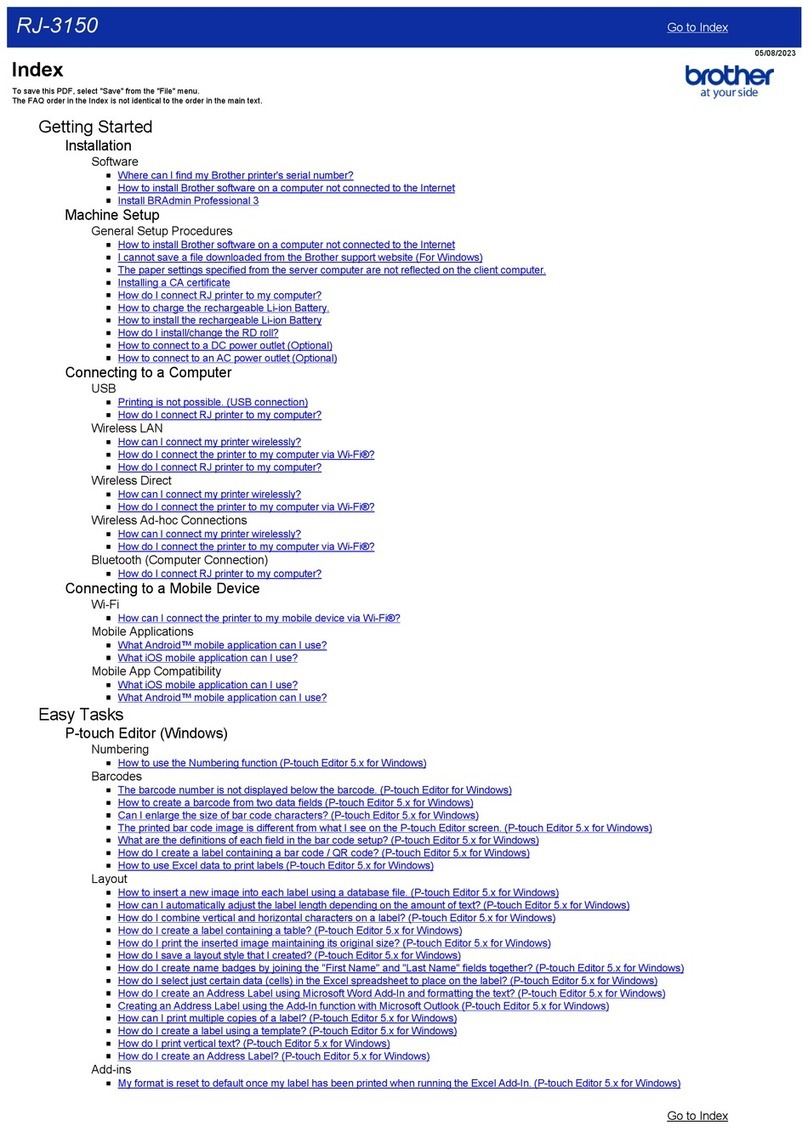
Brother MFC-T920DW User manual

Quick Setup Guide
Guía de configuración rápida
Read the Product Safety Guide first, then read this guide for the correct installation procedure.
Keep this guide next to your machine for quick reference.
Primero, lea la Guía de seguridad del producto y, a continuación, lea esta guía para obtener
información sobre el procedimiento de instalación adecuado.
Conserve esta guía cerca de su equipo para consultas rápidas.
D01HSJ001-00
ME X / LTN
Version/Versión 0
Remove the protective tape
and the film covering the
machine.
Quite la cinta de protección
y la película que cubren el
equipo.
en es
1Unpack the machine and check the components
Desembale el equipo y revise los componentes
MFC-T920DW / MFC-T925DW
NOTE
• The components may differ depending on your country.
• Save all packing materials and the box in case you must ship your machine.
• We recommend using a USB 2.0 cable (Type A/B) that is no more than 6 feet
(2 meters) long (included in some countries).
• Use a straight-through Category 5 (or greater) twisted-pair cable for 10BASE-T
or 100BASE-TX Fast Ethernet Network (not included).
NOTA
• Los componentes disponibles pueden diferir según cuál sea su país.
• Guarde el material del embalaje y la caja por si tiene que desplazar el equipo.
• Le recomendamos usar un cable USB 2.0 (Tipo A/B) que no supere los 6 pies
(2 metros) de longitud (incluido en algunos países).
• Use un cable trenzado recto de categoría 5 (o superior) para la red Ethernet
rápida 10BASE-T o 100BASE-TX (no incluido).
5Fill the ink tanks with starter ink
Rellene los tanques de tinta con la tinta inicial
IMPORTANT
Check the ink bottle model name on the label. Using the
incorrect ink may cause damage to the machine.
IMPORTANTE
Compruebe el nombre del modelo de la botella de tinta
en la etiqueta. Si utiliza una tinta incorrecta podrían
producirse daños en el equipo.
1
2
3
Open the ink tank cover a,
remove the cap b, and place
it on the back of the cover c.
Abra la cubierta del tanque
de tinta a, extraiga la tapa
by colóquela en la parte
trasera de la cubierta c.
Video setup instructions:
Instrucciones de
configuración en video:
support.brother.com/videos
2Load plain Letter paper in the paper tray
Cargue el papel tamaño carta en la bandeja de papel
Fan the paper well.
Airee bien el papel.
Connect the power cord. The machine powers on automatically.
Conecte el cable de alimentación. El equipo se enciende
automáticamente.
3Connect the power cord
Conecte el cable de alimentación
You may need to set your country or language (depending on your machine). Follow the
steps on the LCD.
Es posible que necesite configurar el país o idioma (depende de su equipo). Siga los
pasos que aparecen en la pantalla LCD.
4Select your country or language
Seleccione su país o idioma
BTD60BK
BT5000CMY
BT5001CMY
BT5009CMY
BT6000BK
BT6001BK
BT6009BK
You must follow steps 1to 10 to complete the setup.
Debe seguir los pasos 1a 10 para completar la configuración.
Remove the film and tighten the cap firmly.
Retire la película protectora y ajuste
firmemente la tapa.
The bottle is self-standing and
the ink fills automatically until
the bottle is empty. To fill the
ink tank faster, squeeze the
bottle on both sides.
La botella puede permanecer
parada por sí sola. El
rellenado de tinta comenzará
automáticamente hasta que
la botella quede vacía. Para
rellenar los tanques de tinta
más rápido, apriete la botella
en ambos lados.
Remove the nozzle cap and insert the bottle nozzle firmly into the ink tank so
that the ink does not spill.
Extraiga la tapa de la boquilla e introduzca la boquilla de la botella con firmeza
en el tanque de tinta de modo que la tinta no se derrame.
Follow the steps on the LCD to set the date and time.
Siga los pasos que aparecen en la pantalla LCD para
configurar la fecha y la hora.
6Set the date and time
Configure fecha y hora
When the machine has finished the initial cleaning process, follow the steps on the LCD to configure
the machine settings.
Cuando el equipo haya completado el proceso de limpieza inicial, siga los pasos que aparecen en la
pantalla LCD para configurar los ajustes del equipo.
• Set Firmware Update Notice
• Check the print quality
• Configure the paper tray
settings
• Configure el aviso de
actualización del firmware
• Compruebe la calidad de
impresión
• Configure los ajustes de la
bandeja de papel
7Machine settings
Ajustes del equipo
1. Press Ajustes (Settings).
2. Press aor bto select [Conf.inicial
(Initial Setup)] > [Sel. idioma
(Local Language)] > your language, and
then press OK.
3. Press Detener/Salir (Stop/Exit).
8Select your language (if needed and only for certain models)
Seleccione su idioma (solo resulta necesario en determinados modelos)
1. Pulse Ajustes.
2. Pulse ao bpara seleccionar [Conf.
inicial] > [Sel. idioma] > su idioma y,
a continuación, pulse OK.
3. Pulse Detener/Salir.
When finished, remove the bottle, pointing
the nozzle upward so the ink does not
spill.
Cuando finalice, extraiga la botella con la
boquilla apuntando hacia arriba para que
la tinta no se derrame.
Replace the ink tank cap. Repeat step
5for the other ink tanks, and then
close the ink tank cover.
Reemplace la tapa del tanque de
tinta. Repita el paso 5en los otros
tanques de tinta y, a continuación,
cierre la cubierta del tanque de tinta.
9Connect the telephone line cord
Conecte el cable de la línea telefónica
If you are not using your machine as a fax, go to 10 .
For more information on using the fax feature, see the Online User’s Guide.
Si no está utilizando el equipo como equipo de fax, vaya a 10 .
Para obtener más información sobre cómo utilizar la función fax, consulte la
Guía del usuario online.
Insert the telephone line cord into the socket marked LINE.
Introduzca el cable de la línea telefónica en la toma marcada
como LINE.
Setup Complete / Configuración completada
Find the SSID (Network Name) and Network Key
(Password) on your wireless access point/router.
Encuentre el SSID (nombre de red) y la clave
de red (contraseña) en su enrutador/punto de
acceso inalámbrico.
1. Go to your machine and press .
2. Press OK to select [Find Wi-Fi
Network].
The [Enable WLAN?] message
appears on the LCD.
3. Press cto select Yes.
Select the SSID (Network Name) for your access point/
router and enter the Network Key (Password).
For more information, see Enter Text on Your Brother
Machine in the Online User’s Guide.
Seleccione el SSID (nombre de red) de su enrutador/punto
de acceso e introduzca la clave de red (contraseña).
Para obtener más información, consulte Introducir texto en
el equipo Brother en la Guía del usuario online.
When the wireless setup is successful, the LCD displays
[Connected].
Si la configuración inalámbrica es correcta, la pantalla LCD
muestra [Conectada].
If you cannot find this information, ask your
network administrator or wireless access point/
router manufacturer.
Si no puede hallar esta información,
comuníquese con su administrador de red
o con el fabricante del enrutador/punto de
acceso inalámbrico.
1. Diríjase a su equipo y pulse .
2. Pulse OK para seleccionar [Buscar
red Wi-Fi].
En la pantalla LCD aparece el
mensaje [¿Activar WLAN?].
3. Pulse cpara seleccionar Sí.
Manual wireless setup (if needed)
Configuración inalámbrica manual (si resulta necesaria)
SSID: XXXXXXX
Network Key: XXXX
10 Connect your computer or mobile device
Conecte su computadora o dispositivo móvil
Connect your Brother machine and computer/mobile device to
the same network.
Conecte su equipo Brother y su computadora/dispositivo móvil a
la misma red.
Visit the websites to download and install Brother software.
Visite los sitios web para descargar e instalar el software Brother.
For Computers:
Para computadoras:
For Windows only, CD installation is also
available (for some countries).
Solo para Windows, también está
disponible la instalación desde CD (para
algunos países).
For Mobile Devices:
Para dispositivos móviles:
Follow the on-screen instructions.
Siga las instrucciones que irán apareciendo en la pantalla.
For Wired Network Connection and USB Connection:
Use the correct port (based on the cable you are using)
inside the machine, as shown.
En conexiones de red cableada y USB:
Use el puerto correcto (basándose en el cable que utiliza)
dentro del equipo como figura en la imagen.
Install the Brother iPrint&Scan
application.
Instale la aplicación Brother
iPrint&Scan.
D01HSJ001-00
setup.brother.com brother.com/apps
For FAQs, Troubleshooting, and to download software and manuals, visit support.brother.com.
Si desea consultar la sección de preguntas frecuentes y de solución de problemas y descargar software y manuales, visite support.brother.com.
© 2020 Brother Industries, Ltd. All rights reserved.
© 2020 Brother Industries, Ltd. Todos los derechos reservados.
Improve Print Quality / Mejore la calidad de impresión
Clean the print head.
Limpie el cabezal de impresión.
1. Press .
2. Press aor bto select [Print Head
Cleaning] > [Black only], [Color
only] or [All] > [Normal], [Strong] or
[Strongest], and then press OK.
3. Press c.
1. Pulse .
2. Pulse ao bpara seleccionar [Limp. de
cabezal de impr. (Limpieza de
cabezal de imp.)] > [Solo negro],
[Solo color (Color solo)] o [Todos] >
[Normal], [Fuerte] o [Lo más fuerte],
y luego pulse OK.
3. Pulse c.
Machine Settings / Configuración del equipo
The machine’s settings are set from the application (Brother iPrint&Scan or Brother Utilities) on your computer or mobile device.
Important Notice for Network Security: The default password to manage this machine’s settings is located on the back of the machine and marked “Pwd”. We
recommend immediately changing the default password to protect your machine from unauthorized access. See the Online User’s Guide.
La configuración del equipo se establece desde la aplicación (Brother iPrint&Scan o Brother Utilities) en su computadora o dispositivo móvil.
Aviso importante para la seguridad de la red: La contraseña predeterminada para gestionar la configuración de este equipo se encuentra en la parte
posterior del equipo y está marcada como “Pwd”. Se recomienda cambiar la contraseña predeterminada de inmediato para proteger el equipo frente al acceso no
autorizado. Consulte la Guía del usuario online.
Check Ink Volume / Compruebe el volumen de tinta
DO NOT fill the ink tank past the maximum fill mark.
NO rellene el tanque de tinta más allá de la marca de rellenado máximo.
When the ink level reaches the lower line, refill the ink tank as soon as possible.
Cuando el nivel de tinta alcance la línea inferior, rellene el tanque de tinta lo antes posible.
732
1548
6
Reference and Troubleshooting / Referencia y solución de problemas
For detailed machine operation, see the Online User’s Guide:
Para obtener más información sobre el funcionamiento del
equipo, consulte la Guía del usuario online:support.brother.com/manuals
Control Panel Overview / Información general del panel de control
1. 1.8” (44.9 mm) Liquid Crystal Display (LCD)
Pantalla de cristal líquido (LCD) de 1,8”
(44,9 mm)
2. Mode buttons
Botones de modo
3. Settings buttons
Botones Ajustes
Access the ink menu.
Acceda al menú de tinta.
Configure wireless settings.
Establezca la configuración inalámbrica.
4. Telephone buttons
Botones con funciones de teléfono
5. Dial Pad
Teclado de marcación
6. Stop/Exit button
Botón Detener/Salir
7. Black Start/Color Start buttons
Botones Inicio Negro/Inicio Color
8. Power On/Off
Encendido/apagado
Turn on the machine: Press
Turn off the machine: Press and hold
Para encender el equipo: Pulse
Para apagar el equipo: Mantenga pulsado

Other manuals for MFC-T920DW

5

This manual suits for next models

1

Other Brother Printer manuals

Brother HL-S7000DN Series User manual

Brother

Brother HL-S7000DN Series User manual

Brother HL-4040CN User manual

Brother

Brother HL-4040CN User manual

Brother HL-L3210CW User manual

Brother

Brother HL-L3210CW User manual

Brother HL-4140CN User manual

Brother

Brother HL-4140CN User manual

Brother GTX600NB User manual

Brother

Brother GTX600NB User manual

Brother P-Touch 1800 User manual

Brother

Brother P-Touch 1800 User manual

Brother HL-7050 Series User manual

Brother

Brother HL-7050 Series User manual

Brother MFC-9420CN User manual

Brother

Brother MFC-9420CN User manual

Brother DCP-J132W User manual

Brother

Brother DCP-J132W User manual

Brother RuggedJet RJ-3050 User manual

Brother

Brother RuggedJet RJ-3050 User manual

Brother MFC-L2771DW User manual

Brother

Brother MFC-L2771DW User manual

Brother HL 1230 - B/W Laser Printer User manual

Brother

Brother HL 1230 - B/W Laser Printer User manual

Brother P-touch Embellish ELITE PT-P715eBT User manual

Brother

Brother P-touch Embellish ELITE PT-P715eBT User manual

Brother DCP-J140W User manual

Brother

Brother DCP-J140W User manual

Brother MFC-J3540DW User manual

Brother

Brother MFC-J3540DW User manual

Brother HL-3400CN Series User manual

Brother

Brother HL-3400CN Series User manual

Brother HL-L8250CDN User manual

Brother

Brother HL-L8250CDN User manual

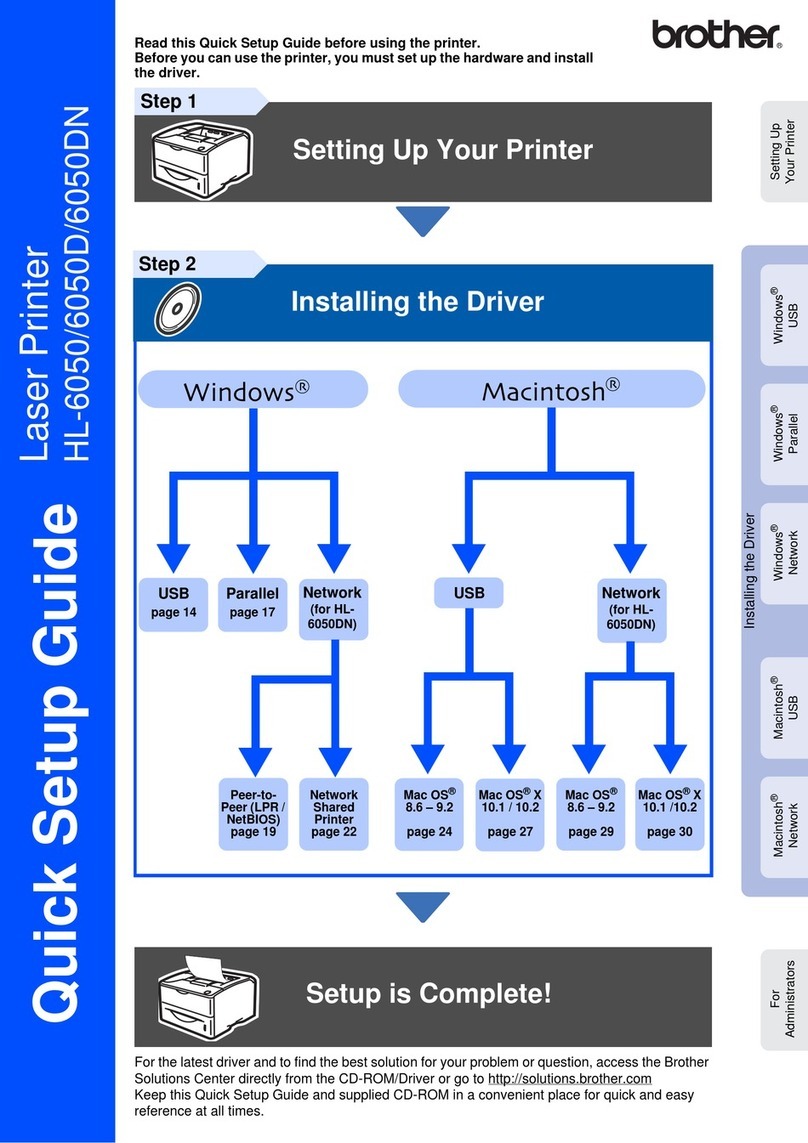
Brother HL-6050 User manual

Brother

Brother HL-6050 User manual

Brother GTXpro BULK DTF R2R User manual

Brother

Brother GTXpro BULK DTF R2R User manual

Brother HL-L2340DW User manual

Brother

Brother HL-L2340DW User manual

Brother HL-2060 User manual

Brother

Brother HL-2060 User manual

Brother MFC-J2720 Operating and maintenance manual

Brother

Brother MFC-J2720 Operating and maintenance manual

Brother HL-8050N User manual

Brother

Brother HL-8050N User manual

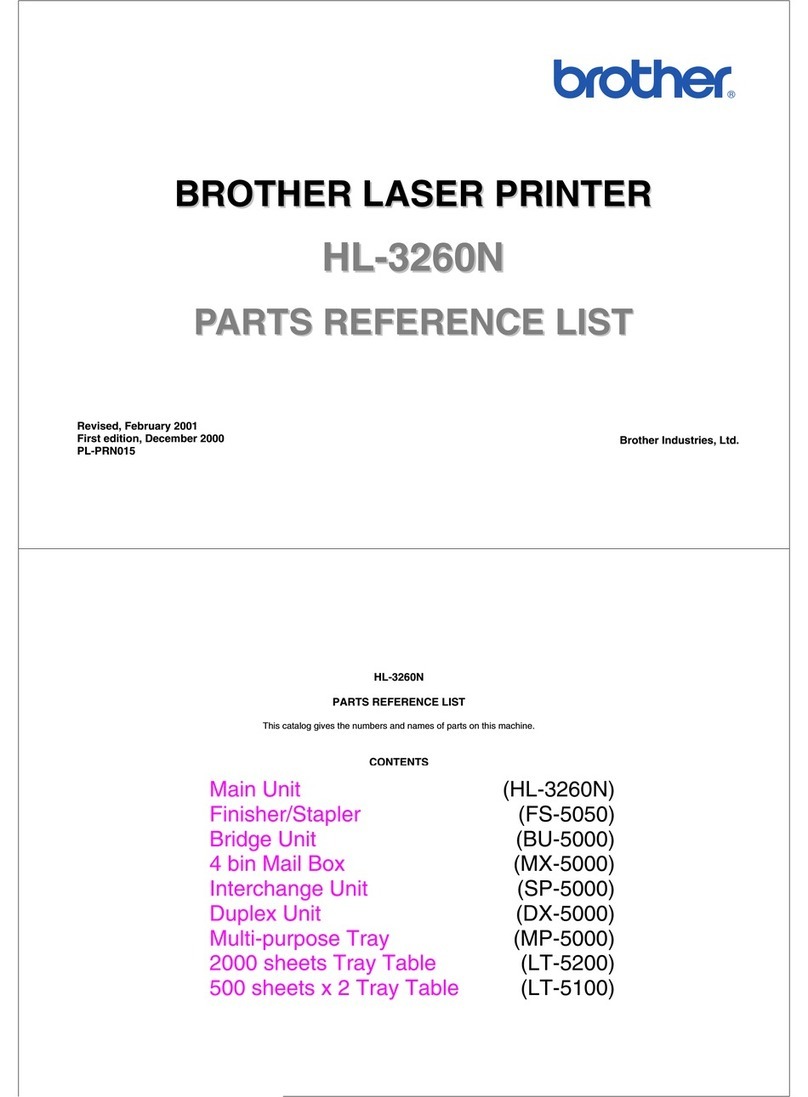
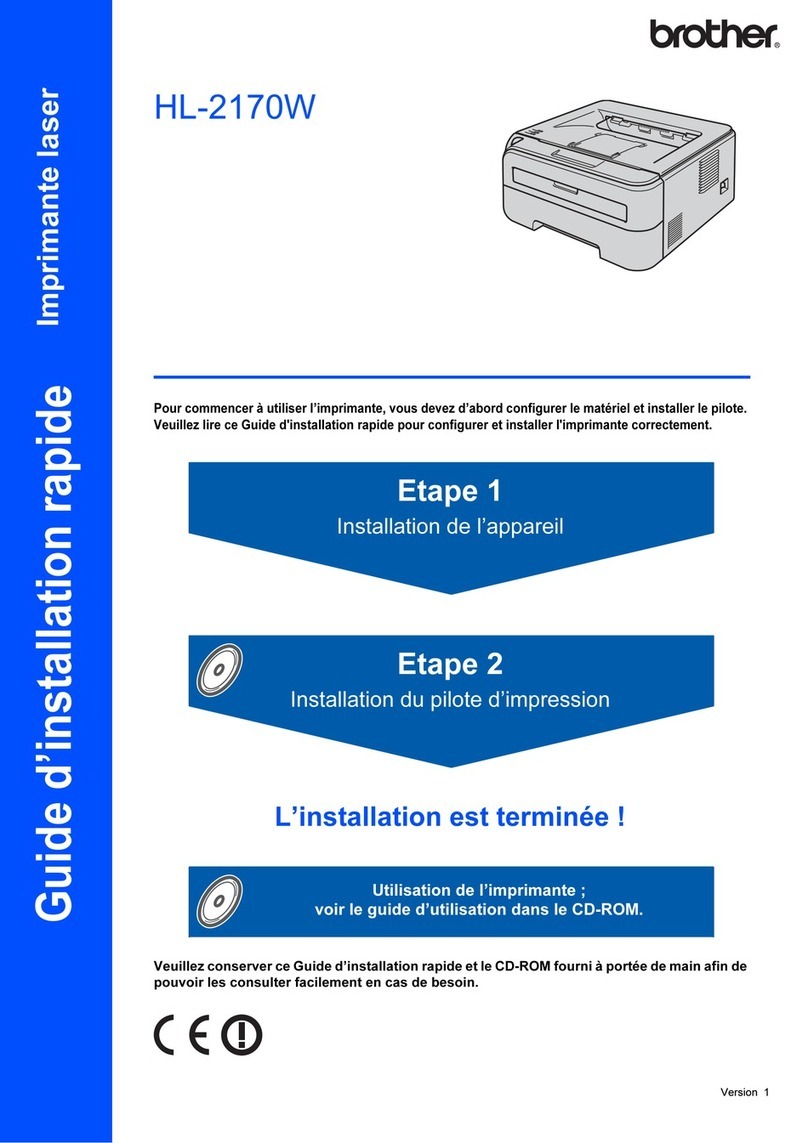
Brother HL-2170W User manual

Brother

Brother HL-2170W User manual

Popular Printer manuals by other brands

Xerox Wide Format 6030 user guide

Xerox

Xerox Wide Format 6030 user guide

Canon BJC 6000 - Color Inkjet Printer Service manual

Canon

Canon BJC 6000 - Color Inkjet Printer Service manual

Epson ET-4810 Series Start here

Epson

Epson ET-4810 Series Start here

QMS Magicolor 2 Desklaser install guide

QMS

QMS Magicolor 2 Desklaser install guide

Epson Stylus Pro 7880 ColorBurst Edition - Stylus Pro 7880... user guide

Epson

Epson Stylus Pro 7880 ColorBurst Edition - Stylus Pro 7880... user guide

Lexmark Z65n quick start guide

Lexmark

Lexmark Z65n quick start guide

IBM InfoPrint 20 Quick reference card

IBM

IBM InfoPrint 20 Quick reference card

NEC Silentwriter 1765 Configuration guide

NEC

NEC Silentwriter 1765 Configuration guide

Epson B-510DN - Business Color Ink Jet Printer Specifications

Epson

Epson B-510DN - Business Color Ink Jet Printer Specifications

Canon PIXMA MP620 series Getting started

Canon

Canon PIXMA MP620 series Getting started

Ricoh SG 7100DN installation guide

Ricoh

Ricoh SG 7100DN installation guide

Canon PIXMA MX340 Series Simplified service manual

Canon

Canon PIXMA MX340 Series Simplified service manual

ZHUHAI HONOR TECHNOLOGY XPOS-I100 user guide

ZHUHAI HONOR TECHNOLOGY

ZHUHAI HONOR TECHNOLOGY XPOS-I100 user guide

Fujitsu DL3300 user manual

Fujitsu

Fujitsu DL3300 user manual

Honeywell IMPACT IHR810 user manual

Honeywell

Honeywell IMPACT IHR810 user manual

Star Micronics TSP200 Series Programmer's manual

Star Micronics

Star Micronics TSP200 Series Programmer's manual

GRAVOGRAPH IM4 user manual

GRAVOGRAPH

GRAVOGRAPH IM4 user manual

Samsung CLP-36x Series user guide

Samsung

Samsung CLP-36x Series user guide

manuals.online logo
manuals.online logoBrands
  • About & Mission
  • Contact us
  • Privacy Policy
  • Terms and Conditions

Copyright 2025 Manuals.Online. All Rights Reserved.