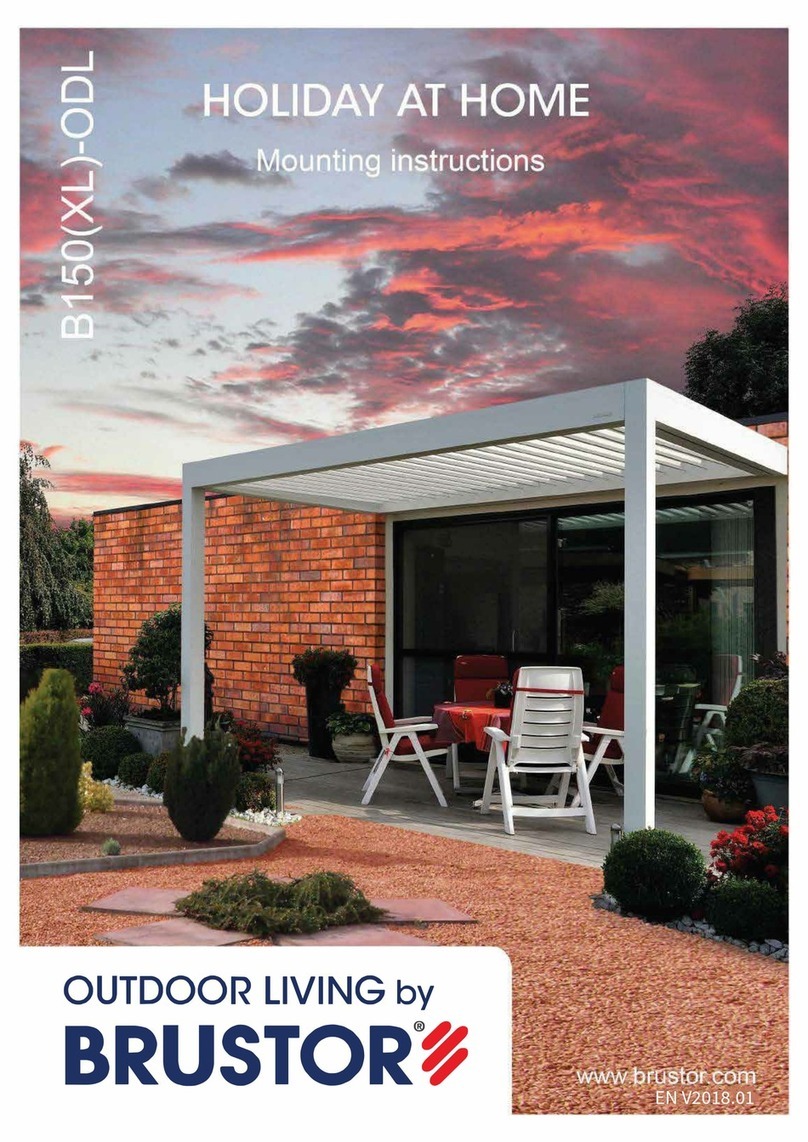
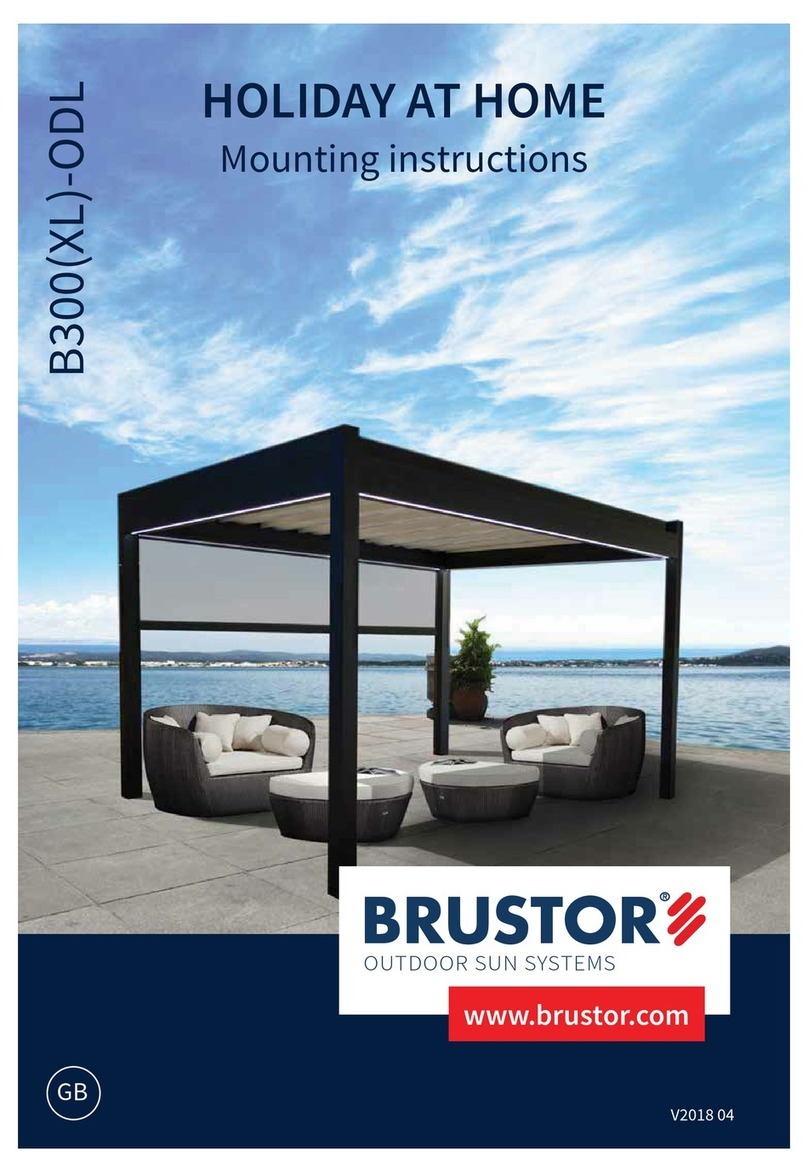
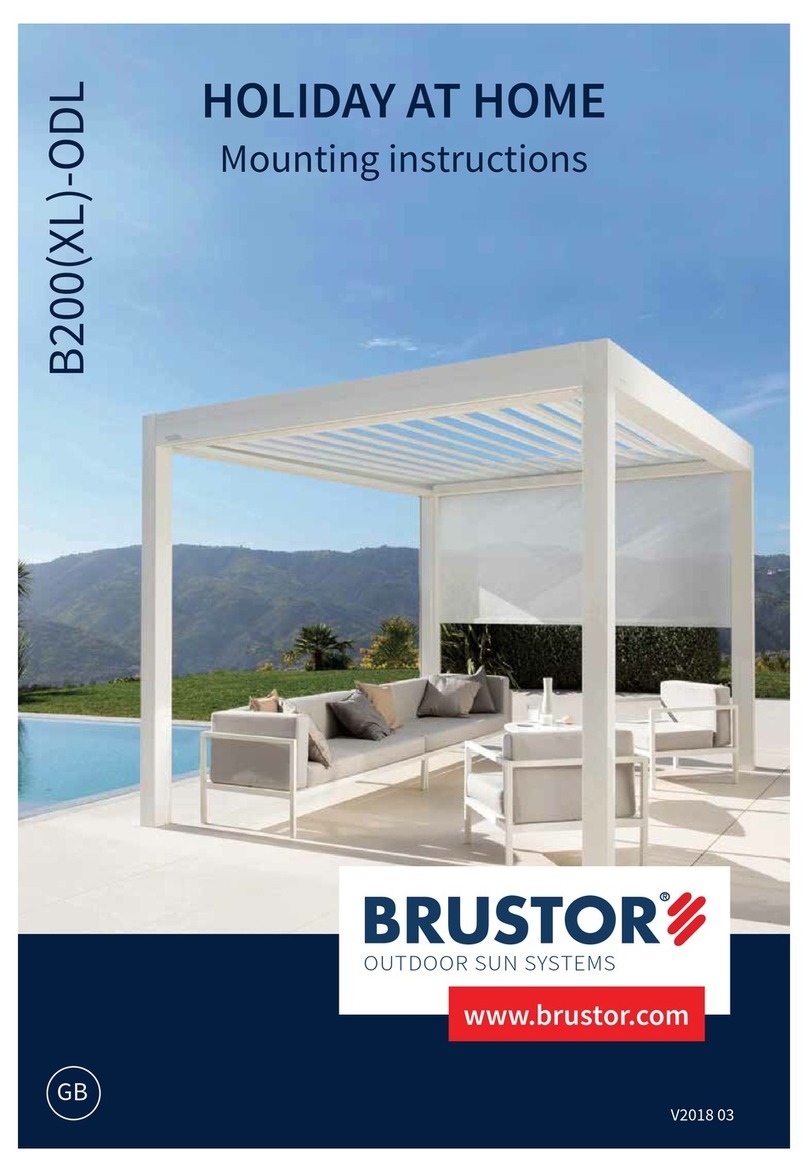
BRUSTOR B500 User manual

EN
B500-ODL
Mounting instructions
V2016.00
www.brustor.com

0. OVERVIEW
1. PLACING THE SUPPORTS
2. PLACING THE VERTICAL POLES
3. PLACING THE MAINHOUSINGS
4. ADJUSTING THE CONSTRUCTION
4.a Levelness
4.b Perpendicularity
5. ASSEMBLY ARMS
5.a Preparation
5.b Fitting wall brackets
5.c Assembly arms & rollertube
6. FIXATION MOTOR
7. ASSEMBLY FOLDING FABRIC
8. PLACING THE RAINGUTTERS
9. SCREENS
9.a Rollertubes
9.b Motor cable
10. SCREEN GUIDES
10.a Leadrail
10.b PVC guide
11. ADJUSTING THE ENDPOINTS
12. CONNECTIONS DIAGRAM
13. FINISHING
13.a Cover mainhousing
13.b
Cover poles
13.c Cover plate bottom arm
13.d Fabric fixation profile
13.e Fitting sealing rubbers
13.f Triangular screen
13.g Mounting sideplates
13.h Endcap hinge
13.i Roof covers
14. FITTING MODULES AGAINST EACH OTHER
01
02
03
04
06
06
06
07
07
08
09
12
13
14
14
14
14
17
17
17
18
19
19
19
19
20
20
21
21
22
23
23
25
OL-B500-00

OL-B500-01
Support for groundanchor
or floorplate 20cm x 20cm
Roofcover Back
Roofcover
Roofcover Front
Motor
Rollertube octo 70
Sideplates
Coverplates bottom arm
Right arm
Wall
bracket
Motor support
Left arm
Middle arm
Fabric
Coverplate verical pole
Raingutter wide
Corner reinforcement
Drain
(Tube Ø50
not included)
Mainhousing
Door pole
Vertical pole
Support for groundanchor
or floorplate 20 x 20 cm
Floorplate 20 x 20cm
Groundanchor
Pole support (standard)
Cover vertical couple pole
Pole support couple pole (standard)
Endcap hinge
Hinge arm profile
Endpiece
Raingutter Wide
Triangular
sidefabric
SECTIONS
Mainhousing
Vertical pole
Arm profile
Door pole
0. OVERVIEW
› Check that all parts are present and the dimensions correspond to the order
2”
7-7/8” x 7-7/8”
7-7/8” x 7-7/8”
7-7/8” x 7-7/8”

OL-B500-02
1. PLACING THE SUPPORTS
› Place the ground fixation according to the drawing below.
› Check the fixation by measuring diagonally - the deifference may be no more than 5mm.
W
L
W
L
W
L
Pole Support Ground Anchor Floorplate 7-7/8” x7-7/8”
Screens on L1 and/or L2
L-1/4”
W-3/8” W-3-1/2” W-3-1/2”
L-1-3/4”
L-1-3/4”
W
L
W
L
W
L
L-1/4”
W-3/8” W-3-1/2”
L-1-3/4”
W-3-1/2”
L-1-3/4”
7/8”
1/4”
7/8” 7/8”
1/4”
1/4”
=
=
=
=
=
=
L-12
L-52
L-52
L-52
L-52
L-12
No screens on L1 or L2
Pole Support Ground Anchor Floorplate 20x20

OL-B500-03
2. PLACING THE VERTICAL POLES
› Take the pole supports out of the vertical poles, also remove the pre-assembled zip guides and the corner reinforcement e
(1).
› Fix the pole supports or the floor plates on the ground.
› Check the dimensions on the previous page again before fixing the bolts.
› Then slide the vertical pole (possibly provided with screen guides) on top.
› Make sure that the pole is perpendicular.
› Level any unevenness.
› Note the difference between a pole where a screen will be fitted to the side (2) and where no side screen will be fitted (3).
› Place the poles as shown below.
Pole support Floor plate 20x20cm
Ground anchor
1
Vertical pole
Vertical pole
without side screen
Vertical pole
with side screen
Door pole against the well
2
3
› Place a drain in post E2 and E3 (poles at the front).
Rollertube octo
W1
L2 L1
Door pole against wall
Only in case of side screen
Vertical pole
Drain
Vertical pole
Drain
Door pole against wall
Only in case of side screen
E4
E3 E2
E1
7-7/8” x 7-7/8”

OL-B500-04
› Fit a screw on the side of the door pole (6.3x50) + 1 x M6 x 40
› Turn them to 10 mm from the end.
› Slide the screen housings over the door profile. (1)
› Fully tighten the screw 6.3x50.
› Do the same with the two bottom screws (6.3x50) . (2)
› Fix the door profile to the wall with appropriate fixing material
. (3)
› Fasten the coverplate on the door profile with 2 screws
(4.2 x 19)
(4)
3
3. PLACING THE MAINHOUSINGS
10 à 15 mm
› Slide the mainhousings over the vertical poles(1)
› Screw both screws fully in.
› Do the same with the bottom screws (2).
12
L1 AND L2 SIDE ( in the case of side screen)
Side W1
› Take the screens out of the mainhousings
› Fit the 2 upper screws (6.3x50) on both sides of the mainhousings.
› Turn them to 10 mm from the end.
SW10
4x
SW10
3x
M6 x 40
2
4.2 x 19
4
6.3 x 50
1
3/8” to 5/8”

OL-B500-05
Assembly filler profile on L1 and L2
1
SW10
3x
M6 x 40
› Take the screens out of the mainhousings.
› Fit 1 screw on the side of the door profile (6.3x50) + 1 x M6 x 40.
› Turn them to 10mm from the end.
› Slide the mainhousings over the door pole (1).
› Fully tighten the screw 6.3x50.
› Do the same with the bottom screws (2).
› Fasten the coverplate on the door profile with 2 screws (4.2x19) (3).
2
4.2 x 19
3
6.3 x 50
2
1
Assembly filler profile on W1
SIDE WITH DOOR PROFILE
W1
› With beam L1 and L2 (and if a door profile was provided on the W1 side) a filler profile + cover is supplied.
› Place these as shown on the drawings below.
› Fix with self-tapping screws (1) close off the profile with the cover.
› Fix the cover with three screws (2).
Self-tapping screw 4.2x13
No hole needs to be drilled
1
L1/L2
2
3/8”

OL-B500-06
L1
L1
L2
L2
L3
L3
Side view Top view
4 ADJUSTING THE CONSTRUCTION
› Use a spirit level or laser to check the levelness of the top side of the construction.
› Adjust the contruction if necessary
› Slide the poles upwards until the top of the construction is completely level.
› Temporarily place a filler piece under the poles if necessary.
4.a LEVELNESS
› Check the perpendicularity with the measurements below (L1 ± 2mm !).
› Also check the diagonals on the top side.
› Further adjust the pole supports a little if necessary.
4.b PERPENDICULARITY
› When everything has been adjusted, firmly tighten all bolts.
› Remove any filler pieces used.
Pole Support Floor plate 20x 20cm
Ground anchor

OL-B500-07
5. ASSEMBLY ARMS
5.a PREPARATION
› Fit a corner reinforcement in post E2 and E3 (poles at the front) (1).
› Place the coverplates on the poles E2 and E3 (2) and only screw tight in the corner.
12
Pole E3 (Left) Pole E2 (Right)
Coverplate LEFT Coverplate RIGHT
1. Place the coverplates
2. Fitting the hinge for the arm profile
DIN 7982 4.2 x 19
4 x DIN 7982 4.2 x 19
4 x DIN 125
6
4 x DIN 985 M6
› Fix the hinge on the coverplate of the vertical pole as shown on the drawing below.

OL-B500-08
DIN985 M8
DIN125 M8
DIN603 M8x25
1
DIN985 M8
DIN125 M8
DIN 7991 M8x90
(DIN7991 M8 x 80 for middle arm)
3
4.2 x 19
4 x DIN 7982 4.2 x 19
4 x DIN 125
6
4 x DIN 985 M6
2
Bolt at the end of the opening
5.b FITTING THE WALL BRACKETS
›
Fix the wall bracket on the arm (1). Make sure that the bolt is in the back of the slot (2). Do not yet tighten the nuts.
›
Place the arms at the front on the just assembled hinge piece, do not yet tighten the nuts. (3)
›
Position the arm and determine the exact position of the wall bracket on the wall. Make sure that the wall bracket is
centred on the arm and stays within the width of the arm. (4)
›
Mark the position of the wall bracket.
›
If it is a construction with three arms and the middle arm goes to a door pole on W1, slide the connecting piece in the
door pole, screw the coverplate on top and fasten the hinge on the connecting piece through the coverplate.
› With a construction with three arms and the middle arm is on beam W1, fit the hinge perfectly in the middle between the
two other hinges.

DIN7991 M8x80
DIN985 M8
DIN125 M8
OL-B500-09
DIN985 M8
DIN125 M8
DIN603 M8x25
1
DIN985 M8
DIN125 M8
2
4
90°
DIN 7991 M8x90
›
Disassemble the wall bracket and the arm of the hinge and fasten the wall bracket in the correct position.
›
The recommended fixing material is a M10 threaded rod with chemical anchor or M10 anchor bolts with nut.
.
5.c ASSEMBLY ARMS & ROLLERTUBE
›
Fix the arm on the wall bracket, making sure that the bolt is at the back of the slot. (1)
› Place the arms at the front on the hinge piece and tighten the nuts. (2)

L1
L2 L2
L1
L2 L2
L3
L3
›
Check whether the first carriage of each arm is in the same position (measurement A)
.
›
If this is not the case, turn the belt of the arm until they are in the same position.
›
Slide the rollertube in the arms.
A
OL-B500-10
1. FREE STANDING CONSTRUCTION (ROLLERTUBE IN 1 PART)
› Check the perpendicularity with the measurements below (L1 ± 2mm !).
› Also check the diagonals on the top side.
› If necessary further adjust the wall supports a little.
(L1 ± 1/8” !).

2. ENCLOSED CONSTRUCTION (ROLLERTUBE IN 2 OR 3 PARTS)
Construction with 2 arms:
OL-B500-11
› Place the left-hand part of the rollertube (1)
› Slide the coupling profile in this left-hand part of the rollertube (2)
› Place the right-hand part of the rollertube (3)
› Slide the coupling profile from the left-hand part in to the right-hand part of the rollertube
› Fix the coupling profile on both parts of the rollertube with 4 bolts (DIN931 M6 x 75)
Construction with 3 arms:
› Fit the coupling profile in the middle arm (1)
› Place the left-hand part of the rollertube (2)
› Slide the coupling profile in this left-hand part (3)
› Place the right-hand part of the rollertube (4)
› Slide the coupling module from the left-hand and middle part in the right-hand part of the rollertube (5)
› Fix th coupling profile to the three parts of the rollertube with 4 bolts
(DIN931 M8 x 75)
Left-hand part of the rollertube Coupling profile
Right-hand part of the rollertube
Coupling profile
Left-hand part of the rollertube
DIN931 M6 x 75
1
2
3
4
1
2
Left-hand part of the rollertube
Coupling profile
Coupling profile
Coupling profile
Left-hand part of the rollertube

OL-B500-12
3
4
5
6
6. FIXATION MOTOR
› Place the motor plate over the end of the motor and tighten with 3 bolts and (DIN933 M6 x 25) and 2 nuts.
› Do not fit a nut on the bolt nearest to the arm profile!
› Lock the motor head with the circlips.
› Also fit a motor plate on the bearing side. This stops the rollertube from wandering. Do not fit a nut on the bolt nearest
to the arm profile.
DIN933 M6x25
DIN125 M6
DIN125 M6
DIN985 M6
No nut on this bolt
Moto rside Bearing side
No nut on this bolt
DIN931 M8 x 75
Coupling profile
Right-hand part of the rollertube
Coupling profile
Coupling profile
Left-hand part of the rollertube

OL-B500-13
7. ASSEMBLY FOLDING FABRIC
› Hook the first flowprofile in the first carriage, the second flowprofile in the second carriage,...
› Allow the last profile and the fabric fixation profile to hang loose.
› Connect the folding fabric motor and allow the fabric to slide up.
12
3
DIN 985 M6
No hooks on
last profile
› Slide the last profile over the bolts fixed to the guides. (1)
› Make sure that the synthetic blocks with the bolt can still slide in the profile.
› Fix with a DIN985 M6 nut approximately 10 mm from the end of the arm profile. (2)
› Clip locking clips on each hook.(3) (Centre the end of the clips perfectly between the legs of the carriage).
3/8”

OL-B500-14
8. PLACING THE RAINGUTTERS
› Drainage must be provided in the poles at the front (E2 et E3).
› Tilt the rain gutter in the mainhousing W1 and slide the extension of the raingutter over it.
› Fit the end cover of the raingutter and tighten a self-tapping screw DIN7504 Ø4,2x13.
› Insert a screw DIN916 M5x16 in the end piece to fix the raingutter.
W1 W1
DIN 7504 Ø4,2x13
DIN916 M5x16
9. SCREENS
›
If 3 screens are provided, always start with the one furthest from the electrical connection.
(number 1 in the figure below)
Connection 220V
9.a ROLLERTUBES
3
21
Folding fabric motor

OL-B500-15
1 2 3
VERTICAL POLES
› Fix the rollertube supports to the door poles as shown below
› Do not use a ring on the side where a rollertube support is mounted.
› Two rollertube supports can be mounted per pole.
› Bring the screen in accoring to the drawing below (2) and block it on both sides (M4x20) (3).
› With poles E1 and E4 (door posts on the wall), fix the rollertube support with bolts (2 x M6x25).
DOOR POLES
2 3
›
The roller tube supports can be assembled in two ways depending on the type of fabric. See below
› Fix the rollertube supports to the vertical poles (3 x M6x25) (1).
› Bring the screen in according to the drawing below (2) and block it on both sides (M4x20) (3).
Sergé
PVC (without window)
PVC with window
Fit ring only if no
rollertube support is mounted

OL-B500-16
›
After the assembly of all motors the following situation should be obtained at the electrical connection in the door pole on
the wall. (1)
›
If there are no side screens, bring the screen cable and/or LED cable through the arm upwards and connect it there. (2)
›
For this, drill a hole in the aluminium plate on the pole and seal with silicone. (2)
›
The connection is explained later.
Cable screen motor (no. 2 in fugure 9a)
WITH SIDESCREEN
12
WITHOUT SIDESCREEN
1
9.b MOTOR CABLE
1
2322
› Lay the motor cables as shown in the drawings below.
› Steps 2 and 3 only apply for the furthest screens.
› If applicable, conceal these cables under the PVC fabric support as well.
› In some cases it will be necessary to conceal the cable behind the screen during mounting of the screens.
Cable screen motor (no. 1 in fugure 9a)
Cable screen motor (no. 3 in fugure 9a)

OL-B500-17
10. SCREEN GUIDES
4.2 x 6.5
1
23
10.a LEADRAIL
10.b PVC-GUIDE
› Place the leadrail temporarily on the housing to ease assembly of the guide leadrails.
› Place the guide leadrails in the groove under the screen.
› Press the guide leadrails firmly down when screwing tight.
› Slide the leadrail left and right in the guide leadrail and allow the fabric to lower approximately 30cm .
› Slide the PVC guide over the zipper fastened left and right on the fabric. (1)
› Hook the siderail cover behind the PVC guide. (2)
› Click the profile shut at the bottom and slide it downwards over the pins (3) fixed on the bottom of the guide.
› Theb click the rest of the profile shut.
› Take care when opening the guide.
›
Start opening the guide with the upper clips and work clip by clip downwards.
›
Always pull on the cover profile as near as possible to the clips or the cover profile may distort.

OL-B500-18
11. ADJUSTING THE ENDPOINTS
1
2
› With a number of screens and folding fabric motor:
› Connect one of the screens to the main voltage (220V).
› Fully program this motor up to and including the allocation of the transmitter.
› Cut of the power to the motor!
› Now do the same with the other motors, connect them one by one and each time cut off the power.
› When all motors have been programmed, connect them all to the main voltage again. (220V).
REGLAGE DU MOTEUR ALTUS RTS REGLAGE DU MOTEUR ALTUS RTS
› Set the folding fabric so the first flowprofile passes over the gutter on the W1 side(1)
› Sliding the last flowprofile backwards will put more tension on the fabric. (2)
› Sliding the last fabric profile forwards allow the leadrail to pass further over the gutter.(2)
Table of contents
Other BRUSTOR Outdoor Furnishing manuals
Popular Outdoor Furnishing manuals by other brands

LIGNEUS
LIGNEUS Junior Arch User instructions

Home Accents Holiday
Home Accents Holiday Yuletide Lane 22RT1942214 Assembly instructions

Costway
Costway NP10577 user manual

Plum
Plum 25075 Assembly instructions

deVRIES
deVRIES TRENDY Woodie 66094 Assembly & care instructions

Corriveau
Corriveau Melbourne B101237 Assembly lnstructions

Riverstone Networks
Riverstone Networks ACACIA Assembly manual

Weka
Weka 651.2929.00 Series Assembly instructions

Belleze
Belleze 014-HG-20063 owner's manual

Rutland County
Rutland County Oakham Picnic Bench Assembly instructions

Corriveau
Corriveau Nancy II Assembly instruction

Greemotion
Greemotion Lucca 128773 manual