Page 5 / 6
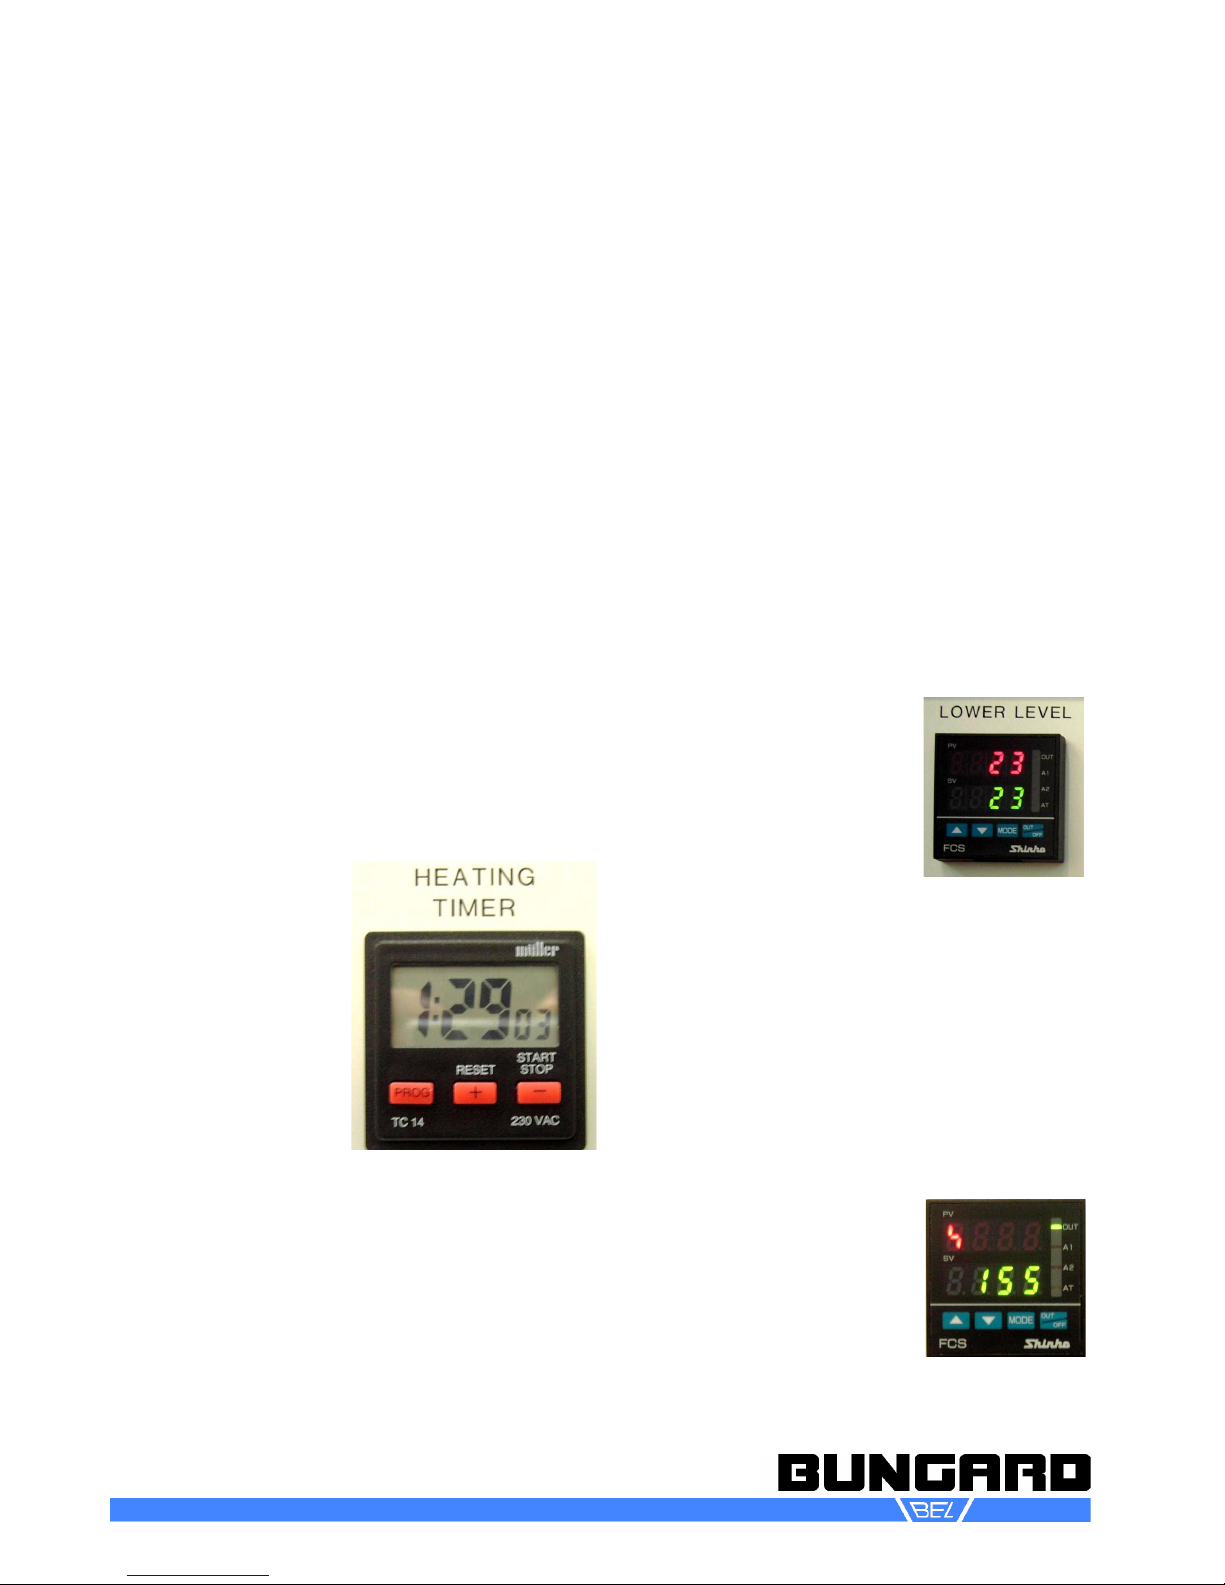
The thermostat has a soft heat-up function
that prevents over-temperature. After each
initial start the lower display will show in-
creasing temperature values until the set
value is reached. Temperature setting pro-
posals are about 175 °C for normal and
fresh prepregs. You must determine the
best setting for your application. If the tem-
perature is too low or heating time too
short, the laminate will have delamination
problems or air-bubbles inside. Both will
damage the multilayer board.
Work Flow:
Operation details are related to prepregs
and inner layers specifications. As a matter
of fact, these settings may change depend-
ing on the type of prepregs.
a) If you do not prefer to swim press (this is
possible for 3- 4 layer board) fix your lay-
ers with reference pins or rivets. We re-
commend to have the reference pins out-
side of the press plates and to include
the reference marks in your film layouts
for all layers
b) protect your press plates with tedlar foil
or something alike to prevent the press
plates from sticking to your pcb. Select
suitable material to avoid fire and result-
ing severe economic losses.
c) Insert PCB stack into press plates
d) Select appropriate temperature and pres-
sure to avoid burning your pcb and emer-
ging of poisonous gas.
e) pressure is adjusted according to board
specification. For boards 210 x 300mm²:
approx. 12 bar
f) heater temperature is selected (accord-
ing to condition and type of prepregs nor-
mal range: 155 - 175°C)
g) heater is activated
h) heating-up procedure and press se-
uence at preset temperature (normally
60-120 minutes. Time depending on tem-
perature preset and on room temperat-
ure according to condition / type of
prepregs)
i) cooling down under pressure to 50° C or
lower (about 30 -45min) to avoid skin
burns. If you want to take out stack at a
higher temperature wear suitable protect-
ive gloves.
j) Never take out stack at a temperature
higher than 100°C. Danger of delamina-
tion.
k) PCB stack is taken out of the machine.
l) boards are depinned.
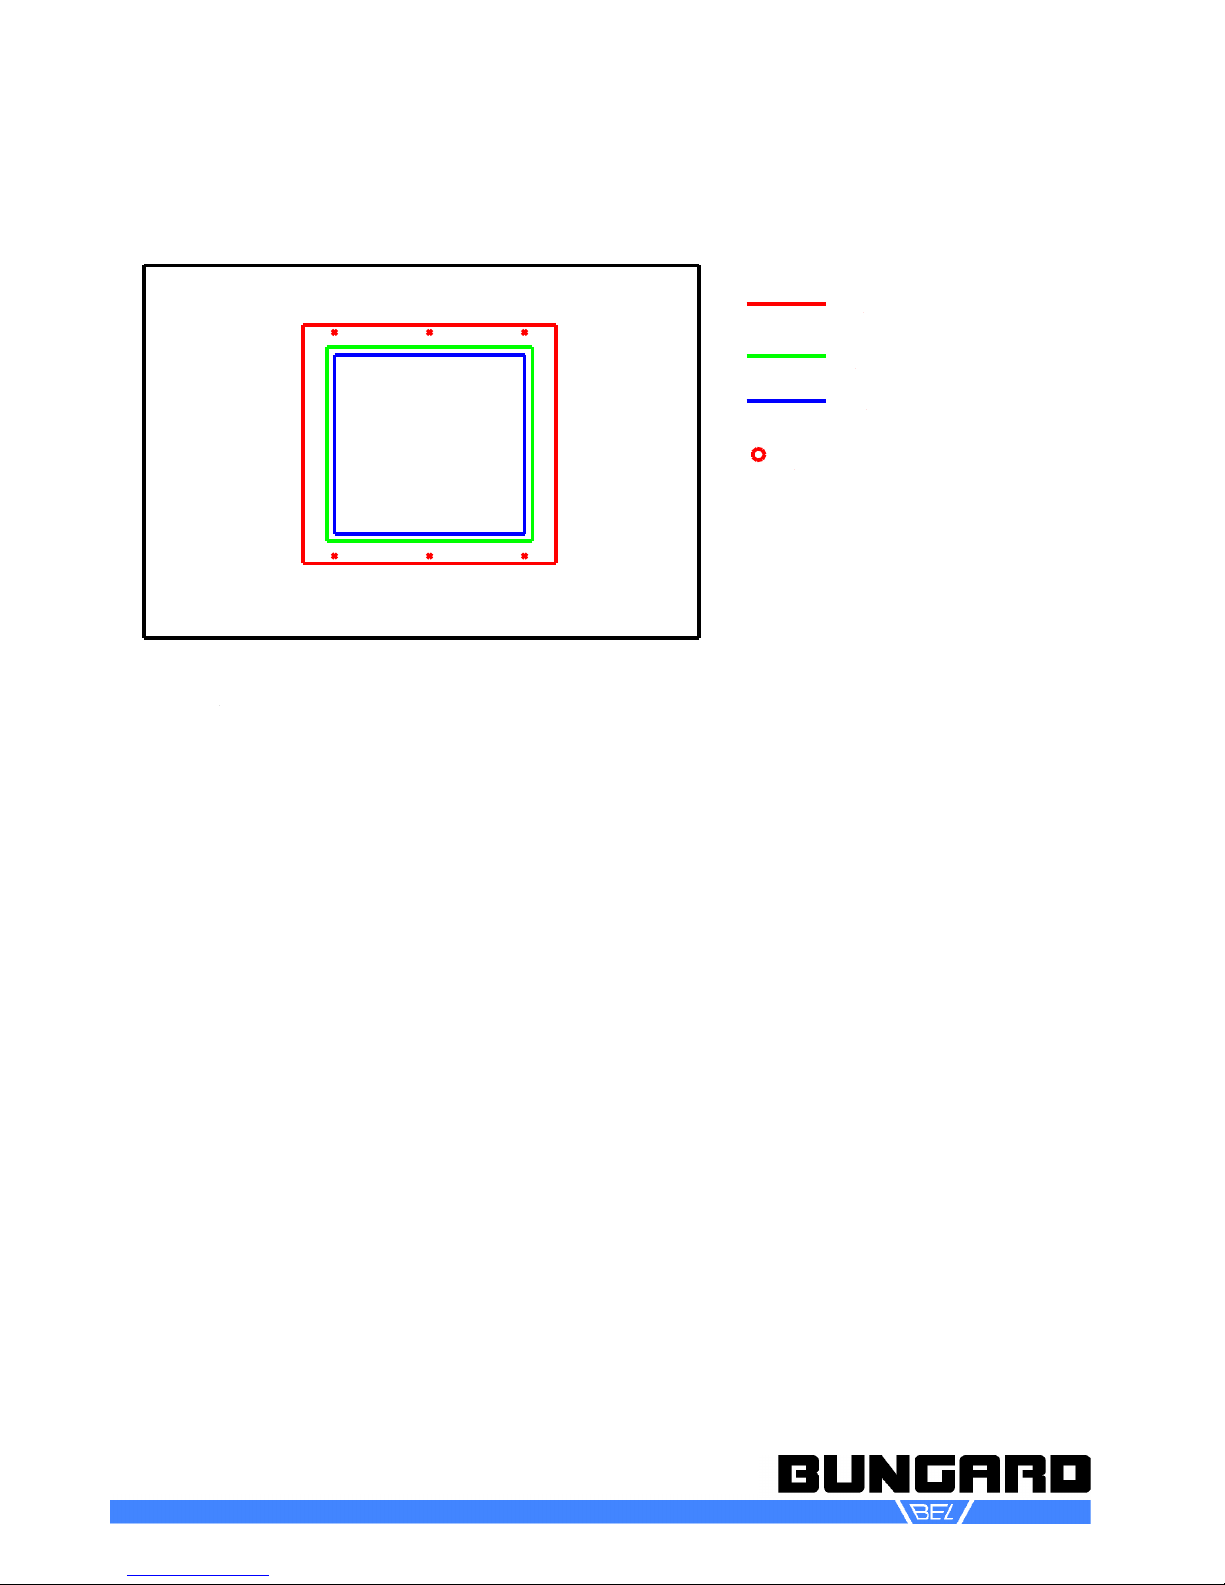
The se uence will take all at all approx. 3
hours. Gross size of the PCB is 250 x 350
mm which will result in PCB net size of 210
x 300 mm². Depending on the material you
use, the rim of your multilayer will show less
resin as in the middle and needs to be cut
off (normally 1-2 cm on each side. In the
meantime board supplier improved their
products so this effect may not occur at all)
Process time will decrease down to half an
hour if you take out stack at a temperature
of about 100°C. But this is made on the op-
erators responsibility and we will deny any
liability for this.
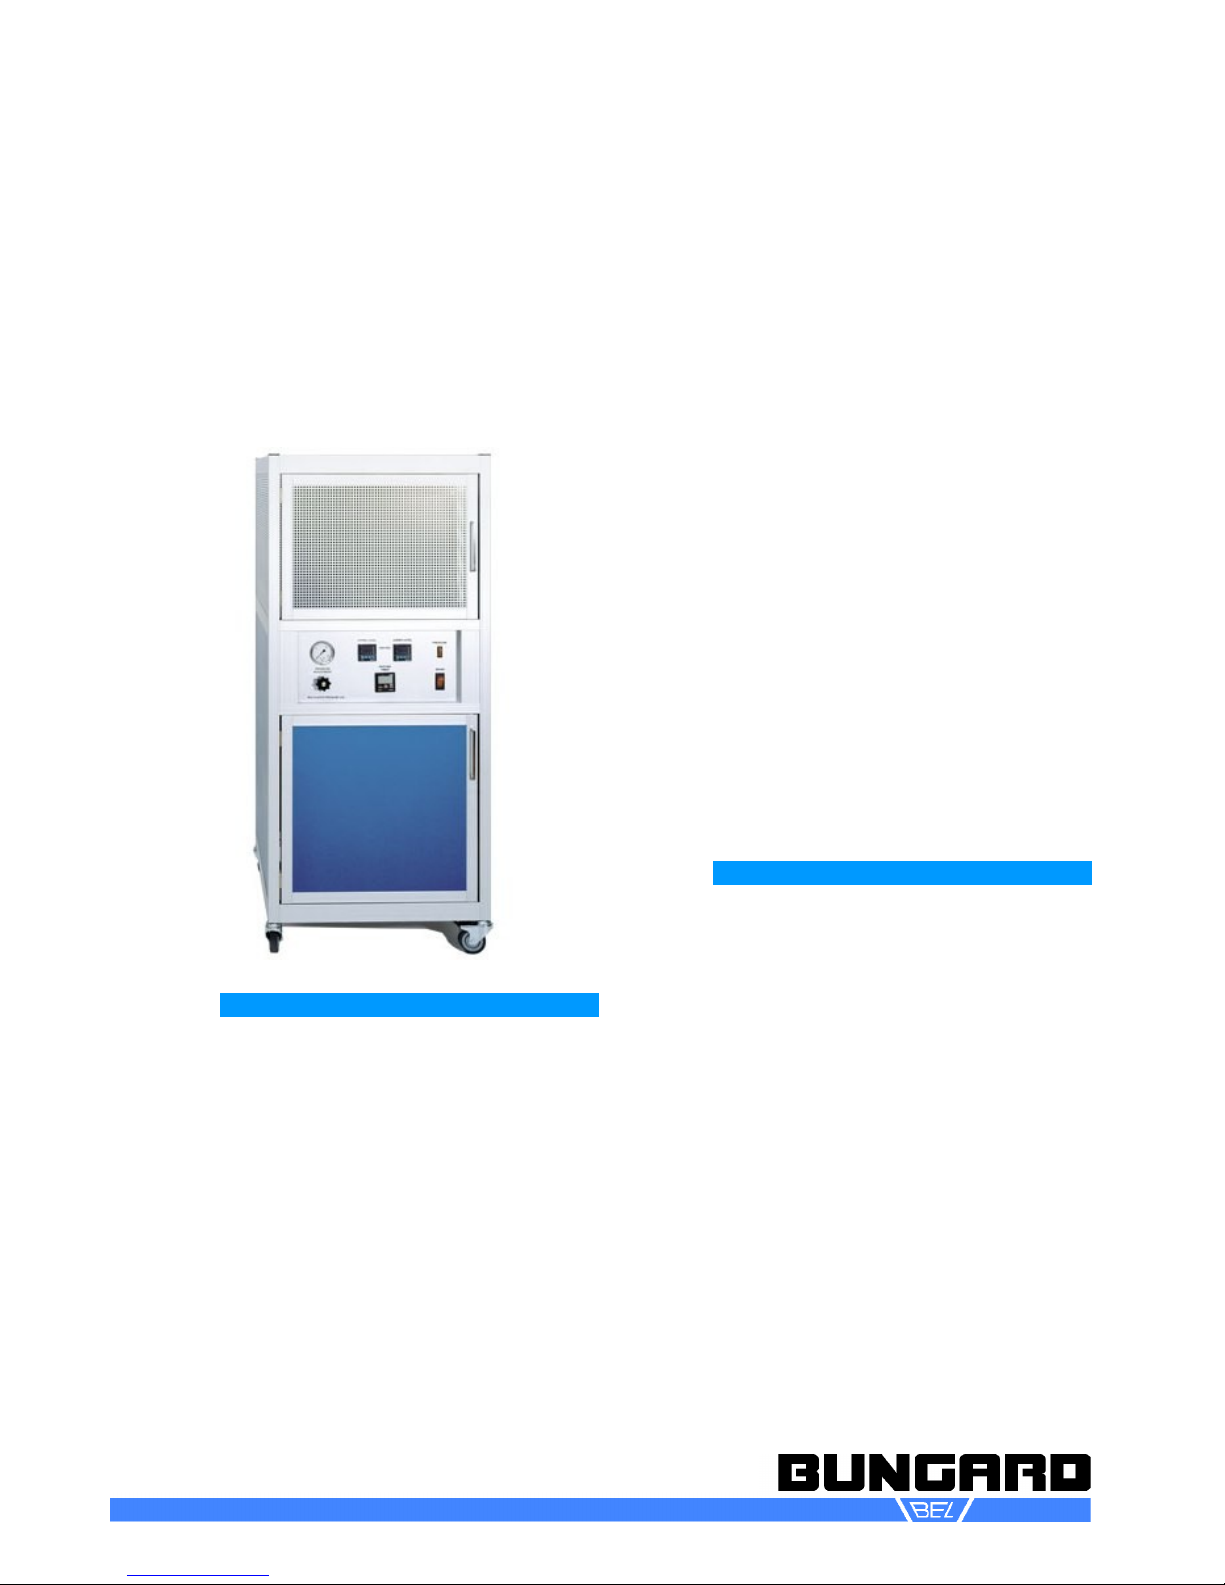
RMP 210
Multilayerpress
Instructions for Use