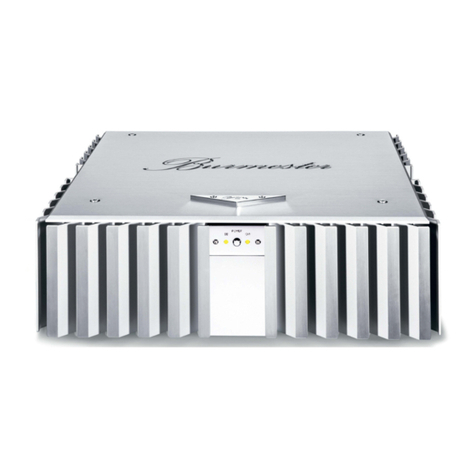
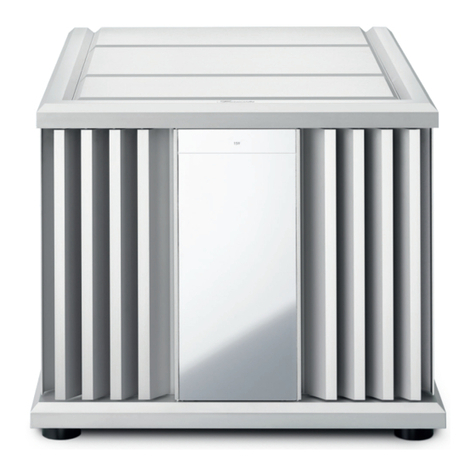
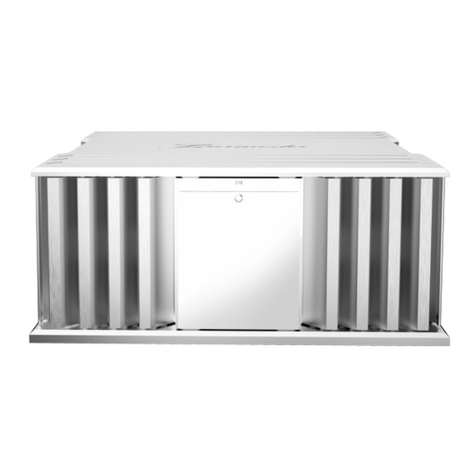
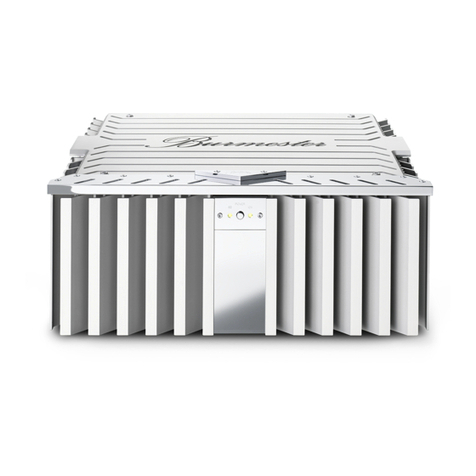
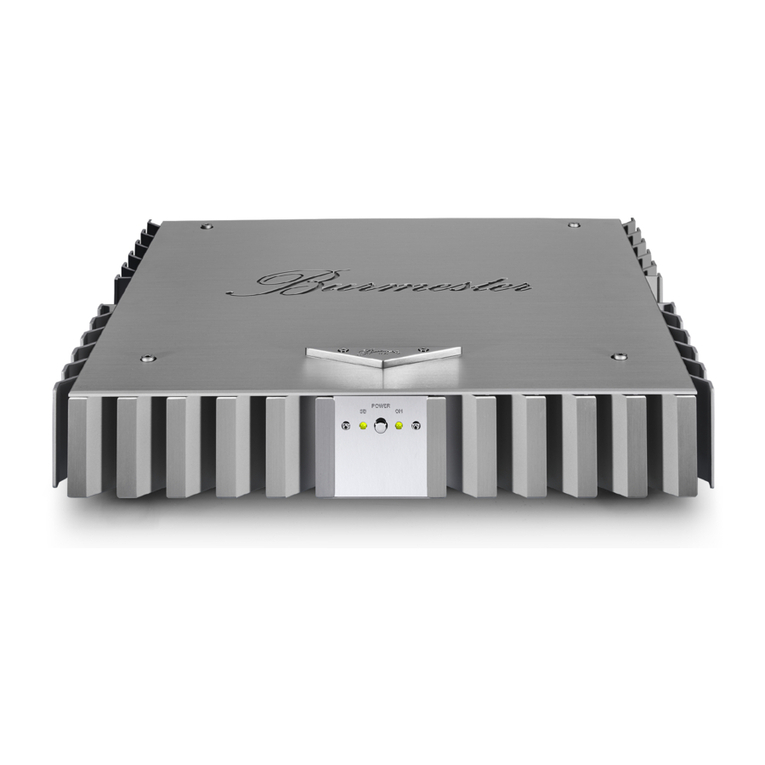
Burmester 911 MK3 User manual

1
OPERATION MANUAL
911 3

2

3
Dear music lover,
Congratulations on your purchase and thank you for choosing Burmester. You have chosen a product that combines absolute
fidelity and uncompromising quality with technical innovation and maximum versatility.
Before using the device for the first time, we recommend that you read through the entire manual at least once so that you can
make full use of the capabilities of this exceptional audio device. Should you still have questions, please speak to your dealer or
contact us directly.
We’re always happy to discuss your special requests, no matter how unusual. We love a good technical challenge.
We wish you an exceptional listening experience.
Your Burmester team

4
(1) STAND-BY LED
(2) POWER BUTTON
(3) POWER LED
(4) Input, right channel
(5) Output, right channel, positive
(6) Output, right channel, negative
(7) AC voltage selector/fuse box
(8) AC input
( 9) Mains switch
(10) Output, left channel, positive
(11) Output, left channel, negative
(12) Input, left channel
(13) REMOTE OUT jack
(14) REMOTE IN jack
HANDMADE IN GERMANY
911 MK3 POWER AMP
Burmester Home Audio GmbH
Wilhelm-Kabus-Straße 47
10829 Berlin
OFF
ANALOG INPUT RIGHT SPEAKER RIGHT SPEAKER LEFT ANALOG INPUT LEFT
REMOTE
DC IN
MAINFUSEMAINFUSE
DC OUT
REMOTE
REGULATIONS SERIAL NUMBER
MAINS
ON
XLR PINNING
INPUT
G
XLR PINNING
INPUT
G
4 13 5 6 7 9 8 7 11 10 14 12
1 32

5
ACCESSORIES
OFF ON
GG
+
–
OFF ON
GG
+
–
+
–
OFF ON
GG
+
–
+
–
STEREO WIRING DIAGRAM MONO WIRING DIAGRAM (bridged)
From pre-amp
Right channel
WIRING DIAGRAM FOR BI-AMPING
With split passive crossover in speaker
From pre-amp
Left/right channel
From pre-amp
Left/right channel
From pre-amp
Left channel
Adapter plug
XLR-RCA
Tweeter/
mid-range driver
Woofer
Red Blue
BI-AMP
Adapter
MONO
Adapter
Red Blue
Required to connect unbalanced cables to the
balanced input jacks.
Included in scope of delivery

6
Scope of delivery
Packaging
Setup
Mains voltage
Inputs
Outputs
:
Remote
STARTING UP THE DEVICE
The scope of delivery for the device comprises the following items:
·1 package
·1 operation manual
·1 power cable
·2 XLR-RCA adapter plugs
·1 remote cable
We recommend keeping the original packaging in case you need to transport the device again at
a later date, e.g. if you move home.
Carefully remove the amplifier from the transport packaging and set the device up in an appropriate
location. Choose a location that guarantees good air circulation around the device.
CONNECTING THE DEVICE
Before connecting the device, please make sure that the mains switch (9) is set to “OFF” and
that the mains plug is not plugged in.
To avoid any mistakes, we strongly recommend following the connection procedure outlined
here.
At the factory, the mains voltage is set to the national standard for the country in which you
purchased your Burmester device.
If you intend to operate your 911 power amplifier at a different mains voltage to that set at the
factory, you will need to send your 911 power amplifier to our Sales team or our factory in Berlin so
that the mains voltage can be adjusted accordingly.
If you are uncertain of the mains voltage at your installation site, please make sure you check
with your authorised Burmester dealer prior to installation.
The 911 has two balanced inputs (4) and (12), which can also be operated in unbalanced mode
using the two adapter plugs included in the scope of delivery. However, in order to make full use
of the device's sonic capabilities, we recommend using the balanced connections.
The speaker cable is connected to the binding posts at the speaker outputs (5), (6), (10) and (11).
To ensure unimpeded signal flow, we recommend terminating the speaker cables with copper
spade lugs. We strongly advise against using banana plugs of any kind. The speaker cables must
be connected correctly to the speakers before they are connected to the outputs of the 911.
The speaker outputs of power amps like the 911 may conduct potentially fatal voltages.
If you connect the REMOTE OUT (13) jack to the corresponding REMOTE IN jack on a BURMESTER
device, you will be able to switch this on and off remotely when switching the 911 power amplifier
on and off. In this case, the 911 power amplifier will act as the master device.
If you connect the REMOTE IN (14) jack to the corresponding REMOTE OUT jack on a BURMESTER
device, you will be able to switch the 911 power amplifier on and off remotely when switching the
device in question on and off. In this case, the 911 power amplifier will act as the slave device.

7
OPERATING THE DEVICE
Make sure the mains switch (9) is set to OFF. Connect the power cable to the AC input (8) and
plug the mains plug into the mains socket.
The mains switch (9) on the rear panel of the device disconnects the 911 from the mains power
supply.
When the switch is in the OFF position, the device is completely cut off from the power supply and
the LEDs on the front panel will all be off. When the switch is in the ON position, the device is in
stand-by mode and the STAND BY LED (1) on the front will be lit up.
The POWER button (2) on the front panel is used to switch the 911 from stand-by into operational
mode, or back into stand-by. When the device is in operational mode, the STAND-BY LED (1) and
the POWER LED (3) will light up. When the device is in stand-by mode, only the STAND-BY LED
(1) will be lit up. When the 911 is switched into operational mode, the monitoring circuitry will check
all its functions. Because of this, it always takes a few seconds before the speaker outputs come on.
CONNECTION OPTIONS
For STEREO mode, the 911 must be connected as follows:
(See STEREO wiring diagram)
(4) Input, right channel
(5) Speaker output, positive, right channel (red binding post)
(6) Speaker output, negative, right channel
(12) Input, left channel
(10) Speaker output, positive, left channel (blue binding post)
(11) Speaker output, negative, left channel
For MONO mode, the 911 must be connected as follows:
(See MONO mode wiring diagram):
(4) MONO ADAPTER, red side
(5) Speaker output, positive (red binding post)
(6) Must not be connected
(12) MONO ADAPTER, blue side
(10) Speaker output, negative (blue binding post)
(11) Must not be connected
For BI-AMPING mode, the 911 must be connected as follows:
(See wiring diagram for BI-AMPING mode):
(4) BI-AMP ADAPTER, red side
(6) Speaker output, positive, woofer
(5) Speaker output, negative, woofer
(12) BI-AMP ADAPTER, blue side
(10) Speaker output, positive, tweeter/mid-range driver
(11) Speaker output, negative, tweeter/mid-range driver
If you are not sure whether you have connected your 911 correctly for the desired operating
mode, please contact your Burmester dealer.
AC input
Mains switch
POWER button
STEREO mode
MONO mode
BI-AMP mode
8
THE PROTECTION CIRCUIT
The protection circuitry of the 911 operates outside of the signal path. It constantly
monitors the 911’s operating status for overheating, DC offset at the outputs and peak
current.
If the temperature in one or both channels of the device exceeds the permitted maximum, the
speaker outputs will automatically be switched off and the POWER LED (3) will go out. The device
will also switch to stand-by mode at the same time.
If this happens, we recommend turning the volume on the preamplifier or the system all the way
down as a precaution. After the necessary cooling-off period, the 911 can be switched back on
using the POWER button (2). The 911 will not allow you to switch it back on until the temperature
has dropped below the maximum permissible limit.
If DC offset at the speaker output terminals of the 911 exceeds the tolerance limit, the speaker
outputs will automatically be switched off. If this happens, we recommend turning the volume on
the preamplifier or the system all the way down as a precaution. The 911 will activate the speaker
outputs again once the DC voltage has dropped below the maximum permissible limit.
If the peak current at the speaker output terminals of the 911 exceeds the maximum tolerance limit,
the speaker outputs will automatically be switched off.
If this happens, we recommend turning the volume on the preamplifier or the system all the way
down as a precaution. The 911 will activate the speaker outputs again once the current has dropped
below the maximum permissible limit.
GENERAL INSTRUCTIONS
Please read the operation manual for your device carefully and keep it in a safe place.
Ifyou have any questions, please contact your dealer.
An operating temperature that is too high or too low may cause the device to malfunction. As such,
we recommend letting the device sit for a while after unpacking and before connecting and
operating it.
When choosing a place for your device please observe the following guidelines:
- Avoid direct sunlight
- Do not subject the device to excessive heat, cold, humidity or dust
- Provide adequate air circulation; do not place the device on an enclosed shelf
- The slots and openings in the device are designed for ventilation. They must not be covered.
- Please make sure that the device is not exposed to dripping or splashing water, and do not place
containers of liquid on your device.
- Open flames such as candles should not be placed on top of the device.
Before putting the device into operation, check to see if the mains voltage specified on the back
panel of the device below the AC input matches the mains voltage for your household. If this setting
needs to be changed, this may only be done by a trained professional.
Always use the 3-wire power cable supplied with the device to connect it to the power supply. The
protective earth contact must never be disabled. Furthermore, the device must be connected to
amains socket with a properly functioning protective earth connection.
Temperature
DC offset
Peak current
Operating
temperature
Setup
Mains voltage

9
Switch off all devices in your home audio system before installation. Do not switch the devices on
again until you are sure that all the devices are completely and correctly connected.
Do not attempt to operate the device if it is obviously damaged or if liquid has got in it.
Never touch the pins of the connecting terminals on the back panel of the device using your fingers.
Static discharges may damage the electronic circuitry inside the device.
We supply both balanced and unbalanced interconnect cables and speaker cables of any length to
ensure optimum sound quality. The impedance of our cables is optimised for use with all
BURMESTER components.
For the cleanest power supply, we recommend using our triple-shielded BURMESTER-POWER
cable.
Be careful when touching the device – the housing may get quite warm during operation.
If the device does not respond when you use the controls, it can be reset to normal operation by
switching it off and back on again using the mains switch on the back.
During the summer months, malfunctions often occur due to overvoltage in the mains power lines
caused by lightning strikes. Completely unplugging the power cable from the mains socket offers
the only effective protection from lightning strikes. It is not sufficient to simply switch off the mains
switch, as overvoltages are able to "arc” over contacts that are not closed.
The fuses are located inside the device and should only be changed by qualified technicians.
We provide a three-year warranty on this device. In order for the warranty to be valid, the device
must have been connected properly without overloading, the mechanical integrity of the device
must not have been compromised, and the warranty application must have been submitted
properly.
The warranty expires if the device has been tampered with in any way or if parts of the housing,
connections or terminals have been dismantled.
This symbol on your device indicates important operating instructions that can be found in the
operation manual.
This symbol on or inside your device warns of dangerously high voltage.
German law stipulates that this device and its accessories must not be disposed of with household
waste (grey bin, yellow bin, compost bin, paper or glass). Instead, they must be handed in at
municipal collection points or to voluntary recycling programmes.
Start-up
Connections
Connection cables
Hot components
Resetting
Lightning strikes
Fuses
Warranty

10
Never wipe the housing with a wet cloth, and do not use chemical agents when cleaning. Ensure
that no liquids get into the device.
The device should only ever be opened by qualified professionals. By opening the device, you risk
coming into contact with dangerously high voltage. The power cable must always be unplugged
before opening the device.
MONO adapter cables (14) for MONO operation of the 911
BI-AMP adapter cables (15) for BI-AMPING operation of the 911
TECHNICAL SPECIFICATIONS
Care
PLEASE NOTE:
Available accessories
Dimensions (WxHxD)
Weight
Power output at 4 Ω
Damping factor
Signal-to-noise ratio
Input sensitivity
Power frequency response (-3 dB)
Voltage ranges
911MK-100
911MK-120
911MK-220
911MK-230
8 selected power transistors per channel
Extra-large power supply unit with 130,000
μF filter and 750 VA toroidal transformer
(Custom design)
Balanced input (stereo/mono)
Unbalanced input using supplied adapter
10 V DC Input/Output for Remote on/off via Burmester devices
Speaker outputs (stereo/mono)
Standard version with chrome brackets, engraved chrome triangle,
anodised silver housing. Custom versions (e.g. black) available on request.
482 mm x 216 mm x 482 mm
Approx. 31 kg
Stereo: 2 x 350 W/Mono: 1 x 770 W
2750
> 103 dB
770 mV for full level control
<10 Hz - 220 kHz
100 V~, 50/60 Hz
110-120 V~, 50/60 Hz
220 V~, 50/60 Hz
230 V~, 50/60 Hz

11

12
Burmester Home Audio GmbH
Wilhelm–Kabus Strasse 47 · 10829 Berlin, Germany
www.burmester.de
Table of contents
Other Burmester Amplifier manuals

Burmester
Burmester 099 User manual

Burmester
Burmester 218 User manual

Burmester
Burmester Classic Series User manual

Burmester
Burmester 082 User manual

Burmester
Burmester 036 User manual

Burmester
Burmester 035 User manual

Burmester
Burmester 159 User manual

Burmester
Burmester 159 User manual

Burmester
Burmester 011 User manual

Burmester
Burmester Top Line Phono preamp 100 User manual

Burmester
Burmester 808 MK5 User manual

Burmester
Burmester 077 User manual

Burmester
Burmester 909 MK5 User manual

Burmester
Burmester Classic 101 User manual

Burmester
Burmester Classic Series User manual

Burmester
Burmester 077 User manual

Burmester
Burmester 088 User manual

Burmester
Burmester 911 MK 3 User manual