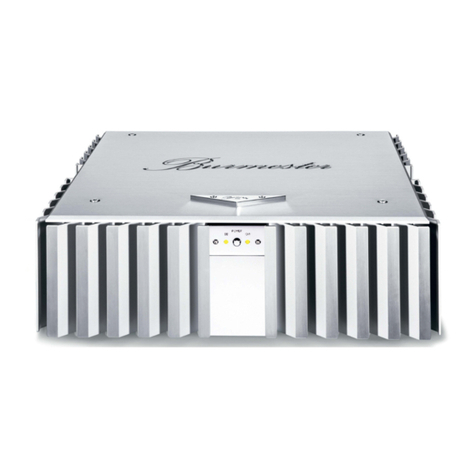
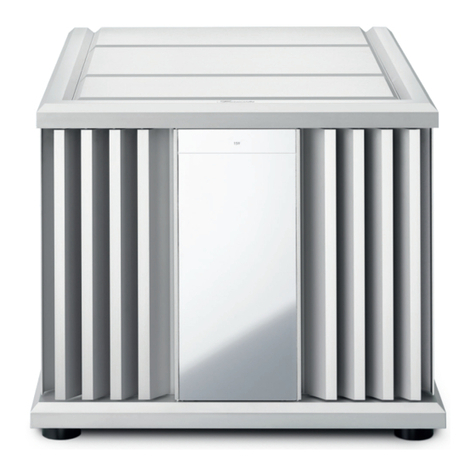
Burmester 911 MK 3 User manual

OWNER’S MANUAL
POWER AMP
911 MK 3
HIGH END MADE IN GERMANY
BURMESTER AUDIOSYSTEME GMBH · KOLONNENSTR. 30G · 10829 BERLIN · GERMANY
PHONE + 49/30/78 79 68 -0 · FAX + 49/30/78 79 68-68 · E-MAIL: mail@burmester.de, www.burmester.de

Dear Audiophile,
Thank you for choosing this Burmester audio component. We sincerely appreciate your trust in us.
You have purchased a POWER AMP which excells in musical fidelity and combines uncompromising manufacturing
quality with technical innovation and the highest degree of operating flexibility.
We urge you to read this user manual in its entirety before setting up the 911 MK 3 for the first time. It will enable you
to make full use of all capabilities of this outstanding audiophile instrument.
For any further questions, please contact your dealer or us directly.
Enjoy your enhanced listening pleasure.
Your Burmester-Team

3
STEREO RIGHT
RIGHT POS
RIGHT NEG
REMOTE IN
STEREO LEFT
REMOTE IN
ON
POWER
OFF
LEFT POS
LEFT NEG
SERIAL NO.
HANDMADE IN BERLIN GERMANY
POWER AMP 911
ART FOR THE EAR
WARNUNG
VOR ÖFFNEN
NETZSTECKER ZIEHEN
2 x T 6,3 A
≈
230V 50Hz 750 W
(1) STAND-BY LED
(2) POWER- button
(3) POWER LED
(4) Input, right channel
(5) Output, right channel, negative
(6) Output, right channel, positive
(7) AC mains switch
(8) AC input
(9) AC voltage selector/fuse box
(10) Output, left channel, positive
(11) Output, left channel, negative
(12) Input, left channel
(13) REMOTE-IN terminal

ACCESSORIES
4
14
+
-
15
+
-
+
-
+
-
+
-
WIRING DIAGRAM FOR STEREO OPERATION WIRING DIAGRAM FOR MONO OPERATION (bridged)
from pre-amp
right channel
WIRING DIAGRAM FOR BI-AMPING
with a split passiv frequence-crossover
built into the speaker
from pre-amp right and
left channel respectively
from pre-amp right and
left channel respectively
from pre-amp
left channel
16
adapter plugs
XLR-RCA
Tweeter /
midrange driver
Bass driver
red blue
BI-AMP
adapter
MONO
adapter
red blue
necessary to connect unbalanced cables
to the balanced input terminals
supplied as standard

Standard supply
Packaging
Positioning
AC voltage
Inputs
CAUTION:
Outputs
CAUTION:
Remote
5
START - UP PROCEDURE
The shipping carton contains:
·1 power amplifier 911 MK 3
·1 owner's manual
·1 AC cord
·2 adaptor plugs (16)
·1 remote cable
We recommend keeping the original box and packaging material in case of a move or other shipping.
Carefully remove the power amp from the box and set it up in an appropriate location. Choose a location
in which air can flow freely around the amp.
Connecting the AMP
Please make sure that the AC mains switch (7) is set to “OFF” and that the AC plug is not plugged
in before hooking the amplifier up. To avoid any mistakes we strongly recommend to follow the hook-up
sequence outlined here.
AC voltage is set by the factory to the correct voltage in the country in which the amp has been purchased.
Should you whish to operate your 911 MK 3 power amp at a different voltage than set by the factory you
can change it using the AC voltage selector (9) on the rear panel.
Whenever re-connecting the 911 MK 3 to the AC outlet you must make sure that the AC selector has
been set the correct voltage:
The setting 230V is good for AC voltage from 220V to 240V and
the setting 115 V is good for 110 V to 120 V.
If you are not sure about the AC voltage in your area it is important that you ask your authorized Burmester
dealer before connecting the amp.
The 911 MK 3 has two balanced inputs (4) and (12), which can also be operated in unbalanced mode
sing the two adaptor plugs (16) supplied as standard. However, to make full use of the 911's sonic
capabilities we recommend balanced connections.
As MONO amp the 911 MK 3 can only be operated in balanced mode!
The speaker cables are connected to the binding posts of the loudspeaker outputs (5), (6), (10) and (11).
To ensure unimpeded signal flow we recommend terminating the speaker cables with copper spade
lugs. We strongly advise against banana plugs of any kind. The speaker cables must be correctly
connected to the speakers before hooking them up to the outputs of the 911 MK 3.
The speaker outputs of power amps like the 911 MK 3 may carry dangerous amounts of voltage!
This input offers the possibility of using your Burmester pre-amp or D/Aconverter to remotely switch
the 911 MK 3 on and off. This requires connecting one of the two REMOTE IN-terminals (13) of the
911 MK 3 with the REMOTE OUT - terminal of the pre-amp or DAC using the enclosed remote cable.

AC terminal
AC mains switch
POWER - button
STEREO mode
MONO mode
BI-AMPING
6
OPERATING THE POWER AMP
Make sure that the AC mains switch (7) is set to OFF. Connect the AC power cord with the AC input (8)
and plug the cord into the wall outlet.
The AC mains switch (7) on the rear panel switches power to the 911 MK 3 on and off. In the OFF
position the unit has been cut off from the power supply and the LEDs on the front panel are dark. In the
ON position the amplifier is in stand-by mode and the left STAND BY- LED (1) on the front panel is lit.
The POWER - button (2) on the front panel is used to switch the 911 MK 3 from stand-by into operational
mode or back into stand-by. In operational mode the STAND BY- LED (1) and the POWER LED (3)
are lit. In stand-by mode only the STAND BY - LED (1) lights up.
When the 911 MK 3 is switched into operational mode the monitoring circuitry checks all functions.
Therefore, it always takes a few seconds before the speaker outputs kick in.
HOOK-UP OPTIONS
To use the 911 MK 3 as STEREO amp the connections are as follows:
(4) input, right channel
(6) speaker output, positive, right channel (red binding post)
(5) speaker output, negative, right channel
(12) input, left channel
(10) speaker output, positive, left channel (blue binding post)
(11) speaker output, negative, left channel
To use the 911 MK 3 as MONO amp the connections are as follows
(see hook-up diagram for mono operation):
(4) MONO-ADAPTER (14), red marking
(6) speaker output, positive (red binding post)
(5) must not be connected
(12) MONO-ADAPTER (14), blue marking
(10) speaker output, negative (blue binding post)
(11) must not be connected
To use the 911 MK 3 in BI-AMPING operation the connections are as follows
(see hook-up diagram for bi-amping):
(4) BI-AMP-ADAPTER (15), red marking
(6) speaker output, positive, for tweeter resp. mid-high range
(5) speaker output, negative, for tweeter resp. mid-high range
(12) BI-AMP-ADAPTER (15), blue marking
(10) speaker output, positive, woofer
(11) speaker output, negative, woofer
Please ask your Burmester dealer for advice if you are not sure whether you have hooked up
your 911 MK 3 correctly for the desired operating mode.

Overheating
DC offset
Overloading
PLEASE NOTE:
Lightning strikes
Connecting cables
Fuses
CAUTION:
Optional
accessories
7
THE PROTECTION CIRCUIT
The protection circuitry of the 911 MK 3 operates outside of the signal path. It constantly monitors
the operating condition with regard to overheating, DC offset at the outputs and overloading.
If the protection circuit recognizes an overheating condition in one or both channels of the power amp
it will automatically switch off both speaker outputs and the POWER LED (3) goes out.
Simultaneously the amp switches to stand-by mode.
If this happens we recommend, as a matter of precaution, to turn the volume at the pre-amp stage all
the way down. After the necessary cooling-off period the 911 MK 3 can be switched back on with the
POWER - button (2). It will come on only after the temperature has fallen back within the permissible range.
If DC offset at the speaker output terminals of the 911 MK 3 exceeds the tolerance limit the outputs are
automatically switched off. We recommend, as a matter of precaution, to turn the volume at the pre-amp
stage all the way down. The amp will turn the speaker outputs back on as soon as DC offset falls within
the tolerance limit.
If peak currents at the speaker outputs of the 911 MK 3 exceed the permissible maximum the speaker
outputs are switched off automatically. We recommend, as a matter of precaution, to turn the volume
at the pre-amp stage all the way down. The amp will turn the speaker outputs back on as soon as
peak currents fall within the tolerance limit.
GENERAL INSTRUCTIONS
The AC cord must be unplugged before removing the housing cover – danger of an electric shock !
Especially during the summer malfunctions often occur due to voltage spikes in the power lines after
lightning strikes. Completely unplugging the power cord offers the only effective protection. Merely
switching the 911 MK 3 off with the AC mains switch (7) does not suffice since voltage spikes are able
to arc over separated contacts.
We supply custom-made balanced as well as unbalanced interconnect cables of any length to ensure
the best sound quality of the power amplifier 911 MK 3. The impedance of our cables is ideally matched
with all BURMESTER audio components. For the cleanest power to all components we recommend
our triple-shielded power cord BURMESTER-POWER.
The fuses are located behind the safety cap of the AC voltage selector (9). They should be changed
by an expert only.
Always unplug the AC cord before opening the safety cap of the AC voltage selector – danger
of an electric shock!
MONO adapter cables (14) for MONO operation of the 911 MK 3
BI-AMP-adapter cables (15) for BI-AMPING operation of the 911 MK 3

TECHNICAL SPECIFICATIONS
(WxHxD): 482x216x482mm
Weight: app. 31kg
Power consumption: (stand by): 3 W
Idling: 95 W
Power (max.): 750 W
230V setting: 2 x 3,15 A / slow-blow
115V setting: 2 x 6,3 A / slow-blow
The dimensions do not include the space needed for the plugs of connected cables.
We reserve the right to make changes due to technological advances without prior notice.
Dimensions
Fuses
PLEASE NOTE:
8
Table of contents
Other Burmester Amplifier manuals

Burmester
Burmester 088 User manual

Burmester
Burmester 035 User manual

Burmester
Burmester 082 User manual

Burmester
Burmester Top Line Phono preamp 100 User manual

Burmester
Burmester 159 User manual

Burmester
Burmester 909 MK5 User manual

Burmester
Burmester 159 User manual

Burmester
Burmester 011 User manual

Burmester
Burmester Classic 101 User manual

Burmester
Burmester 911 MK3 User manual