Butterfly Amicus 3000 Plus User manual

Amicus 3000 Plus
UsersManual

2005 Tamasu Butterfly Europa GmbH
Am Schürmannshütt 40a, 4744 Moers
Phone +49 284 905320 • Fax +49 284 9053220
Website: www.butterfly-world.com
Amicus 3000 Plus Users Manual
G E N E A L I N F O M A T I O N
The Amicus 3000 Plus table tennis robot should only be used in closed, dry rooms!
Do not touch rotating wheels while machine is running. This can cause injury.
If you have problems assembling or using your robot please contact:
Tamasu Butterfly Europa GmbH
Am Schürmannshütt 40a
4744 Moers
website: www.butterfly-world.com
phone: +49 284 905320
fax: +49 284 9053220
The manufacturer (Cs. Lukacs) provides a full (one) year warranty.
The manufacturer (Cs. Lukacs) provides a service for parts and repairs for 2 years from date of
purchase.


2005 Tamasu Butterfly Europa GmbH
Am Schürmannshütt 40a, 4744 Moers
Phone +49 284 905320 • Fax +49 284 9053220
Website: www.butterfly-world.com
C O N T O L P A N E L Q U I C K E F E E N C E G U I D E
Speed controls (range: to 22) Controls the speed of the ball. Set to "22" for very fast, " " for very slow
Spin controls (range: -4 to +6) Controls the spin of the ball. Set to -4 for heavy underspin, 0 for no-spin,
6 for heavy topspin.
Distance controls (range: 0 to 0) Controls the long-short distance (and height of balls). Set to 0 for
longer (higher) balls, 3-4 for shorter (lower) balls, and 0-2 for serves (delivers balls to robot side of table
first).
Ball number buttons (Located above "Ball A, B, C, and D" labels.) Sets the ball number for this ball type
to , 2, 3 or 4 balls. (For a total of 6 balls for A, B, C, and D)
Memory step & clear buttons The memory "step" button is used to select various memory positions.
The "save" button allows saving of a pattern into memory. These buttons are used together to clear
patterns from memory.
Left-Rig t position (5 to 5) controls for A, B, C, D. Horizontal levers used to set the left-right positions
for positions A, B, C, D.
Play & Pause controls Enables setting of the play/pause timer: intervals of continuous play for 0sec to
0min, with 5sec to 2min pauses between each play interval.
Step & Sample buttons The "step" button is used to select the next ball within a ball type or within a
pattern. The "sample" button is then used to test this ball.
Ball/min knob (range: 0 to 00) Allows setting of ball frequency from 0 to 00 balls/min. (Can also be
used to start and stop continuous play)
"Place" button Allows selection of one of three BALL PLACEMENT modes: Program, Separate, or
Random
"Ball type" button Allows selection of one of two BALL TYPE modes : Program or Random
(See chapters 4,5, and 6 for more information on using the control panel.)
"AFC" Automatic Frequency Control (see chapter 5)
"Memory Controls” Settings for saving programs. (See memory section)

Amicus 3000 Plus Table Tennis obot
Users Manual
Table of Contents
Table of ContentsTable of Contents
Table of Contents
Chapter - Introduction
Introducing the Amicus 3000
Chapter 2 - Assembly of the Amicus
Tools Needed
Assembly Procedure
Chapter 3 - Quick Start Guide
Positioning the Amicus
Powering on the Amicus
Hitting your first shots
Chapter 4 - A tour of control panel basics
Ball Type Controls
Testing Balls Types: with “Step” & “Sample” buttons
Understanding ball positioning modes
Ball "Place” button
Ball "Place” mode examples
"Ball Type" button
“Ball Type" mode examples
Chapter 5 - Using the additional control panel features
Using the pattern memory feature
To clear a pattern from memory
The play/pause feature
Changing ball distance of a memory pattern
The serve and continue feature
The AFC feature
“CA” calibration function
Chapter 6 - Misc. features, maintenance, & operating information
Delivering sidespin balls
Moving the robot using its wheels
Delivering balls from the corners of the table
Serve Practice
Shoot wheels care
Ball Jams
Stop Pin Maintenance
Fuses
Adjusting Wheels
Appendix I – Ball Type & Pattern Set-up sheet
Appendix II - Training Patterns (from European users Manual)
Appendix III - Technical Specifications (from European users Manual)

2005 Tamasu Butterfly Europa GmbH
Am Schürmannshütt 40a, 4744 Moers
Phone +49 284 905320 • Fax +49 284 9053220
Website: www.butterfly-world.com
C H A P T E 1 – I N T O D U C T I O N
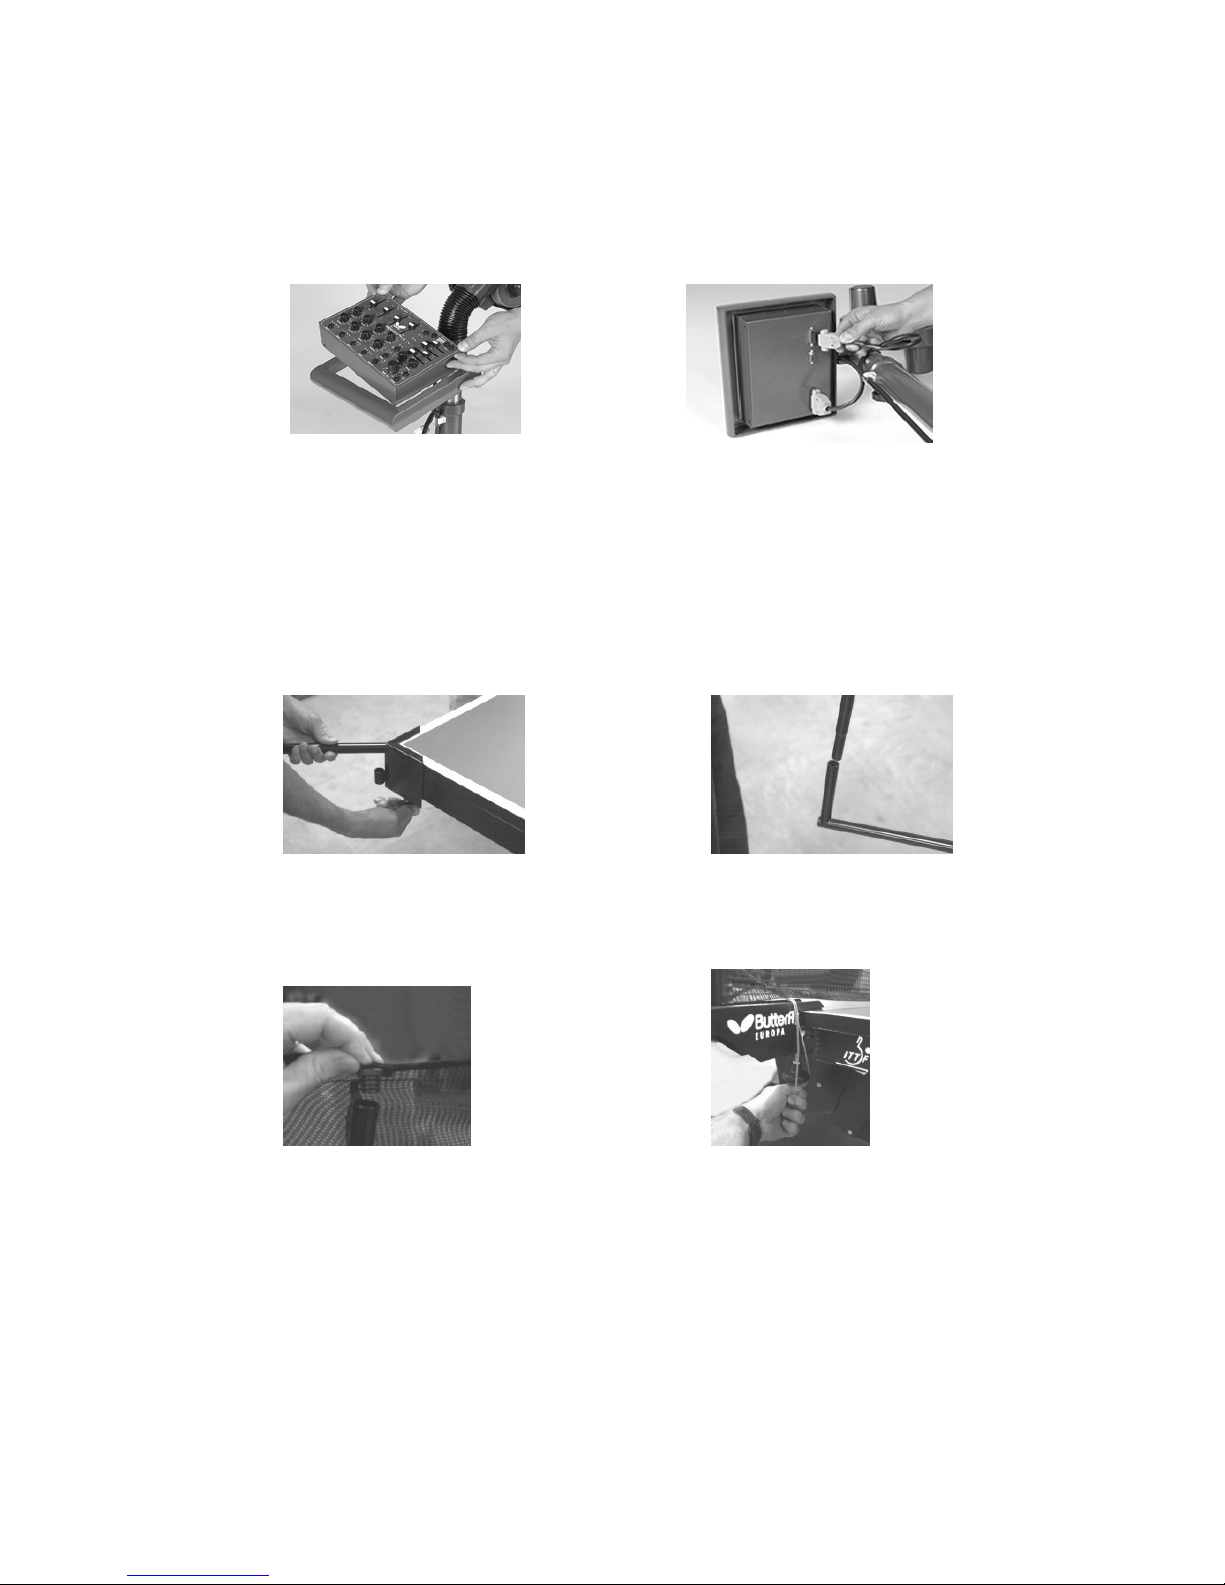
Congratulations on your purchase of the Amicus 3000 Plus table tennis robot. Amicus, derived from the
Latin language meaning "friend"; that is that the Amicus can become a real friend as your training partner
- offering a whole new world of 'dynamic' robot-based table tennis training possibilities for beginners
through professionals.
Table Tennis is a multi-dimensional sport requiring a unique set of hand-eye coordination skills and
athletic abilities. Advancing players are required to learn fundamental strokes, footwork, timing, and a
variety of stroke combinations. This is where the power of the Amicus table tennis robot comes in handy.
Not only can you learn to master the fundamental strokes such as the counter-drive, push, loop, etc., but
you can also practice the combinations that are used in actual games.
For example: step in and push ball (against a short underspin ball), move back and loop ball 2 (against a
medium speed no spin ball), then move to the side and smash ball 3 (against a lob). The Amicus is unique
in its ability to deliver up to four different types of balls - each with its own speed, spin, distance and
position settings. Additionally these balls can be delivered in almost any order you can imagine!
Here is a s ort preview of features offered by t e Amicus:
Topspin, underspin, no-spin, and side-spin balls
Independent control of spin, speed, and distance
Delivery of balls to various positions on table including long and short balls
Delivery up to 00 balls/min
Patterns of any of the above ball types
99 pattern setups can be saved in memory
Play/Pause timer (up to 0 min for play, 2 min for pause)
The Amicus automatically 'recycles' balls that are captured in the net allowing for continuous play
Serve and play mode: Amicus delivers a serve then continues with a pattern
The Amicus can be used with 38 or 40mm balls
Robot has wheels on its base for easier mobility
Rugged institutional quality design
AFC(Automatic Frequency Control) Function which takes into consideration that the previously
projected ball was fast or slow. Backspin or topspin and depending on that “simulating a real game”
shoots the next ball faster or slower for the real time experience.
Adjustable neck that lets you shoot balls from different trajectories

C H A P T E 2 - A S S E M B L Y O F T H E A M I C U S
P A T S & T O O L S N E E D E D :
The Amicus 3000 Plus table tennis robot can be assembled in approximately 40 minutes. The tools
needed are: a small flat head screw driver, a Philips-head screwdriver, and a hex wrench (included with
the Amicus).
*Other items: 2 piece hex wrench, 2 spare fuses, spare rubber rings for collecting net.
A S S E M B L Y P O C E D U E
2. Fasten the ball container to the robot base using a Philips-head screw driver and the recessed
head screws supplied (Fig. a, b) Ensure that the screws cannot fall into the opening of the
container (perhaps covering the opening with a cloth)
Fig a Fig b
3. Slip the ball guide tube onto the tube section of the robot base (studs . must
be at the bottom end) and tighten the studs.(Fig 2). Ensure that the ball guide
tube is mounted on the tube section as far as it will go.
4.
5. Fig 2
6.

2005 Tamasu Butterfly Europa GmbH
Am Schürmannshütt 40a, 4744 Moers
Phone +49 284 905320 • Fax +49 284 9053220
Website: www.butterfly-world.com
7.
8.
9. Push the cord that connects to control unit snuggly into the
slot on the ball guide tube. (Fig 4).
0. Fig 4
. Slip the robot head onto the Guide Tube as shown in figure 5a. Make sure the head slides
down as far as it can go. Tighten the lower screw of the clip with the hex wrench (supplied)
as shown in Figure 5b. Do not tighten or loosen the upper screw for any reason. It is factory
set..
2. Fig 5a Fig 5b
3. Fasten the holder of the control unit with the two hexagon
socket screws (with the washers) to the assembly point intended
for it (Fig 6). Tighten the screws evenly. The Butterfly Amicus
3000 Plus labeling must be at the top. Tighten the screws with
the hex wrench.
Fig 6

Assembly Procedure cont
4. Then lay the control unit in the frame and insert the cable plugs into the connections on the
operating section (Figs 7 & 8). (The center connection remains free for possible special
accessories {not yet available}).
Fig 7 Fig 8
5. Fasten the net holders at the corners of the TT Table (Fig 9) and slip the extension tubes
onto the tube sections (Fig 0). Place the six plugs sewn onto the net into the end of the
extension tubes (Fig ) or into the tube section at the corner sections. Ensure that the net
cutout for the robot head is about 8 inches above the TT table and that the Butterfly logo
(printed on the net) can be read by a player using the robot. Then guide the ends of the
collecting net over the TT net holder and fasten the rubber rings on the fastening screws of
the table tennis net (Fig 2).
Fig 9 Fig 0
Fig Fig 2

2005 Tamasu Butterfly Europa GmbH
Am Schürmannshütt 40a, 4744 Moers
Phone +49 284 905320 • Fax +49 284 9053220
Website: www.butterfly-world.com
C H A P T E 3 - Q U I C K S T A T G U I D E
Assuming that your Amicus is fully assembled, this chapter will help you to get your Amicus3000
plus
up
and running within a few minutes.
6. Position the Amicus such that the head of Amicus is centered just behind the center opening
in the net, and that the ball bin is centered below the opening in the bottom of the net.
7. Load the ball bin with about 00 balls (use 40mm balls).
8. Power on the Amicus using the red switch on the base of the robot.
The robot needs about 6-8 seconds in to adjust itself (meanwhile the display is flashing) and
the integrated computer is booted up.
After that, the robot starts calibration function and “CA” appears in the display.
(-> see “CA” calibration function)
Push Ball “A” button in order to leave the calibration and start defining your first ball!
TIP
: If the Amicus begins to automatically fire balls you may stop the
delivery of balls with the remote control (on/off switch)
Set the left-right (horizontal) slide lever for “A” between 0 and 5.
9. On the far left of control panel set the speed for “A” to 8, the spin to + , and the distance
slide lever to 4.
20. On the far right of the control panel set the "Ball/min" knob to 50.
2 . Next, test the delivery of a few balls by momentarily holding the sample button.
22. If the balls go into the net or off the table, adjust the distance (long/short lever) for ball A
accordingly.
23. Once you have set the distance control to deliver the balls properly, use the remote control
on/off switch to deliver balls continuously.
You may also use the "Ball/min" knob to start/stop the continuous delivery of balls
(simply set this knob to "0")

C H A P T E 4 - A T O U O F C O N T O L P A N E L …
J U S T T H E B A S I C S
Ball Type Controls
On the left half of the control panel there are 4 "channels" of controls - One channel for each of the four
ball types: A, B, C, D. For each ball type there is a control for you to set the speed, spin, and distance.
Additionally there is a button at the bottom of each channel to select the number of balls delivered within
a given "sequence" or "pattern". By pattern we mean different ball types linked together - for example, ball
"A" could be set for fast balls; followed by ball "B", slow balls; "C", topspin balls; and "D", underspin
balls. The Amicus can create almost any pattern you can think of! (Up to four balls of each type can be
delivered before delivering a ball of another type.)
Try t is: For ball A, press the ball number button several times.(This button is
located just above "ball A" label.) For each green light that is on, a ball of this
type is delivered. Up to four balls of each type can be delivered before delivering
balls of another type. Once the end of a pattern is reached the Amicus
automatically repeats the pattern.
Now try t is: Using the ball number buttons, select two balls of type A, and
three balls of type B (Note: there should now be two green lights on above “ball
A” and three green lights on above “ball B”)
If ball “A” was set (for example) for topspin and ball “B” for underspin, then two topspin balls would be
delivered followed by three underspin balls, then the pattern would automatically repeat with the topspin
balls, etc.
The following table may be used as a rough guide in creating balls type to train with:
SPEED SPIN Long-Short
Slow no spin 8 4
Medium Speed topspin 3 4
Slow, shoulder high topspin 2 2 7
Short, mild underspin 4 -2 4
Long, medium underspin 5 -2 3
Long, heavy underspin 6 -3 2.5
Heavy topspin 6 6 4
In general when setting ball types you may want to set the desired spin and speed first; then set the
distance (which also controls ball height). [For examples of
training patterns
see Appendix II]

2005 Tamasu Butterfly Europa GmbH
Am Schürmannshütt 40a, 4744 Moers
Phone +49 284 905320 • Fax +49 284 9053220
Website: www.butterfly-world.com
Note: The Amicus is fairly consistent when delivering the above ball types; however it may not
be as consistent with either very slow or very fast balls that are close to the net or near the edge of the
table. For more consistent balls, allow the ball to clear the net by more than 2", and landing within 4"
from the end of the table.
Testing Balls Types with the Step & Sample buttons
Ok, so how do you test all of these different ball types before playing a whole pattern? On the bottom
right hand corner of the control panel you will find a step button and a sample button.
The “STEP” button is used to "move" to the next ball you want to test, and the “SAMPLE” button is
used to "test" this ball.
Try t is: Using the above example (two balls for “A”, and three balls for “B”), use
the step button to move to each of the balls in this pattern. Note that after moving
from the 3rd "B" ball the pattern returns to the st “A” ball.
Now set the speed, spin, and distance controls for ball “B” similar to “A”, and set
the left-right position control for "B" to -3 (3 dashes to the left of "0"). Use the step
and sample button to test ball "B". Now use the remote control (on/off switch) to
play the whole pattern. You should see the Amicus deliver two balls to the center
of the table, followed by three balls to the forehand corner of the table (then repeating to the center, etc.)
Congratulations you have just created your first training pattern.
Understanding ball positioning modes
Now we move on to one of the more challenging aspects of using the Amicus. When you first power on
the Amicus you will notice that above the "Place" button the yellow "Pr." light is on, and above the "Ball
type" button, the green "Pr." button is on - these are the default modes and you will probably do much of
your training using these settings.

Ball "Place" button
The ball place button can select three different ball positioning modes:
Pr. (Program), Separ. (Separate), and Rnd (Random), indicated by the 3 yellows lights on the control
panel.
24. In Program mode - "Pr." light is on - Ball A is sent to left-right position A, Ball B is sent to
L-R position B, Ball C is sent to L-R position C, and Ball D is sent to L-R position D. [These
four Left-Right positions are determined by the four horizontal levers on the right side of the
control panel]
25. In Separate mode - "Separ." light is on - the st ball of a given pattern is sent to the L-R
position A, the 2nd ball to the L-R position B, 3rd to C, and 4th to D, repeating with the 5th
ball to L-R position A, etc.
26. In Random mode - "Rnd." light is on - the Amicus will randomly deliver balls, selecting from
the L-R positions you have chosen.
Ball "Place" mode examples
An example of the 'Program Mode' was used at the beginning of this chapter ... if you remember - Ball A
(two balls) was sent to position A, and Ball B (three balls) was sent to position B. Lets now move on to
examples of the 'Separate Mode' and 'Random Mode'.
Separate Mode example: Using the same setup as before ...ball A (two balls) and ball B (three balls), try
this ... select the 'Separate Mode' by pressing the 'Place button', (the yellow light below "Separ" should
now be on). Then press the remote on/off button to play the pattern. You should notice that the:
27. st ball (A) is sent to position A
28. the 2nd ball (A) is sent to position B
29. the 3rd ball (B) is sent to position A
30. the 4th ball (B) is sent to position B
3 . and the 5th ball (B) is sent to position A
In the above example, balls are delivered to two separate L-R positions. To select additional positions -
use the up and down arrow keys, as you do this a yellow light will turn on next to the position(s) you have
selected. Balls would then be sent in this order:
32. st Ball - Position A
33. 2nd Ball - Position B
34. 3rd Ball - Position C
35. 4th Ball - Position D
36. 5th Ball - Position A

2005 Tamasu Butterfly Europa GmbH
Am Schürmannshütt 40a, 4744 Moers
Phone +49 284 905320 • Fax +49 284 9053220
Website: www.butterfly-world.com
“Ball Type” Button
37. In Program mode - "Pr." light is on - Balls are delivered in the order you have set by the ball
type controls.
38. In Random mode - "Rnd." light is on - the Amicus will randomly select balls from one of the
ball types you have made settings for (at least one of the ball number lights of a given ball
type must be on in order to be a candidate).
“Ball Type” mode examples
All examples thus far have used the “Ball Type - Program Mode”. An example of “Ball Type - Random
Mode” follows: Set Ball ‘A’ for slow balls, Ball ‘B’ for medium speeds balls, and ball ‘C’ for fast. Then
select “Ball Type” for 'random' the 'Rnd' light should now be on. Now play the pattern. You will notice
that the Amicus is delivering the different ball types in no particular order ... perhaps fast ball, slow, 2
medium, etc.
In summary of understanding the "PLACE" and "BALL TYPE" modes: the "BALL TYPE" mode
determines WHAT type of ball will be sent, either according to the order you have set or according to a
random order. The “PLACE” mode determines WHERE balls will be sent:
39. Program Mode: Sending Ball A to position A, Ball B to position B, etc.
40. Separate Mode: Sending the st Ball to position A, 2nd to B, 3rd to C, etc.
4 . Random Mode: Sending balls to random positions, pre-selected by using the arrow keys.
Note: when using Random ball type and/or random placement modes there are no 'visual
cues' (other than watching the ball itself) as to WHERE the next ball will be placed or WHAT type of
ball will be delivered. Therefore when using these random features, you may want to limit the ranges of
ball types or positions you are using.)

C H A P T E 5 - U S I N G T H E A D D I T I O N A L C O N T O L
P A N E L F E A T U E S
Using the memory feature
By now you should have a good understanding of the left two-thirds of the control panel. Next we will
move to the upper right hand corner of the control panel to learn how to use the memory feature.
For starters, remember that you can only change the speed, spin, distance, and left-right position control,
etc. when ALL memory lights are OFF. [If any of the memory lights are ON, you CANNOT make such
changes.]
There are 99 memory positions to which you can save and recall patterns you create. To select any of
these positions you must use the "memory step button" (located just to left and right of the memory
lights). Use the step button to move to any of the 99 positions. A blinking red light means that this
memory position is free. A solid red light means that this position has a pattern saved to it. If any of the
memory numbers are blinking then that memory slot position is free. If the memory numbers are solid
then that position is full.
Ok, let’s try to save the previous pattern (two balls for A, three balls for B) to
memory position " ". Using the step button, move to memory position (which
should be blinking if it is free). Next press and hold the save button until the red
blinking light turns solid. You have just saved you first pattern! This pattern can
be used again simply by using the memory step button to select the memory
position you want, and then playing the pattern with the remote on/off switch.
[You may also test the different ball types within your pattern using the sample and test buttons as before.]
Note: The frequency (balls/min), and play/pause settings CANNOT be saved in pattern
memory.
To clear a pattern from memory
. Use the memory step button to select the appropriate position.
2. Hold the save button, and press the step button (clearing) at the same time until the number starts to
blink a few times to indicate that it has been cleared.
The play/pause feature
When training on the Amicus you have the choice of playing a pattern continuously, or using the
play/pause feature! The play/pause feature allows you to play a pattern from 0 sec to 0 min, pause
from 5 sec to 2 min, and then continue to play your pattern. Adjust the play knob to the desired number
of minutes. Now simply select the desired time you wish to pause between play intervals, then play the
pattern. The red light (just above theses knobs) indicates that you have enabled the play/pause feature.

2005 Tamasu Butterfly Europa GmbH
Am Schürmannshütt 40a, 4744 Moers
Phone +49 284 905320 • Fax +49 284 9053220
Website: www.butterfly-world.com
The serve and continue feature
The serve and continue feature allows you to serve one ball (ball A), and then continue with a pattern set
by ball B, ball C, and ball D. To use this feature first set ball A to the type of 'serve' you want to receive ...
perhaps a short underpin ball for example. Then set ball B, C, and D to the desired ball types you want to
be delivered after the serve. Next press the ball number button for ball A until all four green lights are
blinking ... this indicates that you are in serve and return mode. Next, simply play the pattern ... the
Amicus should deliver one ball of type, continuing with ball B, C, D, and then continuing with ball "B".
Changing ball distance of a memory pattern
In general ball type settings cannot be changed once in memory. There is however one exception to this
rule. The 'ball distance' of pattern in memory can be increased or decreased by using the up and down
arrows on the control panel.
Note: When you adjust the ball distance in this way, the distance (height) of ALL balls within a
given memory pattern will be adjusted
AFC (Automatic Frequency Control) mode
Function which takes into consideration that the previously projected ball was fast or slow, backspin or
topspin. Depending on that “simulating a real game” shoots the next ball faster or slower for the real time
experience.
To access this function press and hold down the “STEP” and “SAMPLE” on the bottom right hand side
of control unit. When you see the red LED light come on then the function is running.
Example: A slow backspin ball needs more time to get from the robot to the player than a quick topspin
ball needs. That’s why the balls coming one after the other with different speed and spin do not follow
each other in the same tempo.
“CA” calibration function
The machine sets (programs) a given type of ball in this function, which is shot only in case of pushing
continuously the ‘Sample’ button. The robot is adjusted correctly in case this sample ball reaches the table
onto the middle line about 0-20 cm from the end of the table. In case the robot does not shoot the ball
onto the middle line, it is necessary to turn the whole machine in the right direction.
In case the robot shoots the balls too long or too short regarding the adjusted distance from the basic line,
then the “ “ and “ “ buttons have to be pushed enough times in order to reach the right length. (The
robot remembers on this correctly set distance also after switching off the machine, so it is not necessary
to make this calibration.)
Attention! Only “Sample” and “ “ , “ “ buttons work during t e calibration function, no
ot er buttons can be used.

It is possible to get out from “CA” function
with pushing any of “Ball type A,B,C,D” buttons, which in
the same time means to start defining the ball that will be used or programmed.
Usually in practice the “CA” function will be jumped through with activating “Ball type A,B,C,D,”
regarding that it is necessary to make new calibration only quite seldom, for example in case the shooting
wheels are getting worn or it is need of change the height of the machine.
C H A P T E 6 - M I S C . F E A T U E S , M A I N T E N A N C E ,
A N D O P E A T I N G I N F O M A T I O N
Delivering sidespin balls
The Amicus robot is capable of delivering left (or right) sidespin balls. To use this feature simply loosen
the large knob on the side of the robot head, and rotate the head to the left or the right. Use arrow and
'angle indicator' (located just above this knob) for exact angle settings (-45 degrees to + 45 degrees).
Moving the robot using its wheels
To move the robot with its wheels, simply tilt the robot backwards (in the direction of the control panel),
and gently roll the robot forwards.
Delivering balls from the corners of the table
In normal usage, the robot delivers balls from the center of the table. You may however make the Amicus
deliver balls from the right hand corner (or left hand corner) of the table. There are Velcro enabled
openings on each end of the net where the robot can be placed in order the use this feature. You will need
to place a box, or a bucket to catch the balls that fall through the center hole in the bottom of the net.
Note: When delivering balls from these corners, the recycling feature will not work as there
isn't a hole in the net for the balls to return into the robot's ball bin.
Serve Practice
The Amicus' net is a great tool for practicing serves. Simply move the robot and place a box or a bucket
below the net to catch the balls as you practice your serves!
Shoot wheels care
The robot's 'shoot wheels' (there are two of them) will last for at least 500hrs. As these wheels begin to
wear, the balls 'distance' will tend to vary for balls delivered at high speed. If this happens, the distance
between these wheels will need to be adjusted. To do this, you will need to:
•Remove each of the two wheel covers using a Phillips head screwdriver
•Loosen the adjusting screws and set the correct spacing (a few millimeters narrower than the size
of the ball you are using).

2005 Tamasu Butterfly Europa GmbH
Am Schürmannshütt 40a, 4744 Moers
Phone +49 284 905320 • Fax +49 284 9053220
Website: www.butterfly-world.com
[If the wheels have worn such that this distance can no longer be adjusted, then you will need to have the
wheels replaced. To do this, loosen and remove the set screw (and plastic spacer) and wheel from the
motor shaft. Position new wheels on shaft and assemble in reverse order.]
Ball Jams
Be sure that no small objects (other than the balls) enter the small opening at the bottom of the ball bin.
This can cause ball jams - the robot will not be able to feed balls to the shoot wheels.
If a ball jam does occur, the Amicus automatically tries to correct the
situation by turning the drive, and shoot wheels backward and forward
for 3-4 seconds. If this does not correct the problem, you will need to
disassemble the robot in reverse order (see assembly notes in chapter 2),
and then remove the foreign object that caused the ball to jam. Turn the
robot gently on the side and use a sturdy thin object and push the
jammed balls along, going through the opening underneath the machine
(see picture below).
Stop Pin Maintenance
The stop pin, necessary for ball delivery, requires -2 drops of oil every 4-6 months. The stop pin is
located just above the pivot head (mechanism that directs balls to the various left right positions).
Fuses
If your robot cannot be turned on, it is possible that a fuse may be blown. [Be sure, of course, to first
check if your robot was plugged in!]
There are two fuses on the base of the robot. First unplug the robot, and carefully lay the robot on its side.
Use a flat head screwdriver to unscrew the fuse sockets, and then replace the defective fuse. (Two spare
fuses, T400ma, were included with your robot.)
Adjusting Wheels
If you need to adjust the wheels for any reason, first remove plastic covers
from the two motors. Unscrew the big screw slightly and then slowly slide
the wheel to the optimal position, and then tighten the screw (see picture
below). The distance between the wheels should be 32mm.
When it is time to replace the wheel follow these instructions. Unscrew
the caterpillar screw that is located on the wheel supporter, remove the
wheel from the shaft of the motor, then unscrew the three screws that
keep the plastic tight.. Replace with the new wheel and you are ready to
go.

A P P E N D I X I

2005 Tamasu Butterfly Europa GmbH
Am Schürmannshütt 40a, 4744 Moers
Phone +49 284 905320 • Fax +49 284 9053220
Website: www.butterfly-world.com
Amicus 3000 Plus Table Tennis Robot
Ball Type & Pattern Setup Sheet
Modes
Ball Type Settings
Modes
Balls/minute A B C D Place Ball Type
Spd.
Spin Dist. Spd. Spin Dist. Spd. Spin Dist. Spd.
Spin Dist.
Play Pause A B
C D
1 2 3 4 1 2 3 4 1 2 3 4 1 2 3 4
Balls/minute A B C D Place Ball Type
Spd.
Spin Dist. Spd. Spin Dist. Spd. Spin Dist. Spd.
Spin Dist.
Play Pause A B
C D
1 2 3 4 1 2 3 4 1 2 3 4 1 2 3 4
Balls/minute A B C D Place Ball Type
Spd.
Spin Dist. Spd. Spin Dist. Spd. Spin Dist. Spd.
Spin Dist.
Play Pause A B
C D
1 2 3 4 1 2 3 4 1 2 3 4 1 2 3 4
Balls/minute A B C D Place Ball Type
Spd.
Spin Dist. Spd. Spin Dist. Spd. Spin Dist. Spd.
Spin Dist.
Play Pause A B
C D
1 2 3 4 1 2 3 4 1 2 3 4 1 2 3 4
Balls/minute A B C D Place Ball Type
Spd.
Spin Dist. Spd. Spin Dist. Spd. Spin Dist. Spd.
Spin Dist.
Play Pause A B
C D
1 2 3 4 1 2 3 4 1 2 3 4 1 2 3 4
Balls/minute A B C D Place Ball Type
Spd.
Spin Dist. Spd. Spin Dist. Spd. Spin Dist. Spd.
Spin Dist.
Play Pause A B
C D
1 2 3 4 1 2 3 4 1 2 3 4 1 2 3 4
Notes: Ball Type Modes: Program (Pr): Robot delivers balls in the order you've selected (A, B, C, D, etc.)
Random (Rnd): Robot randomly delivers balls from types you've selected
Ball Placement: Program (Pr): Ball A to position A, B to B, C to C, D to D
Separate (Separ): example: A1 to A, A2 to B, B1 to A, C1 to B, repeat
Random (Rnd): Robot randomly delivers balls to positions you've selected
Table of contents
Other Butterfly Robotics manuals

Butterfly
Butterfly T2625G User manual

Butterfly
Butterfly Nationlal league 25 Green User manual

Butterfly
Butterfly AMICUS ADVANCE User manual

Butterfly
Butterfly AMICUS PRIME User manual

Butterfly
Butterfly Fitness Outdoor Table Tennis Table User manual

Butterfly
Butterfly Table Tennis Table City Concrete Outdoor User manual

Butterfly
Butterfly Easifold Rollaway 19 User manual