caddytrek CS-2025-UD User manual

User Manual
CS-2025-UD Rev. 1.06

Pg.2
Table of Contents
I. Unit Operations 4
II. Precautions 11
III. Frequently asked questions 13
IV. Maintenance 18
V. Specifications 22
Customer Support Contact Information
Office: (702) 982-6598
Email: [email protected]om
Web: www.caddytrek.com
Address: 6402 Montessouri Street
Las Vegas, NV 89113

Pg.3
Our Mission
Here at FTR Systems, we are committed to excellence in
providing the highest level of customer service. We believe that
maintaining effective policies, a positive attitude, and providing
swift responses will result in a valuable, long-term relationship
between our company and the customer.
To Our Amazing Users
Thank you for purchasing the CaddyTrek! We hope that our
product will meet and exceed all of your expectations. As a
valued customer, your comments and opinions are very im-
portant to us. If you have any questions, concerns or
comments, we hope you will bring them to our attention.
The CaddyTrek is a robotic golf caddy that uses cutting edge
technology to provide a healthy alternative for our favorite
pass time –golf. Walking is proven to raise levels of
concentration and take strokes off of any golf game. The
CaddyTrek allows a user to be able to walk without the hassle
or pain of carrying your bag.
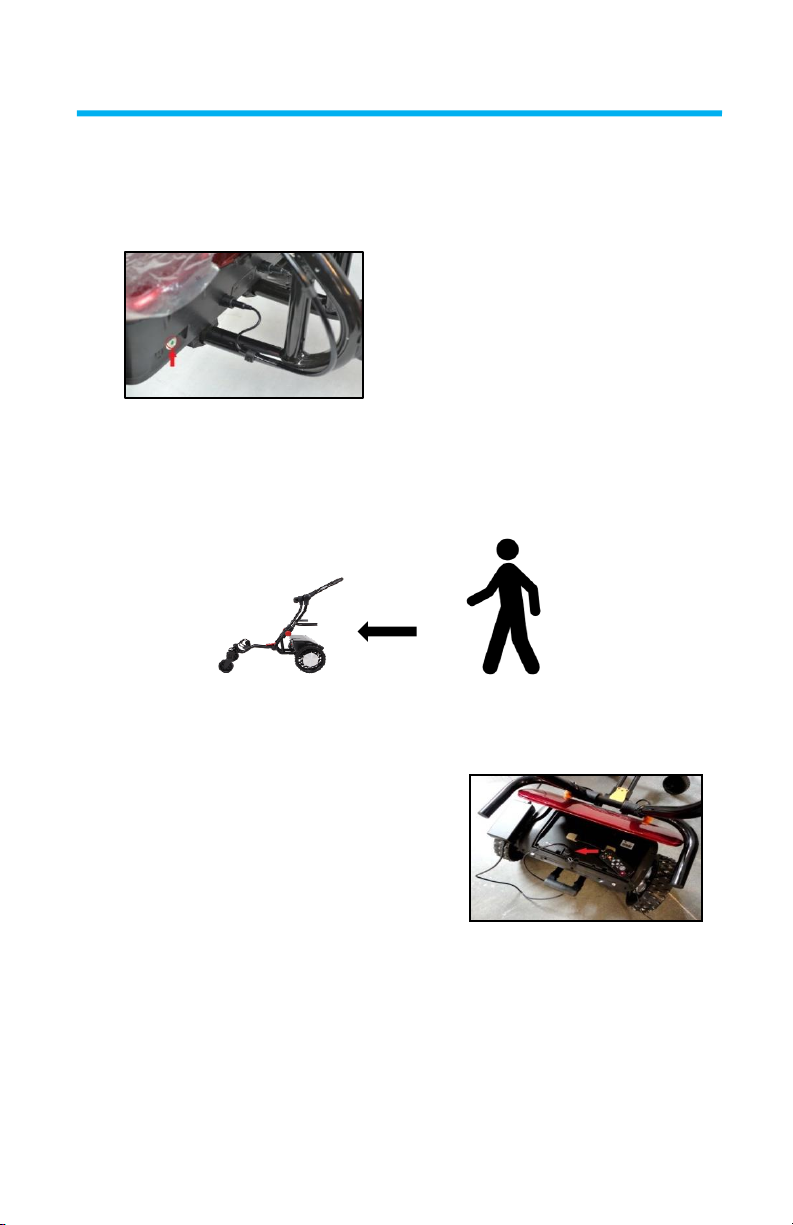
This user manual contains all essential information for the
user to make full use of the CaddyTrek unit. The manual
includes descriptions of the system functions and capabilities,
contingencies, alternate modes of operation, and step-by-step
startup and use.

Pg.4
I. UNIT OPERATION
Getting Started
Familiarize yourself with the handset layout.
Understanding how to quickly maneuver the unit is essential in
avoiding an accident and getting maximum benefit out of the
CaddyTrek.
The CaddyTrek is intended for outdoor use only, so practice in a
wide-open area away from obstacles.

Pg.5
I. UNIT OPERATION
Powering up the CaddyTrek
1. Power on the CaddyTrek by pressing the far left button on
the dashboard
2. Position yourself behind the large wheels of CaddyTrek, then
power on the handset. Point the handset towards CaddyTrek
to establish communication. You will hear two short beeps
once the communication link is established.
3. CaddyTrek will be in the Standby Mode (SB) with the SB LED
light flashing.
Charging the Battery
Charging the battery and handset
can take place practically anywhere
there’s an outlet. Garage or storage
area is probably most practical.
The charger works on a regular 110 volt outlet and charging time
takes about six to seven hours.
Plug the charger into the charger port located on the battery
inside the electronics box.

Pg.6
I. UNIT OPERATION
Standby (SB) Mode
Standby (SB) Mode is a starting point for all other CaddyTrek
modes. When turned on the unit will automatically enter into
SB mode and wait for further instruction from the user.
While in SB mode:
1. CaddyTrek’s wheels will be locked.
2. The unit will automatically sync with the handset.
3. You should not push the CaddyTrek.
Manual Push
1. Make sure CaddyTrek is on level ground.
2. Make sure CaddyTrek and the handset are powered off.
3. Guide CaddyTrek with the push bar.
4. CaddyTrek will not automatically brake when the power is
off, so use caution on hills and steep slopes.
Remote Control (RC) Mode
1. Power on the CaddyTrek.
2. Position yourself behind the large wheels of CaddyTrek
with your chest facing the caddy.
3. Hold down the “Left” directional button until the handset
emits a short beep and the RC light will turn on.
4. Press the STOP button once to stop the unit. CaddyTrek will
remain in RC Mode.

Pg.7
I. UNIT OPERATION
Follow Mode
1. Position yourself in front of the large
wheels of CaddyTrek with your back
facing the caddy.
2. Clip and center the handset on your back
waistline or belt
3. Hold the Follow button (you will hear a
short beep).
4. Start walking and the CaddyTrek will follow at your pace.
5. To stop the CaddyTrek while in Follow mode, press Follow or
Stop.
6. CaddyTrek will go into SB mode which will be indicated by one
long and one short beep.
Marching Mode
1. Power on the CaddyTrek and
handset.
2. Stand 4.5 ft. from the unit and
between the sensors.
3. Make sure the handset is facing the unit.
4. Hold down the right directional button.
5. Move towards the CaddyTrek to engage unit.
Turning the unit while in Marching
Mode:
1. Move one-half step in the
opposite direction.
Exiting Marching mode:
1. Press the STOP or FOLLOW
buttons on handset.
The user moves to the
Right, and the unit turns
Left at the same pace.
The user moves to the
Left, and the unit turns
Right at the same pace.
Turning Left
Turning Right
Front of unit
Front of unit

Pg.8
I. UNIT OPERATION
Grouping Mode
1. Gather the players in the group
that will be golfing and that also
have qualified CaddyTrek units.
2. While all handsets are in Standby
(SB) mode and standing within
five feet from each other, press the remote directional
buttons in the following sequence: UP, DOWN, LEFT, RIGHT.
Wait for all players to complete the sequence and then press
STOP together.
3. If done correctly the handsets will flash the four lights in
sequence, indicating that the handsets are searching for the
other players.
4. Once successfully grouped, the SB light and the OA light will
blink together at the same time on all handsets.
5. The group will not break until the button code is re-entered or
if all of the units have been powered of for an extended
period of time.
Problems Grouping
If one or more players did not do this correctly they will have
ten seconds to try again while the successful handsets are still
searching (the lights will still flash in sequence).
If some players become grouped (the SB light and the OA light
will blink together at the same time on all handsets that have
successfully grouped) the players who are grouped should re-
enter the button sequence to break the group and try again.

Pg.9
I. UNIT OPERATION
Additional Handset Commands
Note: all codes must be done from Standby (SB) mode. The
CaddyTrek powers up in SB mode and returns to SB mode upon
exiting any other mode.
1. Mute the sound of the handset.
a. Press: DOWN, DOWN, DOWN,
DOWN, STOP
2. Free the wheels of the cart while it is
still on. Note: Great for freeing the unit
and for lifting onto high curbs.
a. Press: UP, UP, UP, UP, STOP
Using the Directional Buttons
Press the Forward, Reverse, Left or
Right directional buttons to move
CaddyTrek in the desired direction.
Holding down or repeatedly
pressing the Forward button will
accelerate CaddyTrek to its
maximum forward speed
While the unit is moving forward,
repeatedly pressing the Reverse
directional button will slow the unit
to a stop. Once stopped, pressing
once more will reverse the unit.
Reverse

Pg.10
I. UNIT OPERATION
Tips for High Level Tracking
1. Make sure the handset is charged to at least two lights.
2. Make sure that nothing is blocking the sensors on the
unit or the handset, such as a shirt or towel
3. Place the handset as close to the center of your back as
possible. This will make the unit follow directly behind,
opposed to lagging off to one side or the other.
4. Make sure that the handset sensor has a clear line of
site to the unit sensors. Do not try to initiate Follow
Mode unless you are directly in front of your unit.
For optimal
performance the
user should stay
within a 110
degree arc from
the center of the
unit.

Pg.11
II. PRECAUTIONS
Troubleshooting Procedures
CaddyTrek is designed for use in wide open spaces only. Do
not operate CaddyTrek in enclosed or confined areas.
Abnormal or erratic behavior can be caused by radio
frequency signals/interference, Wi-Fi or similar electronic
signals.
DO NOT let any object or
towel block or hang in front
of the sensors.
Make sure handset sensor
and unit sensors are facing
each other with a clear line
of site for best Follow Mode
results. While in Follow
Mode take sharp turns at a
slower pace.
Use caution when operating CaddyTrek in a confined area,
on steep slopes and side hills. We suggest only using Follow
Mode in wide open spaces and remote control on hills,
confined spaces, and around people. Walk slowly and guide
CaddyTrek carefully to clear hazardous areas, bodies of
water, bunkers, cliffs, and other obstructions. We
recommend that you practice and familiarize yourself with
the operation of CaddyTrek and how its sensors follow your
handset before using on the golf course.

Pg.12
II. PRECAUTIONS
Outside Interference
Overhead power lines and nearby radar towers, airports or
air bases, can cause interference while using Follow Mode.
Use Remote Control Mode near power lines and radar
towers for less interference and better results.
Sand, crushed stone and uneven surfaces may cause Follow
Mode to be less responsive.
Do not direct CaddyTrek towards people or other carts.
Do not discard the original shipping carton/box after
unpacking your CaddyTrek. Should your CaddyTrek need to
be shipped for service, repacking in the original shipping box
would be needed. Keep the box in a safe and dry place.

Pg.13
III. FREQUENTLY ASKED QUESTIONS
What allows the CaddyTrek to follow you hands free?
CaddyTrek is a proprietary robotic system with advanced
sensing and motion control technology. Sensors on CaddyTrek
pick up signals from the remote handset worn by the golfer to
determine distance and angle.
How fast will the CaddyTrek follow or move?
CaddyTrek can travel up to 4 mph and typically follows within 5
yards of the golfer while in Follow Mode. CaddyTrek can move
faster in RC Mode by pressing the forward directional button
on the handset.
How many holes of golf can I play on one full charge of the
battery?
CaddyTrek can be used for up to twenty seven holes depending
on the golfer and the course being played. We recommend
charging the battery after a round of golf to always ensure it
can be used for maximum play. Note: parking CaddyTrek on
hills could reduce playtime.
Can the CaddyTrek be used in a group of golfers also using
CaddyTrek?
CaddyTrek can be used in groups as large as four because the
handset and signals are paired specific to each specific unit.
What happens if it rains and my CaddyTrek gets wet?
The battery is enclosed in a weather resistant housing to
eliminate exposure to rain or any outdoor elements. The rear
wheel motors are also enclosed and encased to prevent
exposure to rain and other outdoor elements. The handset can
withstand limited exposure to moisture, but continued
exposure to rain or wet conditions is not recommended.

Pg.14
III. FREQUENTLY ASKED QUESTIONS
Will the CaddyTrek avoid obstacles and avoid collisions?
In Follow Mode, CaddyTrek will follow wherever the golfer goes
at his/her pace. Avoid bunkers, people, and bodies of water.
Who can I contact about any issues concerning my
CaddyTrek?
For technical problems with your CaddyTrek, contact customer
service at 702-982-6598 or email at suppor[email protected]om.
Can I purchase any accessories for my CaddyTrek?
CaddyTrek has added new accessories and you may purchase
them through our website.
Can I purchase an additional battery or handset?
Additional batteries and other parts can be purchased through
our website at www.caddytrek.com
I’ve powered on my CaddyTrek cart and handset, yet I cannot
operate the unit or engage any of the modes. What do I do
now?
Begin with powering off CaddyTrek and the handset. Next,
remove the battery from the handset and wait five to ten
seconds. Reinsert the battery into the handset. Power on the
CaddyTrek, then power on the handset.
Your cart and handset should now sync automatically. If it does
not sync automatically, hold down the “Stop” button and press
the “Up” button multiple times until the handset beeps,
acknowledging a successful sync.
Syncing is signified by two short beeps coming from the
handset. Once the sync has been established, you are now able
to operate the unit.

Pg.15
III. FREQUENTLY ASKED QUESTIONS
Why won’t my handset power on? I pressed the power
button.
Press and hold the power button on the handset firmly for two
to three seconds.
Why won’t my CaddyTrek cart turn on? I pressed the power
button.
Assure that you have completely pressed down the power
button on CaddyTrek. CaddyTrek is powered on when the unit
beeps, the intermittent green LED located on the power button
on the unit is visible, and the wheels are locked.
My CaddyTrek is beeping three long beeps and it won’t stop.
This is disturbing my game as well as other players on the
course. What can I do?
The charge level on the battery is low and it needs to be
charged.
I’ve plugged the CaddyTrek cart and handset to the charger
but it’s still beeping three long beeps. How do I get this
beeping to stop?
Ensure that the connection between CaddyTrek and the
charging adapter is secure and that the plug is securely
connected to the power outlet. This should resolve the issue;
the beeping may continue for a short while until the batteries
have accumulated some power.
If the beeping continues, try using a different battery charger
for this particular CaddyTrek unit.
Can I ride or let my friends ride on CaddyTrek?
This device is designed to carry golf bags and CaddyTrek
accessories only - not people.

Pg.16
III. FREQUENTLY ASKED QUESTIONS
Can the CaddyTrek follow you up and down hills?
Though it is recommended to use Remote Mode for hills, the
CaddyTrek does have the ability to follow you up and down
most hills as long as it is within a 25 degree grade. You must
walk slowly and consciously to be successful in having the
CaddyTrek follow up and down hills.
NOTE: Avoid hills with terrain composed of loose dirt or sand.
Should I let CaddyTrek follow me into the bunker?
Like your golf ball, the bunker is a bad place for your
CaddyTrek. The unit does not perform at its best on loose dirt
or sand and we recommend that you do not let the unit within
three feet of the bunker’s edge in order to prevent accidents.
I’m a first time user of CaddyTrek and I’m concerned about
safety. Is there something I can do in the event that I may lose
control of the CaddyTrek?
The first thing to keep in mind is to never misplace the handset
as this is what controls the unit. Whenever you are in doubt,
whether it is during Follow Mode or Remote Mode, you can
press the STOP button multiple times to revert to Standby
Mode. This will lock the motors and stop the unit immediately.
Practice this exercise and learn to do it well.
What is OA?
OA stands for “Object Avoidance.” This mode is just like follow
mode except it detects and avoids hitting objects that come in
its path, between the user and the cart. This mode is not ready
to be released so disregard it until further notice.

Pg.17
III. FREQUENTLY ASKED QUESTIONS
CaddyTrek usually follows great but sometimes it spins out or
loses connection even on wide and flat open ground. What is
the cause of this?
There are two main causes for this:
1. Electronic Interference
Other electronic devices like Wi-Fi routers, cellular phone
towers, and low flying aircraft can interfere with the
functionality of the CaddyTrek. The only solution for these
types of instances is to remove yourself and the CaddyTrek
from the interference pocket using Remote Mode. Move 25-50
feet from the interference pocket and attempt to use the
Follow Mode once more.
2. Obstructions to Line of Sight
Our follow technology operates by A sensor sending out a
signal to the handset. The handset then returns the signal to
sensor B and the position is calculated between the three
points. When physical objects are between the sensors like a
shirt, towel or jacket, the signal can become disrupted. When
using Follow Mode make sure there is nothing between the
front face of your handset and the sensors on the unit.

Pg.18
IV. MAINTENANCE
Introduction
This chapter is designed to educate users on how to keep their
CaddyTrek unit in ideal operating condition.
Though the frequency to perform maintenance tasks are
recommended, it may be necessary to perform certain
procedures more or less frequently depending on use. Owners
must use their best judgement in maintaining their CaddyTrek.
Tools and Materials
3 mm wrench
4 mm hex wrench
5 mm hex wrench
6 mm hex wrench
Phillips screwdriver
Small flathead screwdriver
Needle nose pliers
Brush
Rags
Cleaning solution or water
Bearing lubricant

Pg.19
IV. MAINTENANCE
Caster Wheel Assembly Maintenance
The Caster Wheel Assembly requires a high level of maintenance.
Dirt and grass often get stuck in or around the caster wheel and
caster wheel fork. If you let it accumulate, it will weaken the
caster wheel.
After a day out on the golf course, before storing your unit, lightly
brush the dirt and grass off the assembly.
1. Cleaning
It is common for grass and dirt to collect in the caster fork area.
Remove the caster wheel, brush away the dirt and grass that has
accumulated, then wipe with a damp rag so that the caster wheel
may spin freely and unhindered.
Recommended Maintenance: Every two weeks
2. Lubrication
Spray a silicon bearing lubricant directly on the caster wheel
bearing to prevent it from seizing. It is recommended to remove
the caster wheel to apply the lubricant, so do this while you are
cleaning the wheel. Just be sure to wipe the bearing clean before
applying lubricant.
Recommended Maintenance: Monthly
3. Tension
Adjust the caster wheel’s tension with the
6 mm hex wrench. We recommend you
adjust the caster wheel tension so that it
will spin a total of five revolutions per spin.
Do not over tighten the caster wheel as
this may cause damage and misalign the bearing. A caster wheel
that is too tight will demand more power from the motors, which
in turn will drain the battery at a quicker rate.
Recommended Maintenance: Monthly

Pg.20
IV. MAINTENANCE
Motor Wheels Assemblies Maintenance
1. Use a flat head screwdriver to
remove large clumps of grass that are
caught in the treads of the motor
wheels.
2. Once the large clumps are removed,
brush off the remaining dirt and grass
with a cloth.
3. There are six long screws that attach
the treaded wheel to the motor hub.
Using a Phillips screwdriver, check
that these are well secured.
4. Additionally there is one short Phillips
head screw and a 4 mm hex clamp
that holds each motor onto the
CaddyTrek’s main frame. It is
important that these are always well
secured to prevent the motor wheel
assembly shafts from slipping
out from the mounts motor.
Recommended Maintenance: Daily
Table of contents
Other caddytrek Golf Trolley manuals