www.calumetphoto.com
4
power port operation
Damage to the Genesis B Power Port Battery
System or Genesis 300 B Flash Unit may result.
1122334455
charging the battery
Refer to “how to care for NiMH batteries” on page 3.
The battery can be charged either in or out
of the Power Port’s housing using the AC
charger, or the DC car charger adapter.
Charging times range from 4-5 hours and
may vary depending on the condition of the
battery. Use specified charger(s) only.
AC charger
Firmly insert the small plug end of the
charger into the charging socket (1). Plug
the other end of the charger into a grounded
household outlet.
DC car charger adapter
Firmly insert the small plug end of the
charger into the charging socket (1). Plug
the other end of the charger into your
vehicle’s 12V accessory socket.
To charge the battery out of the Power
Port’s housing, simply connect the plug end
of either charger directly to the built-in
socket on the battery.
NOTE: The AC and DC chargers have a
built-in charge indicator. The lamp will
illuminate RED while charging, and GREEN
when fully charged. Be sure to disconnect
chargers after battery is fully charged.
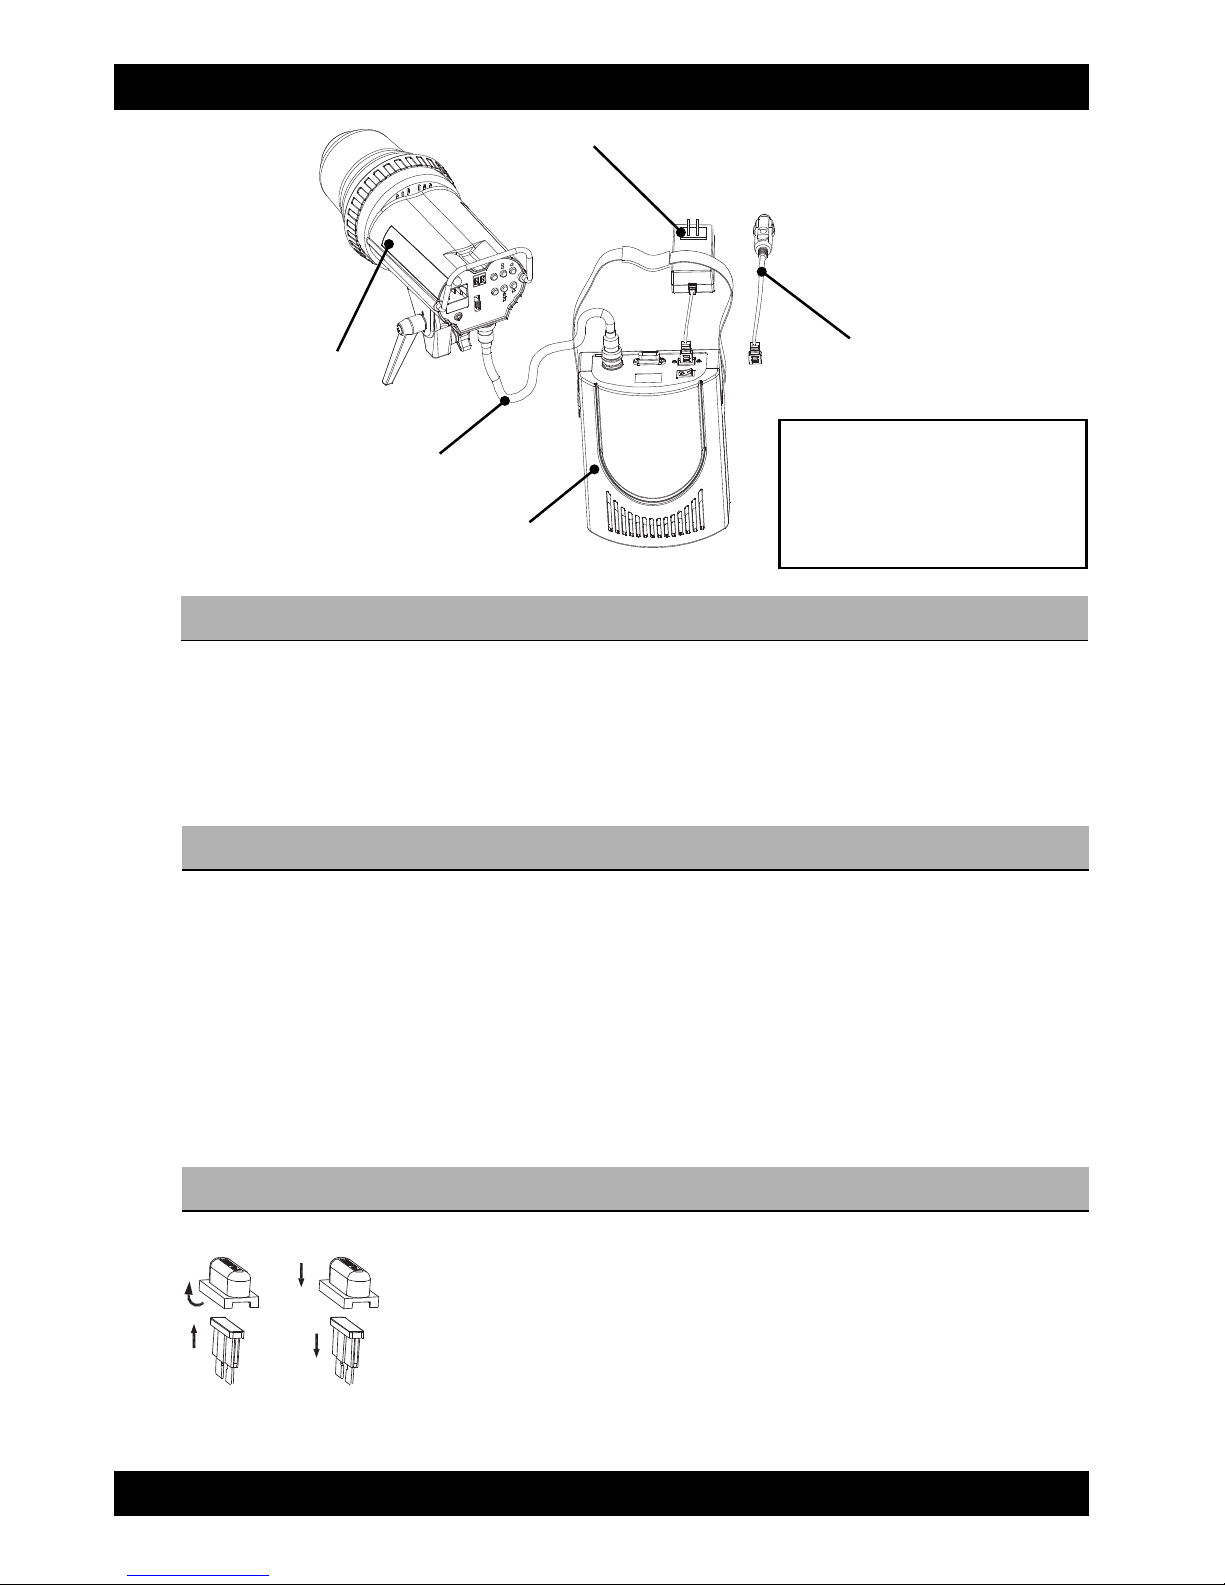
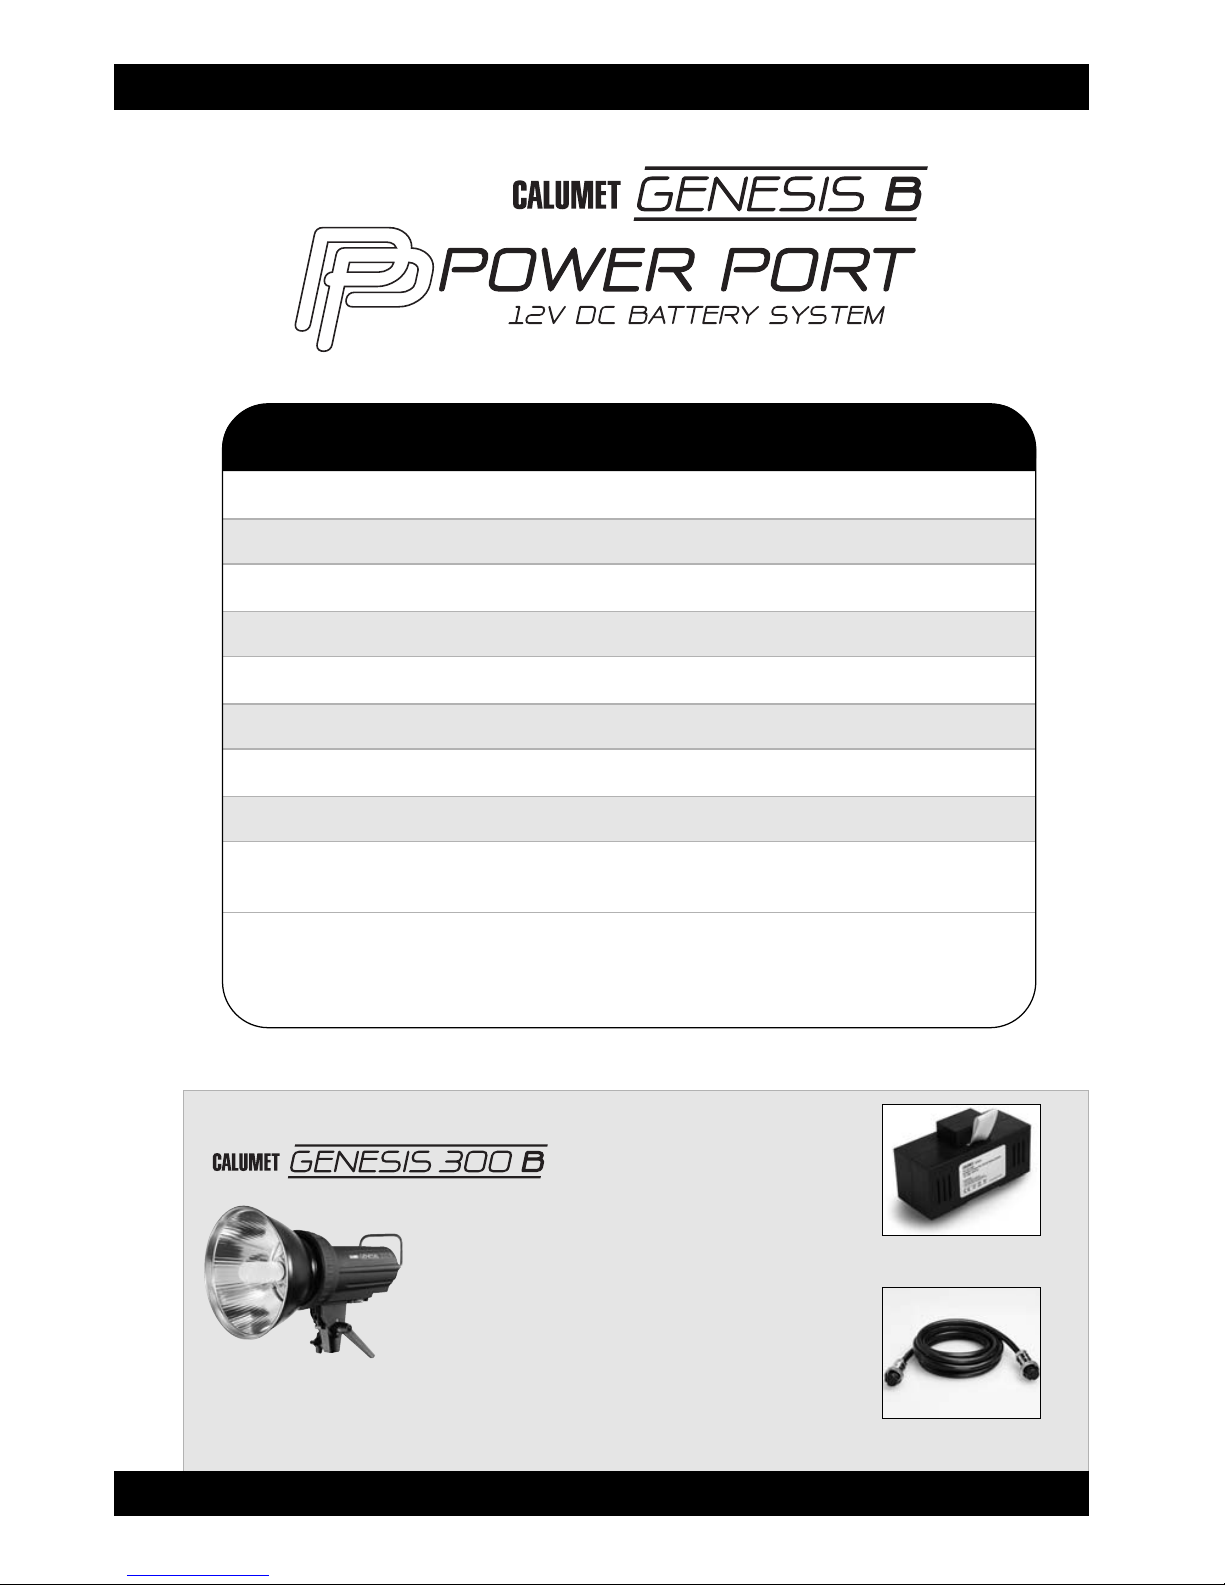
connecting the flash unit
Make sure battery is fully charged and
connected to the Power Port. Mount the
Power Port and Genesis 300 B flash unit to
a light stand as shown on page 6, prior to
making cable connections. Insert one end of
the connecting cable into the Power Port’s
connecting cable socket (5), making sure to
align the notches in both the cable end and
socket. Secure the cable end by turning the
threaded locking ring clockwise. Insert and
secure the other end of connecting cable
into the flash unit’s connecting cable socket,
located on the rear-underside of the unit.
operation
Refer to the “Genesis 300 B AC/DC Flash
Unit user guide” for operating the flash
unit. IMPORTANT! THE MODELING LAMP
FUNCTION IS DISABLED WHEN FLASH
UNIT IS IN DC OPERATION. Turn on the
Power Port unit by pressing the power
switch (2) to the ON position. The LED
battery charge indicator (4) should
immediately light up and display a full
(100%) charge. Next, turn on the Genesis
300 B by sliding the power switch to the DC
position. The test button light on the flash
unit will illuminate, indicating the flash unit
is ready for use.
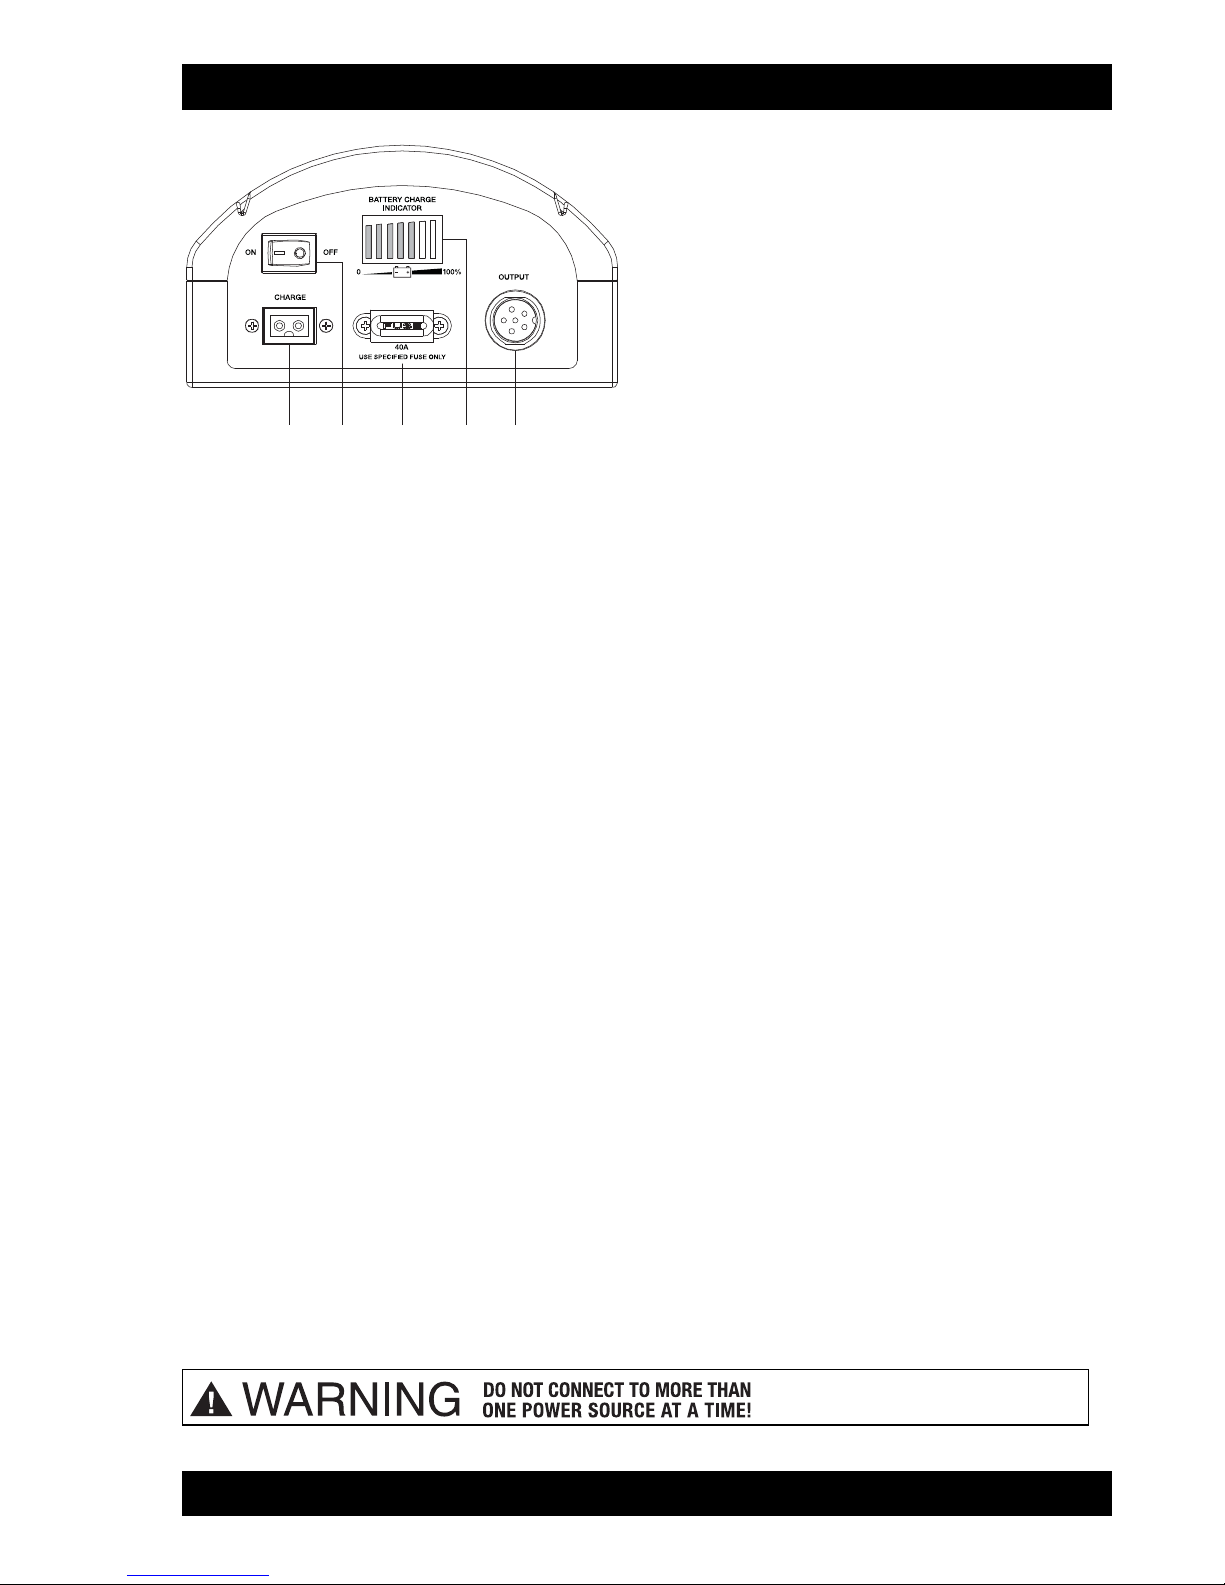
LED battery charge indicator
A scale (from 0 - 100%) is printed below the
indicator window. A series of shaded bars
within the window indicate the remaining
battery power. As the power is depleted, so
is the number of visible bars. When only one
bar remains, the bar will “twinkle”indicating
the battery is out of power. The low-voltage
protection alarm will sound.
See low voltage protection on next page.
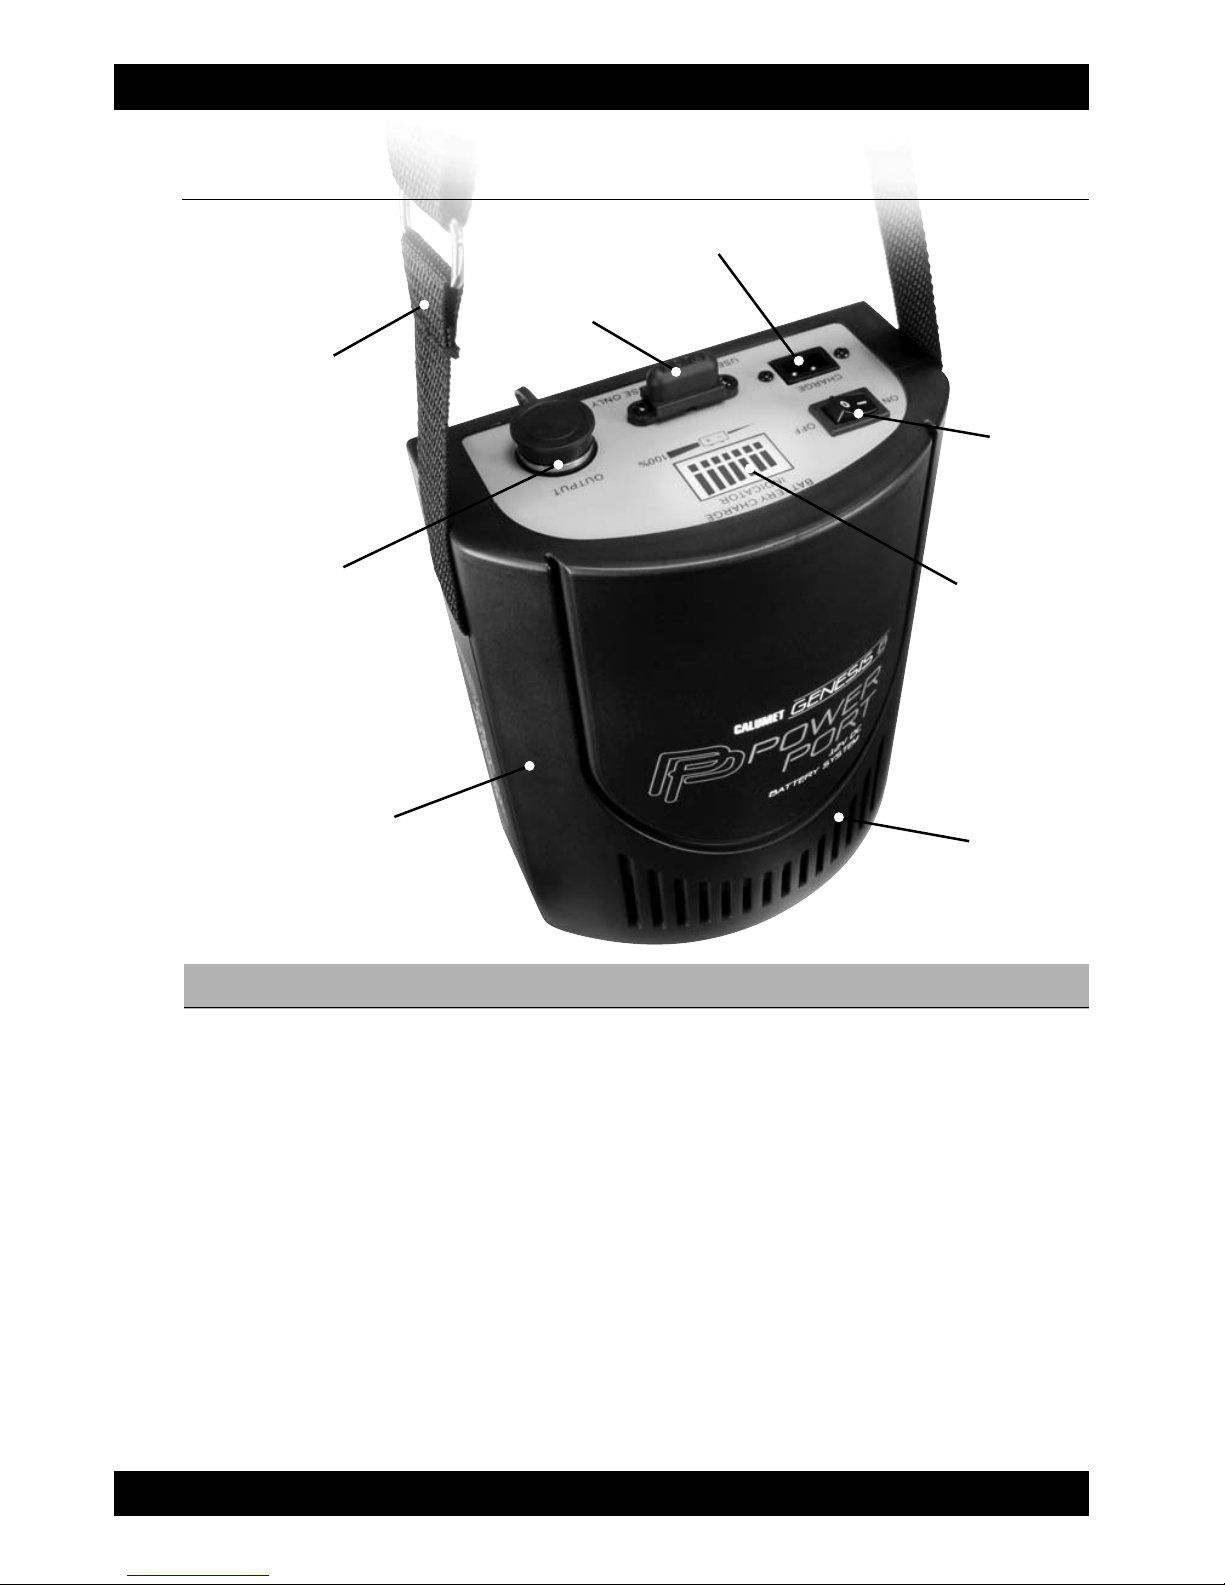
11..cchhaarrggiinnggssoocckkeett
22..ppoowweerrsswwiittcchh
33..ffuusseeccaassee
44..LLEEDDbbaatttteerryycchhaarrggeeiinnddiiccaattoorr
55..ccoonnnneeccttiinnggccaabbllees
soocckkeett