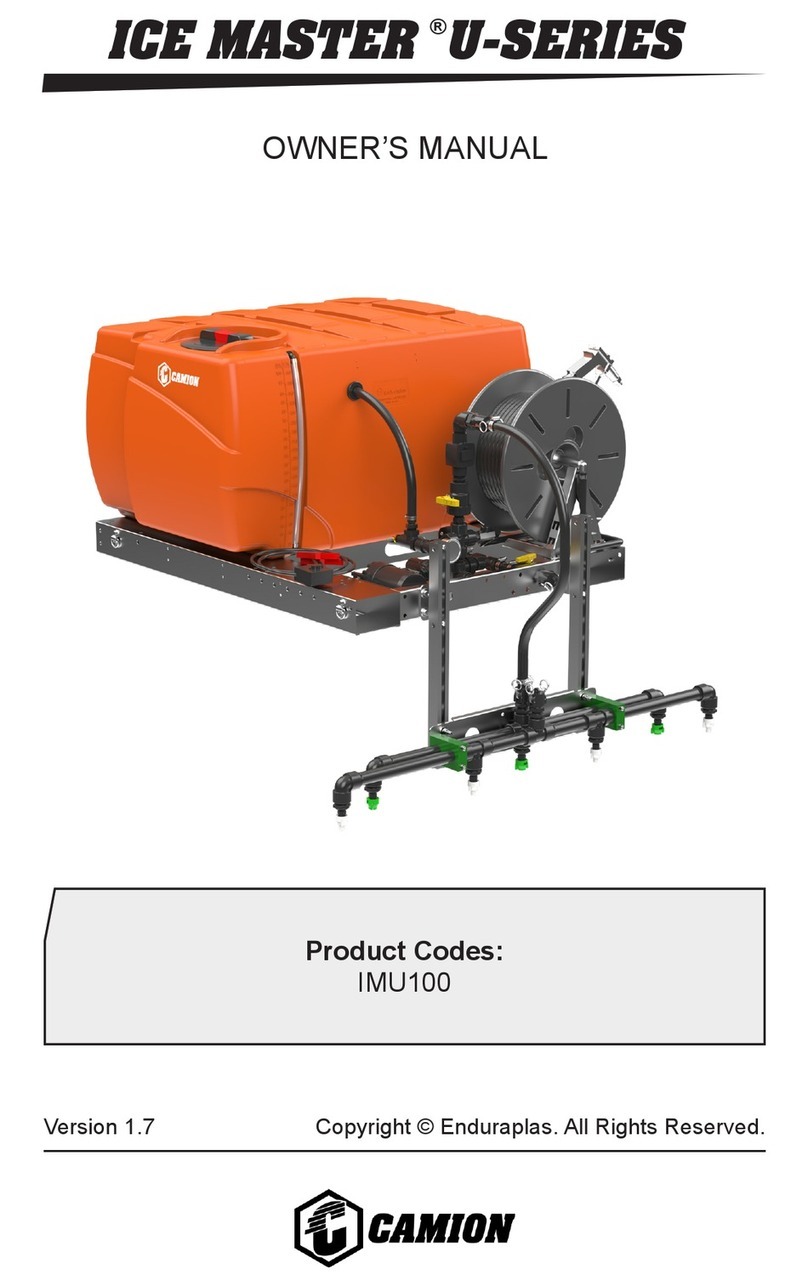
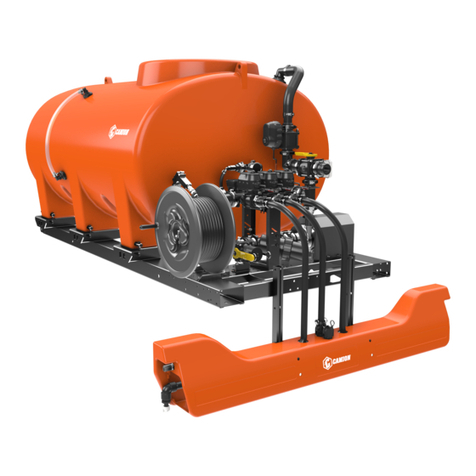
CAMION Ice Master H Series User manual

Version 1.1 Copyright © Enduraplas. All Rights Reserved.
Product Code:
IMH050
OWNER’S MANUAL
ICE MASTER H-SERIES
®
3-POINT SPRAYER
WITH HITCH

2Ice Master®H-Series
English
CONTENTS
INTRODUCTION 3
WARNINGS 4 - 7
GETTING STARTED 8 - 15
CALIBRATING 16 & 17
MAINTAINING 18 & 19
TROUBLESHOOTING 20 & 21
WARRANTY 22 - 25
PARTS BREAKDOWNS - ICE MASTER®
H-SERIES 26 - 35
!

3Version 1.1
English
INTRODUCTION
Congratulations! You now own a Camion™ sprayer. Durable
design and construction assure you a lifetime of extreme
performance. No sprayer is tougher. No sprayer will last
longer.
Take a look through this owner’s manual to learn how the
pros use their Camion™ sprayer.
Discover More Helpful Tips:
www.IceControlTraining.com
Watch Instruction Videos:
www.youtube.com

4Ice Master®H-Series
English
WARNINGS
1. Do not exceed vehicle manufacturers loading, towing or
lifting specications and regulations.
2. Ensure tank is rmly secured in an appropriate manner.
3. Use caution at all times, particularly when driving on
rough terrain.
4. Comply with chemical manufacturers safety requirements
and all relevant legislations.
5. ALWAYS keep tank tightly covered, to prevent children or
animals from entering tank.
6. Tank is not re resistant. NEVER expose it to open ame
or heat.
7. Keep sharp objects from tank. Tank could be punctured
and contents could escape and cause injury to persons
or property.
8. This tank can be used only with polyethylene compatible
liquids. If you are uncertain, ask chemical supplier if
material can safely be stored in a polyethylene tank.
USE OF TANK WITH ANY OTHER MATERIAL COULD
CAUSE TANK TO FAIL, RESULTING IN INJURY OR
PROPERTY DAMAGE.
9. DO NOT MIX CHEMICALS. THIS CAN RESULT IN
DAMAGE TO THE TANK OR NEARBY PERSONS OR
PROPERTY.
10.Clean out tank before changing chemicals OTHERWISE
A DANGEROUS MIXTURE OF CHEMICALS
COULD CAUSE DAMAGE TO PERSONS, TANK OR
PROPERTY.
11. Regular service and maintenance is the Owner’s
responsibility and is a condition of your warranty.
12.FAILURE TO COMPLY WITH ALL WARNINGS
AND INSTALLATION INSTRUCTIONS WILL VOID
WARRANTY.
!

5Version 1.1
English
13.No modications and/or alterations may be made to this
sprayer. Any such modications not only void the sprayer
warranty but can make the unit dangerous to anyone
operating the pump.
14.Always inspect hoses and piping to avoid burst injuries.
15.DO NOT turn suction valve o while pump is running.
NEVER RUN PUMP DRY.
16.When connecting this sprayer to your vehicle, ensure that
you have read the vehicles Owner’s Manual and that you
comply with all the wieght restrictions can cause injury or
death.
17.To ensure your own safety and that of others, you must
comply with all relevant environmental, work place health,
safety legislation and codes of practice.
18.Select and wear appropriate Personal Protection
Equipment in accordance with the label of the product
you intend to use.
19.Care should be taken when spraying in windy conditions
as spray drift may contaminate the air and may aect the
operator and damage the adjacent non-target vegetation.
20.Once the spraying operation has been completed,
decontaminate the spray tank and spray accoessories.
Dispose of tank rinsing’s in compliance with current
environmental, work place health and safety regulations.
21.Personal Protection Equipment must still be warn while
decontaminating your sprayer as per warning 20 above.
22.Improper or careless use of this sprayer canc ause
serious injurt. Minors should not be used when
bystanders or animals are int he area. This sprayer
should never be used while children are in the area.

6Version 1.1
English
23.Never leave the sprayer unattended without turning o
the pump, relieving the line pressure, and ushing the
sprayer of any harmful chemicals.
24.You must be in good mental health to operate this
sprayer and not be under the inuence of alcohol or any
drugs that could impair your vision, physical strength,
dexterity, judgement, or other mental capacity.
25.No modications and/or alterations may be made to this
sprayer. Any such modications not only void the sprayer
warranty but can make the unit dangerous to anyone
operating the pump.
26.Always inspect hoses and piping to avoid burst injuries.

7Version 1.1
English
Calcium Chloride Brine, Salt Brine and Premium Branded
Liquids.
Caution: Brine that contain tacky substances or solid
particles may clog pumps and nozzles. These are not
recommended.
Warning: DO NOT USE any products that contain
petroleum or petroleum by-products of any kind. These
destroy seals and will void warranty.
COMPATIBLE LIQUIDS
!
!
Discover More Helpful Tips:
www.IceControlTraining.com

8Ice Master®H-Series
English
1) Remove hose from under sprayer
and coil up hose on the two brackets
mounted on top of tank.
Setting Up Your Sprayer
GETTING STARTED
3) Remove mounting point pins from
accessory box and install on the two
sprayer mounting points.
2) Connect the spray gun in the wand
clips.

9Version 1.1
English
GETTING STARTED
1) Take the four 3/8” x 1-1/2” carriage
bolts and feed them through the back
of the boom and install the 3/8” SS at
washer then the 3/8” SS lock washer
and loosely install 3/8” SS hex nut.
2) Slide boom down adjustable brackets,
guiding the carriage bolts into the slots.
Mounting Your Boom
3) Using a 9/16” socket and extension,
tighten boom at desired height.
4) Connect supply hose to desired spray
bar on boom using the camlock connec-
tor.

10 Ice Master®H-Series
English
Hooking Up Sprayer
GETTING STARTED
2) Hook the two lower tractor hitch arms
to the mounting point pins on sprayer,
then secure with lock pin.
3) Hook up the top three point arm on
tractor to the third (top) mounting point
on the sprayer and insert the lock pin.
1) Back the tractor up to the sprayer
aligning tractor hitch points with the
arms at the height of the two lower
mounting points.
4) Route wire harness (make sure wire
is not pinched or kinked) to your desired
power supply and connect battery ca-
bles to their perspective posts. Red to
positive post and black to negative post.

11Version 1.1
English
1) If you ordered an optional hose reel
with your unit, take hose reel from
under the sprayer and set on top of tank
opposite to lid end.
Add On Options
GETTING STARTED
2) Secure hose reel frame to tank with
provided hardware.
Qty. 4 - 3/8” x 3/4” bolts.
Qty. 4 - 3/8” at washers.
Qty. 4 - 3/8” lock washers.
3) Tighten the bolts, securely fastening
hose reel to tank using a 9/16” wrench.
4) Connect 1/2” hose reel feed line to
hose barb connection on the reel with
supplied 1/2” hose clamp.

12 Ice Master®H-Series
English
GETTING STARTED
Add On Options
1) If you purchased an optional receiver
hitch mount, unpackage hitch and
provided pins.
2) Take 3/4” x 4-1/4” quick connecting
gold pins and insert into two lower
mounting points connecting receiver
hitch to unit.
3) Then, take 7/8” x 4-1/4” chrome pin
and insert in top mounting connection,
securing with provided R clip.
4) Next, lift unit using fork points in
frame to align receiver mount to hitch.

13Version 1.1
English
GETTING STARTED
6) Route your wire harness to desired
power supply (making sure wire is not
pinched or kinked).
5) Align holes on hitch and receiver and
install lock pin.
Add On Options

14 Ice Master®H-Series
English
Operating Your Sprayer
GETTING STARTED
1) Take tank lid o and ll tank at least
a quarter full with water, enough to
run through the system to check all
components are functioning correctly
and are leak free.
3) Power on sprayer pump using the
switch on wire harness. If there is liquid
in the tank and the valve in step 2 is
in the open position, the pump should
prime automatically.
4) Adjust regulating valve to aquire
desired pressure. Start by threading
the regulating valve all the way down
(clockwise), then back o 3 revolutions
(counterclockwise).
2) Ensure the inline valve between tank
and pump is in open position (parallel to
hose) to allow the liquid to ow from the
tank to the pump.

15Version 1.1
English
Discover More Helpful Tips:
www.IceControlTraining.com
Watch Instruction Videos:
www.youtube.com

16 Ice Master®H-Series
English
CALIBRATING
Note: Always double check your application rates.
The rate/acre listed is only based o the center section
(not the two side nozzles)
NOZZLE
COLOR PSI
CAPACITY
ONE
NOZZLE IN
GPM
4
MPH
6
MPH
8
GPM
10
MPH
Stainless
Steel
10 0.50 25 16.5 12.4 9.9
20 0.71 35 23 17.6 14.1
30 0.87 43 29 22 17.2
40 1.00 50 33 25 19.8
White
20 0.56 42 28 21 16.6
30 0.72 53 36 27 21
40 0.80 59 40 30 24
50 0.88 65 44 33 26
Green
15 0.092 68 46 34 27
20 1.06 79 52 39 31
30 1.30 97 64 48 39
40 1.50 111 74 56 45

17Version 1.1
English
GPM = Gallons Per Minute
GPA = Gallons Per Acre
GAL/1000 FT = Gallons Per 1000 Square Feet
W= Nozzle spacing
Gallons Per Minute Formula:
GPA x MPH x W (per nozzle)
5,940
Gallons Per Minute Formula:
GAL/1000FT x MPH x W (per nozzle)
136
Gallons Per Acre Formula:
5,940 x GPM (per nozzle)
MPH x W
Gallons Per 1000 Square Feet:
136 X GPM (per nozzle)
MPH x W
Convert Acres to Lane Mile:
1.4545 = 1 Lane Mile
Note: For video instructions on how to calibrate a boom visit
http://bit.ly/IMS-boom-calibration

18 Ice Master®H-Series
English
MAINTAINING
Keeping your sprayer in good condition will help you
lengthen the life of the sprayer. Everyone knows a well
maintained piece of equipment ensures a longer life span.
Sprayer maintenance can seem a huge task if you don’t
have the right tools.
Discover More Helpful Tips:
www.IceControlTraining.com
Watch Instruction Videos:
www.youtube.com

19Version 1.1
English
The information applies in normal operating conditions. The specic intervals must be short-
ened accordingly for longer daily working hours. If the machine is only used occasionally, the
intervals can be extended accordingly.
Before starting work
At the end of work
and/or daily
Weekly or every 40
operating hours
After the rst 5
operating hours
Every 250 operating
hours o once a year
If damaged
If required
Complete machine
Visual inspection (condition, leaks) X
Clean X
Tank, hoses and ttings
Clean X
Drain X
In-line lter Clean X X
Spray lance nozzle
Clean X
Replace X
All accessible screws and nuts Retighten X
Safety labels Replace X
Pump Maintain Read and follow all maintenance and care instructions in the
Pump manual.

20 Ice Master®H-Series
English
TROUBLESHOOTING
CONDITION CAUSE REMEDY
Pump will not
prime
1) Air leak on suction
plumbing
2) Blocked/Restricted
intake hose
3) Filter cap
disengaged
3) Filter gasket
damaged/missing
1) Tighten/replace
ttings & hose
clamps. Verify suction
hoses are in good
condition
2) Remove blockage
from suction line,
ensure line is not
kinked
3) Lock lter cap into
position
4) Replace lter
gasket
Pressure drops/
uctuates during
standard
operation
1) Restriction on
suction line
2) Pump sucking air
3) Plugged lter
4) Damaged regulator
1) Inspect tank and
suction lines and
remove restriction
2) Tighten ttings
3) Remove and
clean lter mesh and
housing
4) Remove regulator
stem and inspect for
broken parts/pieces
This manual suits for next models
1
Table of contents
Other CAMION Paint Sprayer manuals
Popular Paint Sprayer manuals by other brands

Marshalltown Company
Marshalltown Company Enforcer E400 instruction manual

COSMOSTAR
COSMOSTAR R2K001 instruction manual

Demco
Demco 1050 Operator's manual

Clas Ohlson
Clas Ohlson T-59-2 instruction manual

ViscoTec
ViscoTec preeflow eco-SPRAY Commissioning and Maintenance Instructions

Binks
Binks AIRLESS 1 Operation and maintenance instructions