manuals.online logo
Brands
  1. Home
  2. •
  3. Brands
  4. •
  5. Campbell
  6. •
  7. Modem
  8. •
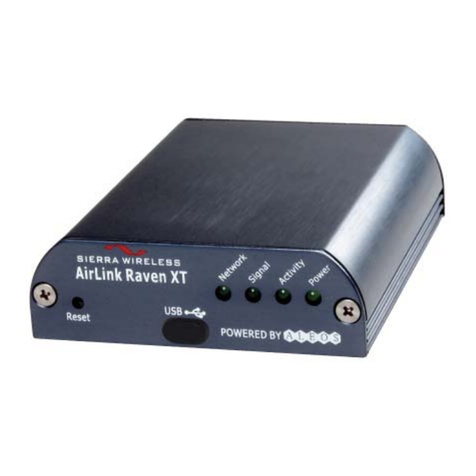
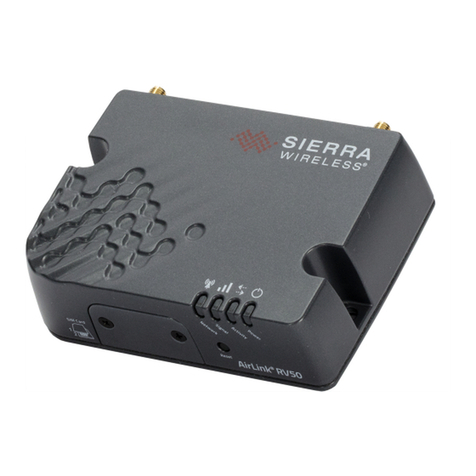
  9. Campbell Sierra Wireless AirLink RV50 User manual

Campbell Sierra Wireless AirLink RV50 User manual

Part Number 31887
Revision: 12/2018
www.campbellsci.com/rv50
1. Introduction
NOTE:
This Quick Deploy Guide is a general reference to give the
installer an overview of the steps required to make this sys-
tem operational. The Product Manual is the definitive
source for detailed installation instructions and inform-
ation.
A public static IP account must be used when the module is set
up in serial server mode. Private dynamic IP accounts do not
support the serial server mode.
The Provisioning Report received with your Cellular Data Ser-
vice shows whether the module was configured with a private
dynamic or public static IP address.
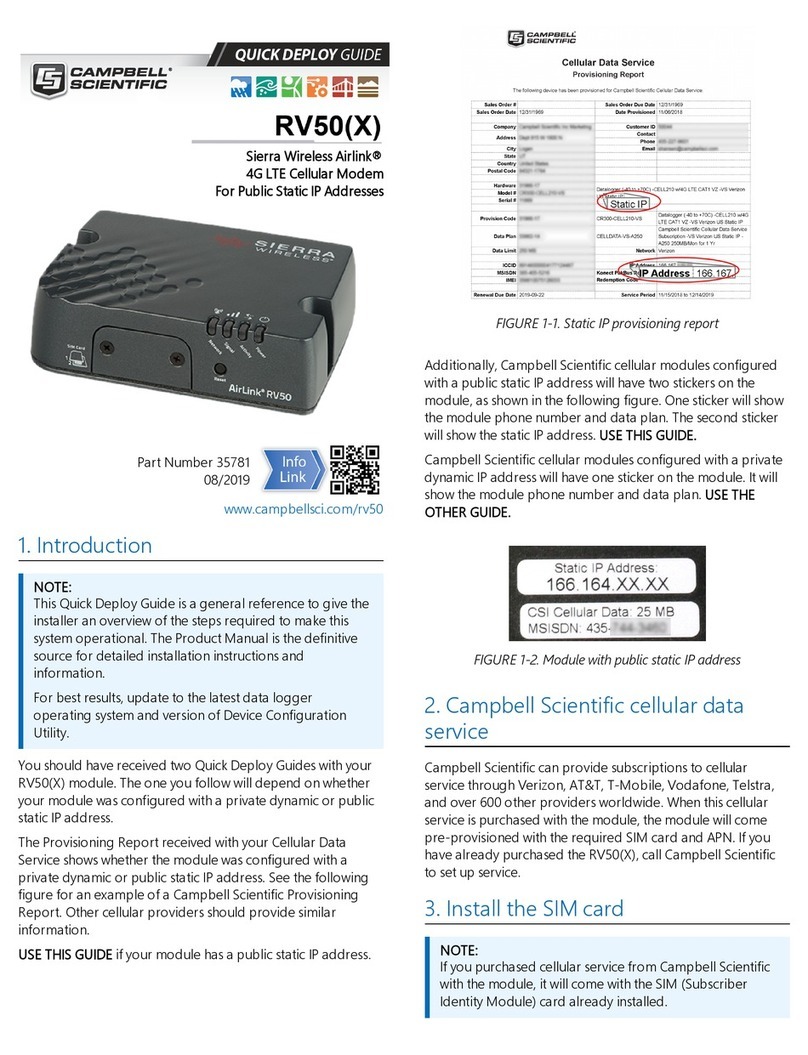
USE THIS GUIDE if you have a public static IP address. See
FIGURE 1-1 (p. 1). See the RV50 Manual if you have a private
dynamic IP address.
FIGURE 1-1. Static IP provisioning report
2. Campbell Scientific cellular data
service
Campbell Scientific can provide subscriptions to cellular ser-
vice through Verizon, AT&T, T-Mobile, Vodafone, Telstra, and
over 600 other providers worldwide. When this cellular service
is purchased with the module, the module will come pre-pro-
visioned with the required SIM card and APN. If you have
already purchased the RV50, call Campbell Scientific to set up
service.
3. Install the SIM card
NOTE:
If you purchased cellular service from Campbell Scientific
with the module, it will come with the SIM (Subscriber Iden-
tity Module) card already installed.
1. Remove the SIM card cover.
2. Note the location of the notched corner for correct
alignment. The gold contact points of the SIM face
down when inserting the SIM card as shown in FIGURE
3-1 (p. 2). Gently slide the card into the slot until it stops
and locks into place. To eject the SIM card, press it in
slightly and release.
3. Replace the SIM card cover.
FIGURE 3-1. SIM card installation
4. Configure RV50
1. Download the collection of RV50 configuration tem-
plates from www.campbellsci.com/downloads and run
the executable downloaded.
2. Connect the Cellular antenna.
3. Connect the Diversity antenna, if used. Recommended
but not required. Note: If a Diversity antenna is not
used, use ACEmanager to disable WAN/Cellular | Net-
work Credentials | RX Diversity.
4. Connect the power cable leads to a power supply.
Wire
Color Function Connect To
Black Ground G
White Enable
(On/Off)
12V or SW12V or control
port
Red Power (7 to 36
V) 12V
5. Connect the power cable to the RV50 DC Power input.
When the RV50 is properly set up and powered, the
status LEDs will turn on. The RV50 will begin the activ-
ation/provisioning process and attempt to connect to
the mobile network. This process typically takes 5 to 10
minutes. A successful connection is indicated by a solid
green or solid amber Network LED.
6. Connect your Windows® computer to the RV50 using
the supplied Ethernet cable.
7. Launch a web browser, and enter
http://192.168.13.31:9191 into the address bar. The ACE-
manager login screen should appear in your browser.
8. Log in using User Name = user and Password = 12345.
(We strongly recommend changing the default pass-
word to prevent unauthorized access and the potential
of malware infection. The password can be changed
from the Admin tab.)
9. Once logged in, check the Status |Home |Network
State field. It should read Network Ready, indicating the
RV50 is connected to the cellular network. You can eas-
ily test the RV50 connection to the Internet by selecting
the Admin |Advanced tab and using the PING tool to
ping an Internet server, such as www.campbellsci.com.
10. Click the Template button in the ACEmanager toolbar.
A template application window will appear. Browse to
and upload one of the configuration templates down-
loaded from Campbell Scientific.
Template Files
Template File
Name Description
RV50_
115200.xml
Default configuration with RS-232 at
115200 baud and Ethernet com-
munication enabled.1
RV50_
9600.xml
Default configuration with RS-232 at
9600 baud and Ethernet com-
munication enabled.2
1CR1000, CR1000X series, CR800 series, CR6 series, CR300
series, CR3000, CR5000
2CR200(X)
11. Reboot the RV50 after successfully applying the con-
figuration template. You can do this by clicking the
Reboot button on the ACEmanager toolbar, by
momentarily pressing the Reset button (2 sec), or by
temporarily removing power from the RV50.
5. Set up hardware
The simplest hardware setup for modern dataloggers is to con-
nect a null module cable between the RS-232 ports of the data-
logger and the RV50.
6. Set up LoggerNet
1. Select Add Root >IPPort.
2. Select PakBusPort and pbRouter for PakBus data
loggers such as the CR1000X.
3. Add a data logger to the pbRouter.
4. Select the IPPort in the Network Map. Enter the Konect
PakBus Router DNS address and port number as noted
in the Konect PakBus Router setup. The DNS address
and port number are input in the Internet IP Address
field separated by a colon. For example, axanar.konect-
gds.com:pppp where pppp is the port number.
5. For PakBus data loggers, leave the default settings for
the PakBusPort. PakBus Port Always Open; it should not
be checked. If used, enter the TCP Password.
6. For PakBus data loggers, select the pbRouter in the Net-
work Map and set the PakBus Address to 4070.
7. For PakBus data loggers, select the data logger in the
Network Map and set the PakBus Address to match that
of the data logger (default address in the data logger is
1). Click Apply to save the changes.
7. Test the connection
Use the Connect screen to test the connection. Click on the
appropriate station and click Connect to initiate a call to the
data logger.
TIP:
The connection time is subject to many external factors. It
is often less than 30 seconds but could be up to fifteen
minutes. Be patient.
If the call is successful, the connectors at the bottom of the
screen will come together and clock information from the data
logger will be displayed in the Station Date/Time field.

Other manuals for Sierra Wireless AirLink RV50

5

This manual suits for next models

1

Other Campbell Modem manuals

Campbell COM210 User manual

Campbell

Campbell COM210 User manual

Campbell R410 User manual

Campbell

Campbell R410 User manual

Campbell RF401 User manual

Campbell

Campbell RF401 User manual

Campbell RF500M User manual

Campbell

Campbell RF500M User manual

Campbell Airlink Raven User manual

Campbell

Campbell Airlink Raven User manual

Campbell COM200 User manual

Campbell

Campbell COM200 User manual

Campbell DC112 User manual

Campbell

Campbell DC112 User manual

Campbell COM310 User manual

Campbell

Campbell COM310 User manual

Campbell Redwing 100 User manual

Campbell

Campbell Redwing 100 User manual

Campbell DCSCOM User manual

Campbell

Campbell DCSCOM User manual

Campbell RavenXTV CDMA User manual

Campbell

Campbell RavenXTV CDMA User manual

Campbell RF401 User manual

Campbell

Campbell RF401 User manual

Campbell COM220 User manual

Campbell

Campbell COM220 User manual

Campbell 9522B User manual

Campbell

Campbell 9522B User manual

Campbell LS300G User manual

Campbell

Campbell LS300G User manual

Campbell CS-GSM/GPRS User manual

Campbell

Campbell CS-GSM/GPRS User manual

Campbell CS-SRM User manual

Campbell

Campbell CS-SRM User manual

Campbell Raven110 User manual

Campbell

Campbell Raven110 User manual

Campbell DCP-Intelimax User manual

Campbell

Campbell DCP-Intelimax User manual

Campbell C311 User manual

Campbell

Campbell C311 User manual

Campbell COM220 User manual

Campbell

Campbell COM220 User manual

Campbell Sierra Wireless AirLink RV50 User manual

Campbell

Campbell Sierra Wireless AirLink RV50 User manual

Campbell Raven XT-Telus User manual

Campbell

Campbell Raven XT-Telus User manual

Campbell COM220 User manual

Campbell

Campbell COM220 User manual

Popular Modem manuals by other brands

Edimax AR-7025Um user manual

Edimax

Edimax AR-7025Um user manual

Video 7 MasterModem manual

Video 7

Video 7 MasterModem manual

Davicom DM562AP Operation manual

Davicom

Davicom DM562AP Operation manual

Datum Systems M7XC Installation and operation manual

Datum Systems

Datum Systems M7XC Installation and operation manual

Cradlepoint MC100W quick start guide

Cradlepoint

Cradlepoint MC100W quick start guide

Motorola 3360 quick start guide

Motorola

Motorola 3360 quick start guide

Ebyte E78-DTU(470LN22) user manual

Ebyte

Ebyte E78-DTU(470LN22) user manual

Arris Touchstone SBG6700-AC quick start guide

Arris

Arris Touchstone SBG6700-AC quick start guide

Nortel CM 100 release note

Nortel

Nortel CM 100 release note

Digi XBee3 DigiMesh 2.4 user guide

Digi

Digi XBee3 DigiMesh 2.4 user guide

TeleWell TW-VDTU2-102 user manual

TeleWell

TeleWell TW-VDTU2-102 user manual

ADTRAN 6541 Information

ADTRAN

ADTRAN 6541 Information

ZyXEL Communications NXC5500 troubleshooting guide

ZyXEL Communications

ZyXEL Communications NXC5500 troubleshooting guide

Ercogener GenPro 400e instruction sheet

Ercogener

Ercogener GenPro 400e instruction sheet

Zte MF190 user manual

Zte

Zte MF190 user manual

NETGEAR CM1000v2 user manual

NETGEAR

NETGEAR CM1000v2 user manual

Settop CellXtrem Starter Guide

Settop

Settop CellXtrem Starter Guide

Edimax EW-7611ULB Quick installation guide

Edimax

Edimax EW-7611ULB Quick installation guide

manuals.online logo
manuals.online logoBrands
  • About & Mission
  • Contact us
  • Privacy Policy
  • Terms and Conditions

Copyright 2025 Manuals.Online. All Rights Reserved.