Cannondale Headshok D50 User manual

1 of 4
138681 Rev 1 (12/21)
cannondale.com
Owner’s Manual
Headshok D50 Suspension Fork
About this Manual
This owner’s manual provides important model safety, use, and
maintenance information. This is not a service manual and does
not contain any installation, removal, or disassembly information
for the product.
Proper use, and installation, and service of the fork is important
to your safety. You should consult with a qualied professional
bicycle mechanic about installing a fork and other bicycle
components for compatibility such as the stem, handlebar,
fenders or racks, braking systems, headsets, lighting, and
reectors.
You can download Adobe Acrobat PDF versions of any
Cannondale manual/supplement from our website:
http://www.cannondale.com.
Fork Specications
Intended Use
ASTM Condition 2, General
Purpose Riding. See Important
Safety Information on page 4.
Headset 1.8 “ tapered, 1.5”tapered
Compression assembly type 1-1/8” star nut only
External adjustment None
Suspension mechanism Internal spring with damping
cartridge
Travel 55mm
Axle-to-crown length 490mm
Axle-to-crown length
(compressed) 440mm
Brake mount type Post Mount
Brake Rotor Direct: 160mm
Maximum: 203mm
Hub width 110mm
Thru axle Cannondale p/n K83012 only
Wheel sizes 700C, 650B
Wheel-to-fender clearance 6 mm, minimum
Tire Size x Max. Tire Width 700C: 749 X 56.5mm
650B: 711 X 56.5
Rim bead width limit 25mm
NOTICE: Observe maximum bolts lengths shown in Figure 1.
NOTICE: Upper guide item 10 intended only for unavailable product
options. Keep grommet shown in place. Do not route standard brake
line out of this outlet.
Product Identification
2
3
1
4
5
6
9
10
8
7
12
16
14
15
11
13
17
M5 THRU
M5X12
M5X18
M5X18
M6X16
Do not remove!
11 N·m
NLGI-2
Apply a light coat of
high-quality bicycle bearing grease.
Grommets/Guides
NLGI-2
Observe steerer
minimum cut length
marking.
Figure 1.
1. Frame Headtube
2. Steerer
3. Locking screws
4. Garter spring
5. Boot
6. Garter spring
7. Brake guide, crown
8. Threaded mount
9. Fork Legs
10. Routing, guide, upper
11. Threaded mount
12. Routing, guide, lower
13. Threaded mount
14. Threaded mount,
15. Brake Post Mounts
16. Thru-Axle
17. Axle washer, serrated

2 of 4
138681 Rev 1 (12/21)
cannondale.com
Wheel Removal
1. Secure the bike upright in a bike stand with the front wheel
o the ground.
2. Insert the tool into the right side of the axle. Turn the wrench
counter-clockwise to unthread the axle and it is free to slide
out.
UNTHREAD
Figure 2. - Loosening the thru-axle.
SLIDE-OUT
Figure 3. - Sliding out the thru-axle
3. Remove the wheel from the dropouts. You may need to tap
the top of the wheel with the palm of your hand to release
the wheel from the front fork.
LOWER WHEEL
Figure 4. - Wheel removed
Wheel Installation
1. Secure the bike upright in a bike stand with the fork o the
ground.
2. Use a clean shop towel to wipe clean the thru-axle and ends
of the fork dropouts.
3. Install the wheel into the dropouts and align the hub with the
fork dropouts.
Make sure the brake disc locates between the brake pads in
the caliper as you insert the wheel between the dropouts.
4. Apply light bicycle grease to the thru-axle threads and around
the bolt head. Make sure the serrated washer is on the thru-
axle with the serration facing the fork. Then insert the
thru-axle into the right side fork dropout and through the
wheel hub.
NLGI-2
NLGI-2
serrations face fork
Serrated
washer
Thru-axle
Dropout
threads
Axle
threads
NLGI-2
NLGI-2
Figure 5. -Preparation

3 of 4
138681 Rev 1 (12/21)
cannondale.com
5. Insert the tool into the axle head and turn the axle clockwise
to thread the axle into the left side fork dropout.
Tighten to the specied torque.
TIGHTEN
11 N·m
Figure 7. - Tightening the axle
Make sure the axle bolt is torqued correctly with a torque
wrench. Do not ride the bike if the bolt is not torqued
correctly.
6. Make sure the wheel spins freely.
7. Check to make sure the brakes work correctly.
Failure to install the wheel correctly can result in a loss
of control or the wheel coming o while riding. You can
be seriously injured or killed in an accident if the wheel is
not attached correctly.
Maintenance
Maintenance of your fork is important to your safety and to the
useful life of the fork. Frequent inspection by you and regular
professional service by your Cannondale Dealer can help ensure
years of safe/trouble-free operation.
YOUR RESPONSIBILITY:
Before riding and after each ride
1.Clean and inspect entire fork for cracks or damage. Things
that can indicate a serious problem:
(1) Unusual“klunking”, knocking, or creaking noises; (2)
changes in travel: (3) Over-extended or compressed boot ;
(4) Changes in the way the fork has been working; (5) Loss of
adjustments features; and (6). Leaking uid.
2. Check the fork boot for damage, cracking, splits, or tears. Be
sure to check in the folds of the boot. Check for any cables
or lines rubbing the boot. Check the attachment of the boot
at the top and bottom. The upper and lower boot lips should
be tted over the lower collar and fork lip. Replace the garter
springs as required. Always tighten securely. Replacement
parts are available through a Cannondale Dealer.
If you nd boot damage, the area under the fork should be
inspected for damage. And the damaged boot must be
replaced with a new one. Do not try to x it.
3. Check the front wheel attachment. Follow the wheel
attachment instructions in this manual.
4. Check to make sure the brakes, steering, and all controls are
functioning normally.
5. If there are racks or fenders attached to the fork, make sure
they are secure and in good condition. If there are objects
attached to the fender or rack, make sure these items are
secure and cannot fall out or interfere with the steering or
wheel. Follow manufacturer instructions when mounting
accessories. Maintain all indicated clearances between any
accessories, brakes, fenders, fork, frame, other attachments
and wheel.
DO NOT RIDE THE BICYCLE UNTIL ALL PROBLEMS FOUND
HAVE BEEN CORRECTED.
ITEMS THAT SHOULD BE CHECKED REGULARLY BY A
PROFESSIONAL MECHANIC
RE-GREASE TELESCOPE Every 25 Hours
BOOT REPLACEMENT As Needed
(Annual
recommended)
DISASSEMBLY, INSPECTION,
REBUILD
Inspect and disassembly of
telescope and races, bearings, main
telescope parts, damper cartridge,
uids, seals, etc.
NORMAL: Every 200 Hrs

4 of 4
138681 Rev 1 (12/21)
cannondale.com
Important Safety Information
WARNING
INTENDED USE: ASTM Condition 2, General Purpose Riding.
Bikes designed for riding Condition 1, plus smooth gravel
roads and improved trails with moderate grades where the
tires do not lose ground contact. For paved roads, gravel or dirt
roads that are in good condition, and bike paths.
Please read your Cannondale Bicycle Owner’s Manual for more
information about Intended Use and Conditions 1-5.
NOT INTENDED: This fork is not for used for aggressive riding,
jumping or stunt riding. This fork must not be used on any
tandem bicycles or on electric or engine-driven motorcycles.
DO NOT MODIFY THE FORK. Do not attempt to alter or to
modify (e.g., drill, cut, weld, sand, or repaint).
HAVE ALL WORK PERFORMED BY A QUALIFIED
PROFESSIONAL BICYCLE MECHANIC. Do not attempt to
service or to repair the fork yourself. This owner’s manual does
not include information needed to install, to remove, or to
disassemble/reassemble the fork. This manual only contains
information for using the fork when mounted on the bicycle.
PERIODIC INSPECTION REQUIRED: The fork must be
periodically inspected for damage as part of your routine
bicycle maintenance. Consult with a qualied professional
bicycle mechanic to help you develop a complete maintenance
program. Frequent checks are necessary to identify the
problems that can lead to an accident.
DO NOT RIDE ON A DAMAGED FORK. Stop riding a damaged
fork immediately. Follow the fork maintenance schedule of this
supplement.
MAKE SURE ALL REQUIRED BICYCLE LIGHTING AND
REFLECTORS ARE PRESENT AND IN WORKING CONDITION.
RACKS AND OTHER MOUNTED ACCESSORIES
This fork has mounting locations to support compatible
accessories. It is your responsibility to make sure any proposed
accessory attached to the fork is safely compatible with the
fork and with the bicycle. You assume all risk for the use and
safety of any attached accessories.
USE A TORQUE WRENCH: Apply thread lock and grease
as directed. Do not exceed the torque specied for any
component including handlebar, steerer, or any adjusting
hardware.
YOU CAN BE SEVERELY INJURED, PARALYZED OR KILLED IN
AN ACCIDENT IF YOU IGNORE THESE WARNINGS.
Cleaning
When cleaning, use clean tap water and a mild dish detergent
soap. Avoid spraying water on any attached electronic
accessories. Consider covering items with a clean plastic bag.
Use a rubber band or masking tape to hold the bag in place
temporarily.
NOTICE
Do not power wash or dry with compressed air. This will force
contaminants into the fork where they will promote corrosion,
immediately damage the fork, or result in accelerated wear.
Do not use abrasive or harsh chemical cleaners /solvents
which can damage the nish or attack and destroy both the
outside and internal fork parts.
Replacement Parts
Part Number Description
K83012 HeadShok TA Bolt 110x15 137mm
M15x1.5P
K53052 HeadShok Boot+Garter Springs 1.5
K53022 HeadShok Boot+Garter Springs 1.8
K54012 HeadShok Cable Grommets Guides
K52002 HeadShok Damper
Warranty Information
Different elements of this product are subject to the terms of
the Cannondale Limited Warranty. For more information, go
to the support area at www.cannondale.com.
NOTICE
Unauthorized service, maintenance, or repair parts can result
in serious damage and void your warranty.
Contacting Cannondale
Go to www.cannondale.com for contact information for your
region.
Other Cannondale Bicycle Accessories manuals

Cannondale
Cannondale 2011 LEFTY 126564.PDF User manual
Cannondale
Cannondale 2012 IQ200 User manual
Cannondale
Cannondale LEFTY SPEED DLR2 Configuration guide
Cannondale
Cannondale Headshok Silk Road 1999 User manual
Cannondale
Cannondale Synapse Carbon Configuration guide
Cannondale
Cannondale LEFTY 2.0 User manual
Cannondale
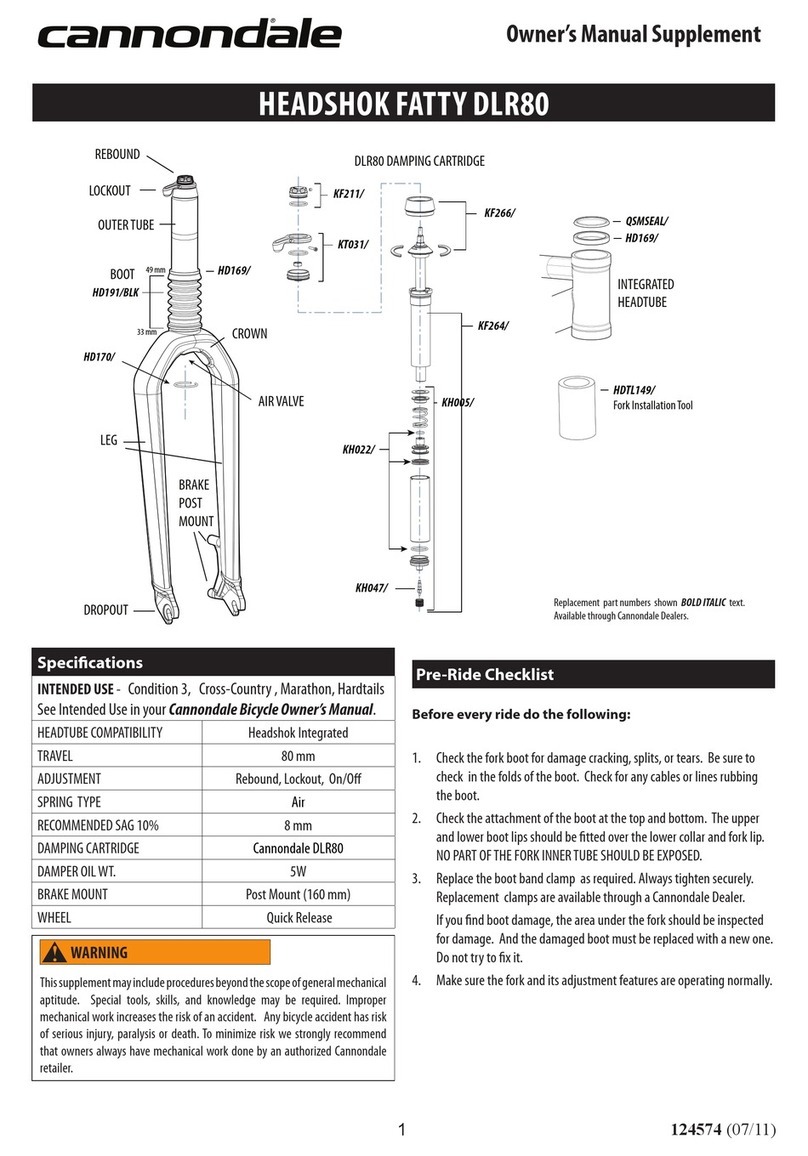
Cannondale HEADSHOK FATTY DLR80 Configuration guide

Cannondale
Cannondale Synapse Carbon Configuration guide
Cannondale
Cannondale IQ108 User manual
Cannondale
Cannondale HEADSHOK SUPER FATTY SL 1999 User manual
