manuals.online logo
Brands
  1. Home
  2. •
  3. Brands
  4. •
  5. Cannondale
  6. •
  7. Bicycle Accessories
  8. •
  9. Cannondale CP1013U10OS User manual

Cannondale CP1013U10OS User manual

1 of 4
183652 Rev 0 (02/23)
OutFront Commuter Front Rack OutFront Cargo Front Rack
Headtube with integral mounts
310mm
250mm
310mm
410mm
Rack mounted on bicycle
Cargo Loading Dimensions
68mm
49mm
Figure 1.
This Owners Manual
Keep this owner’s manual for reference. It contains important
safety, maintenance, and technical information.
Correct Installation
Incorrect installation of the rack can result in damage
leading to an accident.
If you do not understand these instructions, or encounter
problems, do not mount the rack yourself - instead have it
installed by a professional bicycle mechanic.
Owner’s Manual - EN
OutFront Bike Racks
Product Identification
Specifications
Product Code CP1013U10OS CP1023U10OS
Product Description OutFront Rack Commuter Rack OutFront Rack Cargo Rack
Load dimension (width x length) 250mm X 310mm 410mm X 310mm
Frame mount (eye-to-eye) Integrated 68mm
Weight Limit 15 Kg, 33 Lbs
Intended Use ASTM Conditions 1-2, General Purpose Riding.
• 6 mm hex key
• 13mm socket or spanner
Required Installation Tools
General Information
A bicycle headtube must have the integrated direct headtube
mount system in order to install this rack. The racks are
compatible with the MIK accessories. If you intend to use MIK
products, please consult MIK instructions for mounting and
usage information. See https://www.mik-click.com
2 of 4
Cannondale OutFront Bike Racks, Owner’s Manual
12 N·m 3
2X
4
4X
M8 X 75mm
M8
52X
M8
Figure 2.
Figure 3.
Figure 4.
Installation Steps
1. Align the rack mounting bracket over the headtube mounts.
Figure 2.
It is possible to pass a front brake cable and front light
wiring through the space between the rack plate and the
headtube.
CAUTION: Make sure not to pinch or cause any brake line
or wire to become pinched in this area. Carefully inspect
the cables and wires in areas where they pass between the
rack and plate and the headtube and install hardware. as in
Figure 2.
2. Tighten the bolts to 12 Nm.
3. If you are using a front light, route the cable supply line to
the light as shown in Figure 5
Route the wire to the underside of the rack and secure the
wire at each of the three cable mounts with a cable tie.
CAUTION: Do not route the cable above the rack or in the
cargo area of the rack.
4. When hardware for the rack is installed and tightened, the
rack must be xed. The rack should not be loose or shake on
the headtube. If the rack shakes or moves on the headtube
there is a problem which must be corrected. If this is the
case, remove the rack and hardware and have the rack
installed by a professional bicycle mechanic.
5. After the rack has been installed. Check to make sure
that the bicycle controls function properly. Make sure
the handlebar turns normally. Make sure the front light, if
mounted, provides adequate illumination and its beam is
not obstructed by the rack or anything within the rack.
Installation
3 of 4
Cannondale OutFront Bike Racks, Owner’s Manual
Part Identification & Tightening Torque
1
12 N·m 32X
4
4X
6
8
CP1013U10OS
10 2X
3 N·m
11
13
2X
12
3 N·m
3X
K13084
M8 X 75mm
C
C
2
6
4
4X
12 N·m 32X
3X
8
CP1023U10OS
M8 X 75mm
M8 52X
M8
M8
M8
52X
M8
(optional)
M5 X 10mm
M5 X 20mm
M5
M5
7
3X
14
15
7
9
1 . OutFront Commuter Rack
2. OutFront Cargo Rack
3. Bolt
4. Washer
5. Lock Nut
6. Mounting Points
7. Cable guides
8. Front mount
9. Front light friction bracket
10. Screw
11. Washer
12. Screw
13. Lock nut
14. Wire
15. Cable tie
Identification
Figure 5.
4 of 4
Cannondale OutFront Bike Racks, Owner’s Manual
Important Warnings
WARNINGS
INTENDED USE: ASTM Conditions 1-2, General Purpose Riding. Not Intended: For jump, stunts, and in other aggressive riding styles or
conditions. For more information about ASTM CONDITIONS 1-5 and Intended Use, read the Cannondale Bicycle Owner’s Manual
at www.cannondale.com.
COMPATIBILITY: For the integrated headtube bolted mounting system only. Do not use adapters or shims or modify the rack or bike. Do not use
clamp or straps to attach the rack. Follow the installation instructions. I f you encounter a problem, ask a professional bicycle mechanic for help.
LIGHTS & REFLECTORS: Do not remove or obscure the operations of any lights or reflectors in order to mount the rack. Do not place items in
the rack that obscure or prevent the function of any light or reflector. If the bicycle has a front light, make sure the light functions after fitting the
rack. Move the light if necessary. The rack has a mounting location on the front. See Figure 3.
LOADING LIMIT (TOTAL): 15 kg, 33 lbs. Do not overload the rack. The size of the load, namely the height, must not interfere with the handlebar
controls or with the steering of the bike. Objects placed in the rack should remain inside the rail bordering. The front rack is not a seat. Do not
carry a passenger. Do not load pets without proper installation onto the rack of a compatible and safe pet carrier. You assume all risks and liability
to both the pet and yourself. The rack alone should not be used to carry animals.
UNDERSTAND THAT ADDING ON A RACK WILL AFFECT HOW YOUR BIKE HANDLES; YOU MUST COMPENSATE. A loaded rack bag will affect
the handling (e.g., steering, stability, braking, acceleration, etc.) of your bike. You must learn to compensate for the handling effects of the loaded
items. If you use multiple racks and or cycling bags, distribute all weight across racks evenly.
DO NOT MODIFY: The rack or bike frame must not be cut, drilled, or modified in any way.
PERIODIC INSPECTION REQUIRED: The rack and frame mounting points must be periodically inspected for damage as part of your routine
bicycle maintenance. See “Inspect for Safety” in the Cannondale Bicycle Owner’s Manual for more information, go to www.cannondale.com.
INSPECTION & CRASH/IMPACT DAMAGE: After any crash or impact, immediately stop riding. Have the the rack and bicycle inspected by a
trained professional bicycle mechanic for any damage (e.g., bending, cracking, deep scratches or scoring, missing or loose parts). Never ride a
bike with any damage. Remove any damaged things in or on the rack immediately.
SECURE RACK CONTENTS: You must make sure that all items placed in the rack are secure and cannot be thrown out or shifted in the rack while
riding. You must prevent any parts of the contents, the straps, or the tie-downs used to secure the rack contents from interfering with your ability
to steer the bicycle or to use any of its controls. REMOVE ALL items in the rack when the bicycle is placed on an automobile rack. Make sure the
strap ends/hooks are secured at the frame or rack tie-down points. Make sure nothing hangs or is loose that can be caught and be entangled in a
moving wheel.
ACCESSORY ATTACHMENT/DISTRACTIONS: Do not allow any mounted/attached accessory (e.g., iPhone, Android phone, lighting system,
remote camera, or cycling computer) to distract your attention or to impair your ability to operate your bicycle safely. Any distractions can
place you at risk. Make sure you operate, adjust, or interact with mounted accessories only when the bike is stopped or when riding hazards are
significantly reduced.
ALWAYS USE A HIGH-QUALITY TORQUE WRENCH : Setting fastener torque accurately is important to your safety. A torque wrench is required
to apply the indicated torque values. . It is also very important to clean bolt threads and apply threadlock before installing a fastener. Do not
exceed the torque specified for any component. Over- or under-tightening can result in serious damage and part failure leading to an accident.
If you do not have a a torque wrench or do not know how to use one, have the parts installed or serviced by a skilled professional bicycle
mechanic
YOU CAN BE SEVERELY INJURED, PARALYZED, OR KILLED IN AN ACCIDENT IF YOU IGNORE THESE WARNINGS.
Limited Warranty
The “components” terms apply to this accessory. For more
information, go to the support area at www.cannondale.com
NOTICE
Unauthorized service, maintenance, or repair parts can result in
serious damage and void your warranty.
Care & Maintenance
Inspect the rack for damage before and after every ride. And
immediately after any crash or impact.
Clean with mild soap and water only. Dry with a clean towel.
Do not use solvents or abrasives. Cover mounted accessories to
prevent possible water damage.
Contacting Cannondale
Go to www.cannondale.com for contact information for your
region.
This manual suits for next models

1

Other Cannondale Bicycle Accessories manuals

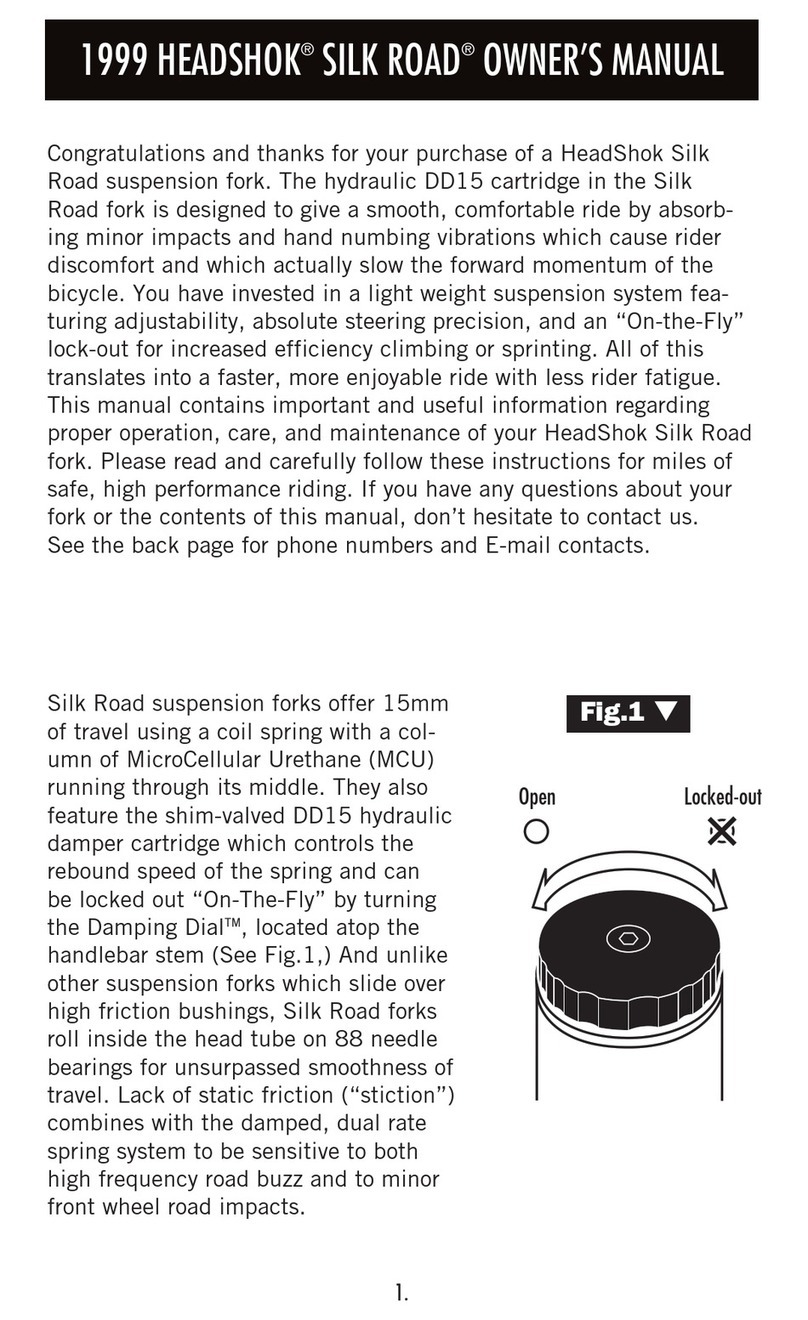
Cannondale Headshok Silk Road 1999 User manual

Cannondale

Cannondale Headshok Silk Road 1999 User manual

Cannondale Synapse Carbon Configuration guide

Cannondale

Cannondale Synapse Carbon Configuration guide

Cannondale 2011 LEFTY 126564.PDF User manual

Cannondale

Cannondale 2011 LEFTY 126564.PDF User manual

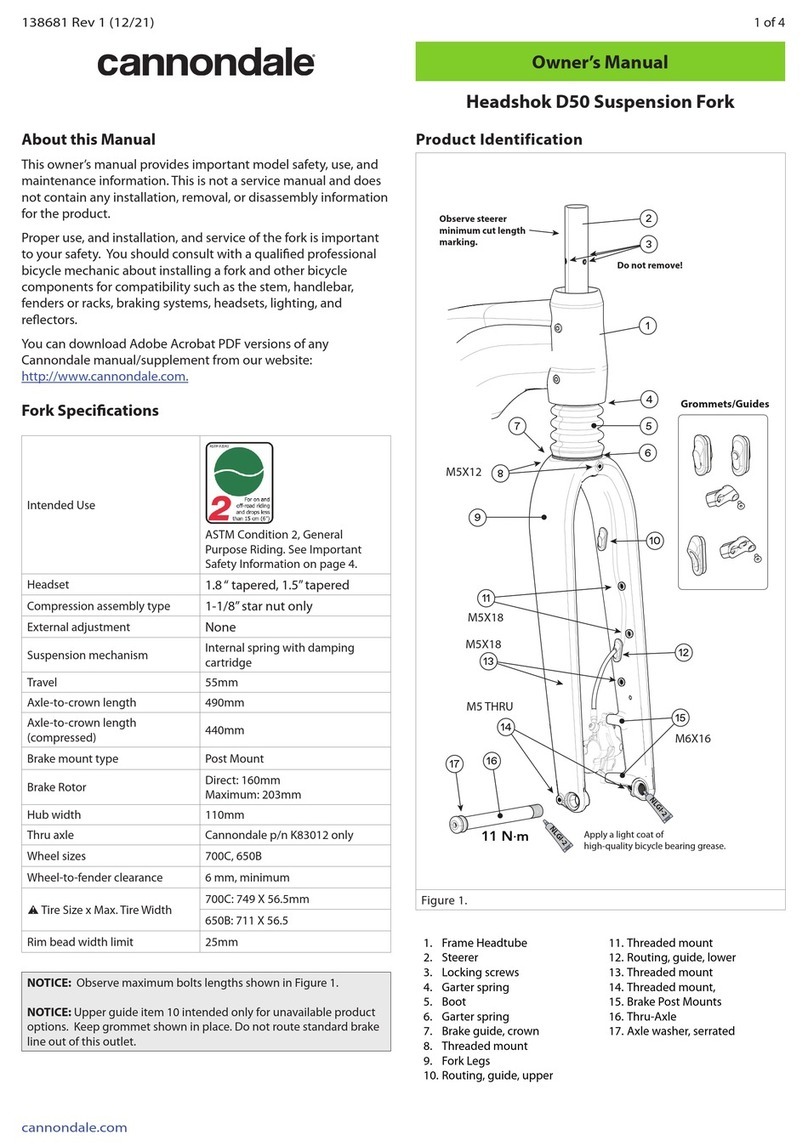
Cannondale Headshok D50 User manual

Cannondale

Cannondale Headshok D50 User manual

Cannondale LEFTY SPEED DLR2 Configuration guide

Cannondale

Cannondale LEFTY SPEED DLR2 Configuration guide

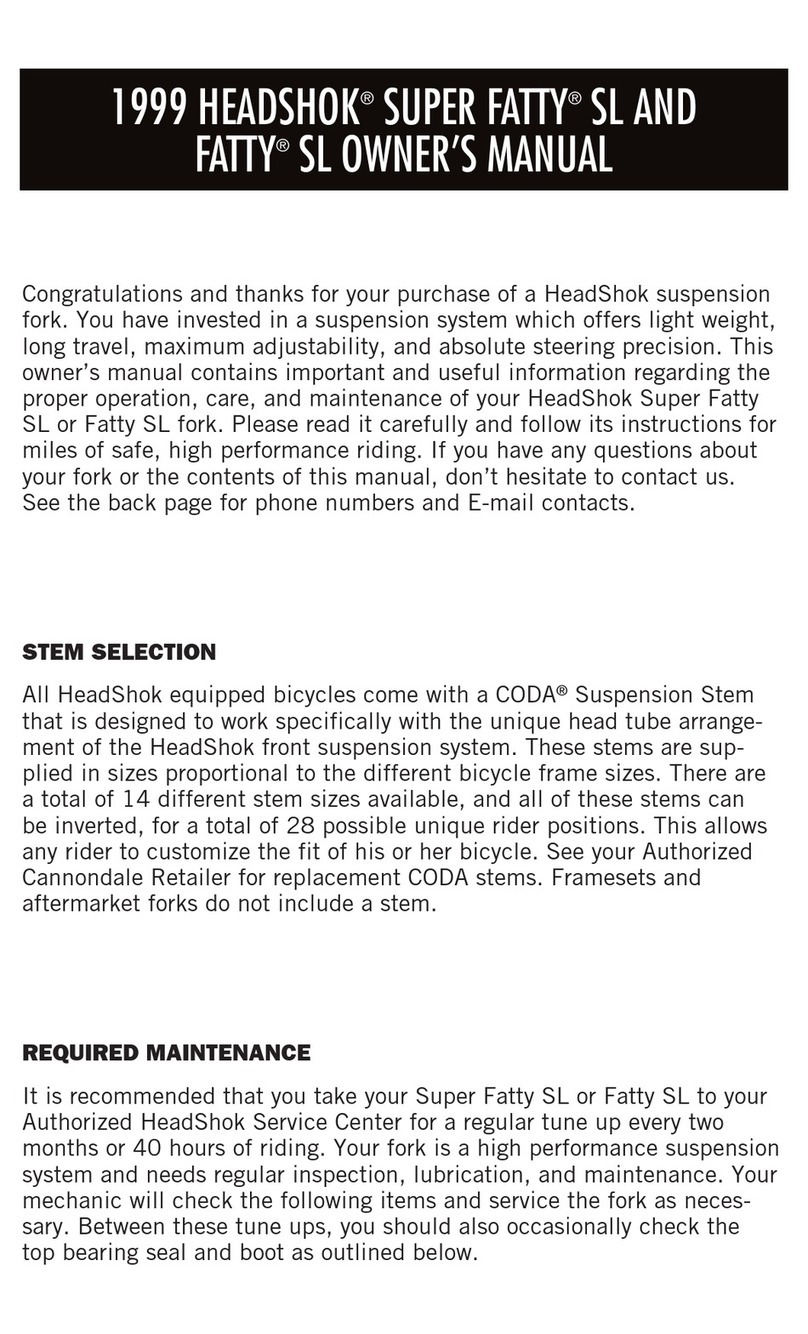
Cannondale HEADSHOK SUPER FATTY SL 1999 User manual

Cannondale

Cannondale HEADSHOK SUPER FATTY SL 1999 User manual

Cannondale IQ108 User manual

Cannondale

Cannondale IQ108 User manual

Cannondale IQ118 User manual

Cannondale

Cannondale IQ118 User manual

Cannondale LEFTY 2.0 User manual

Cannondale

Cannondale LEFTY 2.0 User manual

Cannondale Synapse Carbon Configuration guide

Cannondale

Cannondale Synapse Carbon Configuration guide

Cannondale 2012 IQ200 User manual

Cannondale

Cannondale 2012 IQ200 User manual

Cannondale 120858 Configuration guide

Cannondale

Cannondale 120858 Configuration guide

Cannondale 120027.PDF Configuration guide

Cannondale

Cannondale 120027.PDF Configuration guide

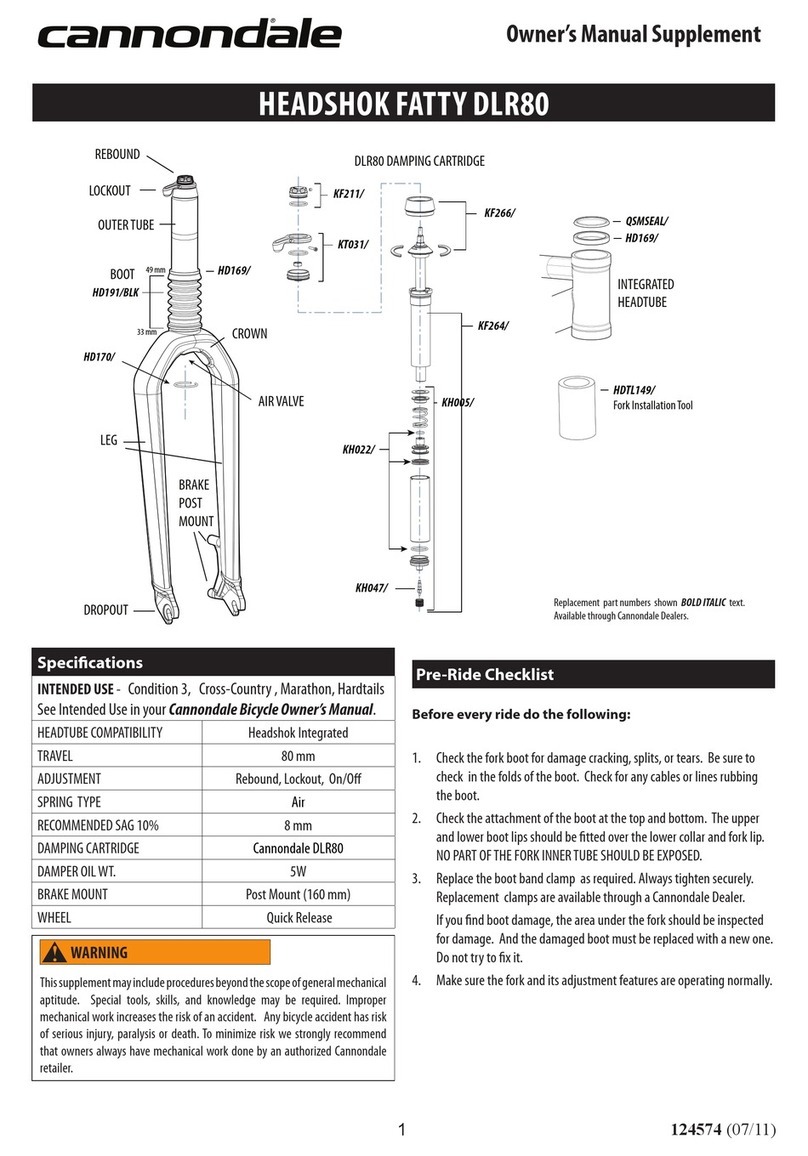
Cannondale HEADSHOK FATTY DLR80 Configuration guide

Cannondale

Cannondale HEADSHOK FATTY DLR80 Configuration guide

Popular Bicycle Accessories manuals by other brands

EV-POWER C961 user manual

EV-POWER

EV-POWER C961 user manual

TQ 4 A Charger user manual

TQ

TQ 4 A Charger user manual

EXT Racing Shox ERA Service manual

EXT Racing Shox

EXT Racing Shox ERA Service manual

Magura CLARA manual

Magura

Magura CLARA manual

Rixen & Kaul KLICKfix 0000US quick start guide

Rixen & Kaul

Rixen & Kaul KLICKfix 0000US quick start guide

QERIDOO Speedkid1 user manual

QERIDOO

QERIDOO Speedkid1 user manual

Akku Vision e-bike vision EBV E-BIKE BATTERY LITE Manual/Safety Notes

Akku Vision

Akku Vision e-bike vision EBV E-BIKE BATTERY LITE Manual/Safety Notes

Cateye CC-CD200N owner's manual

Cateye

Cateye CC-CD200N owner's manual

SRAM 1x MTB Series user manual

SRAM

SRAM 1x MTB Series user manual

Extreme Lights Endurance+ User instructions

Extreme Lights

Extreme Lights Endurance+ User instructions

hepco & becker 6616515 01 01 manual

hepco & becker

hepco & becker 6616515 01 01 manual

GHBIKE GH-511 manual

GHBIKE

GHBIKE GH-511 manual

Polar Electro M450 user manual

Polar Electro

Polar Electro M450 user manual

Silva pave Product information

Silva

Silva pave Product information

Polar Electro CS600X user manual

Polar Electro

Polar Electro CS600X user manual

HASE Bikes 26580 user manual

HASE Bikes

HASE Bikes 26580 user manual

Black Widow AMC-400 Assembly instructions

Black Widow

Black Widow AMC-400 Assembly instructions

Yamaha PW SYSTEM manual

Yamaha

Yamaha PW SYSTEM manual

manuals.online logo
manuals.online logoBrands
  • About & Mission
  • Contact us
  • Privacy Policy
  • Terms and Conditions

Copyright 2025 Manuals.Online. All Rights Reserved.