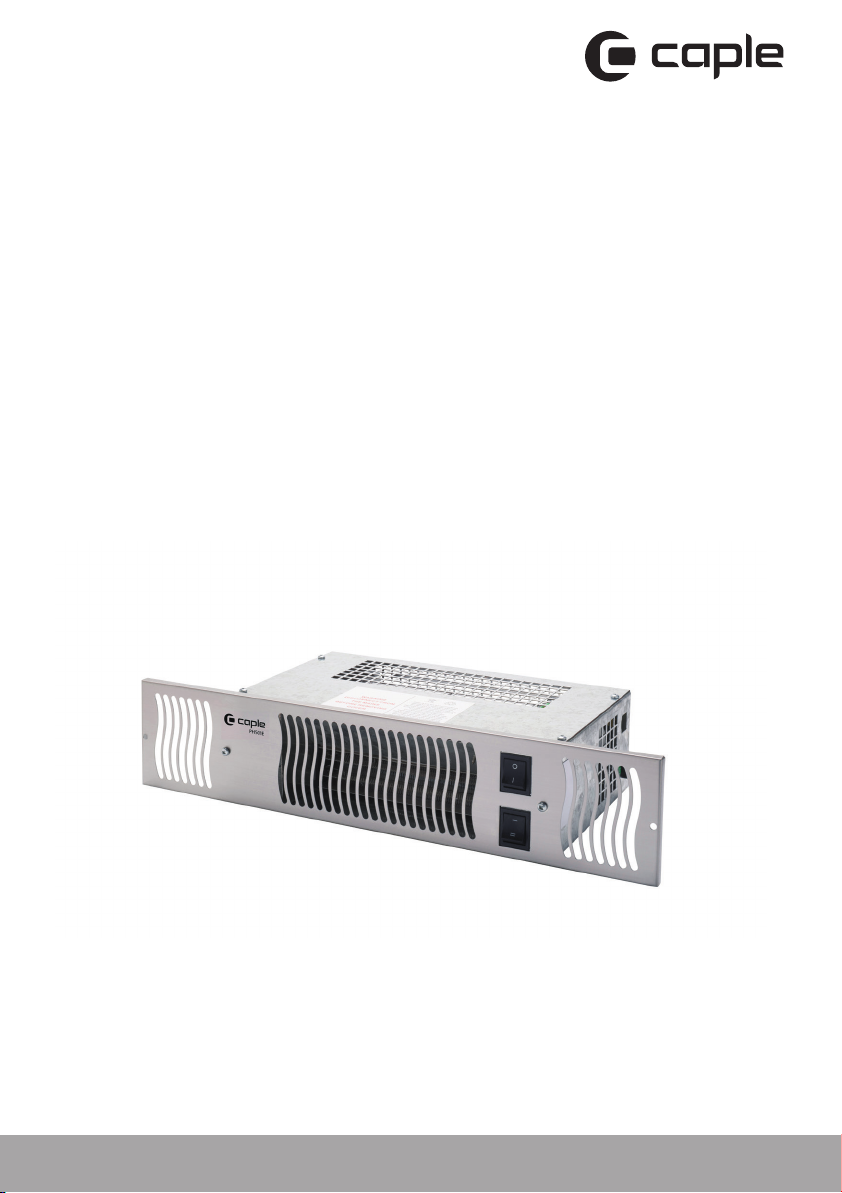
Instruction manual PH501E
Please keep this instruction manual for future reference
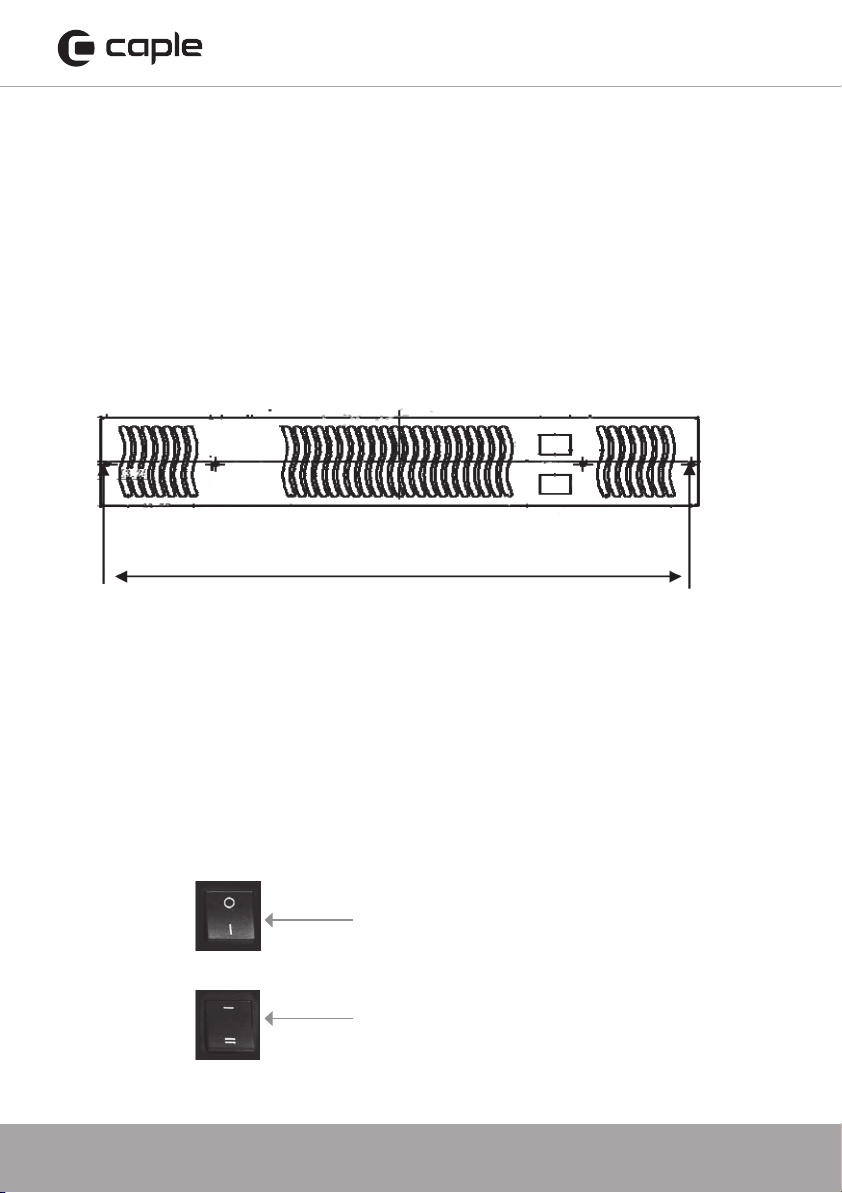
7
Electrical supply
WARNING:
Ensure the power supply to the socket is
isolated before starting any work.
Electrical connection should be via a double
pole 10 amp fused spur with a minimum
contact gap of 3mm. The fused spur should not
be directly above the heater unit, but should
be accessible after installation. This application
must be earthed.
NOTE:
It is recommended that all electrical work is carried out by a qualified electrician and
Electrical installation must comply with local and national regulations.
Wall Controller
Installation Instructions
Installation and connection should only be carried out by a suitably qualified person
and in accordance with the current edition of the IET wiring regulations.
WARNING:
Isolate mains supply before commencing installation.
Choosing a position in the room
The control unit should be fixed to the wall in a position which avoids areas of draft
or direct sunlight. Do not position above or close to other heaters or heat sources.
Also avoid areas which are damp or where the controller can be mechanically
damaged
Wiring box mounting
The controller is designed to fit directly onto a single gang back box. When a metal
box is used this must be earthed. The controller is powered by mains 240VAC 50HZ
and has a power consumption less than 1W. The maximum size of wire that can
be used is 1.5mm¬¬2. Do not overtighten the connector screws. Take care not to
damage the components when connecting the cables.
PH501E Instruction manual.indd 7 16/07/2018 13:44