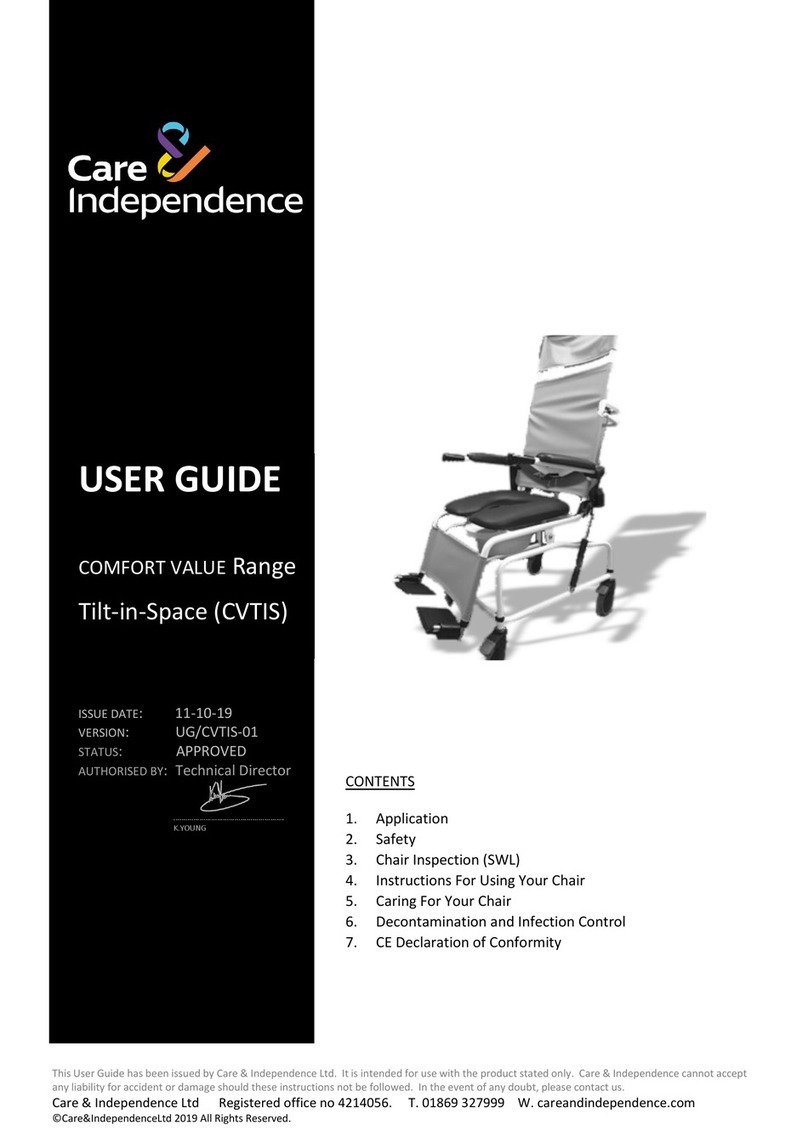
Care & Independence Adult TIS Shower Chair User manual

Tilt In Space
Chairs and Cradles
Model Number
Description
Safe Working Load
Serial Number
OPERATOR MANUAL
Tel: +44 (0)1869 327 999

CIMAN009 – Issue 1
Tilt In Space Chair/Cradle User Guide
Safe Working Load (SWL)
All of our standard Chairs are designed and tested to meet the requirements of
the stated Safe Working Load.
Ref
Description
SWL
900/2
Stainless Steel Tilt In Space Shower Cradle
150kgs
900/P/2
Stainless Steel Paediatric Tilt In Space Shower Cradle
150kgs
900/IN
Stainless Steel Tilt In Space Infant Shower Cradle
100kgs
981/2
Stainless Steel Tilt In Space Shower Chair
150kgs
981/2/P
Stainless Steel Tilt In Space Paediatric Shower Chair
150kgs
981/IN
Stainless Steel Tilt In Space Infant Chair
100kgs
981/TIS/PVC
Stainless Steel Wipe Clean Tilt In Space Chair
150kgs
981/TIS/B
Stainless Steel Bariatric Tilt In Space Chair
200kgs
Seat Height Adjustment
Please Note: Height adjustment can only be achieved when the Chair is
not in use.
1 - Remove the pin clip from the leg.
2 - Select the desired seat height by sliding out the leg from the frame.
3 - Refit pin clip.
4 - Repeat the adjustment for the other legs.
Brake Operation
Chairs are fitted with braked castors (identified by a red pedal). This is a foot-
operated brake. (Bariatric Chair brakes are stainless steel).
1 - Press down with the ball of the foot onto the front of the pedal to operate the
brake.
2 - Push back on the pedal to release.

CIMAN009 – Issue 1
Recline Operation
The tilting mechanism is operated via a full width bar located below the push handle.
1 - To release the mechanism pull the operating bar upwards.
2 - Holding the operating bar and handle push down until the desired recline angle is
achieved.
3 - Release the operating bar to lock position.
4 - Reverse the previous action to return the chair to upright position.
Armrests
Note: The armrests must not be used to help manoeuvre the Chair. Push
handles are supplied for this reason.
Folding Armrests
The armrest is a self-supporting arm.
To raise the arm lift / fold upwards.
To lower the arm pull / fold downwards.
Removable Armrests. (With Or Without Padded In-Fills)
These fit into a socket on the side of the Chair frame, located below the seat line.
1 - To remove the arm, release the hand wheel and pull / lift upwards.
2 - To replace the arm, Insert the tube end of the arm into the socket and secure
with the hand wheel.
3 - Padded in-fills, where fitted, should not be removed without a suitable
replacement arm or infill being available.
Footrest Adjustment
1 - Remove the pin clip or release the hand-wheel, (dependant on model), located at
the lower part of the legs.
2 - Select the desired footrest height by sliding the footrest assembly up or down.
3 - Refit the pin clip or secure the hand-wheel.
Note: ensure the footrest is correctly adjusted for the service user.
4 - Where fitted the optional fold-up footrest is height adjusted in the same way.

CIMAN009 – Issue 1
Headrest Adjustment
1 - Release the finger screws at the top of the backrest and insert the headrest
down-tubes.
2 - Select the desired headrest height by sliding the headrest assembly up or down.
3 - Secure the finger screws.
4 - The headrest mesh is secured and adjusted with hook and loop fastenings.
Note: ensure the headrest is correctly adjusted for the service user.
Seat Removal, Cleaning, Adjustment and Re-fitting
The Chair is available with a choice of seat configurations and has been provided
with the seat type and style agreed during the initial assessment.
•Gap Fronted / Horseshoe.
•Toilet / Aperture seat.
•Full seat – no aperture used for showering only.
•Flexi-seat – two part split seat. (Moulded adult only).
ADULT CHAIR
Gap, Toilet and Full Seat
Gap front, Toilet and Full Seats are fitted on a moulded plastic base and can be
easily removed for cleaning or replacement.
The seat is secured by 4 black plastic tabs on the bottom of the seat, do not try to
remove the seat without first releasing the tabs - this seat is not a snap/clip on
seat.
To Remove The seat
1 - Rotate each of the four black tabs so that they are clear of the seat support
tubes.
2 - Lift the seat up and off.
Refitting The Seat
1 - Align the seat with the seat support tubes and press down, ensure the black
tabs are clear of the tubes before pressing down.
2 - Rotate each of the four black tabs until they lie across the seat support tubes.
Flexi-Seat
The rubber moulded Flexi-seat prevents water ingress,
minimising the risk of cross contamination.
The seat is secured by 4 bolts on the base of the seat and it can
be removed for easy cleaning, a suitable Allen key will be
required (not supplied).

CIMAN009 – Issue 1
When removing the seat for maintenance or cleaning we suggest that you note
the dimensions of the aperture and gap at the front of the chair to ensure it is re-
fitted in the correct position.
The seat is adjustable in width to allow improved posture and comfort.
Ensure that the seat is set correctly for the Service User.
Ensure that the gap in the “Flexi-seat” will not allow any part of the Service User’s
body to become trapped.
To Adjust The Seat
1 - Remove commode pan (if fitted).
2 - Release each bolt, to allow the seat to move.
3 - Position the seat as required.
4 - Tighten the bolt.
5 - Repeat operations 1 to 4 for the opposite side.
PAEDIATRIC AND INFANT CHAIRS
Gap, Toilet and Full Seat
Gap Front, Toilet and full Seat are fitted directly to the frame and secured with Allen
head screws.
Undo the 4 Allen head screws bolts securing the seat and it can be removed for easy
cleaning, or replacement. A suitable Allen key will be required (not supplied).
Replacement is a reverse of the above operation.
Flexi-Seat, (Split Seat)
The Flexi-seat when supplied with the Paediatric and Infant Chairs is an upholstered
rather than moulded seat. Adjustment and removal, however, is the same as on the
adult chair.
Tilt In Space Cradle Mesh, Mesh Backrests, (where fitted to chairs), and Calf-
Straps
Dependant upon specification the full Cradle mesh can be supplied with or without
an aperture for toileting/access. The full cradle mesh, mesh backrest and calf-straps,
have webbing straps which are used when fitting and removing meshes and to
secure them to the Cradle/Chair. The straps are also utilised to alter the tension of
the mesh.
Mesh Removal
1 - Undo all of the plastic side-pinch buckles on the webbing straps.
2 - Locate and remove the two plastic seat support ‘bones. (These are located in
sleeves underneath either side of the seat on an aperture mesh only).
3 - Remove the mesh.
4 - Replacement of the mesh is a reversal of the above process.
CIMAN009 – Issue 1
Mesh Adjustment
Dependant on the need of the service user, the tension on the individual webbing
straps can be increased or decreased to provide a more rigid or looser level of
support. This can be achieved by using the adjuster on the male side of the side-
pinch buckles.
Note: Side-pinch buckles should be inspected regularly for any signs of wear.
Do not subject them to excessive heat when cleaning.
(Side-Pinch
Buckles) (Adjuster)
Wipe Clean Tilt In Space Chair
The PVC backrest, headrest cover and calf-strap of the Wipe Clean Tilt In Space
Chair are secured and adjusted with PVC straps and plastic side-pinch buckles.
These can be removed and replaced in the same way as the mesh equivalent.
Cleaning and General Maintenance
1 - Where the unit is fitted with a mesh cover it is important to check the straps
are secure before use.
2 - Clean seat, vinyl parts and frame with a mild soap solution / cleaning agent
and a damp cloth.
3 - DO NOT USE BLEACH or AGENTS CONTAINING BLEACH.
4 - “Towel” dry after use. Any materials used should be disposable and dealt with
in an environmentally safe manner.
5 - Mesh covers should be removed regularly to facilitate cleaning. Please refer
to the product label for washing instructions.
6 - Regularly inspect all parts for defects.
7 - Keep castors / wheels free from lime-scale, soap, hairs and fibres.
8 - Gas struts should be inspected and lubricated where necessary – if in doubt,
please contact your supplier.
9 - In multi-user situations, please be aware of any infection control policies that may
be in force or appropriate.

CIMAN009 – Issue 1
Warranty
We are pleased to offer a standard warranty of 15 years on stainless steel
frames, (2 years on all other components), from the date of invoice. It is subject
to the following general terms and conditions:
A -Should problems be experienced with any workmanship or materials within
the first 15 years on the stainless steel frame, (and the first 2 years on all other
components), please contact your point of purchase or Aidservice Ltd. (Within
normal working hours 9am – 5pm Monday to Friday).
B - Please quote the serial number of the product, (where applicable), which will
be found on the front cover on this user guide or on the product itself.
C - The product will be repaired free of charge provided that it has been used in
accordance with the guidelines and recommendations set out in this user guide,
and serviced and / or maintained by Care & Independence Ltd, or competent
person,(s), authorised by Care & Independence Ltd.
D - The warranty does not cover replacements, adjustments, and repairs arising
from a consequence of normal wear & tear, wilful damage, accidental damage,
misuse, neglect or any cause, which is beyond the manufacturer’s control.
E - The warranty does not cover modifications or repairs made to the product by
unauthorised persons, the use of unauthorised parts, or any failure or malfunction
due to incorrect and/or poor workmanship on the part of any person, other than
Care & Independence Ltd or competent person(s) authorised by Care &
Independence Ltd.
F -This warranty does not affect your statutory consumer rights.

Manufactured By
Care & Independence Ltd
10 Dobson Park Estate
Dobson Park Way, Ince
Wigan, Lancashire WN2 2DX
Tel: 01869 327999
Email: [email protected]
www.careandindependence.com
EU93-42
This manual suits for next models
5
Table of contents
Other Care & Independence Wheelchair manuals

Care & Independence
Care & Independence COMFORT VALUE Series User manual

Care & Independence
Care & Independence COMFORT VALUE CVSC/ATT User manual

Care & Independence
Care & Independence COMFORT VALUE CVSC/ATT User manual

Care & Independence
Care & Independence Warwick Cradle User manual

Care & Independence
Care & Independence Grasshopper User manual

Care & Independence
Care & Independence Bariatric 981 User manual