manuals.online logo
Brands
  1. Home
  2. •
  3. Brands
  4. •
  5. Care & Independence
  6. •
  7. Wheelchair
  8. •
  9. Care & Independence COMFORT VALUE CVSC/ATT User manual

Care & Independence COMFORT VALUE CVSC/ATT User manual

CONTENTS
1. Application
2. Safety
3. Chair Inspection (SWL)
4. Instructions For Using Your Chair
5. Caring For Your Chair
6. Decontamination and Infection Control
7. CE Declaration of Conformity
This User Guide has been issued by Care & Independence Ltd. It is intended for use with the product stated only. Care & Independence cannot accept
any liability for accident or damage should these instructions not be followed. In the event of any doubt, please contact us.
Care & Independence Ltd Registered office no 4214056. T. 01869 327999 W. careandindependence.com
©Care&IndependenceLtd 2019 All Rights Reserved.
USER GUIDE
COMFORT VALUE Range
Shower Chair
(CVSC/ATT)
(CVSC/SP)
ISSUE DATE: 11-10-19
VERSION: UG/CVSC-01
STATUS: APPROVED
AUTHORISED BY: Technical Director
………………………………………………..
K.YOUNG
USER GUIDE: COMFORT VALUE Shower Chair (CVSC/ATT + CVSC/SP)
UG/CVSC-01
1. APPLICATION
The COMFORT VALUE Shower chair is designed to be used as a self-propelling or attendant operated.
All the parts being interchangeable to facilitate simple change of operation should this be required.
NOTE: The standard CVSC/ATT and the standard CVSC/SP chair is only supplied in one configuration, with the option of
additional parts being purchased separately. Please refer to the Technical Manual for information concerning
optional extras
2. SAFETY
 Please read this User Manual carefully before using the CVSC/ATT or CVSC/SP chair. Any person
who is likely to use the equipment needs to familiarise themselves with the user instructions.
 Before each use the chair should be visually inspected to ensure it is free from defects.
 We advise that vulnerable service users are not left unattended to use this equipment.
 Further guidance is available via www.careandindependence.com
3. CHAIR INSPECTION (SWL)
All our standard chairs are designed and tested to meet the requirements of the stated Safe Working
Load. For the CVSC/ATT the Safe Working Load (SWL) is 180Kgs. For the CVSC/SP the Safe Working
Load (SWL) is 150Kgs.
Before each use the chair and associated accessories must be visually inspected for the following:
 Condition of frame – not bent or twisted, coating not perished (where applicable)
 Castors are correctly adjusted and locking pins fitted
 Castors/wheels are not loose
 Brakes operate
 Seat is secure
 Seat not split
 Footrests (if fitted) lock in place and the foot plates are correctly adjusted and secure
 Backrest not split
 Armrests are secure
 Arm pads are secure and not split
 Lap-strap (if fitted) not entangled in wheels and buckle not broken
 Commode pan (if fitted) not cracked and fits securely
NOTE: This is not an exhaustive list and additional consideration should be made for the
severity of use, the environment where equipment is used.
4. INSTRUCTIONS FOR USING YOUR CHAIR
4.1.1 Adjusting the Seat Height* (Attendant Model only)
i. Remove the pin clip from the leg.
ii. Select the desired seat height by sliding out the leg from the frame (This is a telescopic
action).
iii. Refit pin clip.
iv. Repeat the adjustment for the other legs.
v. Ensure all legs are adjusted equally.
*NOTE: Height adjustment can only be achieved when the chair is not in use.
4.1.2 Self Propelling Model Adjusting the Wheels (Metal Plate)
To change / adjust the size, height or position of the self-propelling wheels, a 19mm spanner,
socket and ratchet are required (not supplied).
i. Remove the covers from the axle bolts and wheel centre.
ii. Remove the locking nut & washer from the axle bolt.
USER GUIDE: COMFORT VALUE Shower Chair (CVSC/ATT + CVSC/SP)
UG/CVSC-01
iii. Select the position for the wheel and insert the axel bolt through the mounting plate.
iv. Re-fit the washer and locking nut (locking nut should be replaced by a new nut)
v. Repeat the processes for the opposite wheel, ensuring that the axle bolt is positioned in
the same hole on the mounting plate. You will need to adjust the front castors to match
the rear wheels as explained in 4.1.1.
The brakes will also need adjustment and a suitably sized Allen key wrench will be required
(not supplied).
i. Release the Allen key bolt on the brake-mounting block.
ii. With the brake in the fully released position slide the brake to the required position
(leaving a gap of approx. 15mm between the brake and the tyre).
iii. Re-tighten the Allen key bolt.
iv. Repeat operations 1 to 3 for the opposite side.
4.3 Braked Wheels & Castors
4.3.1 Attendant
Attendant chairs are fitted with brake castors (identified by a red pedal). This is a foot-
operated brake.
i. Press down with the ball of the foot onto the front of the pedal to operate the brake.
ii. Push back on the pedal to release.
4.3.2 Self-propelling Wheel - Operating the Hand Brakes
Self-propelling models are fitted with a hand brake.
 To operate the brake: push forward on the brake lever until it locks in place
 To release the brake: pull back on the brake lever.
The brakes may also require adjustment and a suitably sized allen key wrench will be
required (not supplied).
i. Release the allen key bolt on the brake-mounting block.
ii. With the brake in the fully released position slide the brake to the required position
(leaving a gap of approx. 15mm between the brake and the tyre).
iii. Re-tighten the allen key bolt.
iv. Repeat operations i-iii for the opposite side
4.4 Armrests
4.4.1 Operation
The armrest is a self-supporting arm. The armrests must not be used to help manoeuvre
the chair; push handles are supplied for this reason.
 To raise the arm: lift / fold upwards.
 To lower the arm: pull / fold downwards.
4.4.2 To Replace the Arm or Adjust the Resistance
i. Remove the outer black plastic cap – 2 x posi pan screws
ii. Remove or tighten the nyloc nut depending on the task
 Tightening will increase the resistance required to fold the arm
 Removing the nut will all the arm to be removed and the mouldings replaced or
lubricated
iii. Once the nyloc nut is removed, the arm can be removed from the pivot bolt.
iv. The swivel moulding can now be removed and replaced or lubricated using grease.
Refitting is the reverse of the removal process
USER GUIDE: COMFORT VALUE Shower Chair (CVSC/ATT + CVSC/SP)
UG/CVSC-01
4.4.3 Replacing the Arm Pad
The chair is fitted with two rubber moulded arm pads. These are secured by two pozi pan self-
tapping screws.
 To remove the arm pad: unscrew the screws
 To refit: sling the fitting holes in the arm pad with the holes on the tubular arm and secure
with a self-tapping screw.
NOTE: Ensure the screws are tight to avoid the arm pad twisting
4.5 Footrest
Do not stand on the footrests as this may result in the chair tipping. The footrests have been
designed to be removed or folded away to ease access to and from the chair.
4.5.1 Lock & Removal
The footrest is designed to swing away. It is detachable by a simple single-handed
operation.
 To lock: the footrest is locked in place by a V-groove and a plastic clip.
 To remove the footrest: lift upwards.
4.5.2 Adjustment
The footrests are adjustable in height:
i. Remove the footrest from the frame by pulling upwards
ii. Remove the black pin on the side footrest socket
iii. Refit pin in required hole
iv. Refit footrest
4.6 Seat, Removal, Re-fitting
The chair is fitted with a gap front/horseshoe seat as standard, secured with grey snap on clips.
 To remove the seat: pull seat upwards sharply
 To refit the seat: align the snap on clips and push / press down firmly
4.7 Backrest - Removal and Refitting
 The backrest is not fixed to the main frame of the chair.
 Clean with soap and water and mild anti-bacterial cleaner, do not use bleach
 To remove / fit the backrest: slide over the backrest upright tubes
4.8 Accessories
4.8.1 Commode pan
The commode pan is mounted on a bracket under the seat. The commode pan rack is bolted
to the support plate.
Fitting the rack:
i. Align the holes in the rack with the slots in the support plate
ii. Fit bolt through the support plate and the commode rack
iii. Fit the washer and finger tight the nut
iv. Adjust the width of the rack to support the pan and tighten the nuts to secure the rack
It can be removed from the front or the rear of the chair. Undo the four fixing nut &
bolt using 10mm spanner and 4mm allen key (not supplied).
NOTE: Clean by hand only using warm water and a suitable detergent and antibacterial agent or bleach, this
pan is not suitable for pan washers
USER GUIDE: COMFORT VALUE Shower Chair (CVSC/ATT + CVSC/SP)
UG/CVSC-01
4.8.2 Lap strap
 The lap strap is provided in one size only and can be adjusted to suit the service user.
 The lap strap can be removed for cleaning, it is recommended that the lap strap is
washed at 70 degrees using a non-biological washing powder.
 It is fixed to the main frame of the chair by looping the end around the up-right and
threading it through a Tri-slide buckle. This can also be adjusted to lengthen or
shorten the strap.
 To release the buckle: squeeze on the edge and pull apart.
4.8.3 Headrest – Removal and Refitting
 The headrest is not fixed to the main frame of the chair.
 Clean with soap and water and mild anti-bacterial cleaner, do not use bleach.
 To remove / fit the backrest slide over the backrest upright tubes
4.8.4 Calf Strap – Removal and Refitting
 The calf strap is not fixed to the main frame of the chair.
 Clean with soap and water and mild anti-bacterial cleaner, do not use bleach.
 To remove / fit the backrest: slide over the calf support tubes.
4.8.5 Thoracic Support – Fitting and Adjustment
i. Release all of the plastic side-pinch buckles on the strap.
ii. Tread strap between the frame and release mechanism.
Replacement refitting of the support is a reversal of the above process.
Clean with soap and water and mild anti-bacterial cleaner, do not use bleach.
5. CARING FOR YOUR CHAIR
5.1 Clean seat, back and frame with a mild soap solution / cleaning agent and a damp cloth.
5.2 DO NOT USE BLEACH or AGENTS CONTAINING BLEACH.
5.3 Towel dry after use. Any materials used should be disposable and dealt with in an
environmentally safe manner.
5.4 Regularly inspect all parts for defects.
5.5 Keep castors / wheels free from lime-scale, soap, hairs and fibres.
6. DECONTAMINATION AND INFECTION CONTROL
In multi-user situations, please be aware of any infection control policies that may be in force or
appropriate.
7. CE DECLARATION OF CONFORMITY
The CVSC/ATT and CVSC/SP chair is designed by and manufactured for Care & Independence Ltd. Care
& Independence are a UK manufacturer registered with MHRA as a Class 1 Medical Device
Manufacturer and meet the essential requirements set out in Annex 1 of the Medical Device Directive
93/42EEC.
CE EU93-42
NOTE: A one year warranty applies to the CVSC/ATT and CVSC/SP products which are
subject to general terms and conditions which can be obtained on request from Care & Independence.

This manual suits for next models

2

Other Care & Independence Wheelchair manuals

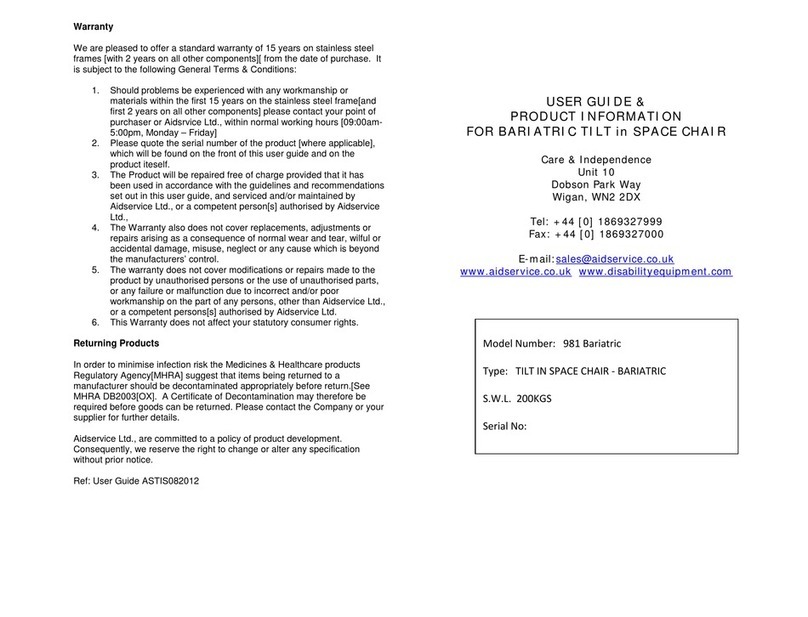
Care & Independence Bariatric 981 User manual

Care & Independence

Care & Independence Bariatric 981 User manual

Care & Independence Warwick Cradle User manual

Care & Independence

Care & Independence Warwick Cradle User manual

Care & Independence COMFORT VALUE CVSC/ATT User manual

Care & Independence

Care & Independence COMFORT VALUE CVSC/ATT User manual

Care & Independence COMFORT VALUE Series User manual

Care & Independence

Care & Independence COMFORT VALUE Series User manual

Care & Independence Grasshopper User manual

Care & Independence

Care & Independence Grasshopper User manual

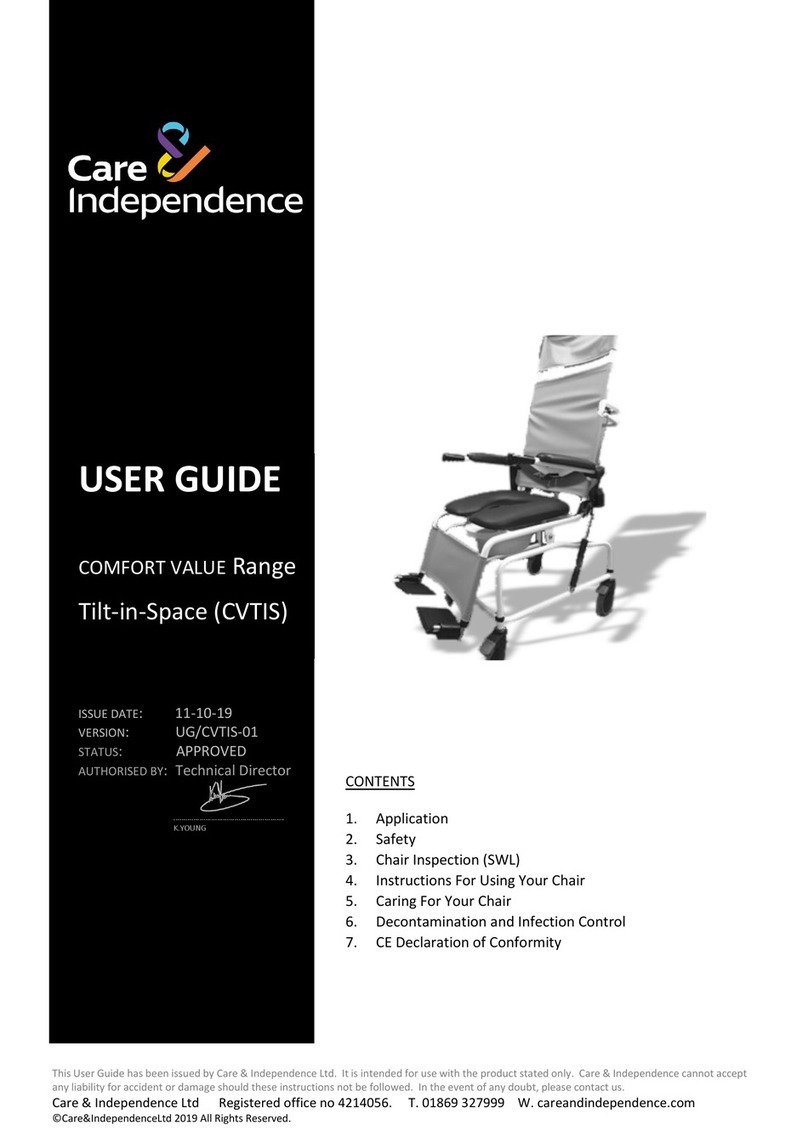
Care & Independence Adult TIS Shower Chair User manual

Care & Independence

Care & Independence Adult TIS Shower Chair User manual

Popular Wheelchair manuals by other brands

Küschall CHAMPION user manual

Küschall

Küschall CHAMPION user manual

Meyra 2.322 operating manual

Meyra

Meyra 2.322 operating manual

RGK Wheelchair user manual

RGK

RGK Wheelchair user manual

Permobil M1 user manual

Permobil

Permobil M1 user manual

PG Drives Technology R-NET OMNI Technical manual

PG Drives Technology

PG Drives Technology R-NET OMNI Technical manual

panthera 3302510 Assembly instruction

panthera

panthera 3302510 Assembly instruction

interco AKTIVLINE Basis SB 35 Operating guidelines

interco

interco AKTIVLINE Basis SB 35 Operating guidelines

Schuchmann Boris Instructions for use

Schuchmann

Schuchmann Boris Instructions for use

Invacare Kite user manual

Invacare

Invacare Kite user manual

LIW BAFFIN TRIO manual

LIW

LIW BAFFIN TRIO manual

Invacare Pronto M71 Base Specifications

Invacare

Invacare Pronto M71 Base Specifications

Stealth mo-Vis Series user manual

Stealth

Stealth mo-Vis Series user manual

Pride Mobility Jazzy Select Series owner's manual

Pride Mobility

Pride Mobility Jazzy Select Series owner's manual

Active Design ROGEO PHYSIO AHR user manual

Active Design

Active Design ROGEO PHYSIO AHR user manual

Invacare Pronto M91 user manual

Invacare

Invacare Pronto M91 user manual

inada HCP-D5A manual

inada

inada HCP-D5A manual

Invacare Storm 4 Series user manual

Invacare

Invacare Storm 4 Series user manual

Everest & Jennings Traveler HD user manual

Everest & Jennings

Everest & Jennings Traveler HD user manual

manuals.online logo
manuals.online logoBrands
  • About & Mission
  • Contact us
  • Privacy Policy
  • Terms and Conditions

Copyright 2025 Manuals.Online. All Rights Reserved.