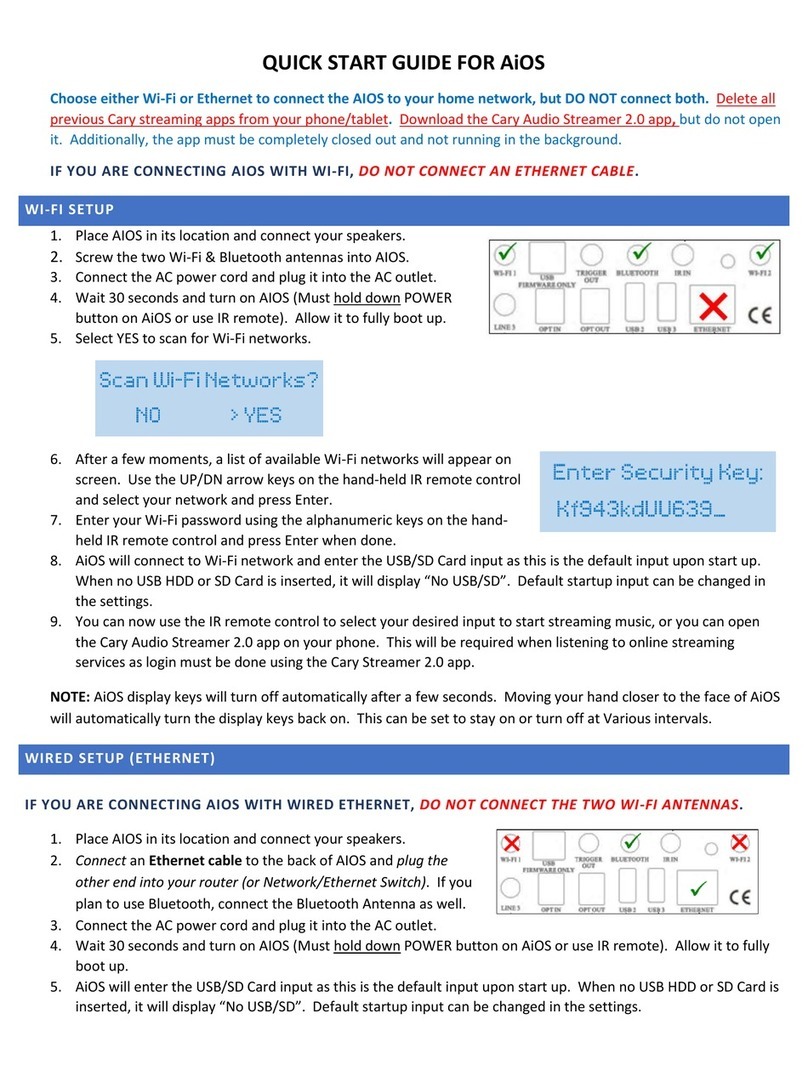
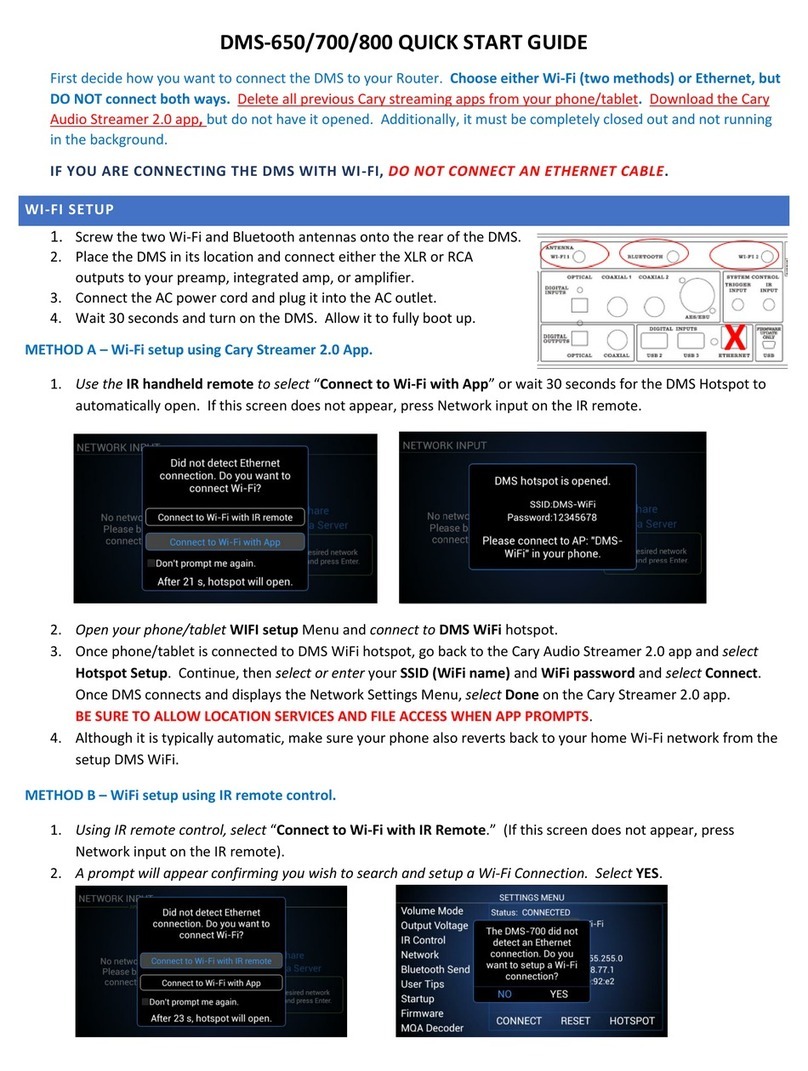
3. Select your Wi-Fi network and press Enter.
4. Using the alphanumeric keys on the hand-held IR remote, enter your Security Key, and select Connect.
WIRED SETUP (ETHERNET)
IF YOU ARE CONNECTING THE DMS WITH WIRED ETHERNET, DO NOT CONNECT THE TWO WI-FI ANTENNAS.
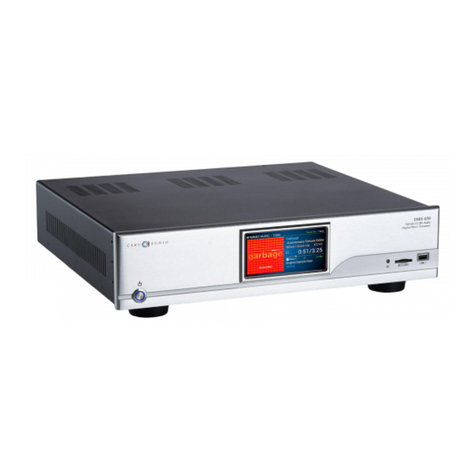
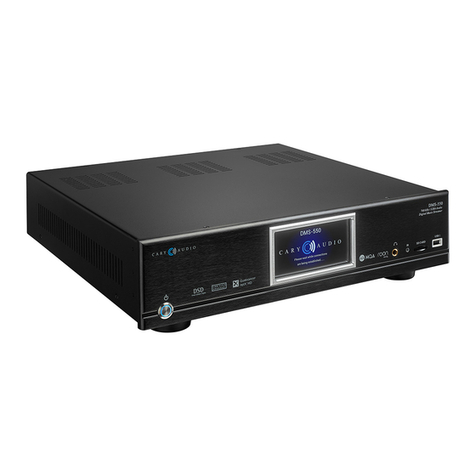
1. Place the DMS-700 within a cable run of your router.
2. Connect an Ethernet cable to the back of the DMS-700 and plug
the other end into your router (or Network/Ethernet Switch).
3. Connect the AC power cord and plug it into the AC outlet.
4. Wait 30 seconds and turn on the DMS. Allow it to fully boot up.
Note: If connection is not automatically established, Press Menu on
the IR remote and navigate to Network Settings and select Wired and
DHCP (for automatic configuration) and press Connect.
Once the DMS has established a network connection, it will default to the
USB input. The DMS is now ready to enjoy. Just select whichever input
source you wish to listen to i.e.; Network Servers/PCs, Internet Music
Services, USB & SD Card.
NOTE: The DMS default volume is set to -30. If connected directly to an
amplifier, slowly increase volume to an acceptable level. If connected to a
preamplifier, integrated amplifier, or receiver (something with a volume
control), set the DMS volume anywhere from 0.0 to +8.0 and leave it. However, it is recommended to set it to +8.0 for
Pure Audio Mode (assuming your input component can handle a 3.0 volt input) for best sound quality. Subsequent
volume control should be done by the preamplifier, integrated amplifier, or receiver.
To get the most out of your DMS it is HIGHLY recommended to download the full manual at www.caryaudio.com.
Without doing so, you will not fully understand all the settings and operational procedures which could lead to misuse
and potential damage to other components as it relates to volume and voltage output control.
Enjoy,
The Cary Audio Team
