Casio A5512CA Installation guide

Pair Function
Teens Mode
Mail
Inputting
Characters
Making and
Answering Calls
Address Book
Getting Ready
Camera
EZweb
EZ Navi
Smart Mode
Troubleshooting
Remote Auto Lock
Other
Functions
Index
by CASIO
A5512CA

目
次
ご利用いただ
く
前
に
電話
文
字
入
力
アドレス
帳
ペア
機能
スマー
ト
モード
・
テ
ィ
ーンズモー
ド
メモ
帳
・録音機
能
カメ
ラ
データフォル
ダ
エン
ジ
ョイツー
ル
メ
ー
ル
EZw
eb
EZ
ナビ
EZ
アプリ
(
BREW
®
)
メニュー
(
M
)
機
能
便利な
機能
au
の
ネ
ットワーク サービ
ス
付録
/
索
引
ク
イッ
ク
ガイ
ド
by CASIO
by CASIO
ペア機能
ティーン ズ モ ード
メール
文字入力
電話
アドレ ス 帳
ご利用前の
準備
カメラ
EZweb
EZナビ
スマートモード
困ったときは
遠隔オートロック
その他機能
English
索引
Introduction
Thank you for purchasing the A5512CA. Before using it for the first time, be sure to read
the A5512CA Basic Manual (this PDF manual) so you know how to use it correctly. After
you finish reading this manual, store it and the printed materials that come with the phone
in a safe place for future reference.
Printed Manuals for the A5512CA (Japanese)
The A5512CA comes with a Basic Manual and an Instruction Manual.
The following information is also available on the au website.
• To download the Basic Manual or Instruction Manual
(http://au-pro.kddi.com/phone/torisetu/index.html)
• To access a keyword searchable au online manual
(http://www.au.kddi.com/manual/index.html)
You can also access the au online manual using EZweb.
EZweb Access
EZトップメニュー(
EZ Top Menu
)
→料金・申込・インフォ(
Charges, Applications, and Info
)
→auオンラインマニュアル(
au Online Manual
)
For information about basic
operation
A5512CA Basic Manual
Equivalent to this English PDF manual.
For detailed information
about each function
A5512CA Instruction Manual
English version not available.
The typeface, fonts, and colors of the text on the example screens in this manual may differ from
the screens that actually appear on the display of the phone. Also, certain icons and the scroll
bars are not included on sample screens.
Note
You can also read the barcode (QR code) shown
here and use it to access the au Online Manual.

1
Cellphone Etiquette
Mind your manners!
A cellphone always emits weak radio waves while it is turned on.
Enjoy operation of your cellphone without forgetting to be considerate
of those around you.
kSome locations do not allow the use of
cellphones.
•Using a cellphone while driving is both dangerous and
prohibited by Japanese law.
•Using a cellphone inside of an aircraft is prohibited by
law. Be sure to turn off your cellphone before takeoff.
kWatch out where you use your cellphone,
and keep your voice down.
•Do not make calls from cinemas, theaters, museums,
libraries, or other similar locations. Turn off the
cellphone or use Manner Mode to ensure that the ring
tone does not disturb others.
•When in public, move to a location where you will not be blocking traffic.
•On the Shinkansen, in a hotel lobby, or in other similar locations, move to a
location where you will not disturb others.
•Take care to avoid talking on the phone in a loud voice.
•Before taking the picture of others, be sure to obtain their permission first.
kCellphone radio waves may interfere with
electrical medical equipment.
•On a train or in other crowded locations, there is
always the possibility that someone nearby may be
wearing a pacemaker. Turn off your cellphone when
you are in a crowded area.
•Follow the rules of hospitals and other medical facilities
concerning the use or possession of cellphones.

2
Features
Cellphone Basics
Camera
Record photos and
movies, and send
them by e-mail.
Page 58
Pair Function
Call or send mail to
preset individuals
quickly and easily.
Hot Key
Select either Hot Dial
or Hot Buzzer as the
Hot Key function.
EZ Navi
EZ Navi Walk,
Position Search,
and Area Message
are all built-in.
Mail
Send mail
messages to other
cellphones or to a
computer.
EZweb
Download
“Chaku-Uta®”,
wallpaper, and
other data.
Teens Mode
Limit the number of
outgoing calls and mail
messages, incoming
spam, etc.
Smart Mode
Limit functions to those
you most often use for
simplified operation.
78
Page
44
Page
Page 46
Page 84
Page 48 Page 70
Page 106

3
Manner Mode and Easy Voice Memo
Manner Mode
Use Manner Mode to turn off the
ring tone so you do not bother
others around you.
Easy Voice Memo
If you cannot answer a call,
Easy Voice Memo plays an
answering message and records
the caller’s message.
While the standby
screen is displayed,
hold down (for
about one second.
While the standby
screen is displayed,
hold down Cfor
about one second.
Normally leave the phone turned on.
The phone needs to be turned on to make and receive
calls.
Hold down Ffor at least 1.5 seconds to turn on the phone.
Keep an eye on the battery level.
You cannot talk on the phone
if it is unable to receive a signal.
The phone may not function properly if
battery power is low.
indicates the current battery level.
Signal strength is low in some areas, even if
they are within the service area.
indicates the current signal strength.
Power
on
Shhhhhhh!
35
Page
15
Page
15
Page
15
Page
36
Page
Checking Power, Signal Strength,
and Battery Level

4
Never use your cellphone while driving!
Holding a cellphone in your hand, talking on a cellphone, or looking at
a cellphone display to send mail or to perform any other operation
while driving is prohibited by law in Japan.
(Revised Traffic Control Law, effective November 1, 2004)
× Reading mail or looking
at the display.
× Holding a cellphone in
your hand to talk.
Turn off your cellphone or
enter Drive Mode while driving.
Drive Mode
In Drive Mode, the phone will play the message “ ただいま車を運
転しています。・・” (I am driving right now...), and then ask the
caller to leave a message using Easy Voice Memo.
While the standby screen is on the display, press (,
and then press 1(ON). Next, press 2(Drive
Mode) to enter Drive Mode.
I
’
m
d
r
i
v
i
n
g
r
i
g
h
t
n
o
w
.
.
.

5
Beware of spam and one-ring calls!
How to Combat Spam
You can set up mail filters to block specific
mail or mail identified as “ 未承諾広告※ ”
(unsolicited advertisement), which often
includes a lot of spam.
Your cellphone has the following filters for
blocking spam.
・未承諾広告フィルター(unsolicited
advertisement filter)
・アドレスフィルター(address filters)
−指定拒否設定(blocks specific mail)
−指定受信設定(receives specific mail)
Beware of one-ring calls!
A “one-ring call” (wan-giri in Japanese) rings
your phone only once, in an attempt to make
you call back to a service that automatically
bills you very high charges.
The red icon at the
head of an incoming
record indicates that
the call rang for only four seconds or less.
This indicates a possible “one-ring call.”
XXXX
XXXX
55
Page
31
Page
O
n
e
-
r
i
n
g
c
a
l
l
!

6
Disaster Message Board Service
•When a major disaster strikes, you can use your au
cellphone to access the “
災害用伝言板
” (Disaster Message
Board) on EZweb and register your current condition,
comments, and other information about your well-being.
•After you register information, it can be sent by mail to
family, friends, and other individuals you have registered
as a recipient of your Disaster Message Board information.
EZ Top Menu 災害用伝言板
(Disaster Message Board)
http://dengon.ezweb.ne.jp/
•Disaster Message Board information can be accessed by
inputting the phone number of an individual over EZweb or
the Internet.*
* Disaster Message Board information can be accessed
from another type of cellphone (excluding TU-KA), PHS,
or computer at
http://dengon.ezweb.ne.jp/.
Disaster Message Board
The Disaster Message Board lets you use EZweb to register
information about your well-being in case of a major disaster. The
information you register can be accessed from anywhere in Japan
over EZweb or the Internet.
Registering
Disaster Message
Board Information
Accessing
Disaster Message
Board Information
Disaster Message
Board Access
O
K
.
I
’
m

7
Disaster Message Board Top Screen
Information Screen
被災状況
□
無事です。
□
被害があります。
□
自宅に居ます。
□
避難所に居ます。
□
コメント見て
コメント入力(全角100文
字まで)
※登録内容確認画面にて
、お客様の携帯電話番号
および登録日時が表示さ
れます。
登録
災害用伝言板
〜登録〜
Information Registration Screen
伝言板トップへ
(C)KDDI/TU-KAGroup
Registration
Access
Select
BrowserMenu
安否情報の登録・確認が
できます。
登録
確認
削除
お知らせメール設定
サービス概要
ご利用地域情報
お問合せ
English
災害用伝言板
伝言板トップ
〜サービス提供中〜
安否情報を確認したい相
手のau/ツーカー携帯電話
番号を入力して下さい。
伝言板トップへ
(C)KDDI/TU-KAGroup
(C)KDDI/TU-KAGroup
090
××××××××
災害用伝言板
〜確認〜
検索する
Select
BrowserMenu
Select
BrowserMenu
• Registration contents are retained for up to 72 hours.
• You can register up to 10 entries per phone number. Registering a new entry while there are already
10 registered overwrites the oldest current entry with the new one.
• You can view a Disaster Message Board demonstration at:
EZ→Top Menu→料金・申込・インフォ→災害用伝言板(デモ版)
• To view the Disaster Message Board in English, select the “English” option on the Disaster Message Board
top screen.
(Charges, Applications, and Info) (Disaster Message Board (Demo))

8
Contents
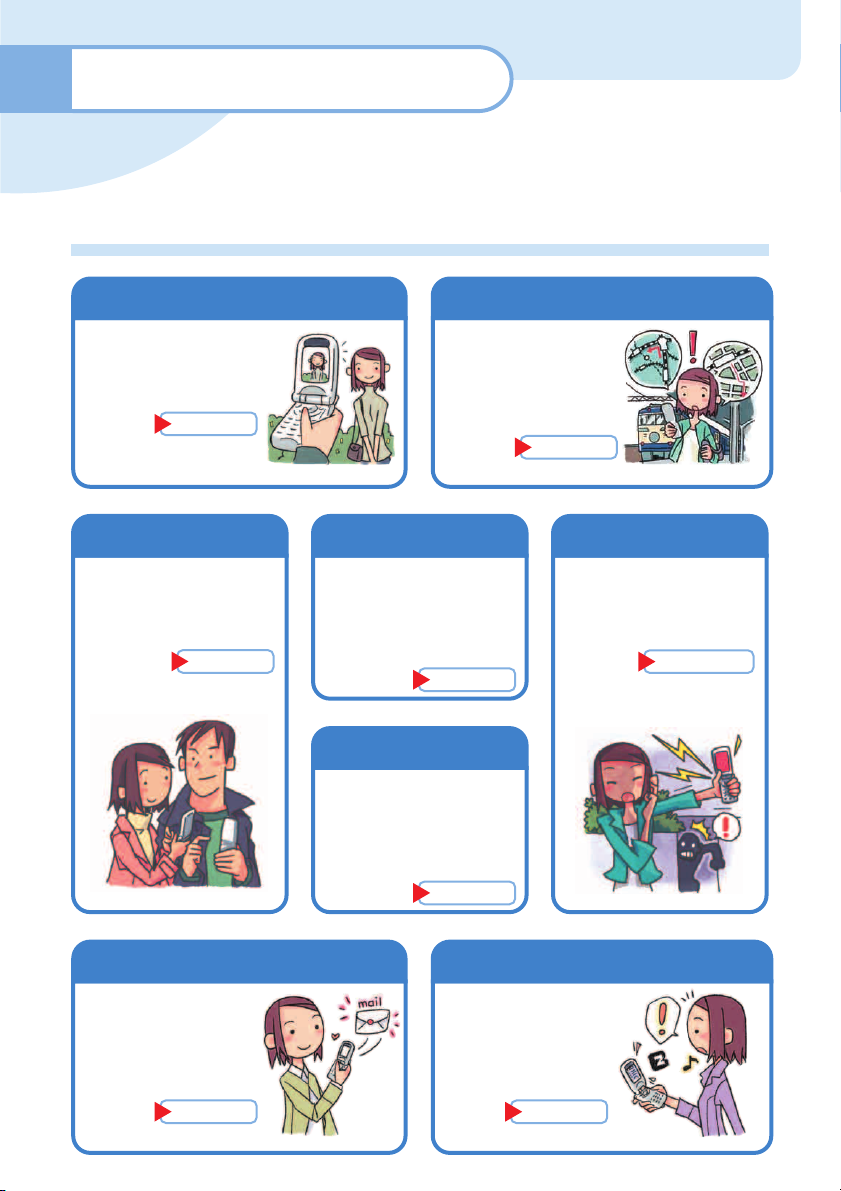
Cellphone Etiquette ................................................................. 1
Mind your manners! .......................................................................................................... 1
Cellphone Basics ..................................................................... 2
Features ........................................................................................................................... 2
Manner Mode and Easy Voice Memo .............................................................................. 3
Checking Power, Signal Strength, and Battery Level ....................................................... 3
Never use your cellphone while driving! ........................................................................... 4
Turn off your cellphone or enter Drive Mode while driving. .............................................. 4
Beware of spam and one-ring calls! ................................................................................. 5
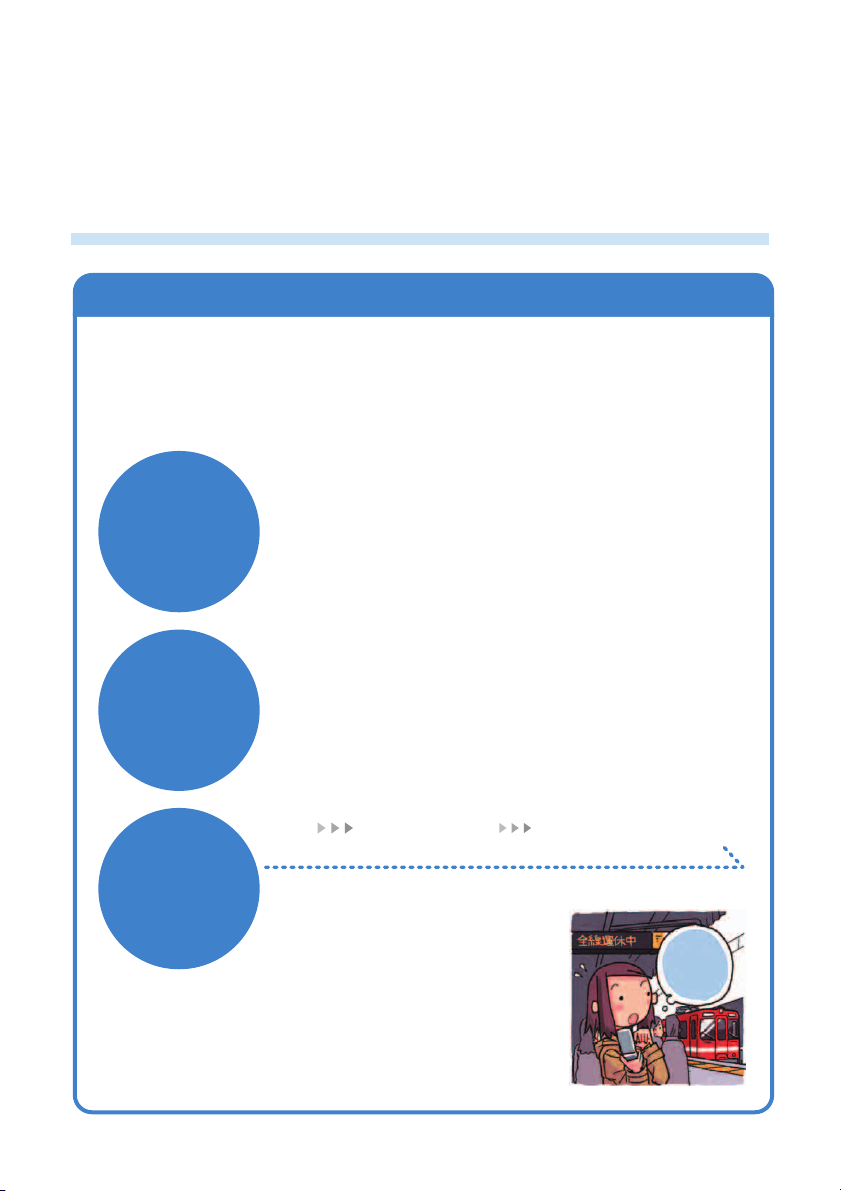
Disaster Message Board Service ..................................................................................... 6
Contents ......................................................................................... 8
Getting Ready .............................................................................. 10
Do you have everything? ................................................................................................ 10
Names of Parts ................................................................................................................ 11
Charging the Battery Pack ............................................................................................. 12
Directly Connecting the Separately Available General-purpose 01 AC Adaptor
for Charging ................................................................................................................... 14
Turning On Power .......................................................................................................... 15
Turning Off Power .......................................................................................................... 15
A5512CA Initial Settings ................................................................................................. 16
Operation Basics ............................................................................................................ 17
Display Indicators ........................................................................................................... 18
Main Menu ...................................................................................................................... 19
Initializing E-mail and EZweb ......................................................................................... 21
Selecting English as the Display Language ................................................................... 22
Looking Up Your Current Phone Number and E-mail Address ...................................... 23
Changing Your E-mail Address ...................................................................................... 24
Changing the Display Character Size ............................................................................ 26
Personal Identification Numbers and Passwords ........................................................... 27
Making and Answering Calls ....................................................... 28
Making a Call ................................................................................................................. 28
Answering a Call ............................................................................................................ 29
Redialing (Outgoing Records/Incoming Records) .......................................................... 30
One-ring Calls ................................................................................................................ 31
Changing the Ring Tone ................................................................................................. 32
Adjusting the Ring Tone Volume ............................................................................................
34
Adjusting the Earpiece Volume during a Call ................................................................. 35
Turning On Manner Mode .............................................................................................. 35
Turning On Easy Voice Memo ........................................................................................ 36
Playing an Easy Voice Memo ......................................................................................... 37
Address Book ............................................................................... 38
Creating a New Address Book Record ........................................................................... 38
Editing an Address Book Record ................................................................................... 40
Adding Outgoing or Incoming Record Data to the Address Book .................................. 42
Dialing from the Address Book ....................................................................................... 43
Pair Function .......................................................................... 44
Registering a Pair Partner .............................................................................................. 44
Making a Phone Call or Sending Mail to a Pair Partner ................................................. 45

9
Teens Mode ............................................................................ 46
Using Teens Mode .......................................................................................................... 46
Turning on Teens Mode .................................................................................................. 47
Mail ......................................................................................... 48
Using E-mail ................................................................................................................... 48
Using C-mail ................................................................................................................... 49
C-mail Security ........................................................................................................... 49
Creating and Sending E-mail Messages ........................................................................ 50
Reading Received E-mail Messages ............................................................................. 52
Reading an E-mail Message with an Attached Photo or Movie ..................................... 53
Replying to a Received E-mail Message ....................................................................... 54
Avoiding Spam ............................................................................................................... 55
Creating and Sending C-mail Messages ........................................................................ 56
Reading Received C-mail Messages ............................................................................. 57
Camera Features ................................................................... 58
Camera ................................................................................... 60
Shooting a Photo ............................................................................................................ 60
Viewing Photos ............................................................................................................... 62
Recording a Movie ......................................................................................................... 64
Viewing Movies .............................................................................................................. 66
Attaching a Photo or Movie to an E-mail Message ........................................................ 68
Using Photo Mail ............................................................................................................ 69
EZweb .......................................................................................... 70
Using EZweb .................................................................................................................. 70
Displaying the EZ Top Menu .......................................................................................... 71
Viewing a Site ................................................................................................................. 72
Bookmarking Sites You Frequently Access .................................................................... 73
Downloading Chaku-Uta®............................................................................................... 74
Viewing a Bookmarked Site ........................................................................................... 76
Checking Charges .......................................................................................................... 77
EZ Navi Features ................................................................... 78
EZ Navi Walk Menu ................................................................ 80
Registering Your Home Location .................................................................................... 80
Return Home .................................................................................................................. 83
Smart Mode ............................................................................ 84
Entering Smart Mode ..................................................................................................... 84
Exiting Smart Mode ........................................................................................................ 85
Using the Smart Mode Main Menu ................................................................................. 86
Adding Data to the Address Book in Smart Mode .......................................................... 88
Using the Address Book in Smart Mode ........................................................................ 91
Creating and Sending E-mail Messages in Smart Mode ............................................... 92
Shooting a Photo in the Smart Mode ............................................................................. 95
Viewing Photos in the Smart Mode ................................................................................ 96
Inputting Characters ........................................................................
98
Inputting an E-mail Address ........................................................................................... 99
Pictographs and Preset Phrases .................................................................................. 100
Other Functions .................................................................... 102
Troubleshooting .................................................................... 103
If you lose your A5512CA ............................................................................................. 104
Hot Key ........................................................................................................................ 106
Extension Mode ........................................................................................................... 107
Index .....................................................................................108

10
by CASIO
ペア機能
ティーン ズ モ ード
メール
文字入力
電話
アドレ ス 帳
ご利用前の
準備
カメラ
EZweb
EZナビ
スマートモード
困ったときは
遠隔オートロック
その他機能
English
索引
Getting Ready
Before using the A5512CA for the first
check the contents of the box it comes in.
You should also familiarize yourself with
basic operations, like how to charge the
battery, how to turn on power, etc.
•A5512CA •Battery pack
(5512UAA) •Desktop holder
(5512PUA)
目
次
ご利用いただ
く
前
に
電話
文
字
入
力
アドレス
帳
ペア
機能
スマー
ト
モード
・
テ
ィ
ーンズモー
ド
メモ
帳
・録音機
能
カメ
ラ
データフォル
ダ
エン
ジ
ョイツー
ル
メ
ー
ル
EZw
eb
EZ
ナビ
EZ
アプリ
(
BREW
®
)
メニュー
(
M
)
機
能
便利な
機能
au
の
ネ
ットワーク サービ
ス
付録
/
索
引
ク
イッ
ク
ガイ
ド
by CASIO
•Extracted
contract clauses
(Japanese)
•Warranty
(Japanese) •Operating
Precautions
(Japanese)
•Instruction Manual
(Japanese)
Do you have everything?
•Basic Manual
(Japanese)
Note
An AC adaptor is not included. It is up to you to purchase a general-purpose
01 AC adaptor.
Iseverything
here?

11
Getting Ready
Names of Parts
kFront kBack
Earpiece Main display
Sub display
Lens (camera)
Incoming/
Charge LED lndicator
(Incoming lndicator)/
Camera light/
Standby light
Lock
Battery pack/cover
Memo/Clear key
Optical sensor
Address book key
EZ key
Power/End key
Cursor key
Number keys
Charging terminals
External connection jack
Mail key
Center key
Application key
Send/Pair key
Microphone
*
Take care to avoid covering the built-in antenna with your hand when using the phone, using EZweb,
and when accessing GPS information.
Speaker
Built-in antenna*
kSide
Manner key Shutter key
Macro focus switch
Mode key
Flat-type stereo phone jackStrap eyelet

12
Charging the Battery Pack
The battery pack that comes with the phone is not charged when you
purchase it. Be sure to charge the battery pack before using the
A5512CA for the first time. Charging takes about 120 minutes.
You should re-charge the battery pack whenever the battery level icon
shows or .
•Charging:LED indicator lit red
(Confirmation tone sounds
when charging starts.)
•Charging complete:Confirmation tone sounds,
LED indicator goes out.
You can also use the plug
by extending the prongs
like this.
Check the shape of the
connectors to ensure they
are aligned correctly when
you connect them.
Important!
• You must purchase a separately available general-purpose 01 AC adaptor for
charging. Note that the configuration of the AC adaptor may be different from
that shown in the illustration above.
• Orient the connector of the separately available general-purpose 01 AC
adaptor so it is parallel to the desktop holder connector terminal when you
connect them.

13
Getting Ready
1Connect the separately available general-purpose 01 AC
adaptor to the desktop holder.
Check the shape of the connectors to ensure they are aligned correctly before
you connect.
Trying to force a connection can damage the connectors.
○○○○○○○○○○○○○○○○○○○○○○○○○○○○○○○○○○○○○○○○○○○
2Plug the separately available general-purpose 01 AC adaptor
power plug into a 100V AC outlet.
○○○○○○○○○○○○○○○○○○○○○○○○○○○○○○○○○○○○○○○○○○○
3Insert the A5512CA into the desktop holder.
This will cause the A5512CA charge LED indicator to light red, and the battery
level icon to cycle through the following pattern: ➔➔➔.
When charging is complete, the battery level icon will show and the LED
indicator (incoming indicator) will go out.
To remove the A5512CA from the desktop holder, lift it straight up.
○○○○○○○○○○○○○○○○○○○○○○○○○○○○○○○○○○○○○○○○○○○

14
Directly Connecting the Separately
Available General-purpose
01 AC Adaptor for Charging
You can connect the separately available general-purpose 01 AC
adaptor to the A5512CA to charge the battery pack.
Check the shape of the connectors to ensure
they are aligned correctly when you connect.
Important!
Orient the connector of the separately available general-purpose 01 AC adaptor
so it is parallel to the A5512CA external connection jack when you connect them.

15
Getting Ready
Turning On Power
1Hold down Ffor at least 1.5 seconds.
○○○○○○○○○○○○○○○○○○○○○○○○○○○○○○○○○○○○○○○○○○○
2The standby screen will appear on the display.
• During charging, the battery level icon will cycle through
the following pattern: ➔➔➔.
• Communication is not possible while the signal strength
indicator is (Out of Range).
• Communication may not be possible while the signal
strength indicator is (Very Weak).
*Using Extension Mode
Extension Mode automatically turns off signal emission and limits functions you can
use when the battery pack level goes low. It keeps the A5512CA operating longer
when you are unable to recharge the battery pack right away.
○○○○○○○○○○○○○○○○○○○○○○○○○○○○○○○○○○○○○○○○○○○
Turning Off Power
1Hold down Ffor about 1 second.
○○○○○○○○○○○○○○○○○○○○○○○○○○○○○○○○○○○○○○○○○○○
Standby screen
Indicator
Extension
Mode*
Fully
Charged
Dead
Very
Low
LowHigh
Battery
Level
Indicator
Emission
OFF Mode
Out of
Range
Very
Weak
WeakMediumStrong
Signal
Strength

16
The table below shows the initial factory default setup of the A5512CA.
Quitting initialization as shown in the above procedure will configure the
setting shown below.
Lock No. 1234
Teens Lock No. 1234
Caller ID On
Incoming Display On
Profile Blank
A5512CA Initial Settings
Pressing cthe first time the standby screen is displayed will display the
initial menu first.
The following steps show only how to display and exit the initial menu,
which will configure the initial factory default settings described below.
You can change each of the initial settings later, if you want.
1While the standby screen is displayed,
press c.
○○○○○○○○○○○○○○○○○○○○○○○○○○○○○○○○○○○○○○○○○○○
2Press *(初期設定を終了)
(Quit Initialization).
The main menu will appear on
the display (page 19).
○○○○○○○○○○○○○○○○○○○○○○○○○○○○○○○○○○○○○○○○○○○
Note

17
Getting Ready
Operation Basics
kKey functions
•
Displays incoming records.
•Returns to the previous
menu screen.
•Displays the standby
shortcut icon.
•Selects an item.
•
Displays outgoing records.
•Scrolls forward one menu
screen.
•Displays the main menu.
•Applies an item.
•Displays the EZ apps
menu. •
Displays the address book.
•Creates a new address
book (hold down for
about one second).
•
E-mail
•
C-mail
(
Hold down for
about one second
).
•
Displays the previous data.
•
Dials/answers a phone call.
•
Displays the Pair function.
•Memo
•
Toggles Easy Voice Memo
on and off (hold down for
about one second).
•Deletes a character.
•Returns to the previous
menu screen.
• Toggles power on and off.
• Hangs up.
• Terminates a function.
• Returns to the standby
screen.
•Displays the EZ menu.
•Displays the next data.
%
L
N
C
&
R
F
0〜9*#
•Toggles Manner Mode on
and off (hold down for
about one second).
(
Note
• If you lose track of where you are or if you make a mistake
Press
C
to scroll back to the previous screen.
Press
F
to return to the standby screen.
• When
7
is in the lower right corner of the photo or movie screen,
pressing
0
will display key help.
• Holding down
0
for about one second while the standby screen is
displayed toggles the Hot Key function on and off.
• Holding down cfor about one second toggles side key disable on and
off. To turn off side key disable, unfold the phone.
l
d
r
c
•Switches the clock
function (only while the
phone is folded).
E
•Selects an item.
u
•Phone number input keys
• Text character input keys.
•Shutter release
•
Shoots a photo (when held down
for about one second, only while
the phone is unfolded).
)

18
Display Indicators
The following explains the main icons that appear on the standby screen.
kKey symbols used in this manual
The cursor key is represented in this manual using the
key symbols described below.
uor dkey: j
lor rkey: s
u, d, lor rkey: a
1 2 3 4
789 ! "
5 6
5
1
Signal strength
This indicator:
Indicates this:
2
Battery level
3
Phone is off hook
4
Suspended EZ apps (BREW®)
5
Unread mail
6
Current time
The date and time are set automatically in
accordance with standard time information
included in the received radio wave.
5
Current time
The date and time are set automatically in
accordance with standard time information
included in the received radio wave.
7
Easy Voice Memo setting in progress
8
Manner Mode setting in progress
9
Ring tone off
!
Vibrator on
"
Selection of calculator, Emission Off Mode,
mode setting, Extension Mode, Note Pad 01,
or other user icons by pessing dand then s
1
Signal strength
2
Battery level
3
Unread mail
4
Easy Voice Memo setting in progress
Main display
Sub display
(When phone is folded)
1 2 3 4
Table of contents
Other Casio Cell Phone manuals

Casio
Casio EXILIM C721 User manual

Casio
Casio W63CA Installation guide

Casio
Casio WSD-F10 User manual

Casio
Casio CA005 User manual

Casio
Casio G'zOne Rock User manual

Casio
Casio EXILIM C721 User manual

Casio
Casio G'zOne Ravine User manual

Casio
Casio W43CA User manual

Casio
Casio GzOne CA002 Installation guide

Casio
Casio GZONE TYPE-V User manual

Casio
Casio CA007 User manual

Casio
Casio au KDDI CA003 User manual

Casio
Casio W52CA User manual

Casio
Casio verizon User manual

Casio
Casio GZONE TYPE-S PTT User manual

Casio
Casio W51CA User manual

Casio
Casio EXILIM CA003 Installation guide

Casio
Casio W62CA Assembly instructions

Casio
Casio CA006 User manual

Casio
Casio G'z One User manual