Operation Guide 3216 3223
E-20
To adjust the high tide time
1. In the Tide/Moon Data Mode, use Ato display the
Moon Data Screen (page E-18).
2. Use Dto scroll the date until one whose high tide time
you want to change is displayed.
3. Hold down Auntil the hour digits start to flash.
4. Use D(+) and B(–) to change the hour setting.
5. When the hour is the setting you want, press C.
•This will cause the minute digits to flash.
6. Use D(+) and B(–) to change the minute setting.
7. When the minute setting is the way you want, press A
to exit the adjustment screen and return to the Tide/
Moon Data Mode screen.
•Pressing Dand Bat the same time while the time
adjustment screen is displayed (steps 4 through 7
above) will return the high tide time to its initial factory
default setting.
•The high tide time setting is affected by the DST
(summer time) setting of the Timekeeping Mode.
l
l
l
l
l
l
l
l
l
l
l
l
l
l
l
l
l
l
l
l
l
l
l
l
l
l
l
l
l
l
l
l
l
l
Hour
l
l
l
l
l
l
l
l
l
l
l
l
l
l
l
l
l
l
l
l
l
l
l
l
l
l
l
l
l
l
l
l
l
l
l
l
l
l
l
l
l
Minute
E-21
•On some days, there are two high tides. With this watch, you can adjust the first high
tide time only. The second high tide time for that day is adjusted automatically based
on the first high tide time.
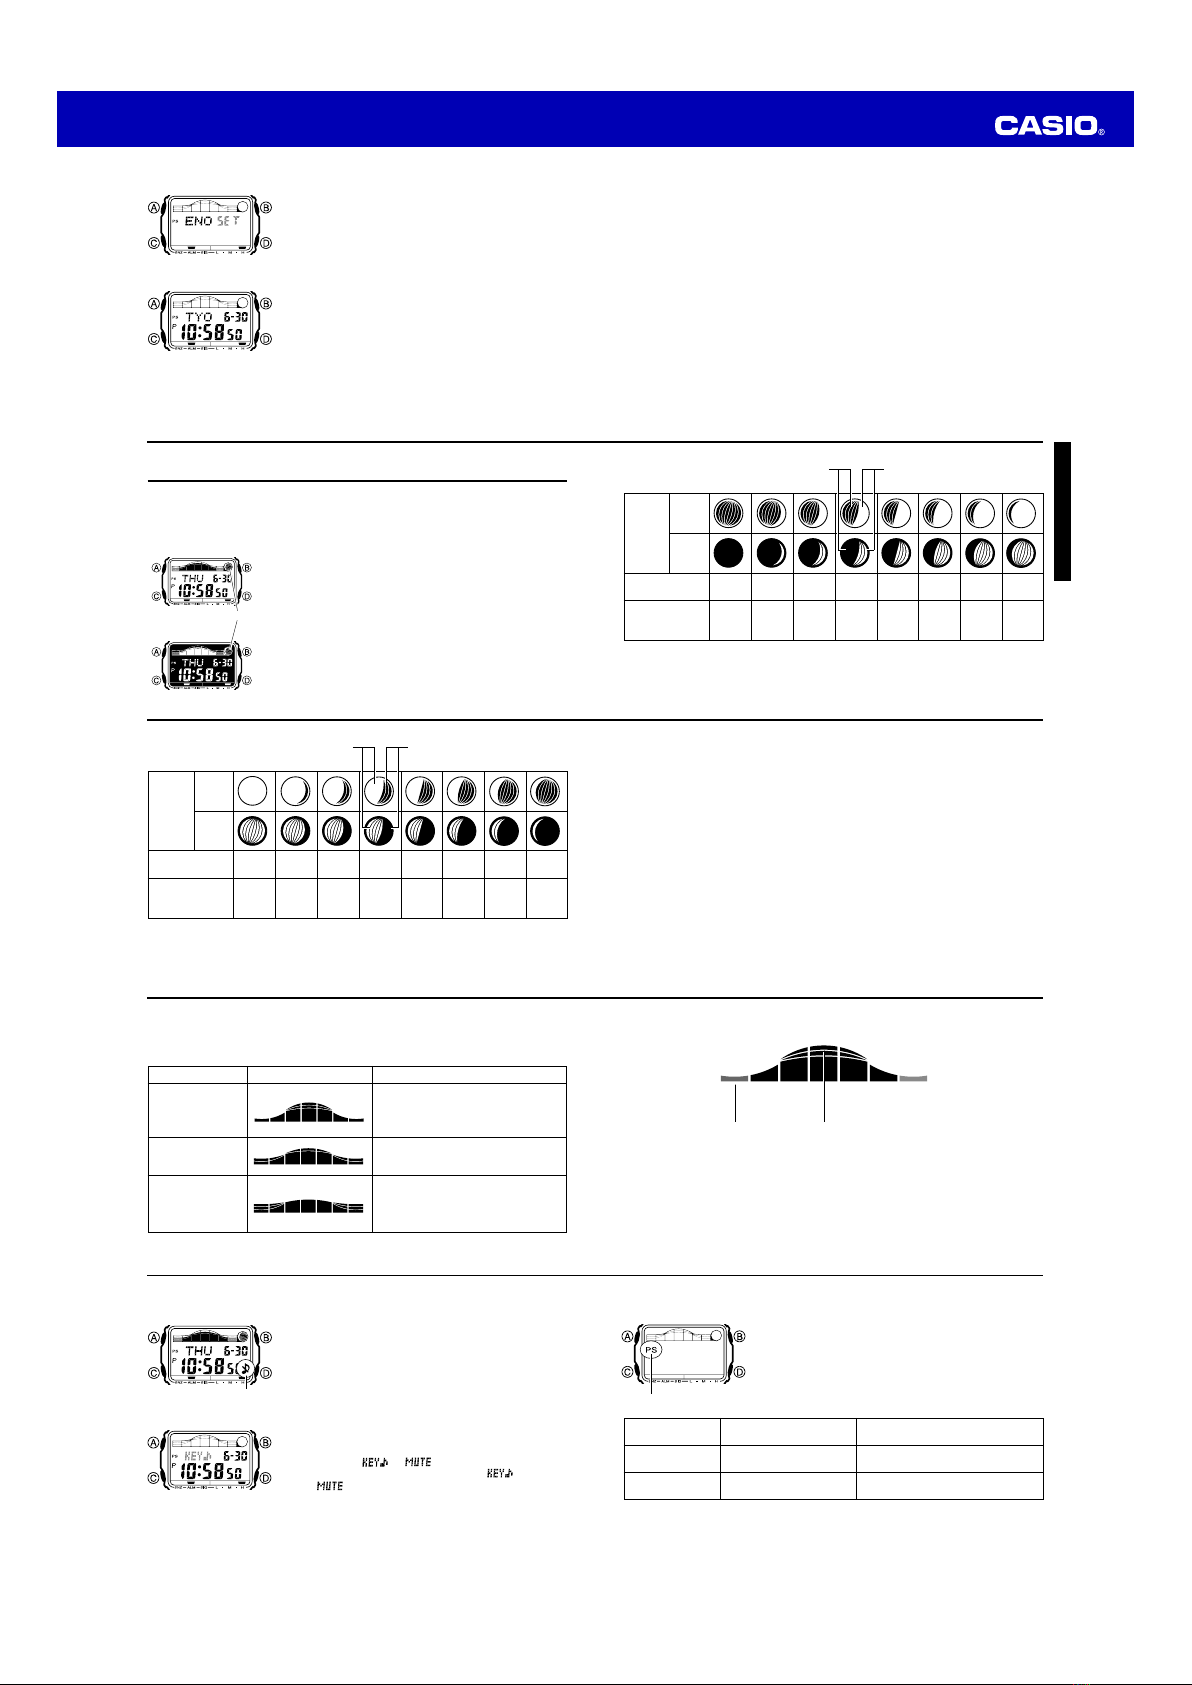
Reversing the Displayed Moon Phase
The left-right (east-west) appearance of the Moon depends on whether the Moon is
north of you (northerly view) or south of you (southerly view) as you view it.
You can use the procedure below to reverse the displayed Moon phase so it matches
the actual appearance of the Moon where you are located.
•To determine the viewing direction of the Moon, use a compass to take a direction
reading of the Moon at its meridian passage.
•For information about the Moon phase indicator, see “Moon Phase Indicator” (page
E-52).
E-22
To reverse the displayed Moon phase
1. In the Tide/Moon Data Mode, hold down Auntil the
hour digits start to flash.
2. Press Ctwice.
•This will cause the Moon phase indicator to flash. This
is the indicator switching screen.
3. Press Dto toggle the Moon phase indicator between
the southerly view (indicated by ) and northerly
view (indicated by ).
•Northerly view: Moon is north of you.
•Southerly view: Moon is south of you.
4. When the Moon phase indicator setting is the way you
want, press Ato exit the switching screen and return
to the Tide/Moon Data Mode screen.
l
l
l
l
l
l
l
l
l
l
l
l
l
l
l
l
l
l
l
l
l
l
l
l
l
l
E-23
World Time
World Time shows the current time in 48 cities (31 time
zones) around the world.
•The times kept in the World Time Mode are
synchronized with the time being kept in the
Timekeeping Mode. If you feel that there is an error in
any World Time Mode time, check to make sure you
have the correct city selected as your Home City. Also
check to make sure that the current time as shown in
the Timekeeping Mode is correct.
•Select a city code in the World Time Mode to display the
current time in any particular time zone around the
globe. See the “City Code Table” at the back of this
manual for information about the UTC differential
settings that are supported.
•All of the operations in this section are performed in the
World Time Mode, which you enter by pressing C
(page E-9).
Current time in
selected city
City code
E-24
To view the time in another city
While in the World Time Mode, press D(eastward) to scroll through the city codes
(time zones).
•Pressing the Dand Bat the same time will jump to the UTC time zone.
E-25
To toggle a city code time between Standard Time and Daylight Saving Time
1. In the World Time Mode, press Dto display the city
code (time zone) whose Standard Time/Daylight Saving
Time setting you want to change.
2. Hold down Ato toggle between Daylight Saving Time
(DST indicator displayed) and Standard Time (DST
indicator not displayed).
•The DST indicator is shown on the World Time Mode
screen while Daylight Saving Time is turned on.
•Note that the Standard Time/Daylight Saving Time
setting affects only the currently displayed city code.
Other city codes are not affected.
•Note that you cannot switch between Standard Time
and Daylight Saving Time while UTC is selected as the
city code.
DST indicator
E-26
Alarms
The Alarm Mode gives you a choice of four one-time
alarms and one snooze alarm.
Also use the Alarm Mode to turn the Hourly Time Signal
(SIG) on and off.
•There are five alarm screens numbered AL1,AL2,
AL3 and AL4for the one-time alarm, and a snooze
alarm screen indicated by SNZ. The Hourly Time
Signal screen is indicated by SIG.
•All of the operations in this section are performed in the
Alarm Mode, which you enter by pressing C(page
E-9).
Alarm number
Alarm time
(Hour : Minutes)
E-27
To set an alarm time
1. In the Alarm Mode, use Dto scroll through the alarm
screens until the one whose time you want to set is
displayed.
•To set a one-time alarm, display alarm screen AL1,AL2,AL3 or AL4.
To set the snooze alarm, display the SNZ screen.
•The snooze alarm repeats every five minutes.
2. After you select an alarm, hold down Auntil the hour setting of the alarm time
starts to flash, which indicates the setting screen.
•This operation turns on the alarm automatically.
3. Press Cto move the flashing between the hour and minute settings.
4. While a setting is flashing, use D(+) and B(–) to change it.
•With the 12-hour format, set the time correctly as a.m. or p.m. (Pindicator).
5. Press Ato exit the setting screen.
E-28
Alarm Operation
The alarm tone sounds at the preset time for 10 seconds, regardless of the mode the
watch is in. In the case of the snooze alarm, the alarm operation is performed a total
of seven times, every five minutes, until you turn the alarm off (page E-29).
•Alarm and Hourly Time Signal operations are performed in accordance with the
Timekeeping Mode time.
•To stop the alarm tone after it starts to sound, press any button.
•Performing any one of the operations below during a 5-minute interval between
snooze alarms cancels the current snooze alarm operation.
Displaying the Timekeeping Mode setting screen (page E-11)
Displaying the
SNZ
setting screen (page E-27)
To test the alarm
In the Alarm Mode, hold down Dto sound the alarm.
E-29
To turn an alarm on and off
1. In the Alarm Mode, use Dto select an alarm.
2. Press Ato toggle it on and off.
•Turning on a alarm (AL1,AL2,AL3,AL4or
SNZ) displays the alarm on indicator on its Alarm Mode
screen.
•In all modes, the alarm on indicator is shown for any
alarm that currently is turned on.
•The alarm on indicator flashes while the alarm is
sounding.
•The snooze alarm indicator flashes while the snooze
alarm is sounding and during the 5-minute intervals
between alarms.
Alarm on indicator
ON
Snooze alarm
indicator