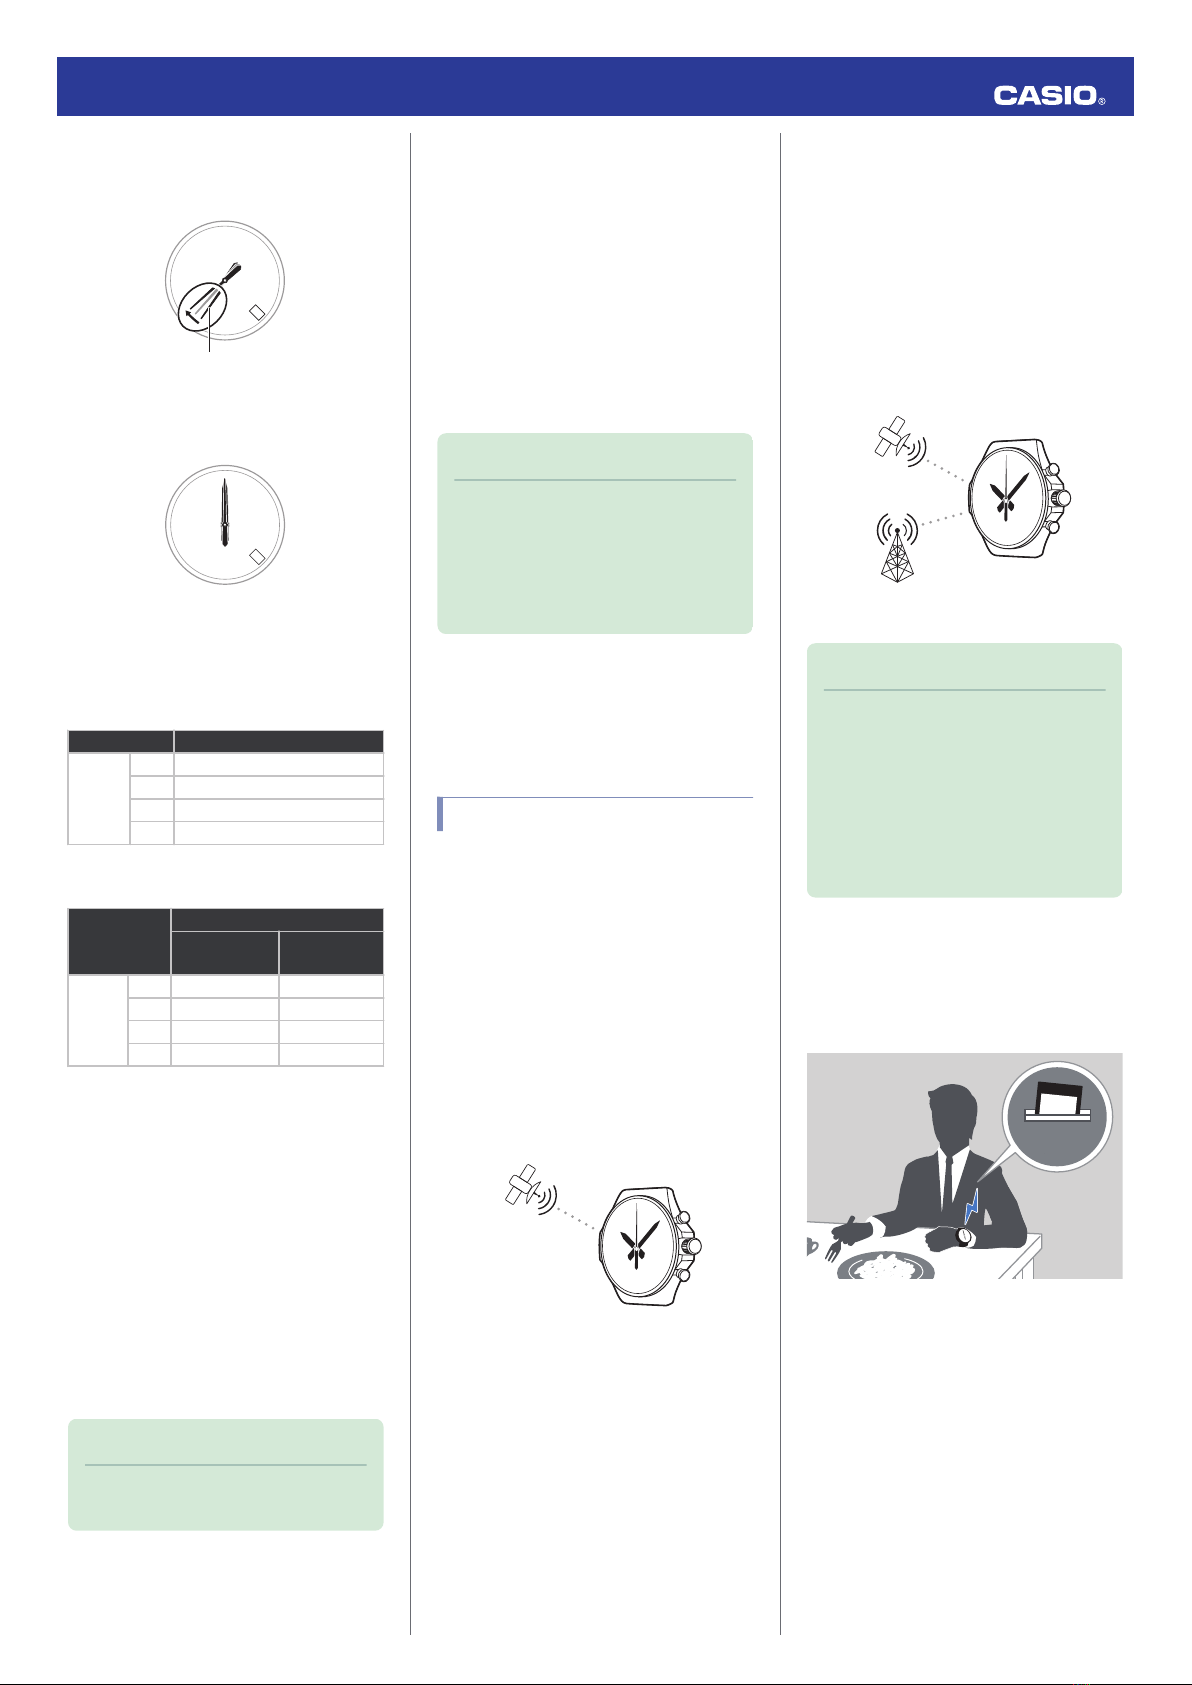
Auto Time Calibration Signal
Receive
An automatic time calibration signal receive
operation is performed and the time and day
settings are adjusted between midnight and
5:00 a.m. Once a signal receive operation is
successful, no more auto receive operations
are performed that day.
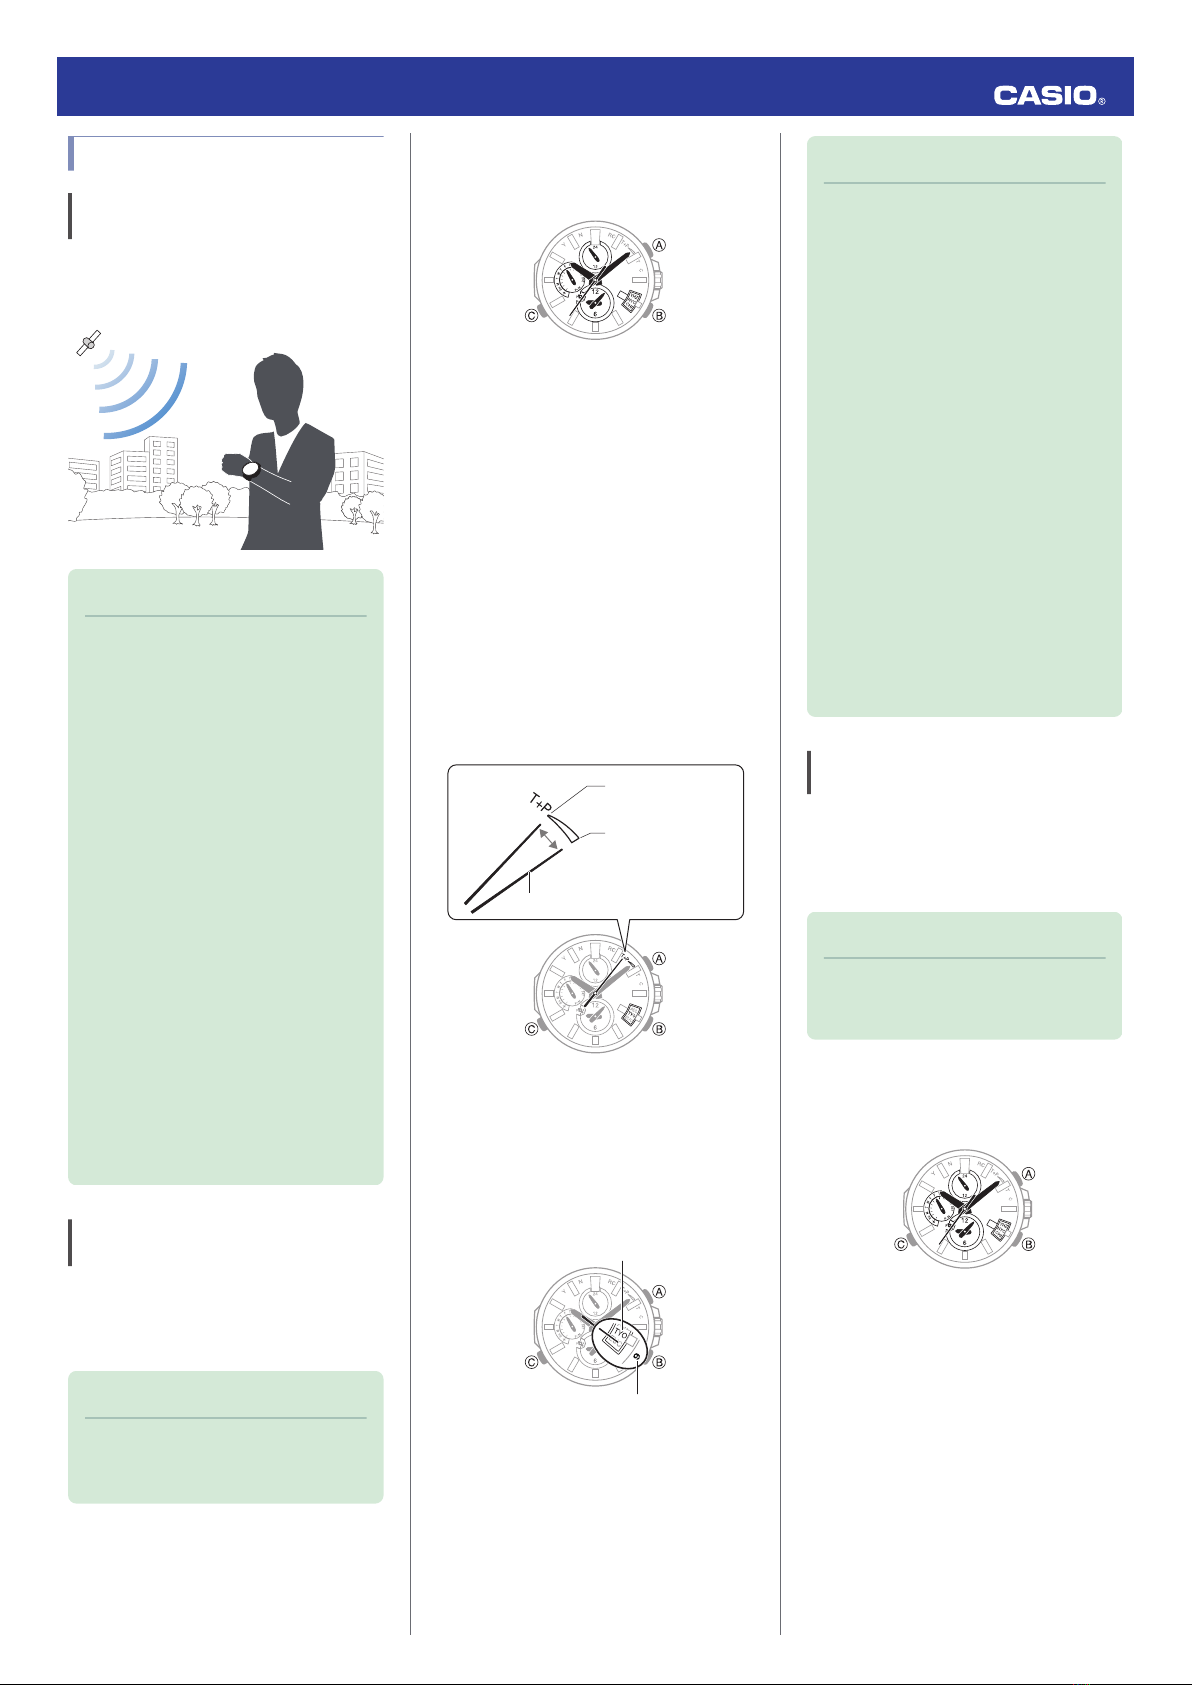
Getting ready
Enter the Timekeeping Mode.
lNavigating Between Modes
Place the watch near a window or some other
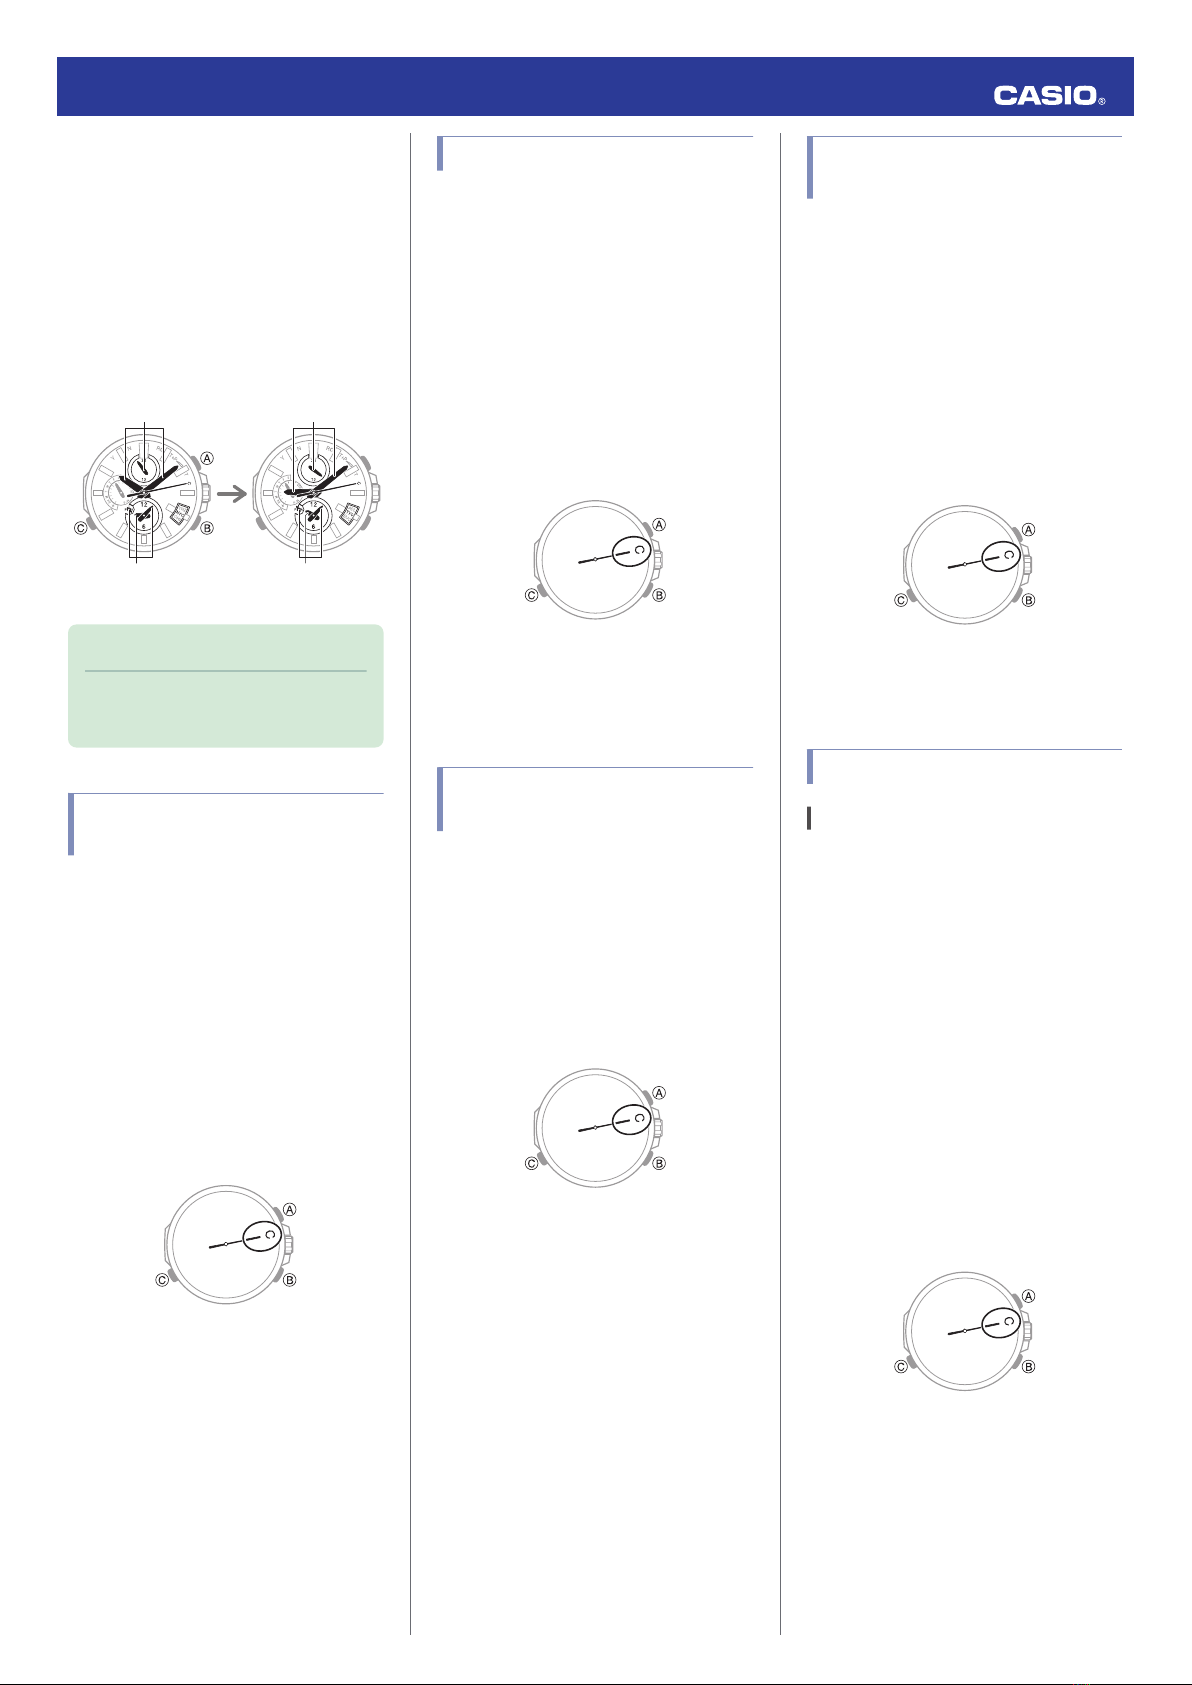
location appropriate for signal reception.
●The second hand points to “RC” while time
calibration reception in progress.
●When the receive operation is successful,
the time and day settings will be adjusted
automatically.
Note
●Reception takes anywhere from
about two minutes to about 10
minutes. It can take as long as 20
minutes.
Signal Reception
Precautions
●When the watch is unable to adjust its time
in accordance with a calibration signal for
some reason, average timekeeping
accuracy is within ±15 seconds per month.
●Note that an internal decoding process the
watch performs after it receives a signal may
cause the time setting to be slightly off (by
less than one second).
●GPS signal and time calibration signal
reception will not be possible under any of
the watch conditions described below.
ーWhile battery power is low
ーWhile the watch is in the Airplane Mode
or Stopwatch Mode
ーWhen power saving is at Level 2 (GPS
signal reception also is not possible at
Level 1.)
ーWhile the crown is pulled out
●If the receive operation is successful, the
time and day settings will be adjusted
automatically in accordance with the Home
City and summer time settings. Summer
time will not be applied correctly in the cases
described below.
ーWhen the summer time start date and
time, end date and time, or other rules are
changed by authorities
ーWhen location information is received,
but it is not location information for your
actual location (For example, when you
are near a borderline of a city and the
acquired location information is for a
neighboring city, etc.)
●As of January 2017, China does not observe
summer time. If China starts to observe
summer time in the future, the time
displayed by the watch for China may not be
correct.
Using Mobile Link with
a Mobile Phone
While there is a Bluetooth connection
between the watch and phone, the watch time
setting is adjusted automatically in
accordance with the phone’s time setting. You
can also change the watch’s time settings.
Note
●This function is available only while
OCEANUS Connected is running on
the phone.
●This section describes watch and
phone operations.
X : Watch operation
Y : Phone operation
Getting Ready
A Install the required app on your
phone.
To use the watch with a phone, first tap one of the
links below and install the “OCEANUS
Connected” app on the phone.
●iOS (iPhone) Users
https://itunes.apple.com/us/app/oceanus-
connected/id1179979492?mt=8
●AndroidTM (GALAXY, etc.) Users
https://play.google.com/store/apps/details?
id=com.casio.premium.oceanus
B Configure Bluetooth settings.
Enable the phone’s Bluetooth.
Note
●For details about setting
procedures, see your phone
documentation.
C Pair the watch with a phone.
Before you can use the watch in combination
with a phone, you first need to pair them.
1. Move the phone to be paired with close to
(within one meter of) the watch.
2. Y On the Home Screen, tap the
“OCEANUS Connected” icon.
3. Y Perform the operation shown on the
screen of the phone to be paired with.
●If a pairing prompt message appears,
perform the operation shown on the
phone screen.
●If pairing fails for some reason, the
second hand will move to “N” and then
return to its normal movement. Perform
the pairing procedure again from the
beginning.
Auto Time Adjustment
The watch can be set to adjust its time setting
automatically each day in accordance with the
phone time.
●Using Auto Adjust
Your watch adjusts its time setting four times
a day according to a preset schedule. It
performs the adjustment operation
automatically as you go about your daily life,
without any operation required by you.
Important!
●The watch may not be able to
perform auto time setting
adjustment under the conditions
described below.
ーWhile it is too far away from its
paired phone
ーWhile communication is not
possible due to radio interference,
etc.
ーWhile the phone is updating its
system
Operation Guide 5501
8


 User manual")