Caslon speedcote User manual

Speedcote
Wax Coater
Operation and Maintenance Manual
01-09-2015
Caslon House, Lyon Way, Hatfield Road, St. Albans, Herts, AL4 0LB / UK
Telephone: +44 (0)1727-852211 Fax: +44 (0)1727-855772
Email: sales@caslon.co.uk Website: www.caslon.co.uk

Page 1
Contents
..............................................................................................................2
.....................................................................................................3
................................................................3
..............................................................................4
........................................................................................................................5
..............................................................................................................5
....................................................................................................................6
......................................................................................................................6
..................................................................................................................6
................................................................................................................7
..........................................................................................................8
............................................................................................9

Page 2
Specifications
Model 305mm (12”)
Maximum Paper Size:
305mm x unlimited
Physical Size:
560mm long x 275mm wide x 150mm high
Shipping Size:
660mm long x 355mm wide x 254mm high
Net Weight:
12 Kilos
Shipping Weight:
14 Kilos
Model 622mm (24.5”)
Maximum Paper Size:
622mm x unlimited
Physical Size:
865mm long x 275mm wide x 150mm high
Shipping Size:
965mm long x 355mm wide x 254mm high
Net Weight:
17 Kilos
Shipping Weight:
19 Kilos
Model 927mm (36.5”)
Maximum Paper Size:
927mm x unlimited
Physical Size:
560mm long x 275mm wide x 150mm high
Shipping Size:
1170mm long x 355mm wide x 254mm high
Net Weight:
23 Kilos
Shipping Weight:
25 Kilos
All models
Paper Thickness:
60 gsm –800 gsm (0.05 –2.5mm)
Waxing Speed:
30cms in 40 seconds
Feeding Method:
Hand feed
Delivery Method:
Hand feed
Power:
AC 230V, 50Hz
Auxiliary Parts supplied with machine:
Instruction Manual

Page 3
Safety Information
Read and understand all instructions in this manual before attempting installation, operation or
general maintenance of the Speedcote.
Use only a grounded electrical outlet when connecting the Speedcote to a power source. If you
are unsure, check with a qualified electrician –see “Important information before you start”
below.
Observe all warnings and instructions marked on the Speedcote.
Unplug the Speedcote from wall outlets before cleaning or maintenance.
Do not install or operate the Speedcote near water or whilst you are wet.
Make sure the Speedcote is installed on a secure and stable surface.
Make sure the power cord does not obstruct walkways near the Speedcote.
Keep long hair and jewellery clear whilst operating the Speedcote.
Never operate the Speedcote with any guarding removed.
Always disconnect the power to the Speedcote whilst not in use.
If you are in any doubt about the operation of the Speedcote, please call your local service
agent.
Important information before you start
A power surge protector should be used with the Speedcote to protect the electronics.
Electronics that are damaged due to power surges are not covered under the standard warranty.
The user is solely responsible to assure that the Speedcote is not connected to the wrong
voltage. Damage caused by incorrect voltage hook-up is not covered under the standard
warranty.
We recommend that the Speedcote box and packing materials be kept. While service parts are
available from your dealer and can typically be easily replaced in the field, it may be necessary
to return the Speedcote to the factory for complex service. The Speedcote box and packing
material have been designed to protect the machine from normal handling during
transportation.
Use only Speedcote wax in this coater

Page 4
Product Recycling and Disposal
European Union - Disposal Information for Commercial Users
Application of this symbol on your equipment is confirmation that you must dispose of this
equipment in compliance with agreed national Procedures.
In accordance with European legislation end of life electrical and electronic equipment subject
to disposal must be managed within agreed procedures.
Prior to disposal please contact your local dealer for end of life take back information.
European Union - Disposal Information for Domestic Users
Application of this symbol on your equipment is confirmation that you should not dispose of
the equipment in the normal household waste stream.
In accordance with European legislation, end of life electrical and electronic equipment subject
to disposal must be segregated from household waste.
Private households within EU Member States may return used electrical and electronic
equipment to designated collection facilities free of charge. Please contact your local disposal
authority for information.
In some Member States when you purchase new equipment your local retailer may be required
to take back your old equipment free of charge. Please ask your retailer for information.
Countries not within the European Union
Please contact your local waste authorities and request disposal information.

Page 5
Start Up
During warm up, the coating roller gets heated
up by the wax. It is very important that the level of the wax
be above the “full” block (top block, located in the left side
of the tray). If the wax is too low, the warm up will take
longer and the roller will have trouble turning.
Connect the machine to an approved outlet and switch the machine on by using the red
‘Power’ button mounted on the rear of the machine.
Warm up time is normally 45 minutes. When the machine has reached the correct operating
temperature the ‘ready’light on the front of the machine will illuminate. The motor can now
be switched on allowing the coating roller to turn. When switching on the motor, always
allow the roller to turn for 20 seconds to help it reach the correct operating temperature.
Applying wax
The Speedcote wax is very strong, so for most lightweight stocks or photographic papers
you only need a very thin coating. For textured or thicker stocks, such as canvas, you would
need a heavier coating.
1. Turn on the motor switch located at the front of the machine. Feed the print in with one
hand and catch it as it comes out with the other hand. Do not let the print drop down as it
exits. Turn off the motor after coating the print. : the motor should not be left running
for more than five minutes at a time or it will overheat and cut out. The motor will only start
to operate again when it has cooled down.
2. For longer prints, such as posters, take the leading edge as it exits and guide the print
back towards the front of the Speedcote. The small upper roller is also driven and will assist
with guiding the poster back towards the operator.

Page 6
Stock type
Most photo paper has a resin coating on the back and should be run at a slightly lower
temperature. If the temperature is too high the heat will affect the resin coating. This will
cause the photo paper to stick to the roller and go under the stripper fingers. If you
experience this adjust the temperature knob from the 12 o’clock position to the 11 o’clock
position. You will then need to wait 25 minutes for the temperature to drop.
You should use a minimum stock of 60gsm and for thin papers should apply a thin coating
and set the temperature slightly higher. If the paper is too thin, it will receive cut marks from
the stripper fingers at the rear of the coating roller.
Mounting
After coating your print, MX wax will not dry out, so you can mount your print at any time.
However, with RP wax the substrate must be mounted within 2 minutes or adhesion may be
affected. The wax will stick to most surfaces including plastic, metal and wood. After rolling
down your print, you will immediately receive a permanent bond. Maximum adhesion will be
achieved after 24 hours.
After the stock has been coated, the wax will never dry out so the stock can be mounted at
any time. Lift and position the stock until you are happy with its location then roll it down
with a burnishing roller. The harder you roll, the stronger the adhesion. Rubbing the
substrate lightly with your fingers will not create adhesion!
Adding Wax
Speedcote wax comes in pellets which normally stick together in the bag. Either cut the
required amount with a knife or alternatively, refrigerate the product for approximately 2
hours. It is then easy to tear off the wax in the pieces you require.
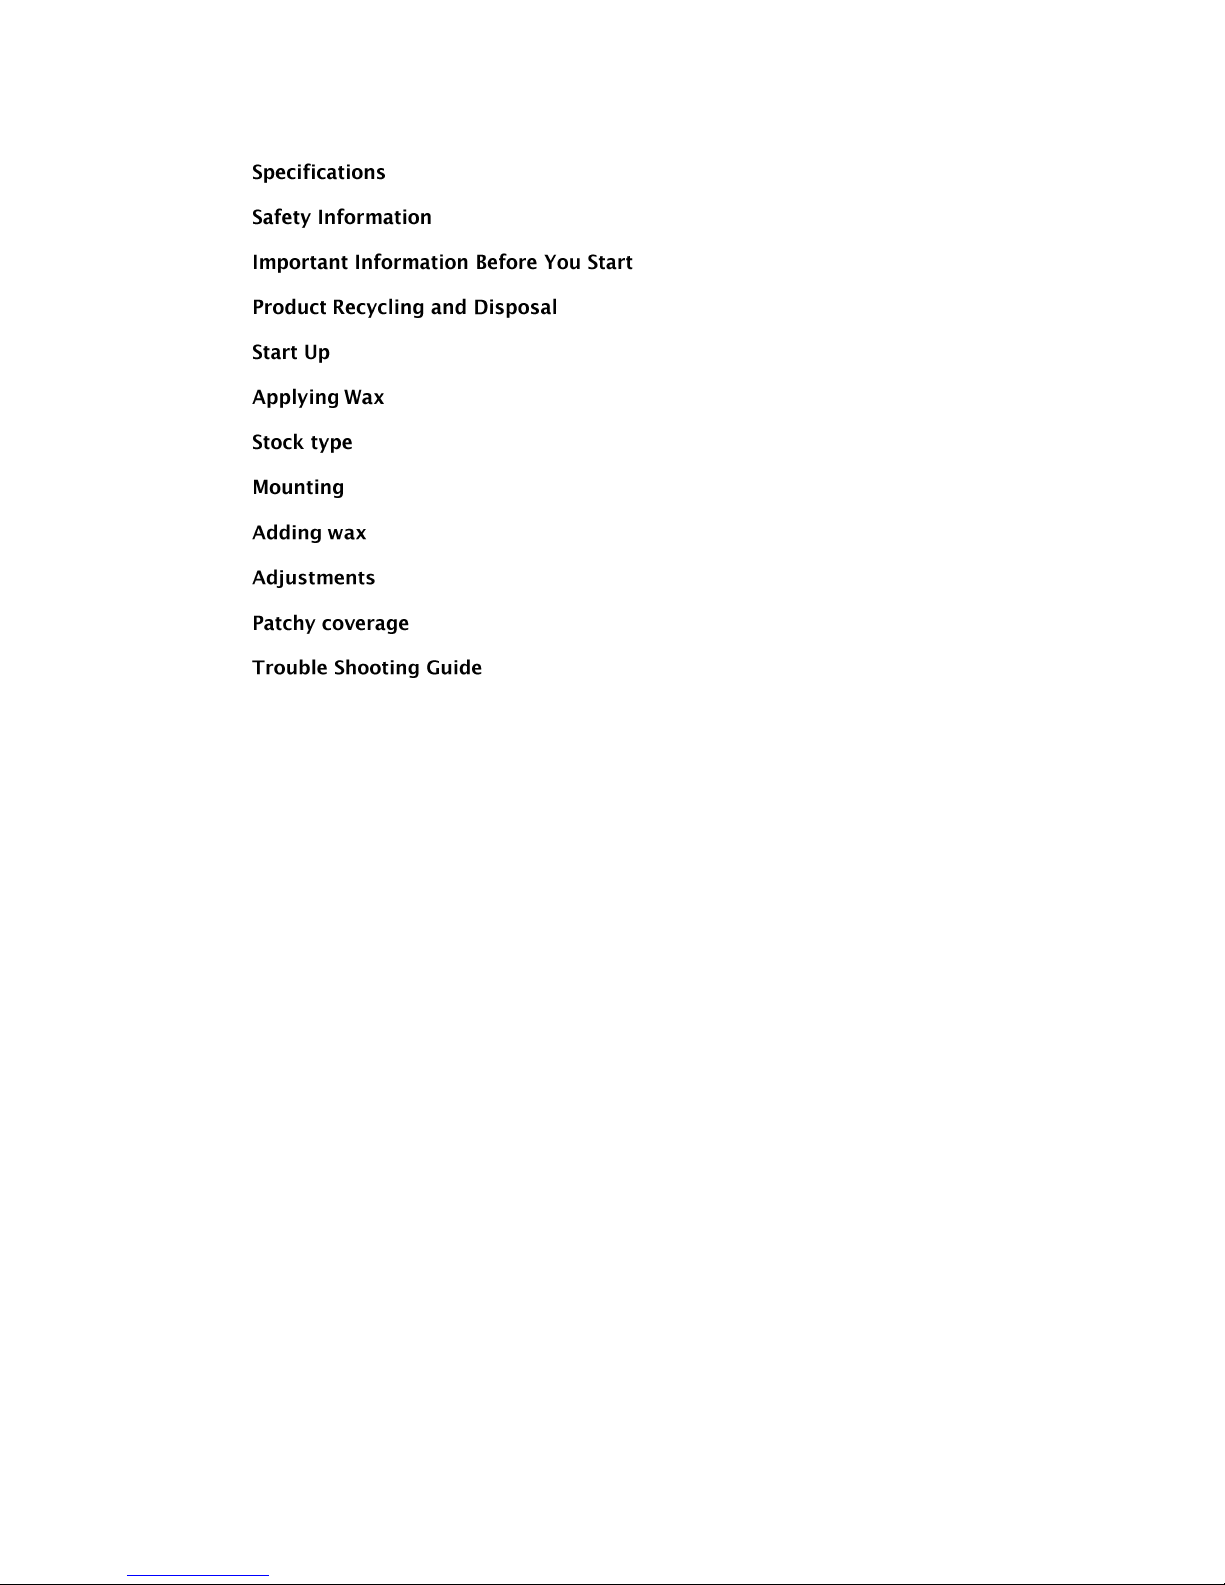
When the wax level drops to the ‘add level’add more wax. It is important to maintain the
wax level at, or above, the ‘full’ level. If not, you will not achieve the correct coating and it
will take longer to warm up in the morning.
Pull down the front cover. Place approximately half of
the wax pellets in the front of the tray. You do not
need to wait for the pellets to melt before using the
Speedcote. The bag is made from a special material
and is dissolvable in the hot wax.

Page 7
Adjustments
: The coating thickness can be changed by adjusting the wiper blade.
Loosen the screws on top of the blade and then turn the two adjustment screws in front of
the blade. Clockwise will reduce the coating and counter clockwise will increase the coating.
These screws are a fine adjustment and need only small movements.
: There is a knob which adjusts the temperature of the wax and is located
under the front cover. If the coating is too sticky, you can turn the temperature up slightly
which will thin out the coating. If smoke starts appearing from the wax in the tray, then the
temperature is too high and it should be turned down.

Page 8
Patchy coverage
If not set correctly, the Speedcote can produce wax coverage that is patchy and not 100%. If this
happens, please check the following and make the necessary adjustments;
1. There are two triangle steps in each corner in the back of the tray and the full level in
front. They are all the same height. To see if it is level left to right, look at the wax level
versus the two triangle steps. To see if it is level front to back, look at the level versus
the triangles and the full step in front. If need be, place shims under the feet at the
bottom of the Speedcote to level it out. Even if it is at the full level, add some more wax
so it is about 1/8" above the full level.
2. Increase the temperature using the temperature control knob. Rotating it clockwise
increases the temperature.
3. Also it is important to keep the entire coating roller hot. Consequently, when you first
start using it in the morning or if you have not used it for a while during the day, turn
on the motor for 30 seconds before you use it to get the roller hotter.
4. If you are using it to coat multiple prints, then leave the motor running and you will find
any stringiness should be reduced or eliminated. Also make sure you keep the wax
level up to keep the roller hot. The wax should not come off on your fingers and will
not at the correct temperature.

Page 9
Trouble Shooting Guide
The ready light will not come on after 55 minutes, so the motor will not run even though
the wax is melted.
This is very rare, but can happen the first time you use Speedcote due to a thermostat in
the machine being impacted during shipping.
A slight adjustment is needed on the motor thermostat. Contact your local dealer and
they will email you the instructions. Once you make the correct adjustment, you should not
need to do it again.
The wax is melting, but not getting hot enough.
Not enough power coming into the Speedcote due to too many items plugged into the
same outlet or using a poor grade extension cord. Also, make sure the temperature knob has
not been moved to the left, lower than the 11:00 position.
Remove other items from outlet. Also see if you can plug directly into outlet instead
of using the extension cord. If you must use a cord, it needs to be heavy gauge.
Smoke coming out of wax in tray or very strong odour.
The Speedcote is running too hot. It is not unusual for the Speedcote to run hotter in
your premises than in our quality control room due to voltage variations. Also, running the
motor for long periods of time will heat up the wax significantly.
turn the temperature knob slightly to the left. If you are at the 1:00 position, turn it to
12:00. If at 12:00, turn to 11:00. The Speedcote takes around 30 minutes to reset the overall
temperature.
One of the major reasons for poor coating is the wax being too low in the tray. There are two
steps in the front, left of the tray with the bottom step being the “add” level and the top the
“full” level. You must keep the wax well above the add level and up to the “full” level as much as
possible. This is the first thing you should check.
The first ½ of the paper comes out with a good coating, but the last ½ is streaky.
The wax level in the tray is too low. Also your coater may be on an unlevel surface so
the back of the machine is higher than the front. The wax level in front looks full, but there is
less wax in the back under the coating roller so it does not pick up enough wax.
Level the front of the coater by placing shims under the front feet

Page 10
Small misses in the wax coating on the back or some streaky areas in the coating.
The Speedcote is running too hot. When running too hot the wax is less tacky so the
paper does not hug the roller well and does not pick up the proper amount of wax. Running too
hot also thins out the wax on the coating roller.
Turn the temperature down slightly to the left. If the knob is at the 12:00 position,
turn it to 11:00 and wait 30 minutes for the temperature to reset.
Receive a thin straight line of missed wax in the direction in which you are coating the
paper.
There is dirt or debris lodged between the wiper blade and coating roller and is blocking
the wax flow.
Loosen the screws on top of the wiper blade and use the two set screws in front of
the blade to bring the blade back, away from the roller. Clean out any dirt in the blade area. If
the blade is very dirty, you may want to remove it to clean it.
The paper comes out of the machine with “score” lines on the image side.
The paper is too thin, so it hugs the coating roller then goes over the stripper fingers
which marks it with lines.
Use heavier gsm paper. The minimum recommended weight is120gsm. With photo
paper minimum is 9 mils. If the paper is borderline, then you may be able to eliminate the lines
by increasing the temperature and thinning out the coating using the wiper blade.
Coating is too thick or too thin
Position of wiper blade
Reset the blade using the instructions on Page 7of this operating guide.
Getting drops of wax on the leading edge of the paper.
Wax is building up on the leading edge of the stripper fingers after running the motor
for a while.
Turn off the motor for a minute and the drops should melt away. Also space the
fingers so there is the minimum amount needed under the paper. Reset the blade to produce a
thinner coating.
Table of contents
Other Caslon Laminator manuals
Popular Laminator manuals by other brands

Lami Corporation
Lami Corporation Rose-63CL instruction manual

Esselte
Esselte Xyron 9” Creative Station user guide

Kompernass
Kompernass ULG 300 A1 operating instructions

ACCO Brands
ACCO Brands SEAL 62 Base user manual

Click
Click RevoFit2 manual

Proaction
Proaction 908/8573 Installation & user's instructions