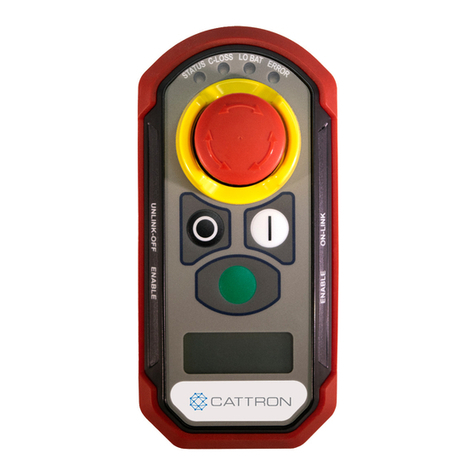
Quick Start Guide
Safety Systems | Safe-D-Stop™
1. Wire Your Machine Control Unit (MCU)
The MCU terminalsand pin numberingrelative to the OCU buttons are identified
in the system configurationdrawing provided with your system.
1. In almost all cases the implementationof an appropriate mainline contactor
power circuitis required using K18 and K19 to maintainthe Machine power
and possibly K20 to reset the Machine, althoughthis may be a local reset.
2. Connect power and ground (per system specification)to J1 via a local
disconnect switch.
3. Connect the correct antennas to the antenna connectors.
4. Check the wiring and turn on the MCU power, the MCU LEDs, two power
green, Heartbeat flashingred and statusamber, the relays K18 and K19 will
energize if all is OK.
2. Charge or Install the Batteries
Rechargeable OCUs have tamperproof
screws on the battery cover. Disposable
battery (AA type) OCUs have cross head
screws on the battery cover.
3. Turn on the Operator Control Unit (OCU)
1. Press the ON button, this will
wake the OCU from sleep to
a fully tested PASSIVE non-
transmittingmode.
2. You will see all LEDs flash
briefly and the Haptic buzz to
confirm they are all working.
3. The center Status and Right-
hand LEDs 1 & 2 will then
illuminate
ON
2nd
1st
4. Move to Active Mode
NB: For 2.4GHz Systems OCUs musthave completedthe Associationprocess with its
target MCU (this only needs to be done once, see the user manual)
From Passive Mode the OCU can be moved into an Active mode;
1. Press the Stop Switch and then press the On switch within 3 seconds.
2. The Status E-Stop LED will now flash showing it is transmitting.
3. At this point the OCU is active, and the target machine will be under direct control.
Nimble: 9M60-9061-A002-EN| May 2022


