manuals.online logo
Brands
  1. Home
  2. •
  3. Brands
  4. •
  5. Cembre
  6. •
  7. Printer
  8. •
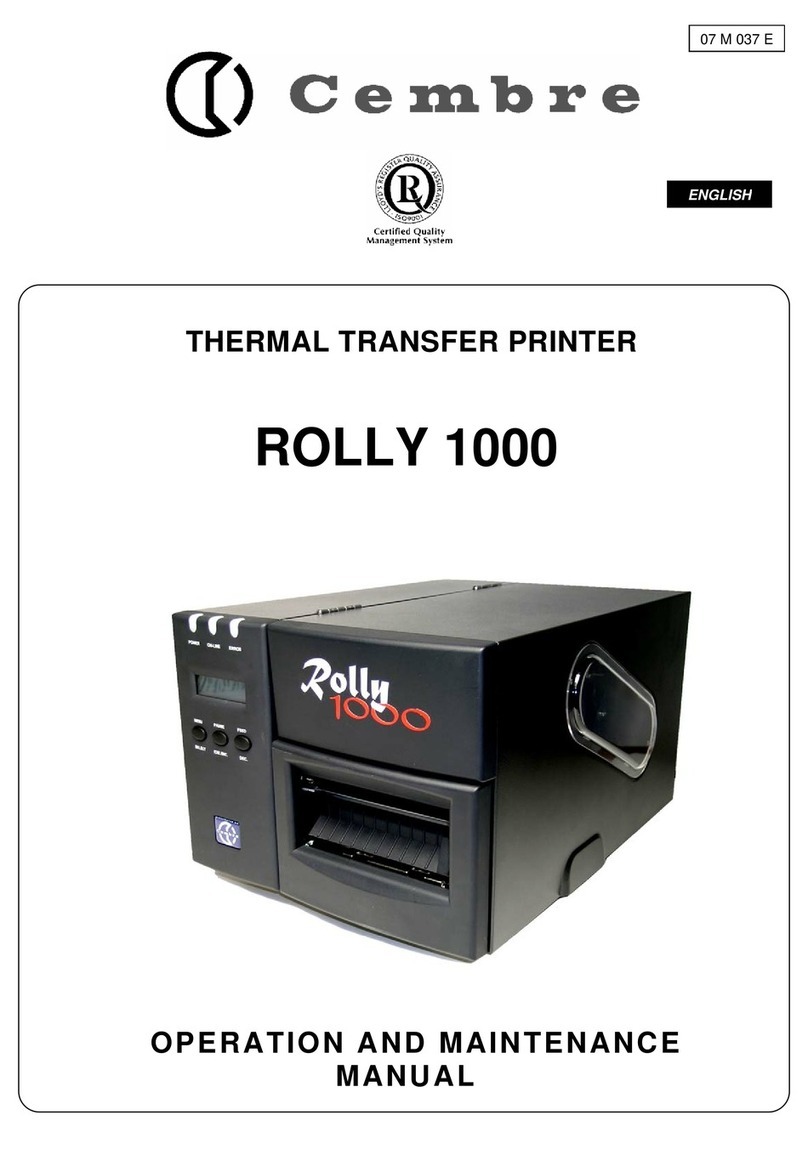
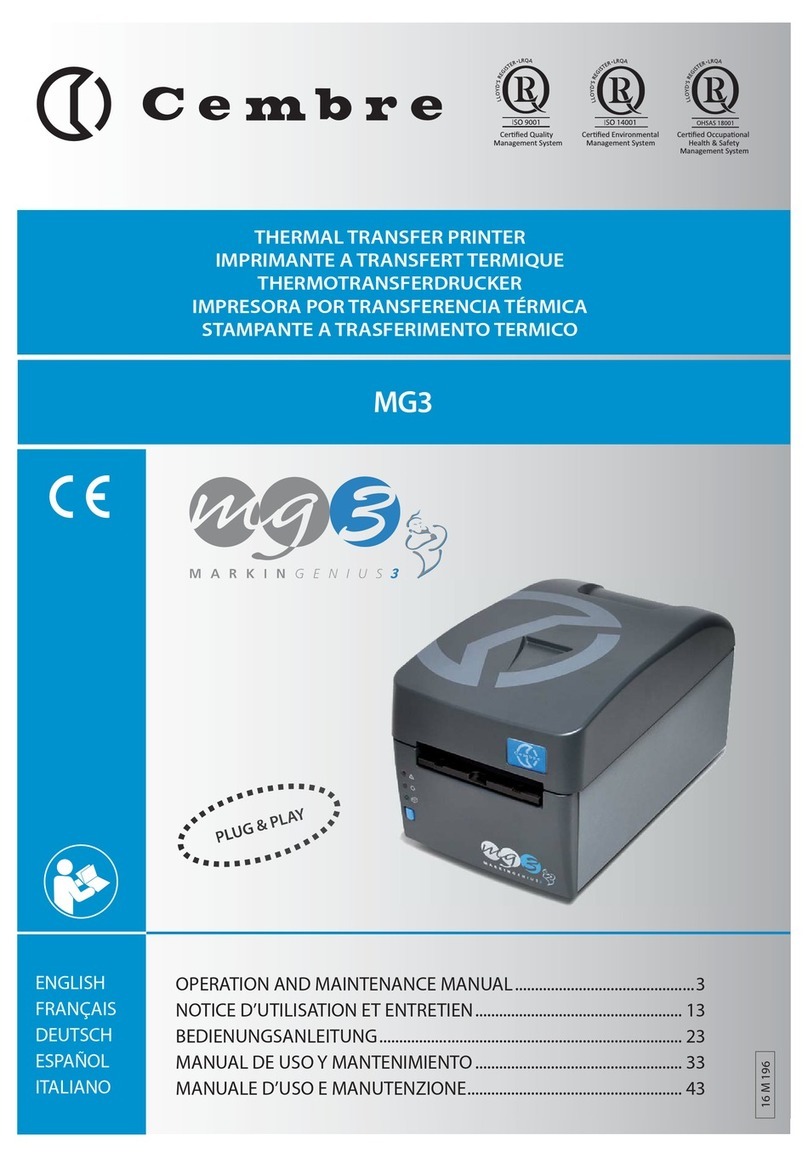
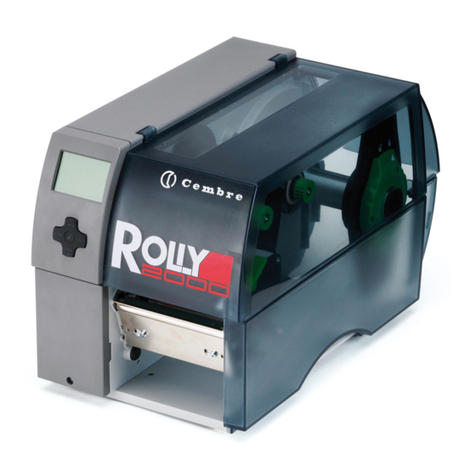
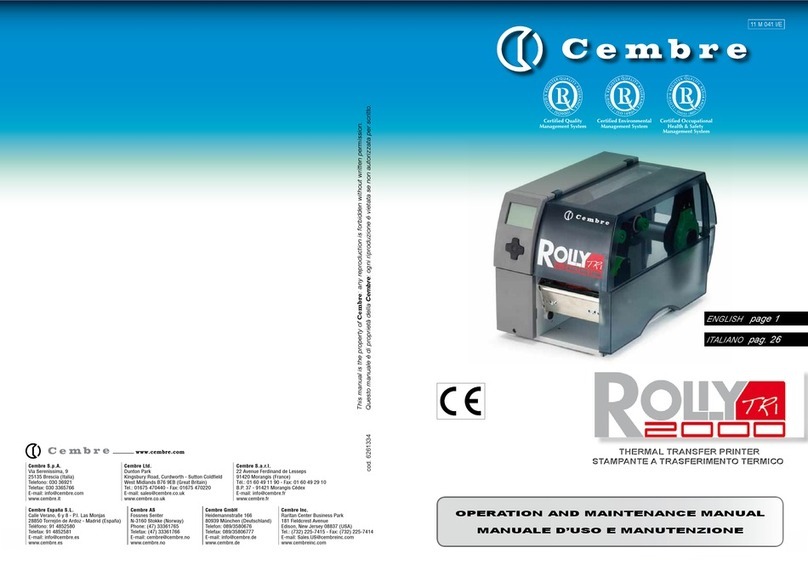
  9. Cembre Rolly 1000 User manual

Cembre Rolly 1000 User manual

1
English
+
PLOT
LABEL
SUITE
+
07 I 106 E
1
2
3
4
5
Cembre S.p.A.
Tel: +39 030 36921
info@cembre.com
Cembre Ltd.
Tel: 01675 470440
[email protected].uk
Cembre Inc.
Tel: (732) 225-7415
salesUS@cembre.com
www.cembre.com
printer
CD
USB & parallel cablesMains power cable
Rolly 1000 installation
on Windows XP
Read the Installation and Maintenance Manual
before commencing this pocedure
SYSTEM REQUIREMENTS







directly to  
 
To ensure a correct installation of
Rolly 1000 proceed carefully as follow:
Install the software


Configure the Genius program

cont.
1
When installation is completed
the Genius (and Advance Label) icon
will appear on the desktop.

Click Next
Tick:
Genius to print TPM-ROLL and TAR-ROLL cable marker tag,
KM-ROLL self-adhesive cable markers, STRIP-ROLL continuous
strips and some formats of TTL labels.
Or tick:
Advance Label to
print all TTL labels
and TTF continuous
film.
Click Next
Click Install
If this message appe-
ars during installation
click Yes
Insert the CD
into the computer.
The installation pro-
cedure will autostart
within seconds.
Select English
Click OK
D
O
N
O
T
C
O
N
N
E
C
T
T
H
E
P
R
I
N
T
E
R
Y
E
T
2

2




Click Next
Select only:
Local printer
attached to this
computer
Click Next
Select:
Use the following port
Select
the LPT1 port
from the drop down
menu.
Click Next
Click Have Disk..
Click Browse
In
My Computer
select the path:
Select
the file TSC.inf
and click Open
The installation path
chosen is now
displayed in the lower
field
Click OK
Select printer
model TSC TTP-344M
from the list.
Click Next
Select: Do you want to
use this printer as the
default printer? No
Click Next
Installation of the driver differs depending on whether the printer
is connected using a parallel cable or a USB cable.

Connect the Rolly 1000 printer to the computer with the parallel
cable.
Click
Start
on the
Windows application
bar and then click
Printers and Faxes
.
Alternatively, select
Control Panel and
open Printers and
Faxes with double
click.
Click on
Add a Printer
to start guided printer
installation procedure
for
Genius
for
Advance Label
C:\

Program Files
\
Geni us\
Driver\
Rolly 1000\
9X2000XP\
C:\

Program Files
\
Advance Label\
Driver\
Rolly 1000\
9X2000XP\
3






Select:
Do not share this
printer
Click Next
Select:
Do you want to print a
test page? No
Click Next
Click Finish
To complete the instal-
lation click Continue
Anyway
After a few seconds the

icon is displayed in the
Printers and Faxes
window. Rename
 
as
Rolly
1000
(right click the printer icon and select
Rename
).
To configure the Genius program go to 
go to 

Connect the Rolly 1000 printer to the computer with the USB
cable. Power up the printer via the button on the back.
The operating system detects the presence of the new hardware
connected. If the
Search for new hardware on the internet
window appears, refuse and continue with the installation.
Wait for the
New
Hardware Wizard
procedure to start.
Select:
Install from a
list or specific location
(Advanced).
Click Next
Select only two
options:
Search for the best
driver in these
locations and
Include this
location in the search:
Click Browse
From
My Computer
select the location:
Select the folder
9X2000XP\ and
click OK.
The installation
location selected is
displayed in the field.
Click Next
To complete the
installation click
Continue Anyway
Should the
TS344M.dat file
search window be
displayed, continue as
follows:
click Browse
Select the same
location of the driver,
as shown here
Select the file requested
TS344M.DAT
Click Open
The location you have
just selected is displa-
yed in the box at the
bottom.
Click OK
for
Genius
for
Advance Label
C:\

Program Files
\
Geni us\
Driver\
Rolly 1000\
9X2000XP\
C:\

Program Files
\
Advance Label\
Driver\
Rolly 1000\
9X2000XP\
for
Genius
for
Advance Label
C:\

Program Files
\
Geni us\
Driver\
Rolly 1000\
9X2000XP\
C:\

Program Files
\
Advance Label\
Driver\
Rolly 1000\
9X2000XP\
After a few seconds the

icon is displayed in the
Printers and Faxes
window. Rename
 
as
Rolly
1000
(right click the printer icon and select
Rename
).
To configure the Genius program go to 
go to 
4
3



When the driver installation is completed, configure the driver
in
Printers and Faxes.
Right click on
Rolly 1000
and select
Properties
from the drop
down menu.
Click OK on all open windows to confirm the new settings and
return to Printers and Faxes.
Right click on printer
Rolly 1000
and choose
Printing Preferen-
ces
from the drop down menu.
In Options tab set the
field values as follows:
Paper format
mm
landscape
rotate 180°
Settings
No. Of Copies: 1
Speed: 50 mm/s
Darkness: 12
Stocks: User defined

continuous film only
set
Darkness: 9
Click Advanced Setup
tab.
Repeat the same
configurations of the

PRINTING
SETTINGS
in Printing Preferences.
Click OK to confirm
the new settings and
return to Printers and
Faxes.

Click Other
Tick
Use printer settings
Click Close
Click on Advanced
tab.
Click Printing Defaults
WARNING: 
the operating system detects new hardware.
Installation wizard starts again and steps and must be
repeated.
We recommend always connecting the printer to the same

Set the field values according
to the printing media (tags, labels, etc.).
TPM-ROLL
Sensor type: Vertical
Options: Tear off, Feed Offset: 15mm
TTL
Sensor
type
:
Vertical
Options: Tear off, Feed Offset: 0mm
KM-ROLL
Sensor
type
:
Black mark
Options: Tear off, Feed Offset: 0mm
TTF and STRIP-ROLL
Sensor
type
:Continuous
Options: Tear off, Feed Offset: 0mm
The darkness value is indicative and modifiable based on
print quality and material used.
5
4 5




Double click
the Genius icon
on the desktop to open the main
window
When the printer installation is completed, configure the
Advance Label program.
Start Advance Label by clicking twice on the icon on
the desktop.
The following message is displayed when the programme is star-
ted the first time:
Set the field values as shown in the following image.
Select Rolly 1000 in Marker Printer B and Marker Printer C.
In Document Printer select the printer commonly used for
documents.
Tick the options Auto print preview timer and Auto print both
on Printer B and Printer C and set time to 2seconds.
Now click Offset.
To centralise printing on the media, enter the
Offset X B, Offset
Y B, Offset X C and Offset Y C
values on the test sheet. These
values are indicative and may need to be modified during initial
print runs.
Click OK
Click F2 – Save
then Yes
This message always
appears, click
OK
Select
Utility
then
System Default
Settings
Click
OK
Click dropdown icon to
right of
Default Printer
field.
Select
Rolly 1000
and Click Properties
In Options tab set the
field values as follows:
Paper format
mm
Landscape
Rotate 180°
Settings
No. Of Copies: 1
Speed: 50 mm/s
Darkness: 8
Stocks: User defined
Size
Width: 100.00
Height: 100.00
Unprintable area
Set values 0.00
In Advanced Setup tab
set:
Sensor type: Vertical
Options: Tear off
Click OK on all open
windows to confirm the
new settings.
Click Save
Click
Personalisations
in the main window.
The installation is complete.

Other manuals for Rolly 1000

1

Other Cembre Printer manuals

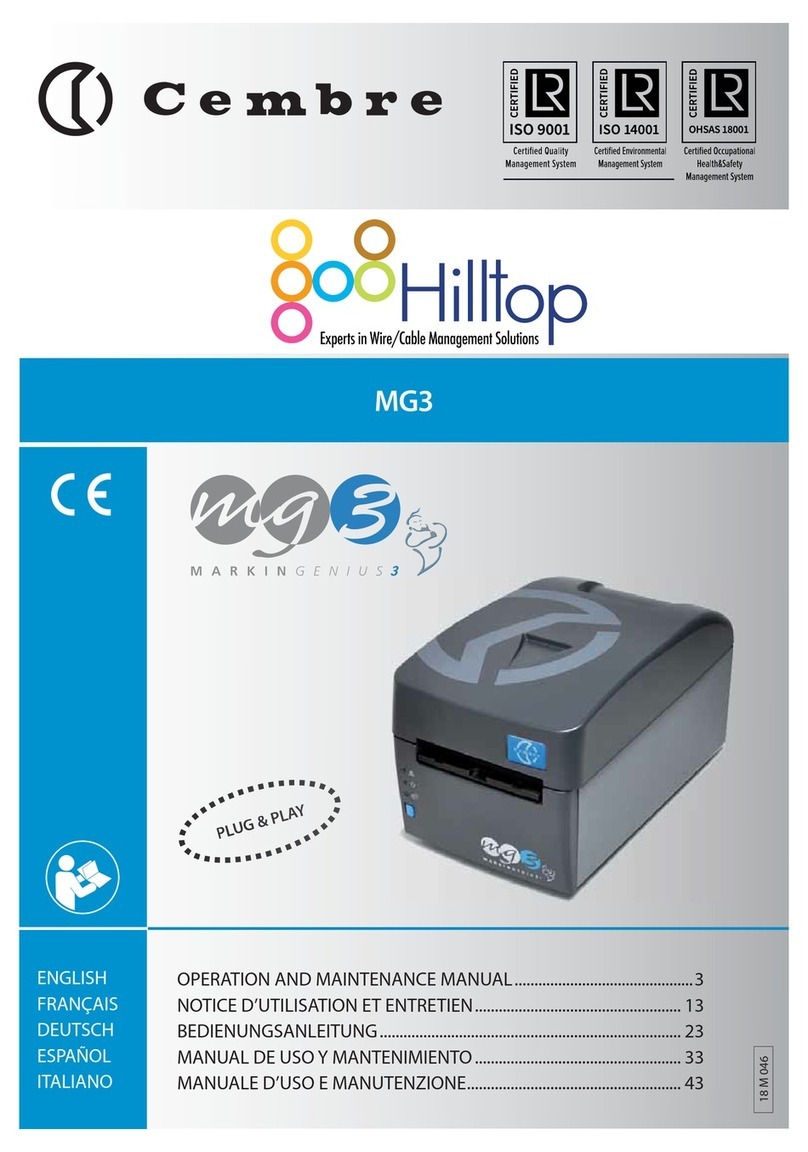
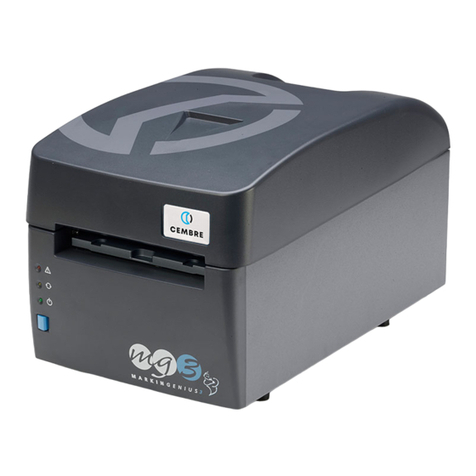
Cembre Markingenius MG3 User manual

Cembre

Cembre Markingenius MG3 User manual

Cembre ROLLY 3000 User manual

Cembre

Cembre ROLLY 3000 User manual

Cembre ROLLY 2000 User manual

Cembre

Cembre ROLLY 2000 User manual

Cembre MG3A User manual

Cembre

Cembre MG3A User manual

Cembre Markingenius MG3 User manual

Cembre

Cembre Markingenius MG3 User manual

Cembre Rolly 1000 User manual

Cembre

Cembre Rolly 1000 User manual

Cembre MG4 User manual

Cembre

Cembre MG4 User manual

Cembre Markin Genius2 User manual

Cembre

Cembre Markin Genius2 User manual

Cembre Markingenius MG3 User manual

Cembre

Cembre Markingenius MG3 User manual

Cembre MarkinGenius 2 User manual

Cembre

Cembre MarkinGenius 2 User manual

Cembre Rolly TR1 User manual

Cembre

Cembre Rolly TR1 User manual

Popular Printer manuals by other brands

SPRT SP-RMT11/L21 user manual

SPRT

SPRT SP-RMT11/L21 user manual

Epson TM-T20 Quick reference guide

Epson

Epson TM-T20 Quick reference guide

Lexmark 18H0500 - Z 54 Color Jetprinter Inkjet... user guide

Lexmark

Lexmark 18H0500 - Z 54 Color Jetprinter Inkjet... user guide

Avery Dennison AP4.4 user manual

Avery Dennison

Avery Dennison AP4.4 user manual

Ricoh MD-P1 Service manual

Ricoh

Ricoh MD-P1 Service manual

EFI Fiery X3eTY2 Configuration and setup

EFI

EFI Fiery X3eTY2 Configuration and setup

Canon PIXMA MP499 Network guide

Canon

Canon PIXMA MP499 Network guide

Seiko I Infotech IP-5620 user guide

Seiko I Infotech

Seiko I Infotech IP-5620 user guide

Lexmark C 750 Replacement guide

Lexmark

Lexmark C 750 Replacement guide

NEC Silentwriter 1765 Configuration guide

NEC

NEC Silentwriter 1765 Configuration guide

FujiFilm ApeosPro C810 user manual

FujiFilm

FujiFilm ApeosPro C810 user manual

Epson SpectroProofer Mounter 17" user guide

Epson

Epson SpectroProofer Mounter 17" user guide

HPRT HM-T3 quick start guide

HPRT

HPRT HM-T3 quick start guide

Fujitsu DL4400 user manual

Fujitsu

Fujitsu DL4400 user manual

Lexmark MS610 Series Specfications

Lexmark

Lexmark MS610 Series Specfications

Rimage Desktop 360i Replacement guide

Rimage

Rimage Desktop 360i Replacement guide

iDPRT iE4P quick start guide

iDPRT

iDPRT iE4P quick start guide

Epson R260 - Stylus Photo Color Inkjet Printer supplementary guide

Epson

Epson R260 - Stylus Photo Color Inkjet Printer supplementary guide

manuals.online logo
manuals.online logoBrands
  • About & Mission
  • Contact us
  • Privacy Policy
  • Terms and Conditions

Copyright 2025 Manuals.Online. All Rights Reserved.