manuals.online logo
Brands
  1. Home
  2. •
  3. Brands
  4. •
  5. Central Forge
  6. •
  7. Tools
  8. •
  9. Central Forge 99707 User manual

Central Forge 99707 User manual

INSTRUCTIONS AND PRECAUTIONS
Distributed exclusively by Harbor Freight Tools®.
3491 Mission Oaks Blvd., Camarillo, CA 93011
Visit our website at: http://www.harborfreight.com
SAVE THESE INSTRUCTIONS. READ ALL
PRECAUTIONS AND INSTRUCTIONS.
Copyright©2008 by Harbor Freight Tools®. All rights reserved. No portion of this document or any artwork contained
herein may be reproduced in any shape or form without the express written consent of Harbor Freight Tools.
Diagrams within this document may not be drawn proportionally. Due to continuing improvements, actual product
may differ slightly from the product described herein. Tools required for assembly and service may not be included.
For technical questions or replacement parts, please call 1-800-444-3353.
SPECIFICATIONS
Material All steel construction, oil-
resistant non-slip handle
Magazine Capacity 180 T50 18 Gauge
staples; from 1/4” to 1/2” L
Method of Operation Hammer actuated
UNPACKING
When unpacking, check to make sure that
the item is intact and undamaged. If any parts are
missing or broken, please call Harbor Freight Tools
at the number shown on the cover of this document
as soon as possible.
IMPORTANT SAFETY
INFORMATION
Assembly Precautions
Assemble only according to these instruc-1.
tions. Improper assembly can create haz-
ards.
Wear ANSI-approved safety goggles and2.
heavy-duty work gloves during assembly and
use.
Keep assembly area clean and well lit.3.
Keep bystanders out of the area during as-4.
sembly and use.
Do not assemble when tired or when under5.
the inuence of drugs or medication.
Use Precautions
This product is not a toy. Do not allow chil-1.
dren to play with or near this item.
Use for intended purpose(s) only.2.
Inspect before use; do not use if parts are3.
loose or damaged.
HEAVY DUTY
HAMMER
TACKER
99707
SKU 99707 For technical questions, please call 1-800-444-3353. Page 2
Keep hands clear from stapling area while4.
Hammer Tacker is in use.
Maintain product labels and nameplates.5.
These carry important safety information.
If unreadable or missing, contact Harbor
Freight Tools for a replacement.
ASSEMBLY AND OPERATING
INSTRUCTIONS
Read the ENTIRE IMPORTANT
SAFETY INFORMATION section at the
beginning of this document including
all text under subheadings therein
before set up or use of this product.
Loading Staples
Plastic Magazine
Opener (21)
Magazine
Assembly (22)
Figure 1
1. Use only 1/4” to 1/2” length T50 18 gauge
staples.
Press down on spring-loaded Plastic2.
Magazine Opener (21) at bottom of Handle
(25)-see Figure 1.
Slide lever away from the Handle (25).3.
Extend Magazine Assembly (22) from4.
Handle-see Figure 1.
Load with 1/4” to 1/2” length LT50 18 gauge5.
staples. Make certain to load staples with
staple tips facing downward.
Push Magazine Assembly (22) back into6.
Handle.
Slide Plastic Magazine Opener forward to7.
lock Magazine Assembly into place.
Operation
Make certain free hand is clear of section to1.
be stapled.
Hammer the Tacker to insert staple.2.
MAINTENANCE AND CLEANING
Removing Jammed Staples
If staples become jammed in the driver, do1.
not repeat stapling until they are removed
from the unit.
Grasp the jammed staple with needlenose2.
pliers and pull staple out from the Driver
Blade (14).
BEFORE EACH USE,3. inspect the general
condition of the Hammer Tacker. Check for
loose screws, misalignment or binding of
moving parts, cracked or broken parts, and
any other condition that may affect its safe
operation.
AFTER USE,4. clean external surfaces of the
tool with clean cloth.
Tacker
Handle (25)
SKU 99707 For technical questions, please call 1-800-444-3353. Page 3
ASSEMBLY AND PARTS DIAGRAM
PARTS LIST & ASSEMBLY
DIAGRAM
Part Description
1 Left Steel Panel
2 Right Steel Panel
3 Upper Cushion
4 Outer Cushion
5 Anti-Shock Cushion
6 Spring Fixture
7 Upper Cover
8 Transmission Part
9 Spring Transmission Block
10 Compression Spring
11 Front Cover
12 Inner Cover
13 Front Part
14 Driver Blade
15 Pushing Block
16 Plastic Pulley
17 Channel Spring
18 Pusher Body
19 Channel
20 Compression Spring for Opener
PARTS LIST & ASSEMBLY
DIAGRAM
Part Description
21 Plastic Magazine Opener
22 Magazine Assembly
23 Left Handle Part
24 Right Handle Part
25 Tacker Handle
26 Positioning Step Pin
27 Mini Socket
28 Main Axis
29 M4 Screw
30 M4 Screw
31 Outer Axis M4 Bolt
32 Upper Axis M4 Bolt
33 Axis Step Pin
34 Back Step Pin
35 E-Ring
36 E Ring
37 O-Ring
38 M4 Screw Cap
SKU 99707 For technical questions, please call 1-800-444-3353. Page 4
Troubleshooting
Problem Possible Causes Likely Solutions
Tacker will not staple:
Jams during operation:
Staples incorrectly loaded. Magazine Assembly not fully1.
inserted.
1. Incorrect staples being used.
Make certain staples are1.
loaded correctly and that
Magazine Assembly (22)
is fully inserted into body.
1. Use staples recommended
in Specication section.
Follow all safety precautions whenever diagnosing or servicing the tool.
Disconnect power supply before service.
Record Serial Number Here:
Note: If product has no serial number, record month and year of purchase instead.
Note: Some parts are listed and shown for illustration purposes only, and are not available individually as
replacement parts.
PLEASE READ THE FOLLOWING CAREFULLY
THE MANUFACTURER AND/OR DISTRIBUTOR HAS PROVIDED THE PARTS LIST AND ASSEMBLY DIAGRAM IN
THIS DOCUMENT AS A REFERENCE TOOL ONLY. NEITHER THE MANUFACTURER OR DISTRIBUTOR MAKES ANY
REPRESENTATION OR WARRANTY OF ANY KIND TO THE BUYER THAT HE OR SHE IS QUALIFIED TO MAKE ANY REPAIRS
TO THE PRODUCT, OR THAT HE OR SHE IS QUALIFIED TO REPLACE ANY PARTS OF THE PRODUCT. IN FACT, THE
MANUFACTURER AND/OR DISTRIBUTOR EXPRESSLY STATES THAT ALL REPAIRS AND PARTS REPLACEMENTS SHOULD
BE UNDERTAKEN BY CERTIFIED AND LICENSED TECHNICIANS, AND NOT BY THE BUYER. THE BUYER ASSUMES ALL
RISK AND LIABILITY ARISING OUT OF HIS OR HER REPAIRS TO THE ORIGINAL PRODUCT OR REPLACEMENT PARTS
THERETO, OR ARISING OUT OF HIS OR HER INSTALLATION OF REPLACEMENT PARTS THERETO.
LIMITED 90 DAY WARRANTY
Harbor Freight Tools Co. makes every effort to assure that its products meet high quality and dura-
bility standards, and warrants to the original purchaser that this product is free from defects in materials
and workmanship for the period of 90 days from the date of purchase. This warranty does not apply to
damage due directly or indirectly, to misuse, abuse, negligence or accidents, repairs or alterations outside
our facilities, criminal activity, improper installation, normal wear and tear, or to lack of maintenance. We
shall in no event be liable for death, injuries to persons or property, or for incidental, contingent, special
or consequential damages arising from the use of our product. Some states do not allow the exclusion or
limitation of incidental or consequential damages, so the above limitation of exclusion may not apply to
you. THIS WARRANTY IS EXPRESSLY IN LIEU OF ALL OTHER WARRANTIES, EXPRESS OR IM-
PLIED, INCLUDING THE WARRANTIES OF MERCHANTABILITY AND FITNESS.
To take advantage of this warranty, the product or part must be returned to us with transportation
charges prepaid. Proof of purchase date and an explanation of the complaint must accompany the mer-
chandise. If our inspection veries the defect, we will either repair or replace the product at our election
or we may elect to refund the purchase price if we cannot readily and quickly provide you with a replace-
ment. We will return repaired products at our expense, but if we determine there is no defect, or that the
defect resulted from causes not within the scope of our warranty, then you must bear the cost of returning
the product.
This warranty gives you specic legal rights and you may also have other rights which vary from
state to state.
3491 Mission Oaks Blvd. • PO Box 6009 • Camarillo, CA 93011 • (800) 444-3353

Other Central Forge Tools manuals

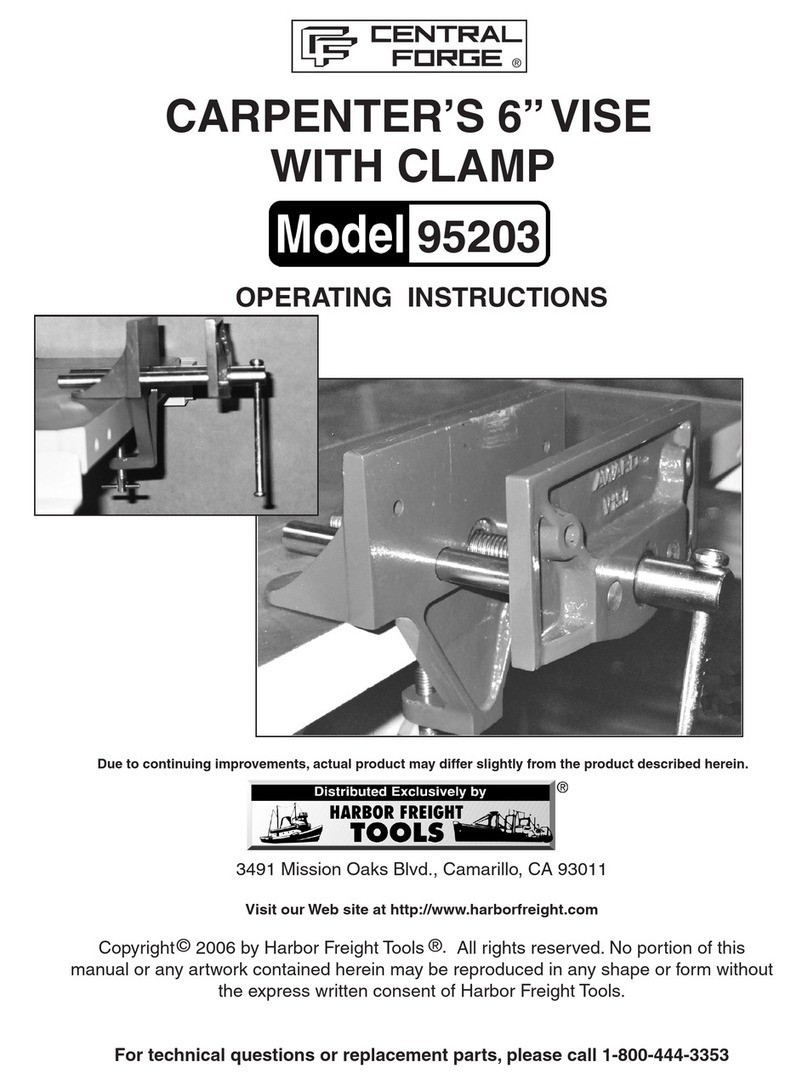
Central Forge 95203 User manual

Central Forge

Central Forge 95203 User manual

Central Forge 67415 Installation manual

Central Forge

Central Forge 67415 Installation manual

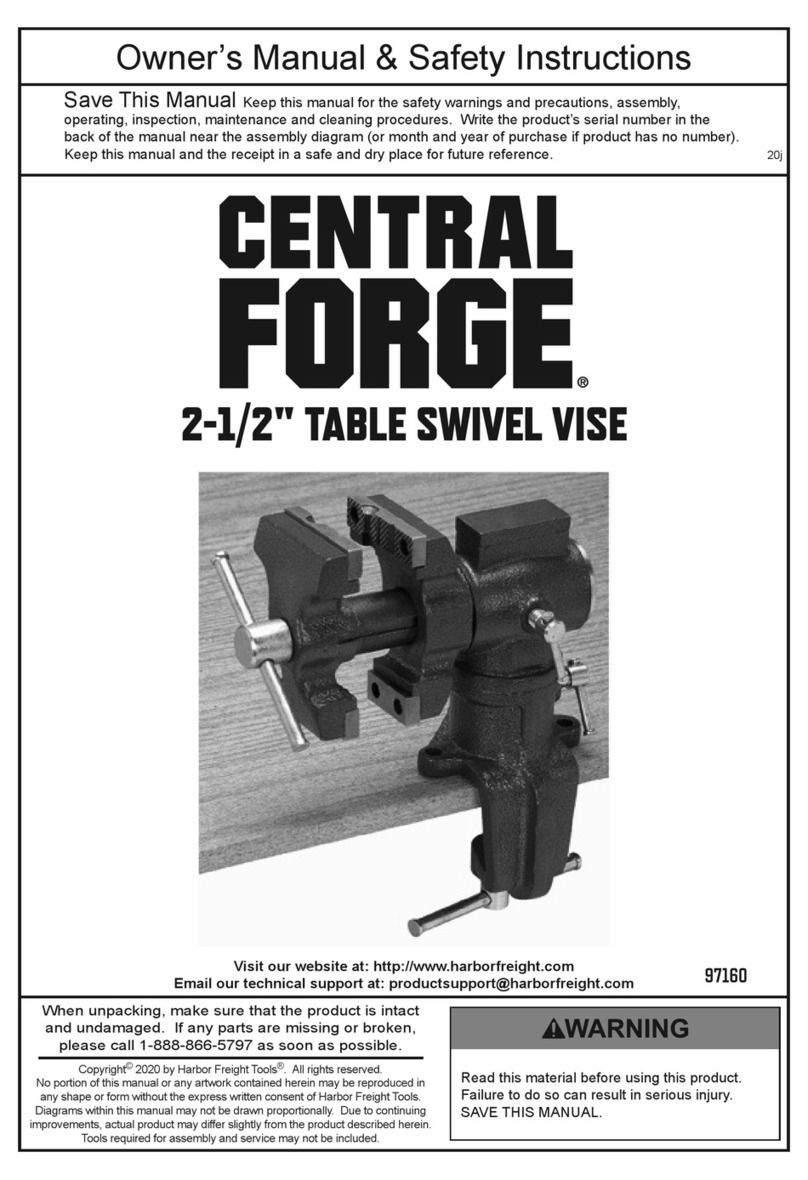
Central Forge 97160 Assembly instructions

Central Forge

Central Forge 97160 Assembly instructions

Central Forge 3794 User manual

Central Forge

Central Forge 3794 User manual

Central Forge 90310 User manual

Central Forge

Central Forge 90310 User manual

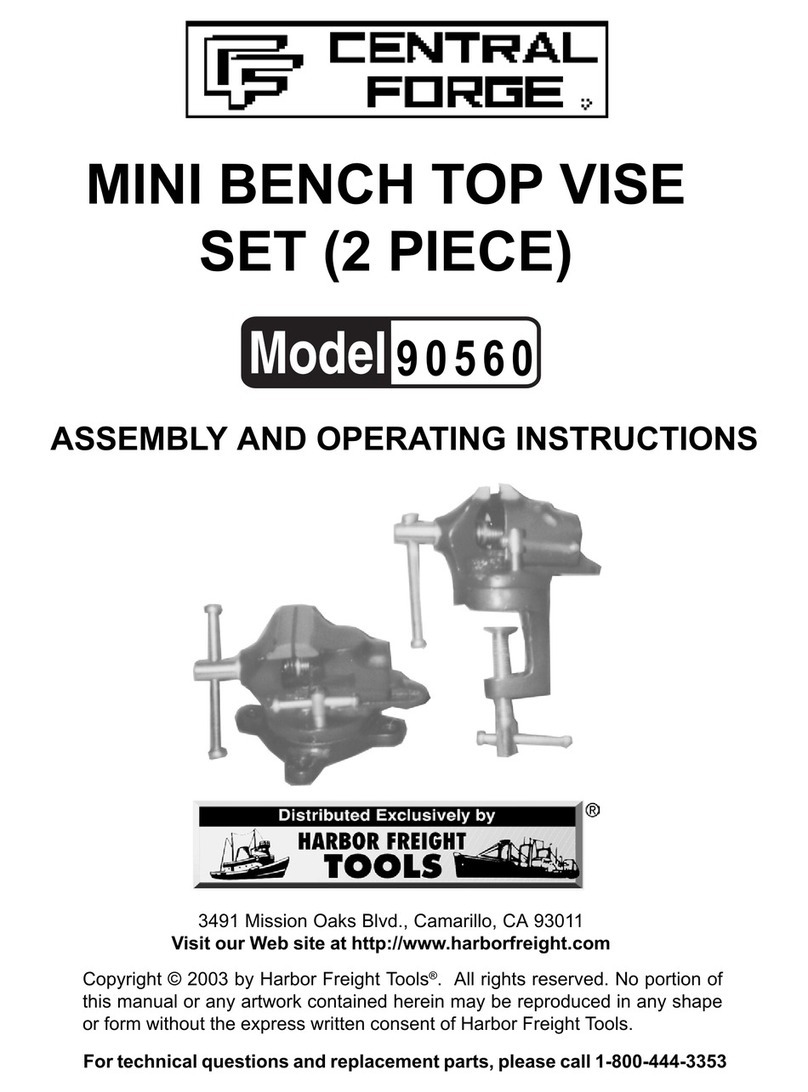
Central Forge 90560 User manual

Central Forge

Central Forge 90560 User manual

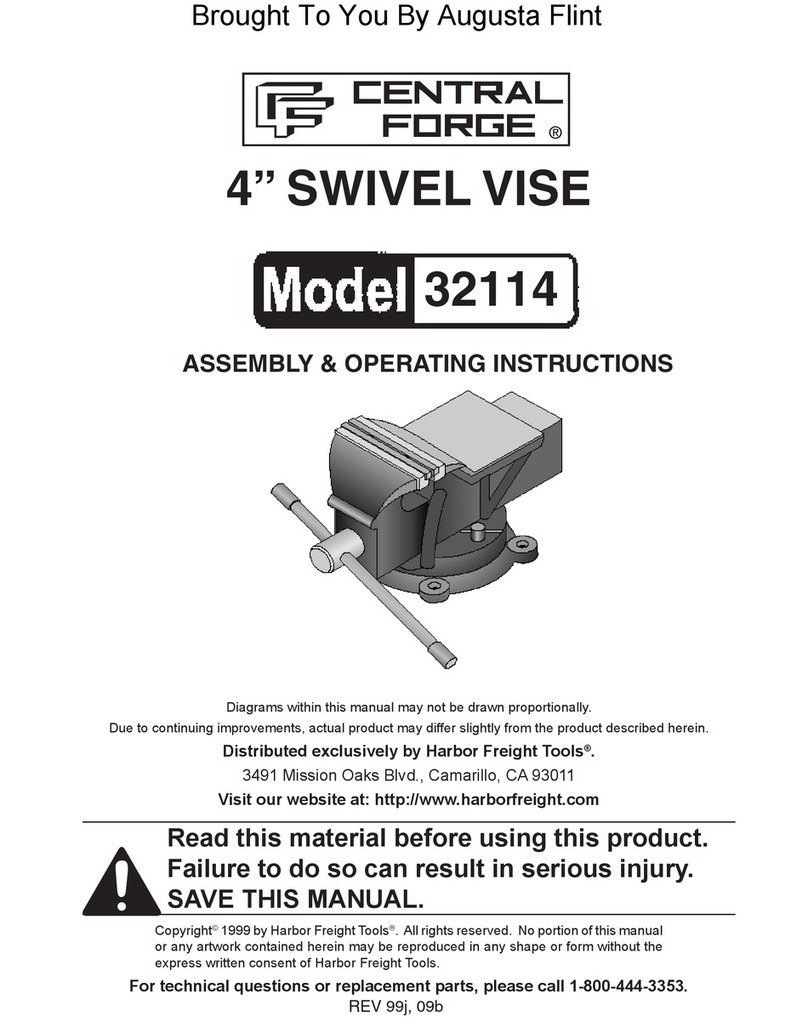
Central Forge 32114 Quick reference guide

Central Forge

Central Forge 32114 Quick reference guide

Central Forge 92553 Assembly instructions

Central Forge

Central Forge 92553 Assembly instructions

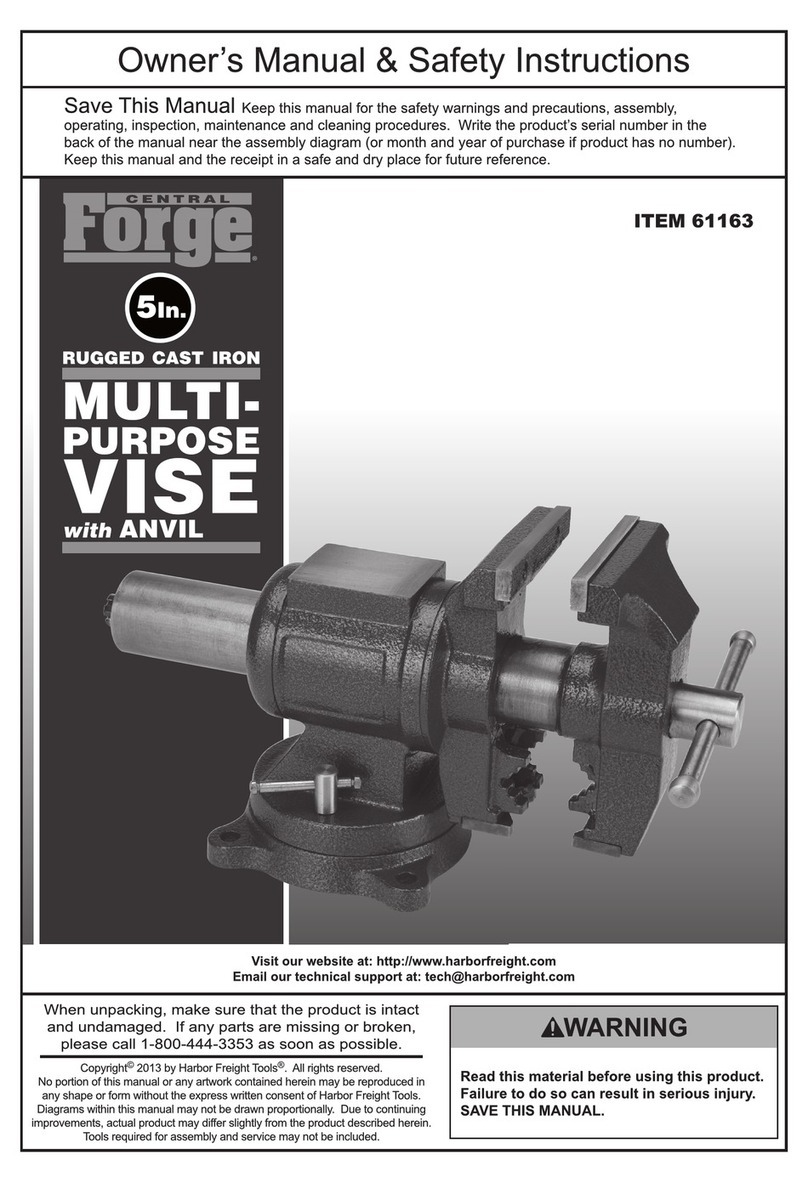
Central Forge 61163 Assembly instructions

Central Forge

Central Forge 61163 Assembly instructions

Popular Tools manuals by other brands

RevealeSurgical 2500 D-DPL Series instruction manual

RevealeSurgical

RevealeSurgical 2500 D-DPL Series instruction manual

PCB Piezotronics 086D50 Installation and operating manual

PCB Piezotronics

PCB Piezotronics 086D50 Installation and operating manual

Wyco screed king user manual

Wyco

Wyco screed king user manual

3M 42-03 owner's manual

3M

3M 42-03 owner's manual

Endo CRL-2000 Series instruction manual

Endo

Endo CRL-2000 Series instruction manual

Toparc RINGMATIC quick start guide

Toparc

Toparc RINGMATIC quick start guide

Spirent HellermannTyton MK9PUA instruction sheet

Spirent

Spirent HellermannTyton MK9PUA instruction sheet

Foxwell ET2530 manual

Foxwell

Foxwell ET2530 manual

AREBOS AR-HE-BR80020 user manual

AREBOS

AREBOS AR-HE-BR80020 user manual

London Emblem Badgeworx instruction manual

London Emblem

London Emblem Badgeworx instruction manual

LAS 10318 operating instructions

LAS

LAS 10318 operating instructions

Sealey gh60 instructions

Sealey

Sealey gh60 instructions

MSW Motor Technics MSW-PRO-W 20-3 user manual

MSW Motor Technics

MSW Motor Technics MSW-PRO-W 20-3 user manual

Tiger Tool 10409 user manual

Tiger Tool

Tiger Tool 10409 user manual

Milwaukee M18 2646-20 Operator's manual

Milwaukee

Milwaukee M18 2646-20 Operator's manual

HOLZMANN MASCHINEN LSR 10HQ user manual

HOLZMANN MASCHINEN

HOLZMANN MASCHINEN LSR 10HQ user manual

Sealey AK98945 instructions

Sealey

Sealey AK98945 instructions

Sealey STS01 quick start guide

Sealey

Sealey STS01 quick start guide

manuals.online logo
manuals.online logoBrands
  • About & Mission
  • Contact us
  • Privacy Policy
  • Terms and Conditions

Copyright 2025 Manuals.Online. All Rights Reserved.