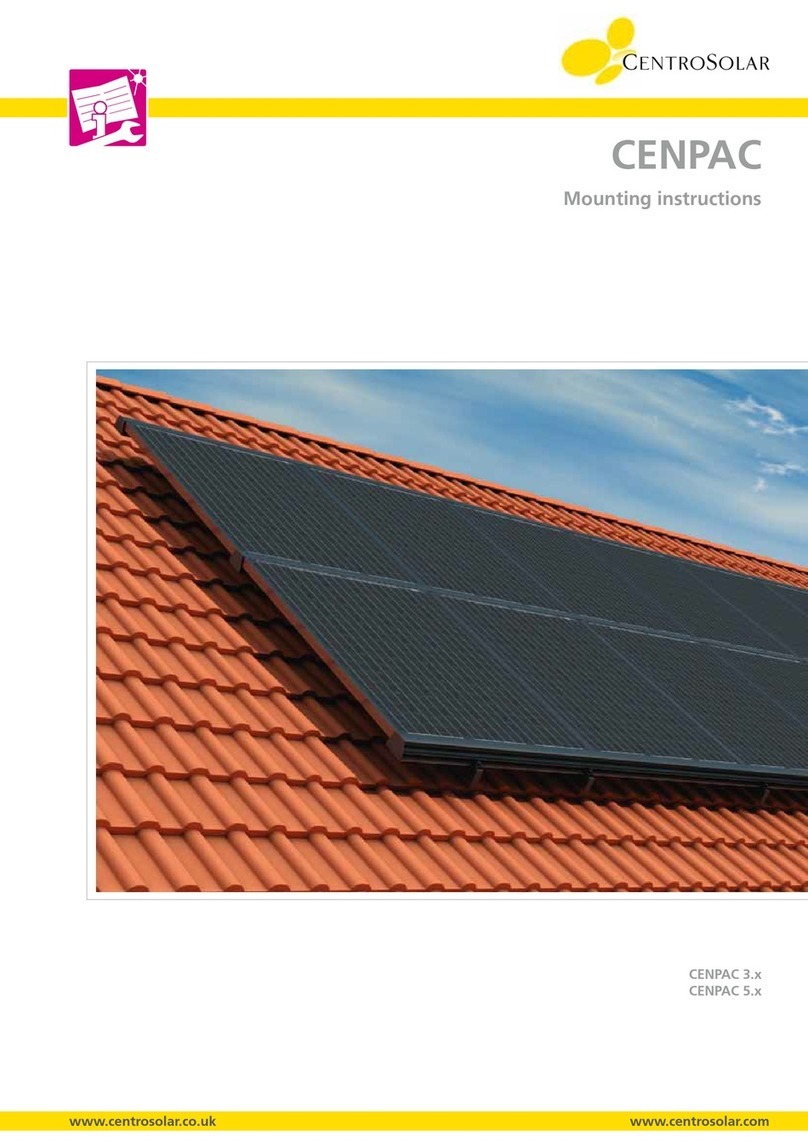
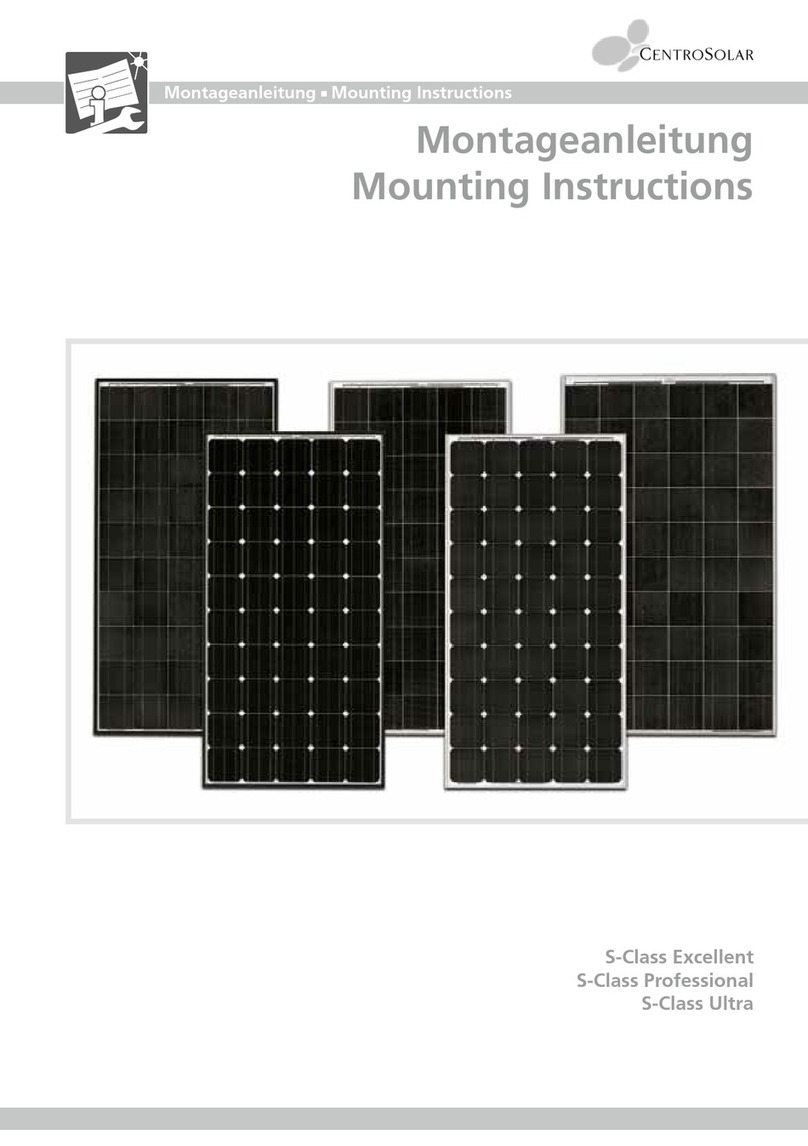
Centrosolar S-Class Integration Deluxe Series User manual

S-Class Integration Deluxe
S-Class Integration
Installation Guide
Installation Guide
S 190P50 Integration
S 195P50 Integration
S 190M50 Integration Deluxe
S 195M50 Integration Deluxe
S 190P50 Integration Deluxe
S 195P50 Integration Deluxe
903210001 - MA S-Class Integration/Integration Deluxe EN - v1.0S ME 03/2010


Installation guide
Contents
1 Notesonthisguide 2
2 SystemS-ClassIntegration(Deluxe) 2
2.1 Description 2
2.2 Tightness 2
2.3 Sub-roof 2
2.4 Dimensionaldataanddimensions 3
3 Scopeofsupply 4
3.1 Materialandtools 4
3.2 Listofmaterial 5
4 Moduleconnection-circuitryproposals 8
5 Safeinstallation 9
5.1 Preliminaryremarks 9
5.2 Installationofthemodules 12
5.3 Installationoftheroongframes 20
6 Specialcase:Installationinsteps 27
7 Commissioningofthesystem 29
8 Maintenanceandcleaning 29
9 Warrantyandguarantee 30
10 Disclaimer 30
11 Electricalparametersanddesignfeatures 31
1

Installation guide
1 Notesonthisguide
Thank you for choosing Centrosolar S-Class Integration/S-
Class Integration Deluxe modules. If you have any ques-
tions regarding the system components please contact
our technical support: +49 (0) 5251 500 500.
The maintenance and operation of a PV system require
a sound technical knowledge. Therefore, any work on the
system may only be carried out by qualied and authorized
personnel. Make sure to read these assembly instructions
carefully before installing, commissioning or servicing the
system, and store these instructions in a well accessible
location. This guide is part of the product. It is applicable
only to S-Class Integration/S-Class Integration Deluxe so-
lar modules by Centrosolar AG. Please pay special atten-
tion to the notes on the safe use of the system. Centroso-
lar is not liable for any damage resulting from disregarding
this guide.
Targetgroups
The target group of this guide, especially chapter 5 (Safe
installation) are skilled craftsmen. All relevant informa-
tion for the operator can be found in section 8 (Mainte-
nance and cleaning).
Information regarding your safety
and the protection of the device is
highlighted.
Pleasenote:
Disregarding the instructions of this installation guide may
void any warranties, guaranties and product liabilities.
2 SystemS-ClassIntegration(Deluxe)
2.1 Description
The S-Class Integration (Deluxe) mounting system replac-
es the conventional roong of pitched roofs and is used for
a roof inclination of more than 10 degrees. It is laid onto
the existing roof lathing and is suitable for old and new
buildings alike.
Due to the arrangement of the system lathing, the S-Class
Integration (Deluxe) mounting system provides for a back-
side ventilation in order to cool the modules from the back.
For the electrical connection, HUBER+SUHNER prefabri-
cated connectors are used.
2.2 Tightness
The S-Class Integration (Deluxe) mounting system offers
a rain resistance which is comparable to a standard pan-
tiled roof. It does not mean that a roof is water tight! Under
certain climatic conditions, snow akes, driving rain oder
water may penetrate under the modules from the eaves.
For a proper drainage of ingressed water or condensate,
an intact sub-roof is required. If not available, such a roof
must be erected/retrotted prior to installation of the mod-
ules.
2.3 Sub-roof
The general rules, which are valid for roofers, shall ap-
ply to the design and the backside ventilation of the sub-
roof. In order to extend the lifetime of the substructure, the
backside ventilation should be enhanced by means of the
module lathing and ventilation orices at the eaves and
ridge. In addition, backside-ventilated crystalline modules
will offer a higher yield.
A structural stability of the roof and/or the roof substructure
with regard to wind and snow load, which allows the re-
sulting loads and forces to be absorbed and transfered by
the roof substructure – the rafters, lathing and connecting
elements – is a basic requirement for the installation of a
photovoltaic system .
2

Installation guide
2.4 Dimensionaldataanddimensions
Moduletype S-ClassIntegration
S-ClassIntegrationDeluxe
Module dimensions
W x H in mm 1682 x 864
Installation dimen-
sions
Wi x Hi in mm
1663 x 833
Horiz. installation
tolerance
∆Wi in mm
± 2.0
Vert. installation toler-
ance
∆Hi in mm
± 1.0
The calculation of the generator eld dimensions should
be used as a planning aid. The total PV system dimen-
sions serve to determine the footprint of the PV generator
in the roof. The calculated and the actual dimensions may
differ, as the installation tolerances were not taken into
consideration here.
Totalgeneratordimensionswithoutroongframe:
Width Wo in mm
= S x Wi
+ 19
where S = number of modules side by side
Height Ho in mm = R x Hi + 90
where R = number of modules on top of the other
Totalgeneratordimensionswith roongframe:
Width in mm Wm = Wo + 300
Height in mm Hm = Ho + 670
NumbernandlengthLofmodulelathing(38x58mm):
n = ( 2 x S ) + 1 [items]
L = Ho - 20 [mm]
Abbreviations:
W Module width
H Module height
Wi Module installation width
Hi Module installation height
∆Wi Horiz. installation tolerance
∆Hi Vert. installation tolerance
Wo Generator width without roong frame:
Ho Generator height without roong frame:
Wm Generator width with roong frame:
Hm Generator height with roong frame:
S Number of modules side by side
R Number of modules on top of the other
n Number of module laths
L Length of module laths
Alldimensionsareinmillimeter[mm]!
3

Installation guide
3 Scopeofsupply
3.1 Materialandtools
Scopeofsupply-material:
SOLRIF - xing bracket "Frame", "Field" and "Top"
4.5 x 35 Spax VA screws for xing bracket,
roong frame sets: Basic set, top, right and left, alumi-
num plastics sealing sheet
Materialtobeprovidedonsite:
Module / support lathing (roong laths / KVH 38 x 58
mm (quantities see dimensional information),
original roong laths* fastening screws for module /
support lathing according to DIN 1052 (woodworking
screws)
ventilation tiles for pantiled roofs (if required).
Listoftools:
Cordless screw driver and bits (PZ2)
Tape measure and chalkline
Laser angle and/or distance measuring instrument
* Additional roong laths (support for aluminum plastics
sealing sheet or top roong frame) must have the same
thickness as the existing roof lathing.
4

Installation guide
3.2 Listofmaterial
1 Aluminum plastics sealing sheet
2 Module laths 38 x 58
3 Fixing bracket "Frame"
4 Fixing bracket "Field"
5 Fixing bracket "Top"
6 Eaves ventilation comb
7 Roong frame right
8 Roong frame corner right
9 Roong frame top
10 Roong frame top "End piece"
11 Roong frame corner left
12 Roong frame left
13 Valley sealing strip
14 Metal retainers
1
2 2 2 2 2
3 3 34 4
5 5 5 5 5
6 6 6 6
7
7
891011
12
12
13
13
13
13
13
13
14
14
14
14
14
14
14
14
14
14
14 14 14 14 14 14 14 14
3 3 34 4
14 14
5

Installation guide
a - Fixing bracket "Field" (4)
b - Fixing bracket "Frame" (3)
c - Fixing bracket "Top" (5)
d - Spacer block
Screws = Spax VA 4.5 x 35
a - Fixing bracket left (12)
b - Fixing bracket right (7)
a - Fixing bracket corner left (11)
b - Fixing bracket corner right (8)
ab
c
d
ab
a
b
6

Installation guide
Roong frame top (9)
(left hand side feather edge to the top)
Roong frame top left (10)
(left hand side feather edge to the bottom)
a - Eaves ventilation comb (6)
b - Valley sealing strip (13)
c - Metal retainer (14)
with 4.5 x 25 Spax screw
a
b
c
7

Installation guide
4 Moduleconnection-circuitryproposals
8

Installation guide
5 Safeinstallation
Direct-currentconnection(DC)
Since the module and string cabling will be inaccessible
after the installation of the PV in-roof system, the open-
circuit voltage of each string must be checked after it has
been laid and wired.
GroundingofthePVgenerator
A grounding of the PV generator is not mandatory. How-
ever, atmospheric inuences and reactions of the invert-
ers may lead to a charging of the metallic frames of the
generator eld to earth potential. The resulting contact
voltages are not hazardous, as the leakage currents will
be monitored by the inverter. Nevertheless, these contact
voltages can lead to startle reactions and therefore result
in "secondary damage".
Whenever persons may come into contact with the PV
eld during operation of the PV system, the metallic parts
of the generator eld must be grounded.
Overvoltageprotection
The overvoltage protection generally serves to protect the
inverter and the systems against indirect lightning strikes.
This subject will not be dealt with in detail here.
Pleasenote:
It is strictly forbidden to direct articially concentrated sun-
light onto the module or panel, as this will damage the
module.
5.1 Preliminaryremarks
The PV generator, or the generator area respectively,
must be integrated rectangularly into the roof (see "3-
4-5 rule"). Therefore, it must be parallel to eaves and
verge.
For non-rectangular roofs (e.g. old buildings), the PV
generator should be parallel to the verge for optical
reasons.
Any unevenness of the roof structure must be leveled
to an extend that allows a level mounting of the mod-
ule lathing.
The roof structure must be tted or retrotted (if re-
quired) with an intact trussed sheet.
The screwed connections must be pre-drilled in order
to avoid splitting or breaking of the wood. Hole diam-
eter = 0.7 x screw diameter in mm.
The module lathing must be screw fastened on the
roof lathing. Therefore, always check whether it is fas-
tened rigidly on the rafter! Please note that regular
nails (wire nails) are not allowed as fasteners. Always
use ribbed nails or screws according to DIN 1052.
For the module lathing, 38 mm x 58 mm roof laths
must be used.
Prior to module installation, the DC main lines must
be laid according to the module connection diagram
prepared for the respective site.
The module connection cables must not be subjected
to tensile stresses.
9

Installation guide
RectangularintegrationofthePVgenerator
The 3-4-5 rule is a good way to determine the right angle.
Divide a cord by knots or marks into sections with a pro-
portion of 3 to 4 to 5 (e.g. 3 meters, 4 meters, 5 meters).
Stretch the cord on the roof as shown in the gure. The
knots must be placed in the corners. The angle between
the sides 3 and 4 is a right angle.
10

Installation guide
Preparationwork
Preparation of the left hand side roong frame
Preparation of the 38 x 58 mm module laths and
screw fastening of the xing brackets using 4.5
x 35 Spax screws
a - Module lath "Frame" left
b - Module lath "Frame"
c - Module lath "Field"
d - Module lath "Frame" right
Roof area with roof tiles removed
Always check the fastening of the roof laths on
the rafters! Attention: Regular nails such as wire
nails must not be used! If required, the fasten-
ing can be reinforced by ribbed nails or screws
according to DIN 1052.
30mm
a
b
c
d
11

Installation guide
5.2 Installationofthemodules
Figure 1
In order to screw fasten the roof lath (a) for the
lower roof connection, a lath thickness corre-
sponding to the existing roof lathing must be
used. The distance between the upper edge of
the roof tile and the lower edge of the roof lath
should be 180-200 mm. The roof lath end must
be located outside the PV generator and placed
on rafters.
Figure 2
To fasten the roof connection, use 4.5 x 35 Spax
screws. The right hand and the left hand edge
should overlap the PV generator eld by ap-
prox. 250 mm. The overlapping onto the roof
tiles should be approx. 80-100 mm (overlapping
joints of roof connection approx. 100 mm for
new rolls).
Figure 3
Measure the location of the rst module lath
with the frame bracket on the right exterior side.
Vertical position: 20 mm overlapping on addi-
tional roof lath (see above).
Use 5 x 10 Spax screws (not supplied) for fas-
tening.
180-200 mm a
250 mm
80-100 mm
20 mm
12

Installation guide
Figure 4
When installing with a horizontal orientation,
make sure that the "right hand" roong sheets
sufciently reach under the neighboring roof
tiles. According to type, the left hand hanging
cams of the roof tiles must be cut off, or the
neighboring roof tiles must be trimmed. In this
example, a half roof tile is used.
Figure 5
In order to install the supporting structure, place
the module laths "Field" and "Frame" (prepared
with brackets) onto the roof and position them
horizontally at a distance which roughly corre-
sponds to the module width of the rst module
lath and vertically approx. 100 mm below the
nal position.
Module lath "Frame":
Module lath "Field":
Figure 6
Insert the rst module into the xing brackets of
the rst module lath. Align the right hand side of
the module in parallel with the rst module lath,
and ensure the module will stay in place.
ab
13

Installation guide
Figure 7
Move the module lath "Frame" horizontally so
that that the xing bracket rests in the groove of
the left hand module frame (a). Then push up
the module lath to the lower edge of the module
(b).
Figure 8
Check the position of the module again for par-
allelism with the rst module lath. Then align
the module lath "Frame" in parallel with the left
hand module side and fasten with 5 x 70 Spax
screws.
Figure 9
Center the module lath "Field" and push it up
until the lower edge of the module rests in the
xing bracket. Screw fasten the module lath
above the module.
ab
14

Installation guide
Figure 10
Take out the module again and nish the screw
fastening of the module laths. Make sure that
the module laths are straight. Fold the upper
edge of the aluminum plastics sealing sheet at
an angle of 45 degrees by approx. 1.5 cm to the
front, pointing to the roof eaves.
Figure 11
Seating and fastening of the eaves ventilation
combs using 4.5 x 35 Spax screws.
Position of the screws: approx. 50 mm from the
lower edge of the module lath.
Figure 12
Pleasenote:
Before inserting, the modules must be connect-
ed according to the electrical module connec-
tion diagram.
Placing and positioning of the module laths for
the next module must be done as described on
page 13 (starting with gure 5).
a - Module lath "Frame"
b - Module lath "Field"
approx. 50 mm
ab
15

Installation guide
Figure 13
Pull down the module so that the lateral module
frame slides into the xing bracket (see gure
13b).
Figure 14
Prole view with correct installation
Thetwomodulelathsarepositionedandscrewfastenedinthesamemannerasfortherstmodule.
Anyfurthermodulesofthelowerrowmustbeinstalledinthesamemanner.
ab
16

Installation guide
Figure 15
If the module laths extend over the existing roof
lathing by more than 150 mm, an additional roof
lath (a) must be provided for support.
Figure 16
Placing the distance template (a) onto the outer
edge of the upper module frame and position-
ing and screw fastening of the xing bracket
"Frame".
Make sure that the module lath and the distance
template are ush (see also Figure 17).
Figure 17
Position the brackets in the center of the module
lath.
a
a
17

Installation guide
Figure 18
Using the distance template, screw fasten the
xing bracket "Field" (a) to the center of the
module lath.
Figure 19
Inserting the rst module of the second row.
Figure 20
Inserting the subsequent modules of the second
row.
The subsequent module rows are installed in the same manner as the second module row.
After inserting the modules of the last module row, please follow the instructions on the following pages!
a
18
This manual suits for next models
7
Table of contents
Other Centrosolar Solar Panel manuals