Revision Date: October 26, 2020
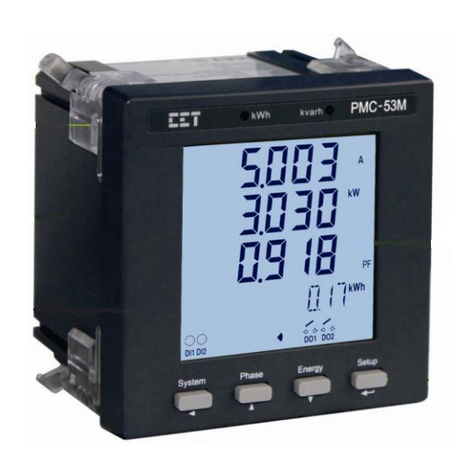
PMC-53M-A Quick Start Guide
Version V1.02
Package Contents
a. PMC-53M-A with all mounting clips and plug-in connectors installed
b. Factory Test Report
c. CD with PMC-53M-A User Manual
d. Quick Start Guide (this document)
Meter Overview
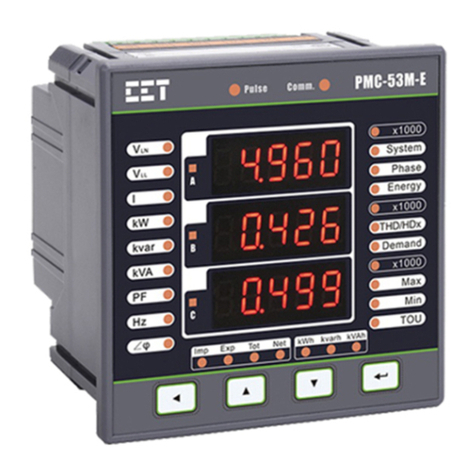
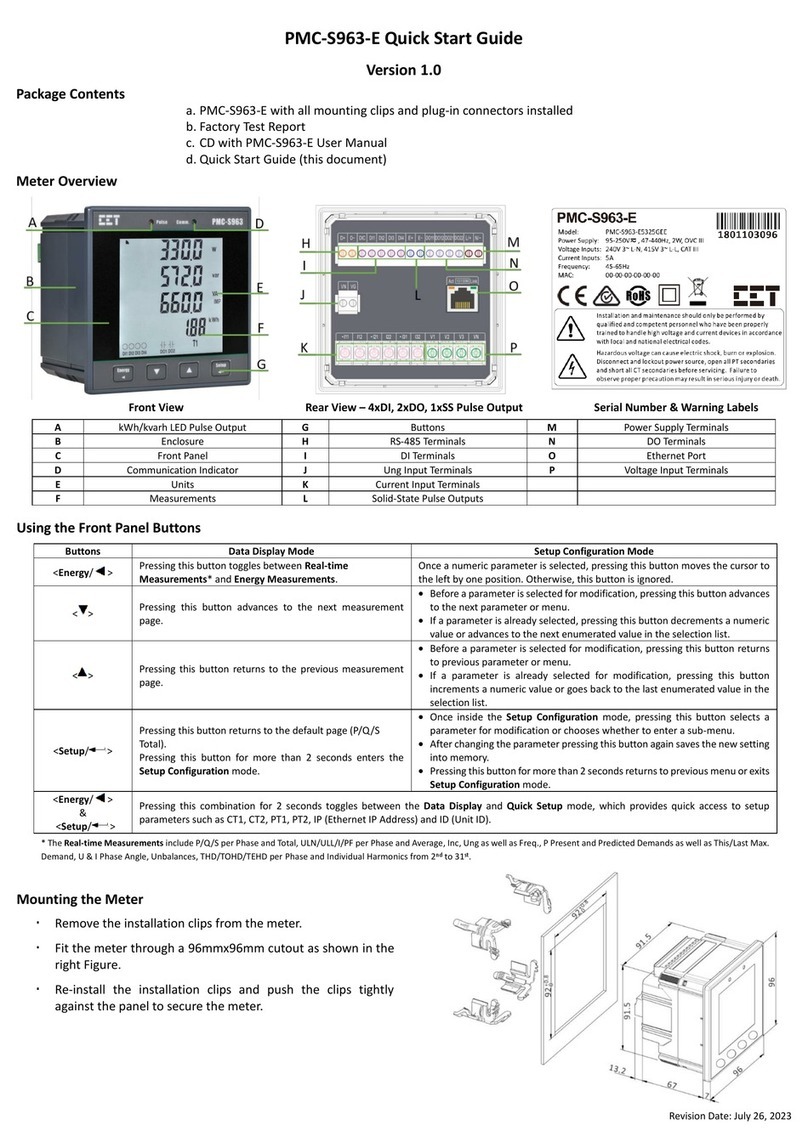
Front View Rear View - 4DI, 2DO, RS-485 Serial Number & Warning Labels
kWh/kvarh LED Pulse Output
Using the Front Panel Buttons
Pressing this button scrolls through the available
measurements in the System Menu.
•Before a parameter is selected for modification, pressing this button returns to the previous
menu level if it’s currently in a sub-menu. Otherwise, this button is ignored.
•Once a numeric parameter is selected, pressing this button moves the cursor to the left by
one position. Otherwise, this button is ignored.
Pressing this button scrolls through the available
per-phase measurements in the Phase Menu.
•Before a parameter is selected for modification, pressing this button goes back to the last
parameter in a particular menu or sub-menu.
•If a parameter is already selected, pressing this button increments a numeric value or goes
back to the last enumerated value in the selection list.
Pressing this button scrolls through the available
Energy measurements in the Energy Menu.
•Before a parameter is selected for modification, pressing this button advances to the next
parameter in a particular menu or sub-menu.
•If a parameter is already selected, pressing this button decrements a numeric value or
advances to the next enumerated value in the selection list.
Pressing this button scrolls through the available
PQ measurements in the Harmonic Menu.
Pressing this button for more than 2 seconds
enters the Setup Configuration mode.
•Once inside the Setup Configuration mode, pressing this button selects a parameter for
modification or chooses whether to enter a sub-menu by selecting YES or NO.
•After changing the parameter pressing this button again saves the new setting into memory.
•Pressing this button for more than 2 seconds anywhere exits Setup Configuration mode.
Mounting the Meter
Remove the installation clips from the meter.
Fit the meter through a 92mmx92mm cutout as shown in the right
Figure.
Re-install the installation clips and push the clips tightly against the
panel to secure the meter.
Wiring Diagrams


