manuals.online logo
Brands
  1. Home
  2. •
  3. Brands
  4. •
  5. CETAC
  6. •
  7. Laboratory Equipment
  8. •
  9. CETAC ASX-510 Guide

CETAC ASX-510 Guide

Pump replacement for
ASX-510 (SP5211)
Figure 1-1. Front view of ASX-510.
1. First, remove the two Kynar thumbscrews from the Y-axis home block. See Figure 1-2.
Figure 1-2. View of Y- axis home block with Kynar thumbscrews.
NOTE:
MAKE SURE THE UNIT IS UNPLUGGED AND IN THE “OFF” POSITION BEFORE
BEGINNING THIS PROCEDURE.
Figure 1-3. Z-drive removed from arm assembly.
2. Next, remove the whole Z-drive assembly from the arm by pulling the whole Z-drive assembly forward
and off the Auto Sampler arm. See Figure 1-3.
3. After the Z-drive assembly is removed, then remove the rinse station. See Figure 1-4. Turn the rinse
station ¼ turn counter-clockwise while pulling up. Also, the tubing located at the bottom of rinse station
will have to be removed or moved aside. See Figure 1-5.
Figure 1-4. View of rinse station.
Figure 1-5. View of rinse station removed from the front cover.
4. The Auto Sampler tray is next to be removed. Lift up the tray and pull forward. See Figure 1-6.
Figure 1-6. Removing the tray.
Figure 1-7. Front view of ASX-510 Auto Sampler showing front cover screws.
5. Next, the front cover needs to be removed. Remove the four corner screws shown in Figure 1-7.
6. The front cover can be removed by lifting it slightly and pulling forward. See Figure 1-8.
Figure 1-8. View of ASX-510 Auto Sampler with the front cover being removed.
Figure 1-9. View of inner shield inside the ASX-510.
7. The five screws that hold the inner shield will have to be removed. Move the Y-axis assembly all the
way to the left. See Figure 1-9.
8. The inner shield can be removed by lifting it up while pulling forward. See Figure 1-10.
Figure 1-10. Removal of inner shield.
Figure 1-11. View of ASX-510 with inner shield removed.
9. The pump is now accessible. See Figure 1-12.
10. If your ASX500 has a voltage regulator continue on. If not skip to step # 14.
(In figure 1-12 the arrow shows what the voltage regular looks like)
Figure 1-12. View of ASX-510 showing old style pump.
Figure 1-13. View of the voltage regulator beneath the pump.
11. Remove the front two screws on the Main board so that it can be lifted up.
12. Locate the orange and yellow wires that are attached to the Main board. Cut them as close as possible
to the voltage regulator which is attached to the bottom left of the cabinet. See Figure 1-14.
Figure 1-14. Bottom view of Main board.
Figure 1-15. View of wire nut.
13. Strip approximately ¼” of insulation from the end of each wire. Twist the two wires together. Install the
wire nut provided in the pump kit. Place it over the twisted wires and turn the nut in a clockwise
direction until it “bites in” to the wires. Pull on the wire nut while holding the wires. The wire nut should
stay on the wires without pulling off. See Figure 1-15.
Installation of Voltage Control Board
14. If your ASX500/510 already has a voltage control board (see Fig 1-17) then skip to step 17.
15. Remove motor driver chip and the corner screw that holds the motor driver board. See figure 1-16.
Figure 1-16
16. Insert the ¼” spacer between the stepper driver board and the voltage control board. Then use the 6-32
screw (supplied in the kit) and insert through the board and spacer, to hold the voltage control board.
Note: Make sure when installing the board into the socket that the pins do not bend over. Fig 1-17.
Figure 1-17
Installation of Peri Pump
17. First step is to determine what version peri pump you have. If your pump looks like Fig 1-18 then
continue on. If you have fig 1-19 then skip to step 26.
Figure 1-18 Figure 1-19
18. Remove the defective pump by removing the two outer screws on the outside rear of the pump. Also,
remove the screw that is located in the center of the pump head rotor assembly. See Figures 1-20
Figure 1-20
19. Remove roller head assembly and then pump can be removed.
20. A plate will need to be removed from the new pump before it can be installed.
21. To remove pump plate from the new pump first remove the screw that holds the roller head assembly,
behind the roller head there will be a small pin on the shaft of the motor remove it and keep the pin for
installation. Then remove the outer 4 screws that are shown in figure1-21. Keep 2 of screws for
installation to chassis.
Figure 1-21 Front of pump on bracket
22. Remove tubing holder, shoe, and tensioner by screws shown in figure 1-22. Keeping screws with parts
for installation in chassis later.
Figure 1-22 Removing shoe, tensioner, and tubing holder.
23. Install the new pump into your ASX500/510, put the two conical star washers underneath the two outer
screws that hold the pump in place. See Figures 1-20.
24. Plug the pump connector into main board.
25. Reassemble the ASX500 by installing shield and cover. Installation of pump is complete.
Installation of Peri pump with plate
26. Remove 2 outer screws (see Fig 1-19) and unplug wire connector from stepper board. Remove pump.
27. Install pump new pump.
If you have questions regarding maintenance of your ASX500/510 please contact
CETAC Technologies at 1-800-369-2822 or custserv@cetac.com

Other manuals for ASX-510

1

Other CETAC Laboratory Equipment manuals

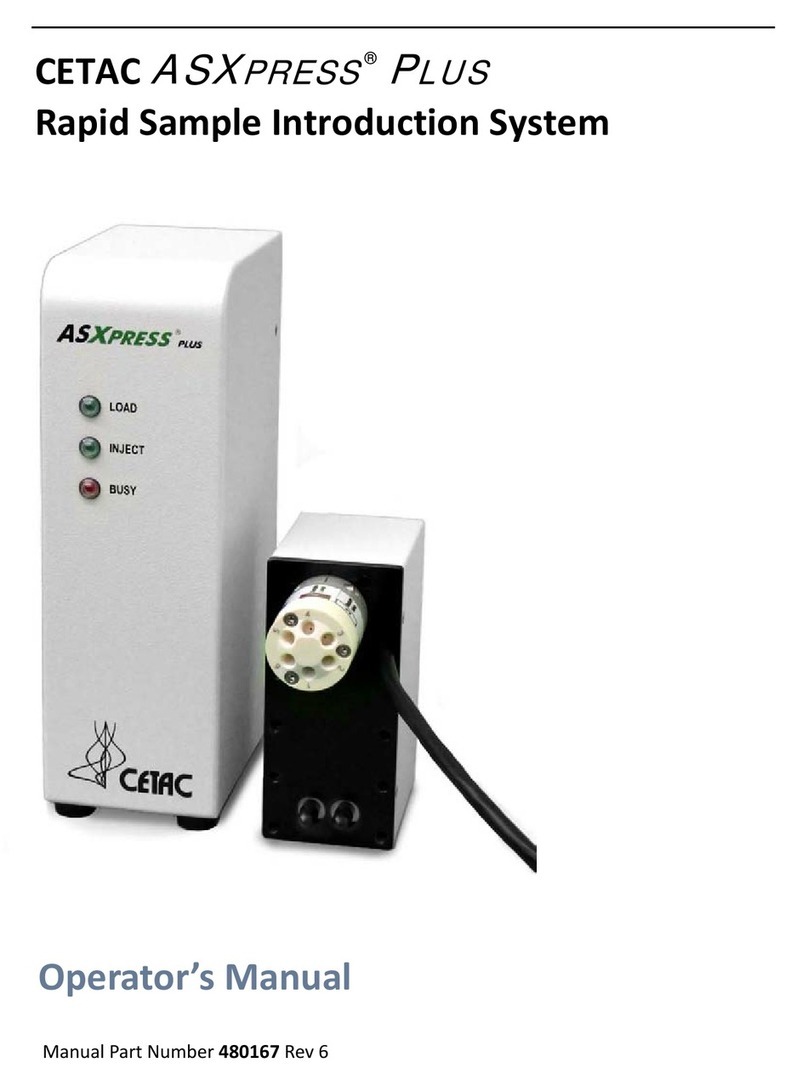
CETAC ASXpress User manual

CETAC

CETAC ASXpress User manual

CETAC ASX-520 Instruction Manual

CETAC

CETAC ASX-520 Instruction Manual

CETAC ASXPRESS PLUS User manual

CETAC

CETAC ASXPRESS PLUS User manual

CETAC ASX-500 Series User manual

CETAC

CETAC ASX-500 Series User manual

CETAC ASX-520 Use and care manual

CETAC

CETAC ASX-520 Use and care manual
CETAC ASX-1400 User manual

CETAC

CETAC ASX-1400 User manual

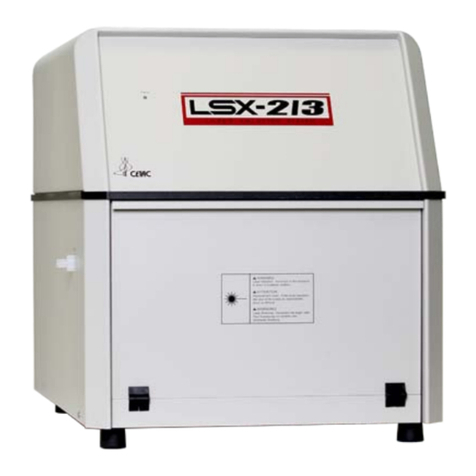
CETAC LSX-213 User manual

CETAC

CETAC LSX-213 User manual

CETAC ASXPRESS PLUS User manual

CETAC

CETAC ASXPRESS PLUS User manual

CETAC ASX-510 Guide

CETAC

CETAC ASX-510 Guide

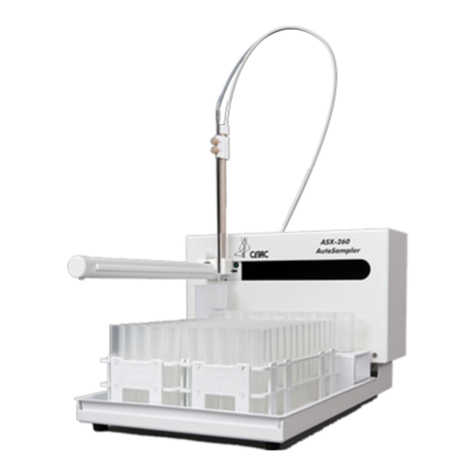
CETAC ASX-260 User manual

CETAC

CETAC ASX-260 User manual
CETAC ASX-520 User manual

CETAC

CETAC ASX-520 User manual

Popular Laboratory Equipment manuals by other brands
Swan Analytical Instruments AMI Codes-II O3 Operator's manual

Swan Analytical Instruments

Swan Analytical Instruments AMI Codes-II O3 Operator's manual

MRC MIXP Series Operation manual

MRC

MRC MIXP Series Operation manual

Thermo Scientific Evolution 200 Series user guide

Thermo Scientific

Thermo Scientific Evolution 200 Series user guide

Electron Thermo 3920 Operating and maintenance manual

Electron

Electron Thermo 3920 Operating and maintenance manual

IKA RCT basic operating instructions

IKA

IKA RCT basic operating instructions

Lafayette Instrument CAMPDEN 7000smz instruction manual

Lafayette Instrument

Lafayette Instrument CAMPDEN 7000smz instruction manual

Once BioShift Pass-Through UV-C Germicidal Chamber... instruction manual

Once

Once BioShift Pass-Through UV-C Germicidal Chamber... instruction manual

Agilent Technologies InfinityLab LC Series installation manual

Agilent Technologies

Agilent Technologies InfinityLab LC Series installation manual

Harvard Apparatus Panlab LE12404 Hardware user manual

Harvard Apparatus

Harvard Apparatus Panlab LE12404 Hardware user manual

OKW Datec-Control XS Series Assembly instruction

OKW

OKW Datec-Control XS Series Assembly instruction

Olympus U-APT instructions

Olympus

Olympus U-APT instructions

M Tops EAMS Series manual

M Tops

M Tops EAMS Series manual

Savant DNA120 instruction manual

Savant

Savant DNA120 instruction manual

Elitech FreezePoint 6000 Series user manual

Elitech

Elitech FreezePoint 6000 Series user manual

Agilent Technologies 1260 Infinity VL user manual

Agilent Technologies

Agilent Technologies 1260 Infinity VL user manual

Cole Parmer StableTemp CBF Series Installation and operation manual

Cole Parmer

Cole Parmer StableTemp CBF Series Installation and operation manual

OHAUS Frontier FC5706 user guide

OHAUS

OHAUS Frontier FC5706 user guide

Philips SCF281 manual

Philips

Philips SCF281 manual

manuals.online logo
manuals.online logoBrands
  • About & Mission
  • Contact us
  • Privacy Policy
  • Terms and Conditions

Copyright 2025 Manuals.Online. All Rights Reserved.