2
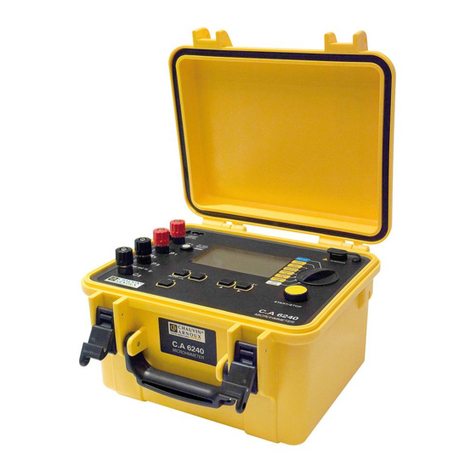
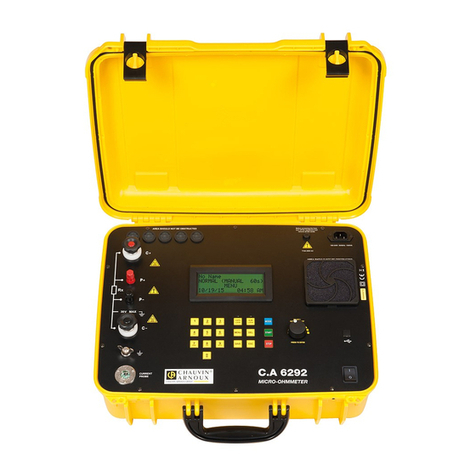
Thank you for purchasing a C.A 6250 microhmmeter.
To obtain the best service from your instrument:
read this user manual carefully,
comply with the precautions for use.
WARNING, risk of DANGER! The operator must refer to this user’s manual whenever this danger symbol appears.
Equipment protected by double insulation.
Earth.
The CE marking indicates conformity with European directives, in particular LVD and EMC.
The rubbish bin with a line through it indicates that, in the European Union, the product must undergo selective
disposal in compliance with Directive WEEE 2002/96/EC. This equipment must not be treated as household waste.
Definition of measurement categories:
Measurement category IV corresponds to measurements taken at the source of low-voltage installations.
Example: power feeders, counters and protection devices.
Measurement category III corresponds to measurements on building installations.
Example: distribution panel, circuit-breakers, machines or fixed industrial devices.
Measurement category II corresponds to measurements taken on circuits directly connected to low-voltage installations.
Example: power supply to electro-domestic devices and portable to.
PRECAUTIONS FOR USE
This device is compliant with safety standard IEC 61010-2-030 and the leads are compliant with IEC 61010-031, for voltages up
to 50 V with respect to earth in category III.
Failure to observe the safety instructions may result in electric shock, fire, explosion, and destruction of the instrument and of
the installations.
The operator and/or the responsible authority must carefully read and clearly understand the various precautions to be taken
in use. Sound knowledge and a keen awareness of electrical hazards are essential when using this instrument.
If you use this instrument other than as specified, the protection it provides may be compromised, thereby endangering you.
Before making any measurement, check that the resistance to be checked is not live: never connect the instrument to a
live circuit.
Do not use the instrument if it seems to be damaged, incomplete, or poorly closed.
Use only the accessories supplied with the instrument, compliant with safety standards.
Before each use, check the condition of the insulation on the leads, housing, and accessories. Any item of which the insulation
is deteriorated (even partially) must be set aside for repair or scrapping;
When resistances having a large inductive component (motors, transformers, etc.) are measured, the instrument automatically
discharges the inductance after the measurement. During this discharging, the symbol is displayed.
Do not disconnect the measuring cords until the symbol disappears.
Comply with the charging characteristics of the battery and use a fuse of the appropriate type and rating; failure to do so
may damage the instrument and void the warranty.
Set the switch to OFF when the instrument is not in use.
Check that none of the terminals is connected and that the switch is set to OFF before opening the instrument.
All troubleshooting and metrological checks must be performed by competent and accredited personnel.
