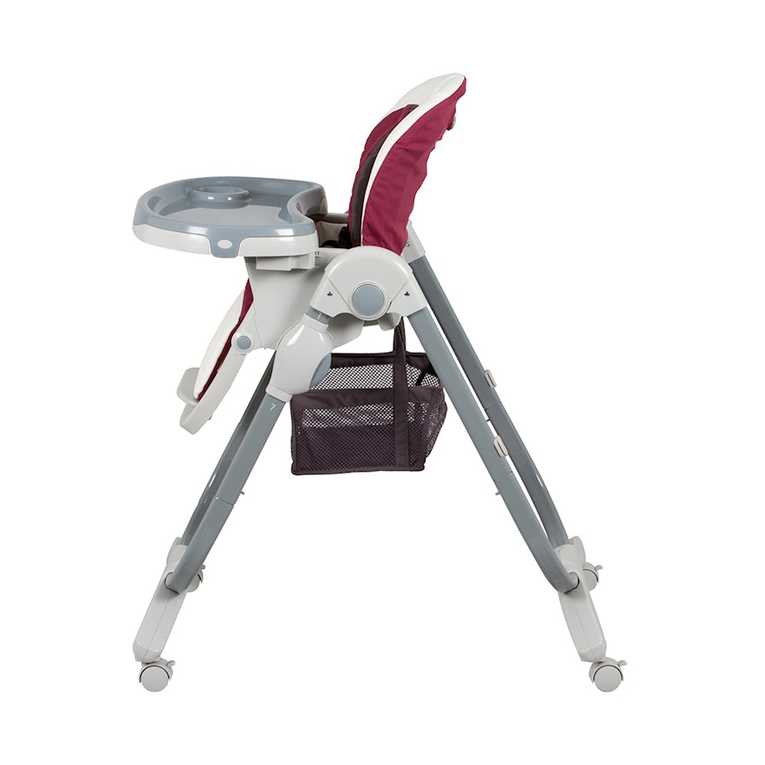
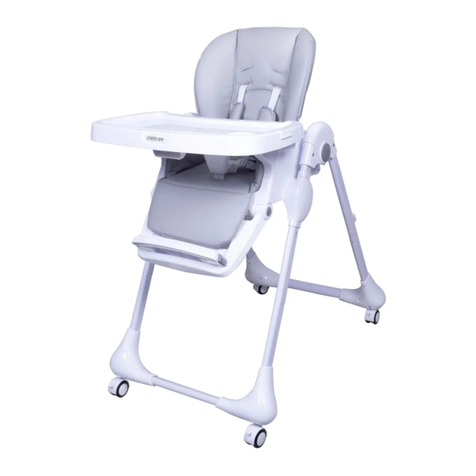
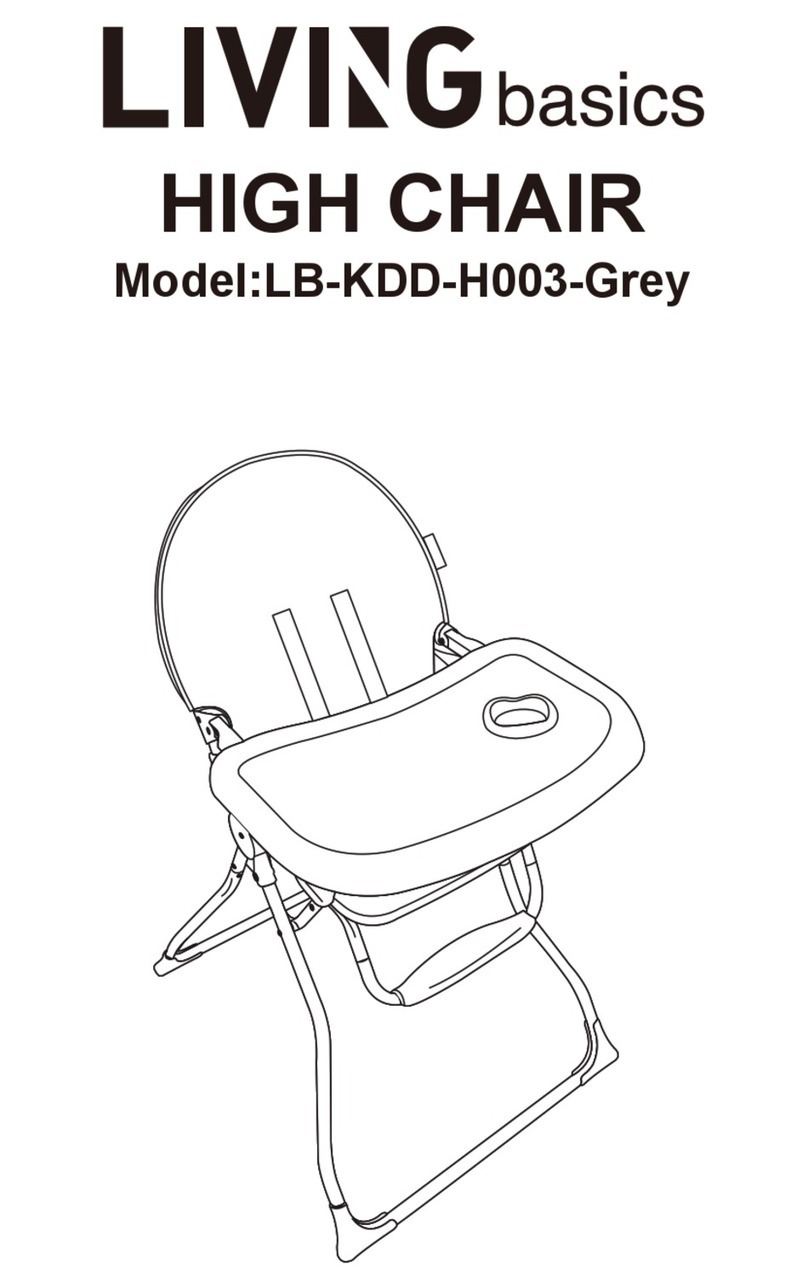
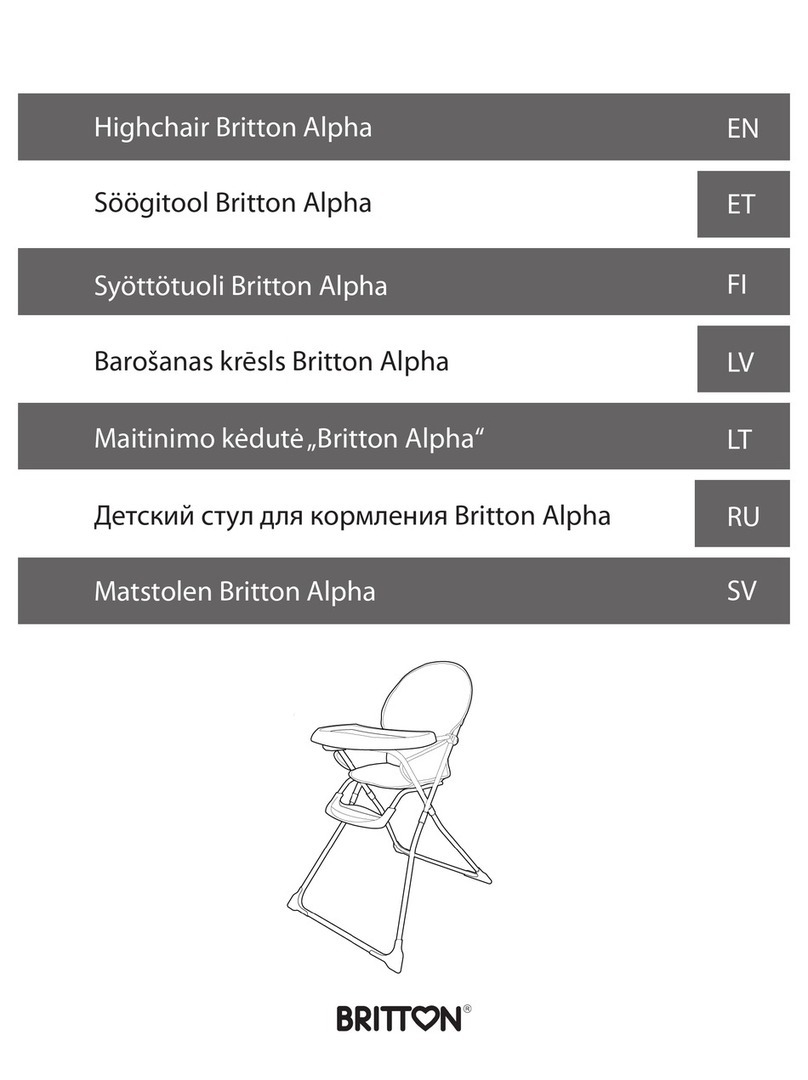
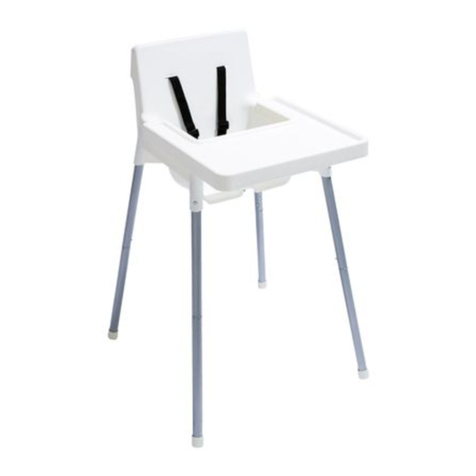
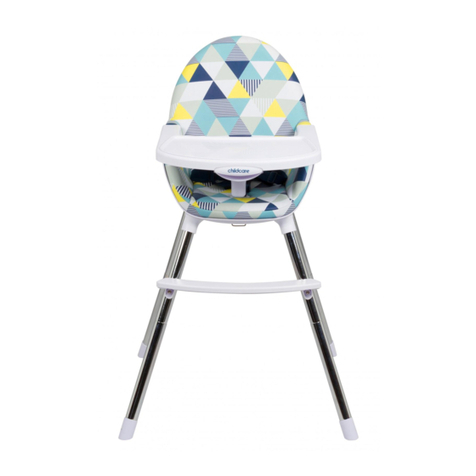
Childcare 360 044292 User manual

IMPORTANT:
RETAIN FOR FUTURE REFERENCE,
READ CAREFULLY
360
High Chair
Model # 044292

2
Read all instructions before assembly and use of the high chair. Keep
instructions for future use.
SAFETY PRECAUTIONS
Check that all parts are engaged before placing a child in the high chair.
Always keep child in view while in high chair.
Not recommended for a child under 6mths old.
The tray is not designed to hold the child in the high chair.
ALWAYS secure your child in the restraint.Ensure that your child wears a correctly tted and adjusted harness at all times.
Only use the high chair on a secure level surface.Use the high chair on a at,even and horizontal oor.
DO NOT elevate the high chair on any structure or table.
DO NOT allow children to stand on the seat or footrest or climb into or out of the high chair.
When adjusting the tray,make sure that parts of your child’s body are clear of any moving parts.
DO NOT carry the high chair with a child in it.
To reduce the risk of injury, position the high chair away from furniture, walls, hot surfaces and liquids,window covering
cords,and electrical cords.
Position the high chair away from furniture when the high chair is not being used at a table with the tray removed.
Periodically check that all parts of the high chair are in good working order.
DO NOT use the high chair if it is damaged or broken.
The weight of the child using this high chair should not exceed 15kgs.
Promptly replace worn out or broken parts.
Please seek repair and DO NOT use high chair if it is not working correctly.
BEFORE ASSEMBLINGTHIS HIGH CHAIR, READ AND UNDERSTANDTHE INSTRUCTIONS.
Follow the manufacturer’s instructions
Do not leave children unattended.
The harness must always be used and correctly tted - most injuries from high chairs are
caused by falls.
Position the high chair away from solid structures and benches to avoid injuries caused by
falls and by access to dangerous items.
Be aware of the risk of an open re and other sources of strong heat in the vicinity of the
high chair.
Do not use the high chair until the child can sit up unaided.
Do not use high chair unless all components are correctly tted and adjusted.
Stop using this high chair if any part of the high chair is broken,torn or missing.
KEEP INSTRUCTIONS IN A SAFE PLACE FOR FUTURE REFERENCE.
WARNING
3
SAFETY PRECAUTIONS
Follow the manufacturer’s instructions.
Age Group:36 months +
Not recommended for a child under 36 months of age.
The weight of the child using this stool should not exceed 40kgs.
DO NOT leave children unattended.
Position the stool away from solid structures to avoid injuries caused by falls and by access to dangerous items.
DO NOT overload the stool.
DO NOT use on an inclined surface.Use the stool on a at,even and horizontal oor.
DO NOT elevate the chair on any structure or table.
Be aware of the risk of open re and other sources of strong heat,such as electric bar heaters,gas res etc.In
the vicinity of the stool.
Periodically check that all parts of the stool are in good working order.
DO NOT use the Stool mode if it is damaged or broken.
DO NOT use the Stool mode unless all components are correctly tted and adjusted.
FALLING HAZARD: Prevent your child from climbing on the product.
Be aware of the risk of tilting when your child can push its feet against a table or any other structure.
Read all instructions before assembly and use of the stool mode. Keep
instructions for future use.

4
Due to variations in the style and design of our products, the photographs and illustrations shown in this
instruction manual are generic,therefore product fabrics,colour and design may vary from images shown.
CNP Brands reserves the right to alter product specications without notice as a result of our ongoing
policy of product improvement.
Contents
Assembly contents list
Assembly / Operating instructions
How to care for your 360 High Chair
Congratulations on your purchase of the 360 High
Chair
This product has been designed and developed with safety,
comfort and functionality in mind. Please take the time to read
this manual carefully before using this product and keep it in a
safe place for future reference.
CONGRATULATIONS

5
ASSEMBLY CONTENTS
Check what you have received...
You have received 1 box. Please check the contents of the
box against the list below. If anything is missing, please contact
Customer Service.
InAustralia,contact CNP Brands on 1300 667 137,in New Zealand
contact Wainhouse Distribution on 0800 567 5000.
Supplied loose in box:
Seat (with Seat
Pad,Seat Base,
Crotch Restraint
and Harness pre-
assembled)
Mini Stool Feet
x 1
x 4
x 1
x 1
x 4
x 2
x 1
Tray (with Sub Tray
pre-assembled)
Footrest
Top Legs
Footrest Bar
Footrest
Positioner
x 4Bottom Legs

6
There are no accessories recommended for use with this Childcare 360 High Chair.
Supplied loose in box continued:
x 4
22mm Leg
Bracing Bolts
x 1Allen Key
x 4
x 1 17mm Leg Bolts
Leg Cross Brace
(with Leg Cross
Brace Cap)
ASSEMBLY CONTENTS

7
ASSEMBLY / OPERATING INSTRUCTIONS
To assemble in High Chair Mode...
1
2
3
4
Lay Seat at on the oor face down.
Insert 1 x Top Leg into the housing on the
underside of the Seat Base.
Secure with 1 x 17mm Leg Bolts.
Repeat for remaining 3 x Top Legs.
Insert 1 x Bottom Leg into the housing connected
to a Top Leg.
Repeat for remaining 3 x Bottom Legs.
Align one end of the Leg Cross Brace with the
housing located on the inside of the full leg
assembly.Ensure the curve in the bracing is
angled downward.
Secure with 1 x 22mm Leg Bracing Bolt.
Repeat for the remaining 3 x Leg Cross Brace
ends.
1a.
2a.
2b.
2c.
3a.
3b.
4a.
4b.
4c.
5Flip chair over.
5a.

8
ASSEMBLY / OPERATING INSTRUCTIONS
To assemble in High Chair Mode continued...
6
7
8
9
10
Insert 2 x Footrest Bars into the footrest slots at the
front of the chair.
Insert 1 x Footrest onto the Footrest Bars.
Insert 1 x Footrest Adjuster into the desired slot.
Push down to secure into place.
Pull Seat Pad footrest elastic over the Footrest to
secure.
Stand chair upright.
Align the Tray with the grooves on the Crotch
Restraint.
Pull tray adjustment latches on both sides of tray
and slide along the grooves towards the chair.
Release the tray adjustment latches,ensuring Tray
‘clicks’into position and is secure.
Align the Tray with the grooves on the Crotch
Restraint.
Pull tray adjustment latches on both sides of tray
and slide along the grooves towards the chair.
Release the tray adjustment latches,ensuring Tray
‘clicks’into position and is secure.
6a.
6b.
7a.
8a.
9a.
9b.
9c.
9d.
10a.
10b.
10c.
The chair is now ready for use in High Chair Mode.

9
ASSEMBLY / OPERATING INSTRUCTIONS
To adjust the Footrest Positioner...
1
2
To remove the Footrest Positioner,push up
and towards the Footrest until the positioner
disengages.
To t the Footrest Positioner,insert into one of
the designated slots and pull downwards until
positioner engages.
To remove the complete Footrest Assembly,
engage the push pins located at the rear of the
Footrest Arms and slide Footrest Assembly away
from the Seat Base.
1a.
1b.
2a.
NOTE: Footrest Positioner can be used in any of the three Footrest positioner slots.
To adjust Tray...
1
2
This Tray has 2 adjustable positions.
To adjust Tray, pull tray adjustment latches on both
sides of Tray and slide forward or backward to
desired position.
Release the tray adjustment latches,ensuring Tray
‘clicks’into position and is secure.
This Tray features a Sub-Tray, which is easily
removed by lifting the two tabs on the sides of the
Tray and lifting Sub-Tray away from the Tray.
1a.
1b.
1c.
2a.

10
2
3
Angle the Tray Assembly upward until the Crotch
Restraint sides match the shape of the Seat cut-
outs.
Push Crotch Restraint sides in towards the middle
of the chair,until both sides disengage from the
Seat.
2a.
3a.
ASSEMBLY / OPERATING INSTRUCTIONS
To adjust Tray continued...
To remove Tray and Crotch Restraint assembly...
1
3
The Tray (with Crotch Restraint attached) can
also be removed as one complete piece.
Locate and pull the Assembly Release Lever
underneath the front edge of the Seat.This will
release the Crotch Restraint from the Seat Base.
To remove Tray,pull tray adjustment latches on
both sides of Tray and slide away from the Chair.
1a.
1b.
3a.

11
ASSEMBLY / OPERATING INSTRUCTIONS
To attach Tray and Crotch Restraint Assembly...
1
2Ensure the Crotch Restraint‘clicks’ into position
and is secure.
1a.
1b.
2a.
Align and insert the Crotch Restraint sides into the
corresponding cut-outs on the Seat.
Once in place,pull the Crotch Restraint assembly
release lever whilst guiding the Crotch Restraint
into the corresponding cut-out in the Seat Base.
CAUTION: ALWAYS take care when adjusting the chairs position.
To rotate Seat...
1
2
The rotating seat has 12 lockable positions.
Locate the Swivel Lock Button on the rear of the
Seat Assembly.
Actuate and hold Swivel Lock Button whilst
rotating Seat to desired position.
Release the Swivel Lock Button,ensuring Seat
‘clicks’into position and is secure.
1a.
1b.
2a.
2b.

12
CAUTION: The harness must be used at all times and be correctly adjusted.
Most injuries from high chairs are caused by falls.
To use the Harness...
1Place baby in the seat.
Attach shoulder straps to waist belt.
Position the crotch strap between baby’s legs and feed arms through shoulder
straps.
Close buckles.You should hear a ‘click’ sound.
Adjust sliders for a snug t ( re-adjust as baby grows).
Check to be sure the harness is securely attached by pulling it away from baby,it
should remain attached.
1a.
1b.
1c.
1d.
1e.
1f.
NOTE: Use the 5-point harness at all times to ensure that baby is safe and secure while seated.
To remove Seat Pad...
1
2
Follow the earlier steps to remove the Tray and
Crotch Restraint Assembly.
Undo the Harness Buckle.
Remove the Waist Clips from the Shoulder Clips.
Feed the Shoulder Harness Straps back through
the current slots in the Seat Pad.
Repeat the above step for the Waist Straps and
the Crotch Strap.
1a.
1b.
1c.
2a.
2b.
ASSEMBLY / OPERATING INSTRUCTIONS

13
ASSEMBLY / OPERATING INSTRUCTIONS
To remove Seat Pad continued...
3Unfasten the Seat Pad Elastic from the Footrest
and remove the Seat Pad from the Seat.
3a.
To assemble Double Sided Seat Pad...
1Choose which side of the Seat Pad you wish to
display, place the Seat Pad onto the Seat.
Feed the crotch strap up through the
corresponding slot in the Seat Pad.
Repeat the above step for the Shoulder and Waist
Harness Straps.
1a.
1b.
1c.
22a.
2b.
Attach Shoulder Strap Clips to Waist Strap Clips.
Engage the Harness Buckle.

14
To adjust Harness Shoulder Strap Position...
1
2
Follow the above steps to remove the 2 x Shoulder
Harness Straps.
Feed the Shoulder Harness Strap through the
higher Shoulder Harness Strap slot in the Seat.
Re-t the Harness with the D-rings.
1a.
1b.
2a.
To remove Harness for cleaning...
1Remove the D-ring from the ends of the harness
strap by sliding the webbing through the slot in
the D-ring.
Push strap end through the slot in the seat and
remove harness.
1a.
1b.
NOTE: There are 5 harness attachment points.
CAUTION: ALWAYS re-t harness correctly after cleaning
and before re-use.
ASSEMBLY / OPERATING INSTRUCTIONS

15
ASSEMBLY / OPERATING INSTRUCTIONS
To convert to Stool Mode...
1
2
3
Lay chair down at on the oor.
Locate the Seat Locking Nut in the centre of the Seat
Base.
Using a Spanner or Shifter (not supplied), remove this
locking nut and washer.
Stand Stool upright.
Remove the Seat from the Seat Base.
1a.
2a.
2b.
3a.
3b.
The chair is now ready for use in Stool Mode.

16
ASSEMBLY / OPERATING INSTRUCTIONS
To convert to Mini Stool Mode...
1
2
3
4
Lay Stool down at on the oor.
Remove 4 x 22mm Leg Cross Brace Bolts and detach
Leg Cross Brace from Stool.
Remove the 4 x Bottom Legs from their housings.
Replace these with 4 x Mini Stool Feet.
Re-attach Leg Cross Brace.
Secure the Mini Stool Feet and Leg Cross Brace
with the previously used 4 x 22mm Leg Bracing
Bolts.
1a.
2a.
3a.
4a.
4b.
4c.
The chair is now ready for use in Mini Stool Mode.

17
HOW TO CARE FOR YOUR CHILDCARE HIGH CHAIR
Cleaning
Maintenance
This product has been designed and developed with safety, comfort
and functionality in mind. Please take the time to read this manual
carefully before using this product and keep it in a safe place for
future reference.
To ensure the long-lasting use of your high chair, wipe down with a
damp cloth and use a mild soap solution if necessary. Do not use
abrasive cleaners.Always store product in a clean dry place.
Tray:
Wipe clean with a damp cloth and mild soap.Air dry.Do not immerse
in water.
Always check parts regularly for tightness of screws, nuts and other
fasteners – tighten or replace if required.To maintain the safety of your
high chair, seek prompt repairs for bent, torn, worn or broken parts.
Use only those parts and accessories approved by CNP Brands.
If you have any difculties in assembling the high chair, please
contact our Service Department.
In Australia, contact CNP Brands on 1300 667 137, in New Zealand
contact Wainhouse Distribution on 0800 567 5000.

18
ABOUT US
About CNP Brands
Currently,CNP Brands boasts one of the most diverse brand portfolios
with a combination of company owned brands and distribution
agreements.These include distribution lines for Eveno, Good Baby,
Lascal, Maclaren, Project Nursery, Summer Infant and Yookidoo.
Our own brands, including Childcare, have gone from strength to
strength in recent years. Childcare, and our premium brand bebe
care, demonstrate our commitment to quality and continuing
investment in product development.

19
NOTES

Distributed in Australia by CNP Brands
82 Maribyrnong Street, Footscray,VIC, 3011
Customer Service 1300 667 137
W: www.cnpbrands.com.au
E: info@cnpbrands.com.au
F: www.facebook.com/CNPBrands
I: @cnp_baby
Distributed in New Zealand by Wainhouse
Distribution
2-6 Argyle St, Morningside,
PO Box 41-014,
St Lukes,Auckland, New Zealand
Customer Service: 0800 567 5000
E: helpline@wainhousedist.co.nz
Table of contents
Other Childcare High Chair manuals

Childcare
Childcare Uno White 044289-003 User manual

Childcare
Childcare Trevi 044283 User manual

Childcare
Childcare PIp 044333 User manual

Childcare
Childcare Coda Citrino 044270-382 User manual

Childcare
Childcare Argent 2in1 User manual

Childcare
Childcare VISTA User manual

Childcare
Childcare Eve 044385 User manual

Childcare
Childcare Pod Timber Natural User manual